
Ever wondered why the cat eye effect looks so effortlessly chic on the runway, yet seems impossible to recreate without a salon appointment?
In This Article
- What You Will Need (or Before You Start)
- Step 1 – Prep Your Nails Like a Pro
- Step 2 – Apply Base Coat and Cure
- Step 3 – Paint the Magnetic Top Coat
- Step 4 – Create the Cat Eye Effect with the Magnetic Pen
- Step 5 – Seal the Design
- Common Mistakes to Avoid
- Troubleshooting & Tips for Best Results
- Summary
What You Will Need (or Before You Start)
Gathering the right tools is half the battle. Below is a checklist that will keep you from scrambling mid‑session.
- Base coat: Seche V Base Coat (USD $13, 15 ml) – it guarantees adhesion and prevents staining.
- Cat eye top coat (magnetic polish): OPI Magnetic Chrome (USD $10, 15 ml) or Sally Hansen “Magnetic Glitter” (USD $8, 15 ml). Both contain iron particles that react to a magnet.
- Magnetic pen or wand: Gellen Magnetic Nail Pen (USD $12, 10 cm). The pen’s magnet strength is measured at 0.16 Tesla – perfect for a sharp line.
- UV/LED lamp: If you’re using a gel top coat, the SUNUV 48W LED lamp (USD $45) works well. Read more about UV vs LED nail lamps.
- Nail primer (optional but recommended): Zoya Prep (USD $9, 10 ml). It improves longevity, especially on oily nail beds. Check the nail primer guide.
- File & buffer: a 180‑grit nail file and a 0.5 mm buffer block.
- Cleaner: Cutex Cleanser (USD $5, 30 ml) to remove dust before sealing.
- Top coat (non‑magnetic): Revlon “ColorStay” (USD $7, 15 ml) for extra shine and protection.
- Cotton pads & lint‑free wipes: for wiping off excess.
Estimated total cost: roughly USD $90 if you buy everything brand‑new, but many of these items are reusable for dozens of manicures.
Step 1 – Prep Your Nails Like a Pro
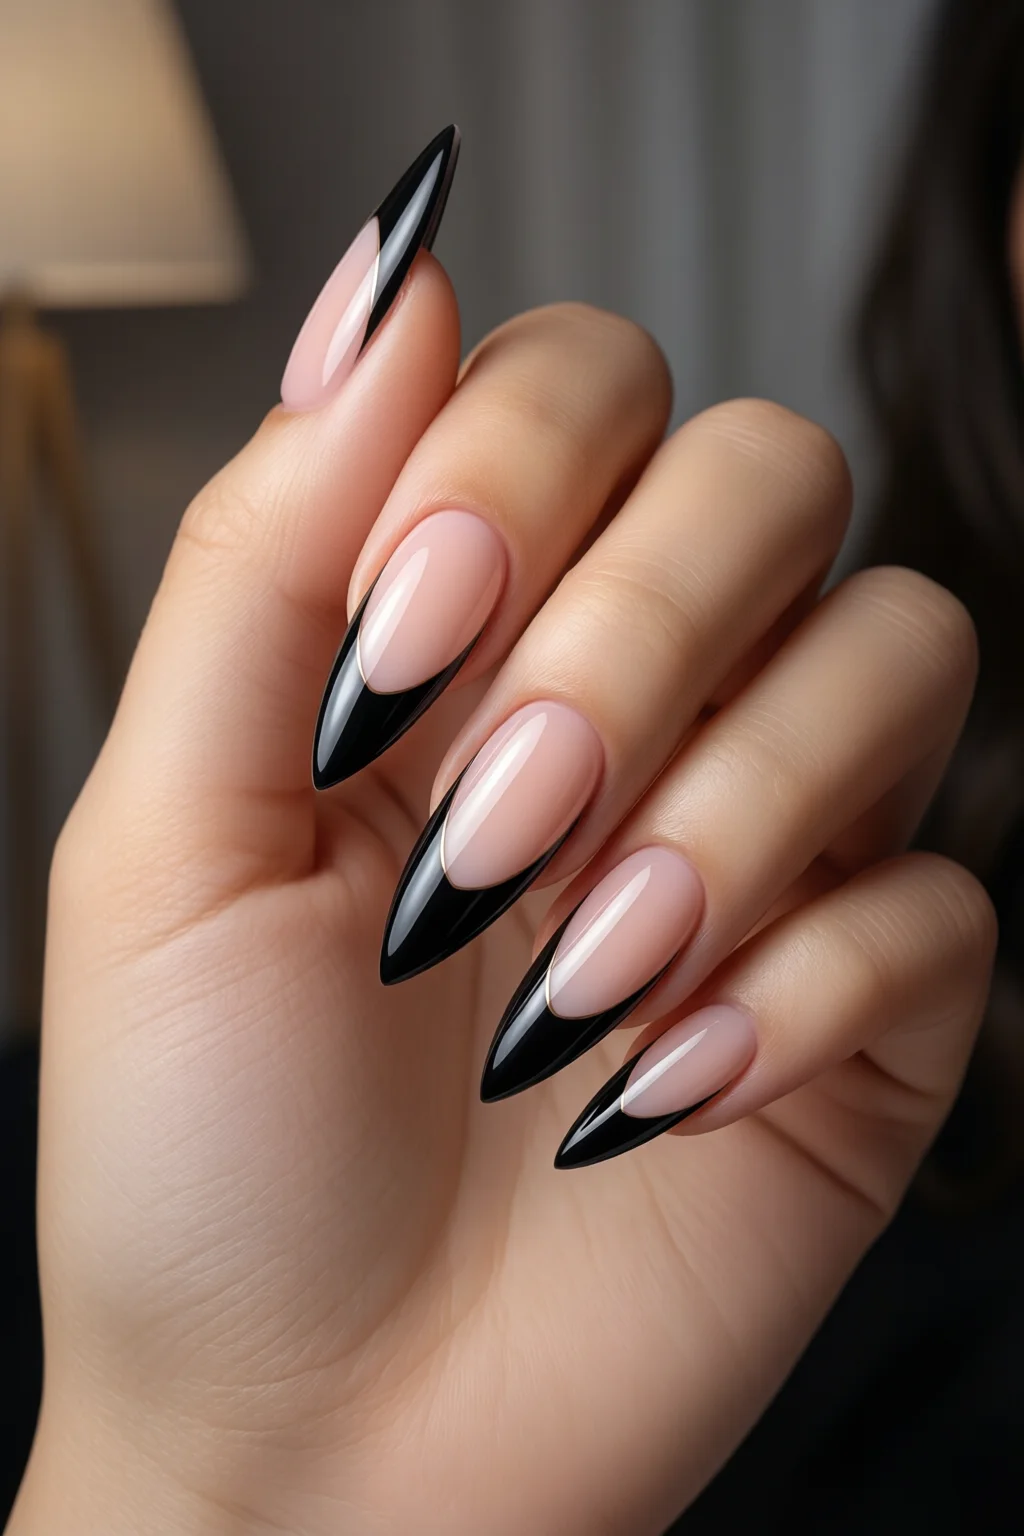
Start with clean, trimmed nails. Push back cuticles with a wooden stick, then shape them to a square nail shape if you like a modern vibe, or keep them rounded for a softer look. File each nail to a uniform length of about 10 mm; this ensures the magnetic line stays straight.
Buff the surface lightly (just 2‑3 strokes) to remove shine – a matte surface helps the magnetic particles settle evenly. Wipe each nail with a cotton pad soaked in Cutex Cleanser to eliminate oils. If you have oily cuticles, apply Zoya Prep and let it dry for 30 seconds; this step alone can boost wear time by up to 20 %.
Step 2 – Apply Base Coat and Cure
Dispense a thin layer of Seche V Base Coat onto each nail. Too thick and you’ll trap air bubbles; too thin and the cat eye effect can appear patchy. Use a steady hand – I find that holding the brush at a 45° angle gives the most even coverage.
Place your hand under the LED lamp for 30 seconds (or UV lamp for 60 seconds). The base coat will become tacky, which is ideal for the next layer.
Step 3 – Paint the Magnetic Top Coat
Shake the OPI Magnetic Chrome bottle for at least 10 seconds; the iron particles tend to settle quickly. Apply two coats, allowing each to cure for 45 seconds under the lamp. If you’re using a regular polish (no lamp), let each coat dry completely – expect about 5 minutes per coat.
Do not over‑apply. A thin, even layer is crucial because the magnet works best when it can glide over a smooth surface. In my experience, a “wet‑but‑not‑runny” consistency produces the sharpest line.
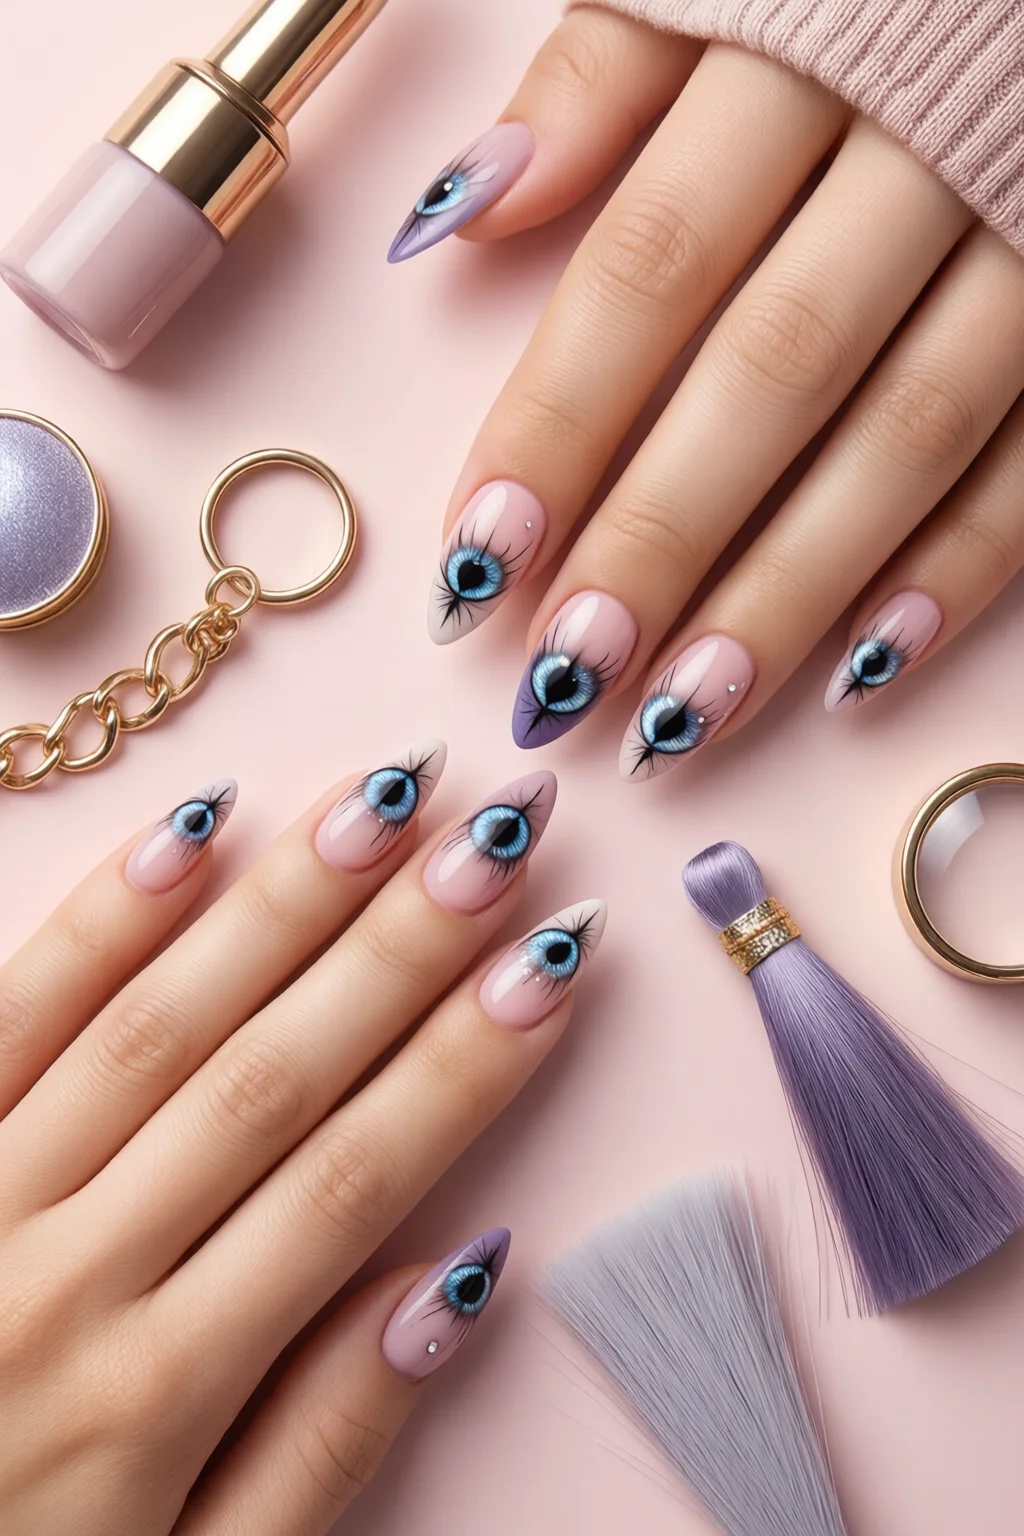
Step 4 – Create the Cat Eye Effect with the Magnetic Pen
Now for the fun part. Hold the Gellen Magnetic Pen about 1 cm above the nail surface. Slowly draw the pen from the cuticle towards the tip in a single, fluid motion. The iron particles align with the magnet, forming that signature shimmering stripe.
Speed matters: a brisk sweep (≈2 seconds per nail) yields a crisp line; dragging too slowly causes the particles to blur. If you see a faint line, repeat the motion once more – the second pass intensifies the effect without adding thickness.
Step 5 – Seal the Design
After you’re satisfied with the stripe, apply a thin layer of Revlon “ColorStay” top coat. This protects the magnetic particles from wear and adds a glass‑like finish. Cure for another 30 seconds under the LED lamp.
Finally, wipe the nails with a lint‑free pad soaked in cuticle oil to remove any tacky residue. Your cat eye nails at home are now ready to turn heads.

Common Mistakes to Avoid
- Using too much polish: Thick layers trap air, causing the magnetic line to appear broken.
- Skipping the base coat: Without it, the magnetic particles don’t adhere properly, leading to flaking after 24 hours.
- Not shaking the magnetic polish: The iron particles settle quickly; a weak shake results in a dull, uneven line.
- Holding the magnet too far away: The magnetic field weakens beyond 2 cm, making the stripe faint.
- Rushing the pen stroke: Moving too slowly creates a blurred, “smudged” look rather than a clean cat eye.
One mistake I see often is curing the base coat for too long, which makes it too hard for the magnetic particles to embed. Stick to the recommended 30‑second cure.
Troubleshooting & Tips for Best Results
Problem: The stripe appears wavy or uneven.
Solution: Ensure the nail surface is completely matte before applying the magnetic coat. Lightly buff again if you notice any gloss.
Problem: The cat eye fades after a day.
Solution: Apply a second thin layer of magnetic polish before the final top coat. This double‑layer technique extends wear time by up to 40 %.
Tip: For a double‑cat‑eye look, use two different magnetic colors (e.g., gold and teal) on adjacent nails. The contrast is striking and works well for events.
Tip: Pair your cat eye nails with the best long lasting nail polish by coating the entire nail with a sheer base of that polish before the magnetic coat. It adds depth and protects the nail plate.
Tip: If you’re short on time, substitute the LED lamp with a portable UV mini‑lamp (USD $15). It cures the base and top coats in about 45 seconds each, and still delivers a solid finish.
Summary
Creating cat eye nails at home is a blend of preparation, the right products, and a steady hand. By following the five steps above, you’ll achieve salon‑level sparkle without the appointment fee. Remember to prep meticulously, use a thin magnetic coat, and wield the magnet at the correct distance and speed. With a little practice, you’ll be able to pull off the cat eye effect in under 15 minutes, every time.
Can I use regular nail polish instead of magnetic polish?
No. The cat eye effect relies on iron particles that react to a magnet. Regular polish lacks these particles, so you won’t get the signature stripe.
How long do cat eye nails typically last?
When sealed with a quality top coat and cured properly, they can last 7‑10 days without chipping. Adding a second magnetic layer can push durability to 14 days.
Do I need a UV/LED lamp for a non‑gel finish?
A lamp isn’t required for regular magnetic polish, but it speeds up drying and reduces smudging. If you prefer a quick cure, a 30‑second LED pass works well.
Is the magnetic pen reusable?
Yes. Keep the pen’s tip clean with a cotton swab after each use. The magnet retains its strength for years, so you won’t need a replacement often.
Can I combine cat eye with other nail art techniques?
Absolutely. Apply thin strips of nail tape, glitters, or even a matte top coat over the magnetic layer for a textured look. Just ensure the final top coat is compatible with the magnetic particles.