
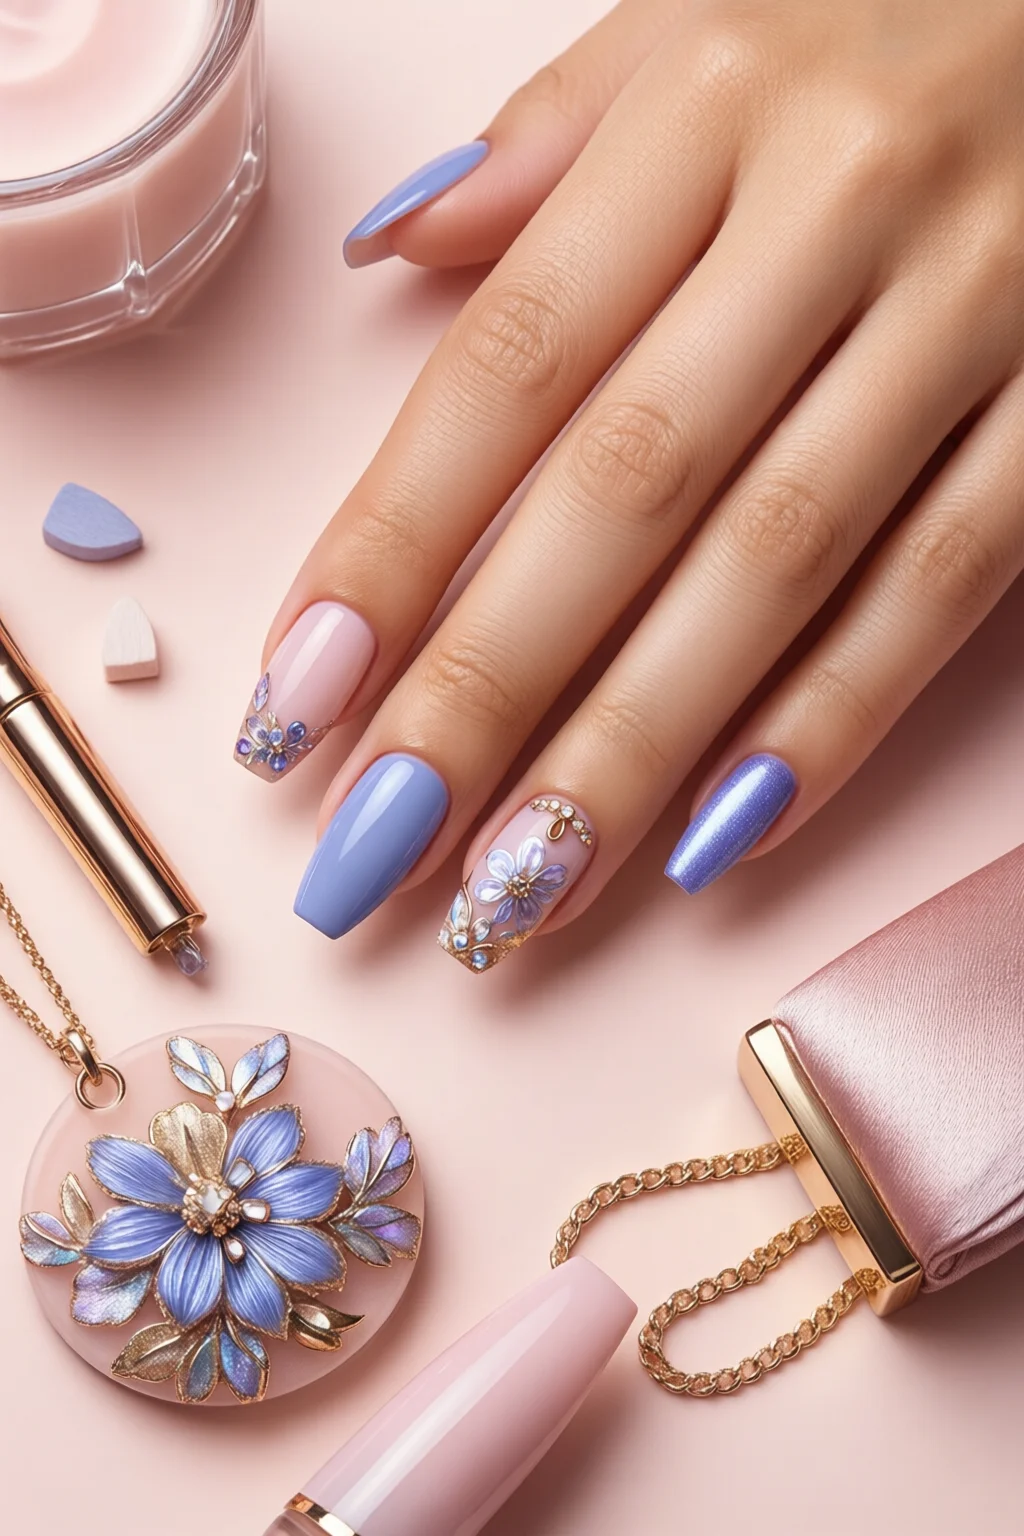
In 2023, the global market for press‑on nails surged by **42 %**, outpacing traditional salon services for the first time. That spike isn’t just a fad; it’s a signal that more people are demanding salon‑quality looks without the time, cost, or mess. If you’ve been scrolling through Instagram reels of flawless fingertips, you’re probably hunting for the best press on nails that actually stay put, look natural, and won’t break the bank.
In This Article
Below is my no‑fluff, expert‑approved guide to the top products, how to pick the perfect set for your lifestyle, and the exact steps to apply and remove them like a pro. Think of it as the friend‑over‑coffee cheat sheet you’ve been waiting for.
What Makes Press‑On Nails Different?
Materials and Construction
Press‑on nails come in three main materials:
- Acrylic‑based shells – the most common, offering a sturdy feel and a glossy finish.
- Gel‑coated tips – lighter, more flexible, and often marketed as “real‑gel” for a salon‑like shine.
- ABS plastic – ultra‑thin, great for a natural look but can be less durable on longer lengths.
In my experience, gel‑coated options tend to last the longest on active hands (up to 10 days), while acrylic shells give the most “filled‑out” appearance on short nail beds.
Fit Systems
Most reputable brands use a “size‑by‑size” system: you get a tray of 24‑30 tips ranging from size 0 (smallest) to size 7 (largest). Some premium lines, like KISS or ImPRESS, include a custom‑fit guide that maps each tip to your natural nail shape. One mistake I see often is skipping the size test and just grabbing the first set that looks pretty – it leads to bubbling glue and early fallout.
Adhesion Technology
There are two main glue types:
- Pre‑glued – a thin adhesive layer already on the tip. You just press, hold for 5 seconds, and you’re done. Great for beginners.
- Separate glue – you apply a dedicated best nail glue yourself. This gives stronger bond and more control over placement.
For the best press on nails that survive a week of typing, I recommend a separate glue with a stronger polymer base (look for “cyanoacrylate‑plus” on the label).
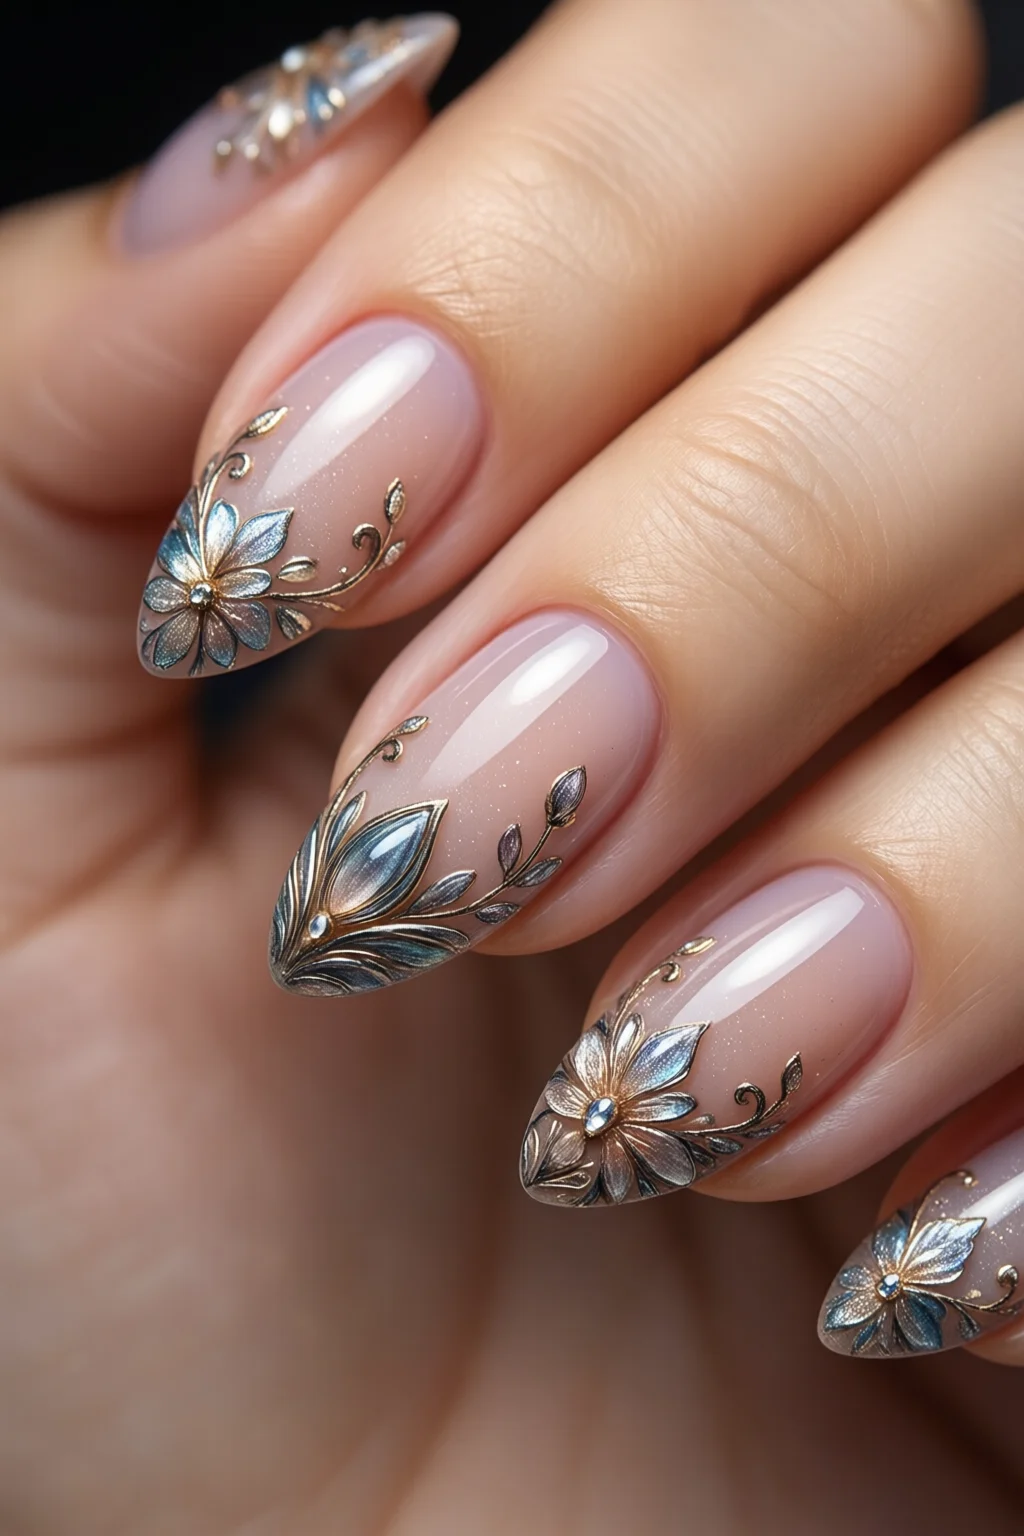
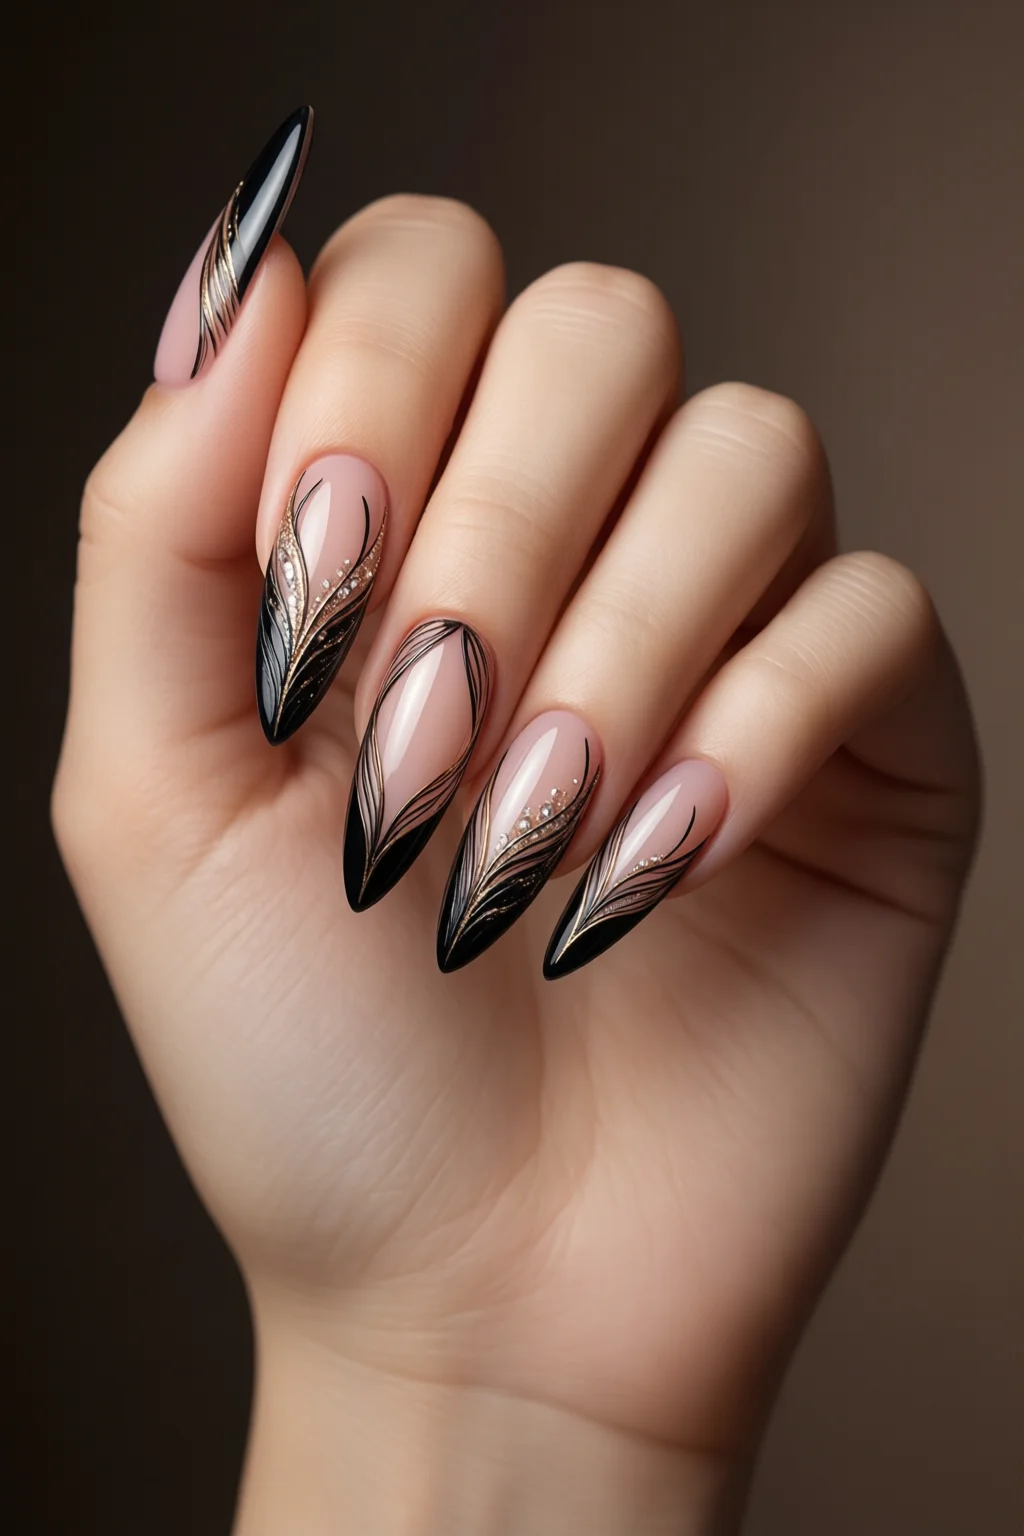
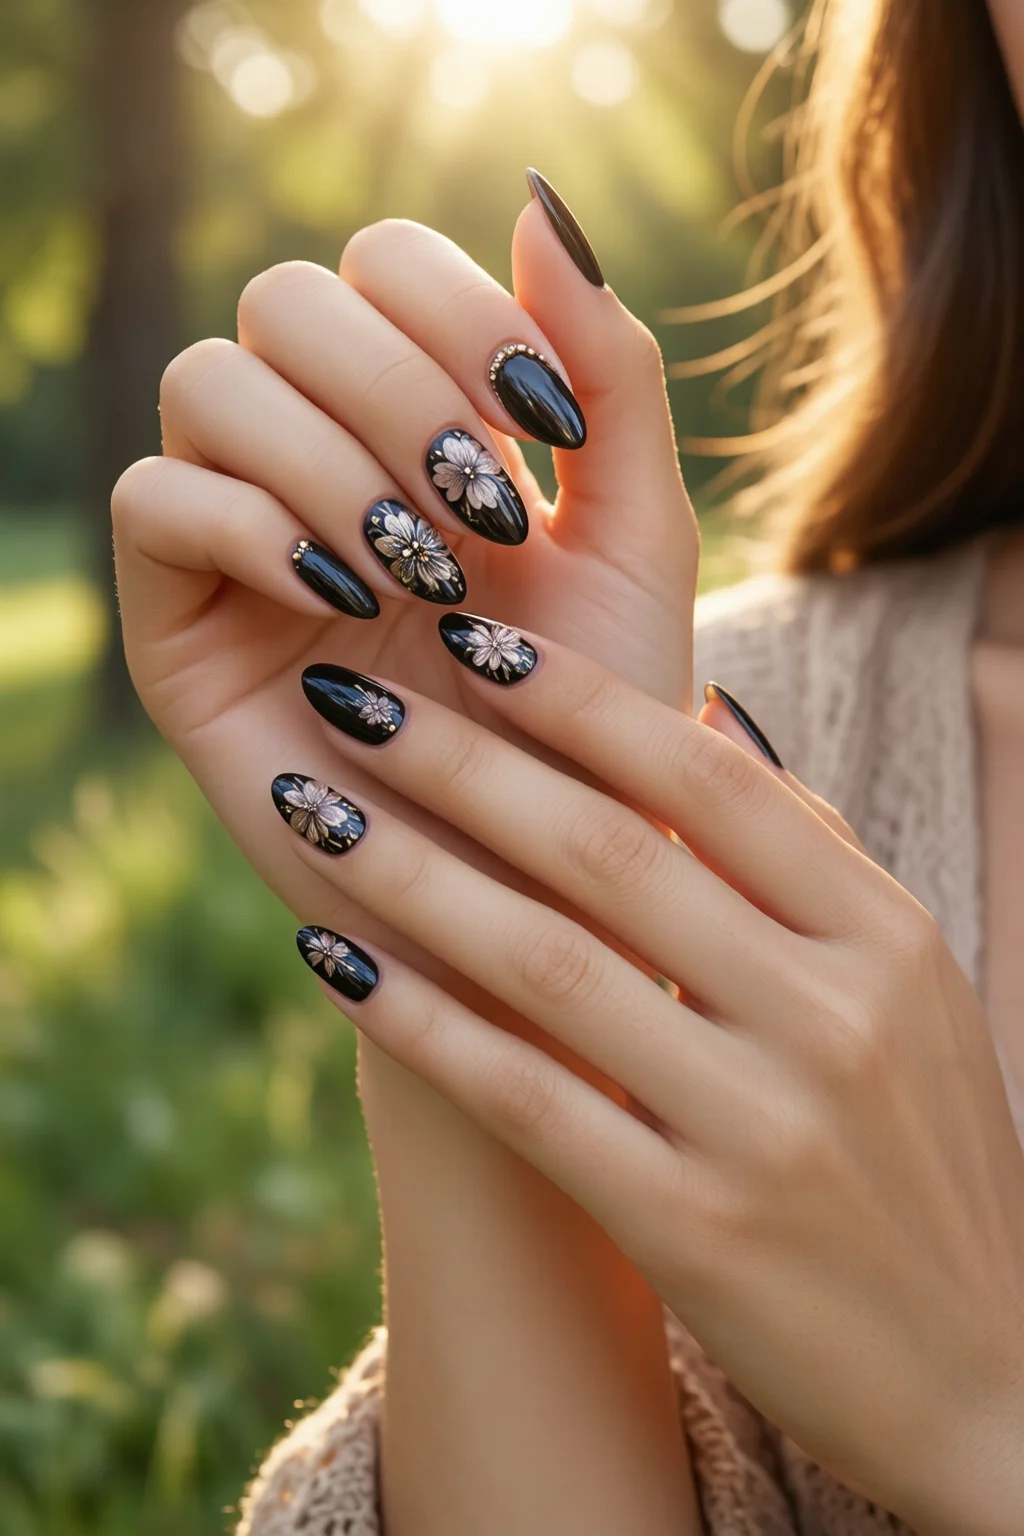
Top 5 Picks for 2024
1. KISS Luxury Press‑On Set – “Glamour Club”
Price: $24.99 for 24 tips (includes 2‑size guide).
Material: Gel‑coated acrylic.
Length: 10 mm to 12 mm (medium).
Best for: Party‑ready looks with a high‑gloss finish.
Pros: Ultra‑shiny, no‑chip finish for up to 9 days; includes a bonus nail file and a “no‑bubble” adhesive strip.
Cons: Slightly pricier than standard acrylic sets; the glitter variants can look tacky under fluorescent lighting.
2. ImPRESS Nail Studio – “French Classic”
Price: $19.99 (30 tips).
Material: ABS plastic with a gel top coat.
Length: 8 mm to 10 mm.
Best for: Everyday office wear and minimal maintenance.
Pros: Thin and natural feel; pre‑glued for instant wear; includes a reusable sizing template.
Cons: Less durable on longer nails; may chip after 5–6 days if exposed to water frequently.
3. Dashing Diva Press‑On Nail Kit – “Neon Pop”
Price: $21.50 (24 tips).
Material: Acrylic with a matte top coat.
Length: 11 mm – perfect for a bold statement.
Best for: Festival season and creative nail art.
Pros: Vibrant colors that don’t fade; matte finish reduces fingerprints; includes a tiny brush for precise placement.
Cons: Matte surface can collect dust; not ideal for formal events.
4. Elegant Touch Press‑On – “Rose Gold Elegance”
Price: $27.99 (20 tips).
Material: Gel‑coated acrylic with a built‑in shimmer.
Length: 9 mm – a versatile mid‑range length.
Best for: Weddings and upscale gatherings.
Pros: High‑shine rose gold that catches light; fits a wide range of nail shapes; includes a small bottle of best nail glue.
Cons: Slightly heavier; may feel bulky on very small natural nails.
5. Kiss My Nails – “Seasonal Set” (Limited Edition)
Price: $22.00 (24 tips).
Material: ABS plastic with a glossy finish.
Length: 10 mm.
Best for: Trend‑chasing shoppers who love to switch colors monthly.
Pros: Trendy designs (e.g., marble, animal print); easy to file down if too long; includes a free nail buffer.
Cons: Limited stock; some designs have thin edges that can snag.
Quick Comparison Table
| Brand | Material | Length (mm) | Price (USD) | Durability (Days) | Best For |
|---|---|---|---|---|---|
| KISS Luxury “Glamour Club” | Gel‑coated acrylic | 10‑12 | 24.99 | 8‑9 | Party & glossy look |
| ImPRESS “French Classic” | ABS + gel top coat | 8‑10 | 19.99 | 5‑6 | Office & natural feel |
| Dashing Diva “Neon Pop” | Acrylic matte | 11 | 21.50 | 6‑7 | Festivals & art |
| Elegant Touch “Rose Gold” | Gel‑coated acrylic | 9 | 27.99 | 7‑9 | Weddings & upscale |
| Kiss “My Nails” Seasonal | ABS glossy | 10 | 22.00 | 5‑7 | Trend‑hopping |
How to Choose the Right Set for You
Fit First – Measure Your Natural Nails
Grab a ruler or a printable nail size chart. Measure the width of your thumb, index, middle, ring, and pinky. Most brands label sizes 0‑7; you’ll usually need 2‑3 different sizes for a balanced look. If you’re between sizes, go up rather than down – a slightly larger tip can be filed down without compromising strength.
Shape Matters
Press‑on nails mimic six classic shapes:
- Square: Strong, modern, works for wide nail beds.
- Oval: Elongates fingers, great for narrow hands.
- Almond: Feminine, ideal for a sleek silhouette.
- Coffin/Ballerina: Trendy, adds drama.
- Stiletto: Extreme length, best for short natural nails.
- Round: Low‑maintenance, perfect for beginners.
One mistake I see often is buying “all‑almond” sets for people with short nail beds; the tips end up lifting at the corners.
Length vs. Lifestyle
If you type a lot, stay under 9 mm. For special events, 10‑12 mm gives that “nail‑art” presence without the extra weight. Remember, longer tips increase the chance of breakage by roughly 15 % per extra millimeter.
Material Preference
Choose gel‑coated acrylic if you want a high‑gloss finish that survives dishwashing. Pick ABS if you crave a feather‑light feel and plan to file down the tips often. Acrylic matte works best for artistic designs that won’t show fingerprints.
Budget Considerations
A single premium set (like Elegant Touch) can cost $28 but lasts 9 days. A budget‑friendly ABS set at $20 may need a replacement after 5 days. Calculate cost per day:
Premium set: $28 ÷ 9 ≈ $3.11/day.
Budget set: $20 ÷ 5 = $4.00/day.
From a cost‑efficiency standpoint, the premium set actually saves you money if you need a long‑lasting look.
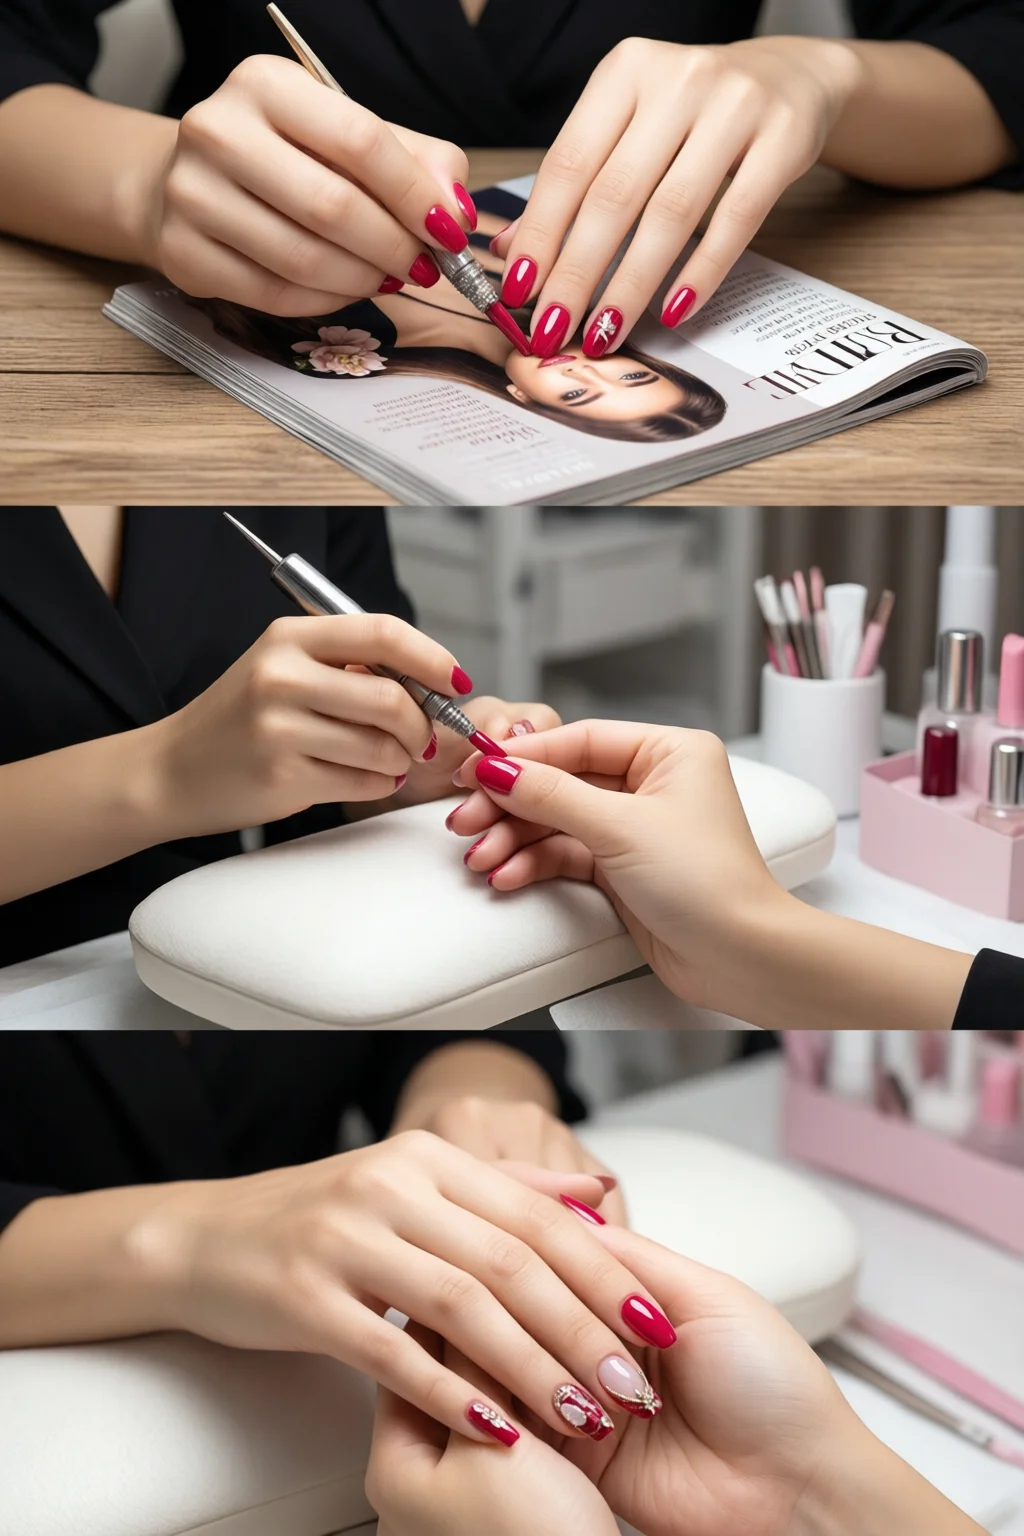
Application Guide – From Prep to Perfect
Step 1: Clean & Dehydrate
Start with clean, oil‑free nails. Use a gentle best nail polish remover to wipe away any residue, then apply a thin layer of nail dehydrator or rubbing alcohol. This removes natural oils that can prevent glue adhesion.
Step 2: Choose Your Glue
If you’re using a separate glue, apply a pea‑sized dot to the underside of the tip. For pre‑glued sets, just remove the protective film. I recommend a brush‑on gel glue for precise placement; it reduces the risk of overflow, which is a common cause of “air bubbles.”
Step 3: Press & Hold
Align the tip with the cuticle edge, press down firmly, and hold for 5‑7 seconds. For larger tips (stiletto or coffin), apply a little extra pressure at the tip to ensure a flat contact. If you feel any wobble, the tip is either too large or the glue didn’t spread evenly – remove, clean, and re‑apply.
Step 4: File & Shape
After the glue sets (usually 2 minutes), use a fine‑grit file to smooth any rough edges and adjust length if needed. I like a gentle back‑and‑forth motion to avoid creating micro‑cracks that can lead to chipping.
Step 5: Seal the Deal
Finish with a quick top coat of clear gel polish (optional) and cure under a UV lamp for 30 seconds. This adds a protective barrier and extends wear time by up to 2 days.
Removal – No Damage, No Drama
Soak a cotton ball in acetone (or a best nail polish remover with 100 % acetone), place it on each nail, and wrap with foil for 10‑12 minutes. The tips will slide off gently. If any residue remains, file it off with a coarse buffer – never pry with metal tools.
Maintenance Tips
- Re‑apply a thin layer of glue to the sides after 3‑4 days to prevent lifting.
- Avoid prolonged exposure to hot water; it can soften the adhesive.
- Store unused tips in a dry, airtight container to prevent warping.
Pro Tips from Our Experience
- Pre‑File for a Perfect Fit: Lightly file the tip’s edge before gluing; this creates a “lip” that locks onto your natural nail and reduces lift.
- Use a Nail Buffer on Natural Nails: Lightly buff the surface to remove shine; the glue adheres up to 25 % better on a matte surface.
- Layer Glue Sparingly: Too much glue creates a “glue mountain” that pushes the tip up, causing air bubbles.
- Seal the Cuticle Edge: After application, dab a tiny amount of clear top coat over the cuticle line. This seals the seam and prevents moisture from getting underneath.
- Combine with dip powder vs gel nails Knowledge: If you love dip powder, you can dip the press‑on after gluing for extra durability – just make sure the glue is fully cured first.
- Match Your Lifestyle: For sports or manual labor, choose a set with a thicker acrylic shell and a stronger polymer glue; for office work, a thin ABS set is less noticeable.
Frequently Asked Questions
How long do the best press on nails actually last?
Most high‑quality sets stay intact for 5‑9 days, depending on glue strength, material, and how you treat them. Gel‑coated acrylics usually hit the 9‑day mark, while ABS plastics average around 5‑6 days.
Can I reuse press‑on nails?
Yes, if the tips are still intact. Clean them with a gentle cleanser, sanitize with rubbing alcohol, and store them flat. Expect 2‑3 reuses before the adhesive or tip shows wear.
Do I need a special glue for the best press on nails?
A professional‑grade cyanoacrylate glue (often labeled “gel‑plus”) provides the strongest bond. The best nail glue from reputable brands is worth the extra few dollars.
Can I paint over press‑on nails?
Absolutely. Lightly buff the surface, apply a base coat, then your favorite polish or gel. Finish with a top coat to lock in color and extend wear.
Conclusion – Your Next Steps
Finding the best press on nails isn’t about chasing the flashiest design; it’s about matching fit, material, and glue strength to your daily routine. Start by measuring your nail sizes, pick a set that aligns with your lifestyle, and follow the step‑by‑step application guide above. With the right preparation and a dab of pro‑level glue, you’ll enjoy salon‑quality fingertips for up to a week without a single trip to the salon.
Ready to try? Grab one of the top picks, stock up on a reliable glue, and give yourself a mini‑nail makeover tonight. Your nails will thank you, and you’ll have more time for the things you love.
1 thought on “Best Press On Nails: Complete Guide for 2026”