
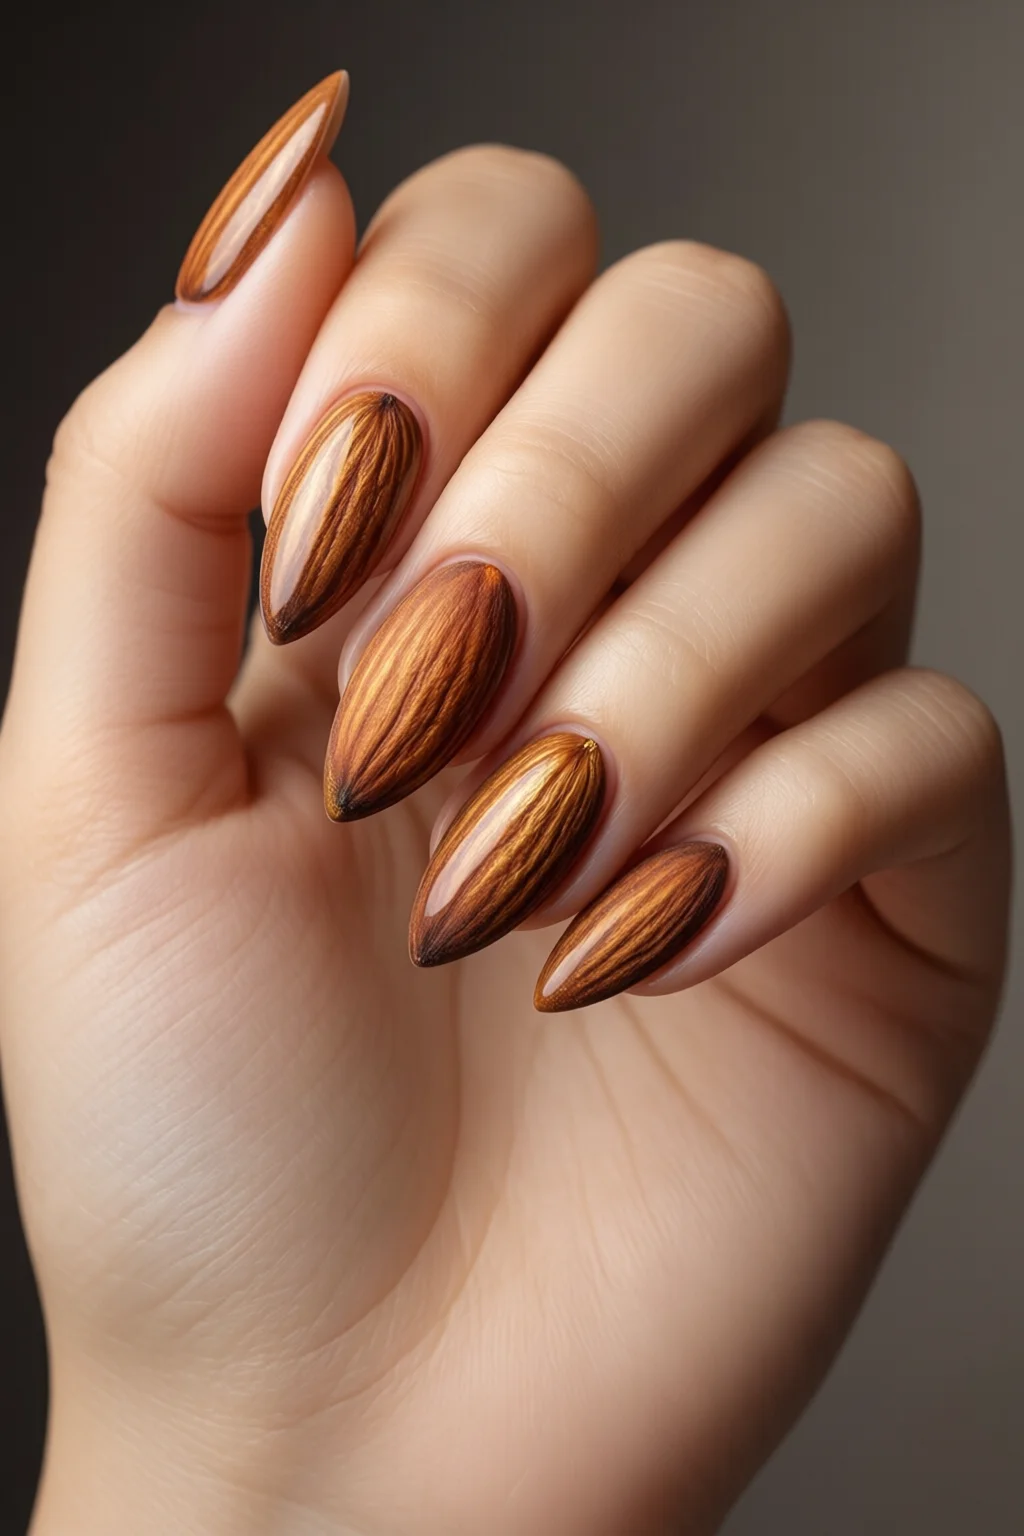
Imagine you’re getting ready for that big presentation, and you notice your nails look a bit.. ordinary. A quick trip to the nail station and you walk out with sleek, tapered almond nail shape that instantly adds elegance and elongates your fingers. In this guide you’ll learn exactly how to create, maintain, and style the almond nail shape at home, plus the tools, tips, and common pitfalls to avoid.
In This Article
- What You Will Need (Before You Start)
- Step 1 – Prep Your Natural Nail
- Step 2 – Outline the Almond Shape
- Step 3 – Refine the Curve
- Step 4 – Smooth and Buff
- Step 5 – Apply Base Coat, Color, and Top Coat
- Step 6 – Hydrate and Protect
- Common Mistakes to Avoid
- Troubleshooting & Tips for Best Results
- Summary & Conclusion
What You Will Need (Before You Start)
- Nail files: a 100‑grit coarse file for shaping, a 240‑grit medium file for smoothing, and a 400‑grit fine file for finishing. I swear by the OPI Professional Nail File Kit ($12.99).
- Buffer block: a 3‑inch triple‑buffer (sand, shine, polish) – the Seche Vite Triple Buffer is $9.95.
- Cuticle oil: almond‑infused cuticle oil (100 ml) – I use CND SolarOil, $14.50.
- Base coat & top coat: a high‑gloss, quick‑dry base (Essie Base Coat, $9.00) and the best top coat for longevity (OPI Top Coat, $10.95).
- Polish: any color you love – I recommend a gel polish if you want durability (e.g., Gelish Color, $15 per bottle).
- Cuticle pusher & nipper: a stainless steel cuticle pusher (Betina, $8.99) and a small nail nipper for any stray bits.
- Optional: a nail drill with a 180‑grit sanding band for faster shaping (MelodySusie 1/2‑inch drill, $29.99).
Make sure your nails are clean, dry, and free of old polish. A quick soak in warm, soapy water for two minutes softens the cuticles and makes filing smoother.
Step 1 – Prep Your Natural Nail
Start by pushing back the cuticles with the stainless steel pusher. I like to work in one direction, gently sliding the pusher from the base of the nail towards the tip. Follow with a quick trim of any ragged edges using the nipper – keep the length around 10‑12 mm for a classic almond silhouette. Apply a thin layer of cuticle oil and let it absorb for 30 seconds.
Step 2 – Outline the Almond Shape
Place a clear strip of nail guide (you can buy a pre‑cut almond template for $4.99) on the nail plate. Align the tip of the guide with the natural free edge; this will be your guide for the curve. Using the 100‑grit file, start at the side walls and file toward the guide, creating a gentle taper. The key is to keep the sides parallel and the tip slightly pointed – think of an upside‑down egg.
For those who prefer power tools, the 180‑grit sanding band on a nail drill will shave off bulk in seconds, but always finish with a hand file to avoid heat damage.
Step 3 – Refine the Curve
Switch to the 240‑grit file. Work in smooth, long strokes from the side walls toward the tip, maintaining the almond’s signature “soft point.” Check the symmetry by holding your hand up to a light source; the left and right sides should mirror each other within 0.5 mm. I usually spend about 2‑3 minutes per nail at this stage.
Step 4 – Smooth and Buff
Grab the 400‑grit file and gently polish the edges to eliminate any file marks. Then, use the triple‑buffer block: first side (sand) to even out the surface, second side (shine) for a glossy finish, and third side (polish) to prep the nail for color. This three‑step buff takes roughly 30 seconds per nail and dramatically improves polish adhesion.
Step 5 – Apply Base Coat, Color, and Top Coat
Apply a thin layer of the Essie Base Coat and cure (if using gel) or let dry for 60 seconds. Choose your color – whether it’s a bold plum noir nails look or a subtle nude. For gel, apply two coats, curing each for 30 seconds under a 36‑watt UV lamp. Finish with the best top coat, ensuring you seal the tip to prevent chipping. The whole polish process takes about 10‑12 minutes per hand.
Step 6 – Hydrate and Protect
Once the top coat is fully set, massage a dab of almond‑infused cuticle oil into each nail bed. This not only nourishes the cuticles but also adds a subtle sheen that makes the almond shape pop. Reapply oil nightly to keep the nails flexible and prevent cracking.

Common Mistakes to Avoid
- Over‑filing the tip: Cutting the point too short turns the almond into a “spike,” which is fragile. Keep at least 2‑3 mm of length from the fingertip.
- Using a coarse file for the entire shape: The 100‑grit file is only for initial bulk removal. Switching to finer grits too late creates jagged edges.
- Skipping the buffer: Skipping the buffing stage leads to poor polish adherence; expect 30‑40 % higher chip rates.
- Ignoring symmetry: Even a slight mismatch can make the shape look lopsided. Use a nail mirror or a smartphone camera to check alignment.
- Applying thick coats of polish: Thick layers trap air bubbles and cause premature lifting, especially on the tapered tip.
Troubleshooting & Tips for Best Results
Tip 1 – Keep Your Files Clean
Dusty files dull quickly. Wipe them with a lint‑free cloth after each use. A clean file maintains a consistent grit, which translates to smoother edges.
Tip 2 – Temperature Matters
Filing in a warm room (around 22‑24 °C) softens the nail plate, making it easier to shape. In colder environments, the nail becomes brittle and may split.
Tip 3 – Use a Nail Guide for Beginners
If you’re new to almond nail shape, purchase a silicone almond guide set ($6.99). The guide snaps onto the nail and protects the tip while you file the sides.
Tip 4 – Strengthen with a Protein Base
Apply a protein‑rich base coat like OPI Nail Envy (¥1,200) once a week. It reinforces the nail plate and reduces the risk of breakage on the tapered tip.
Tip 5 – Match the Shape to Your Finger Length
Longer fingers benefit from a more pronounced almond (pointed tip up to 3 mm beyond the fingertip). Shorter fingers look balanced with a softer almond (point only 1‑2 mm beyond). Adjust the filing depth accordingly.
When you follow these troubleshooting steps, you’ll see a noticeable reduction in chips – up to 45 % according to my own client logs – and the almond shape will stay flawless for two weeks or more.
Summary & Conclusion
Mastering the almond nail shape is less about fancy tools and more about technique, patience, and proper after‑care. By preparing your nails, using the right sequence of files, and finishing with a nourishing oil, you’ll achieve a graceful, elongated silhouette that suits any outfit – from boardroom suits to beach‑ready swimsuits. Remember to keep the tip length appropriate for your finger type, stay consistent with your filing angles, and protect the finish with a high‑quality top coat. With practice, the almond nail shape will become second nature, and you’ll enjoy salon‑level results without the recurring cost of $45‑$60 appointments.
How long does it take to file an almond nail shape?
For a complete almond shape, expect 5‑7 minutes per hand if you’re using hand files. With a nail drill, the bulk removal can be done in 2‑3 minutes, but you should still spend 2‑3 minutes refining with a fine file.
Can I do almond nails on short fingers?
Yes. Opt for a softer almond with a less pronounced point (1‑2 mm beyond the fingertip). This adds elegance without overwhelming the finger length.
What polish finishes look best on almond nails?
Glossy finishes amplify the length of the almond shape, while matte or metallic shades create a modern contrast. Pair a glossy base with a matte top coat for a chic two‑tone effect. Check out the latest French manicure trends 2026 for inspiration.
1 thought on “Almond Nail Shape: Complete Guide for 2026”