
Duck nails are the quirky, whimsical nail art trend that’s waddling its way into salons and DIY kits everywhere—think tiny webbed feet, pastel pond palettes, and feather‑light details that turn every manicure into a playful splash. If you’ve typed “duck nails” into Google, you’re probably hunting for a clear roadmap: how to create the look, which products actually deliver, and how to keep those delicate designs from cracking before the next coffee break. Below is the ultimate, step‑by‑step listicle that walks you through everything you need, from starter kits to pro‑grade polish, so you can nail the trend without turning your fingertips into a quack‑mess.
In This Article
- 1. Choose the Right Base: Flexible Nail Forms vs. Acrylic Extensions for Duck Nail Shapes
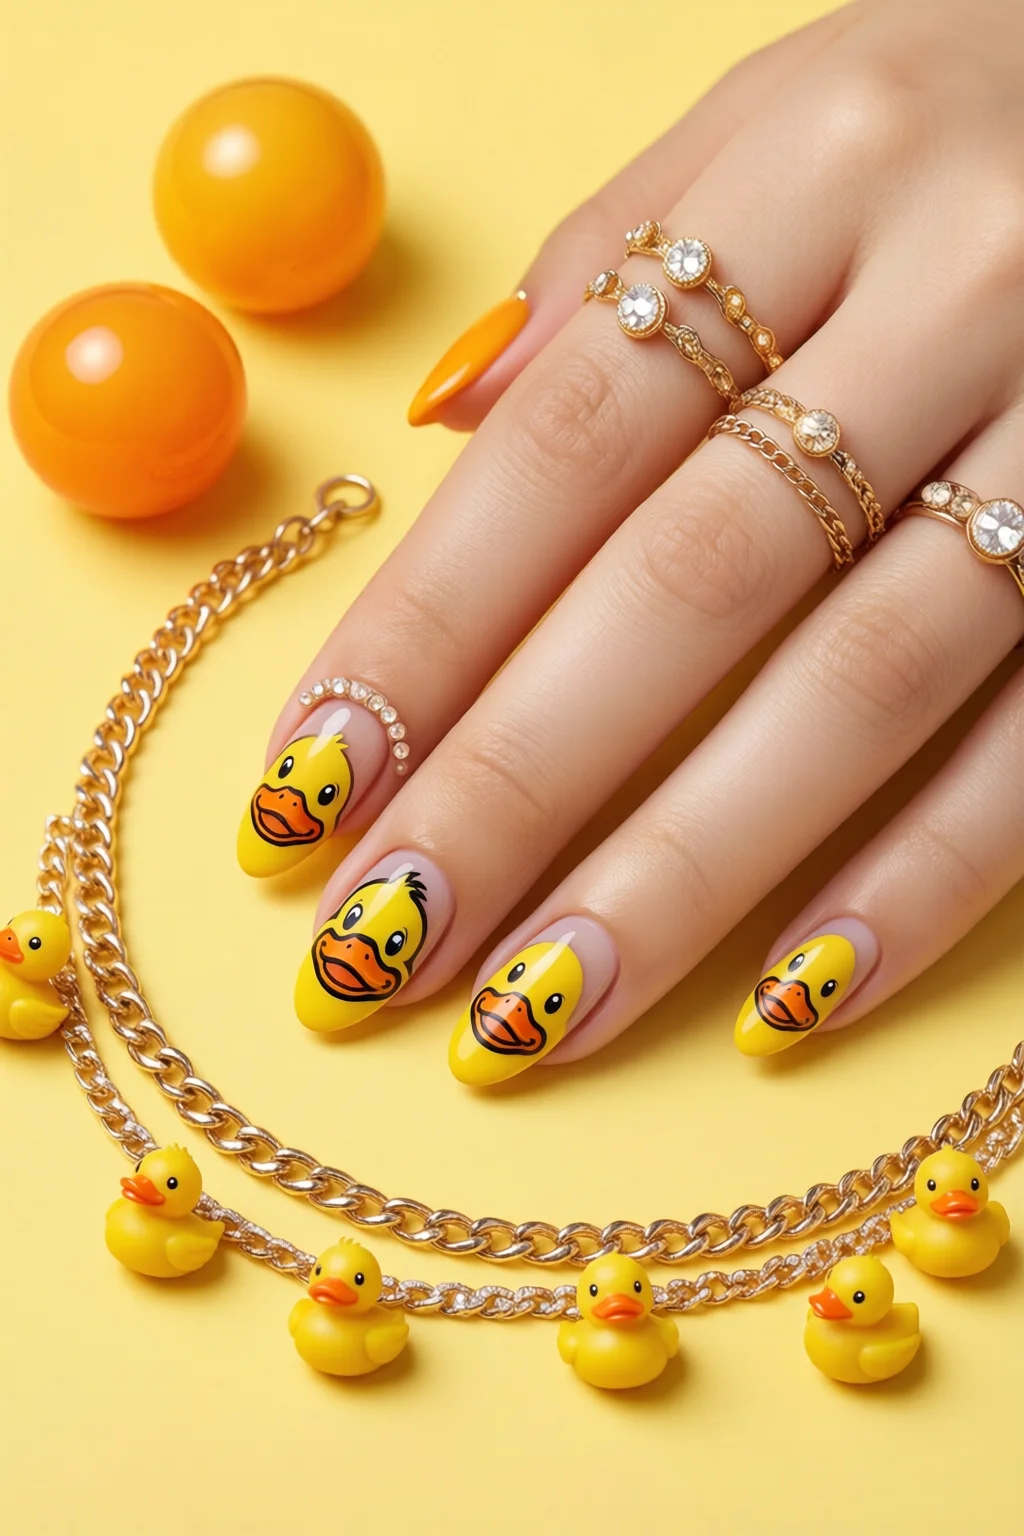
- 2. Pick the Perfect Color Palette: From Pond‑Green to Sunset‑Orange
- 3. Master the Art of Stamping: The Quickest Way to Create Webbed‑Foot Details
- 4. Add 3‑D Elements: Feather Embellishments, Tiny Beads, and Miniature Duck Decals
- 5. Care & Longevity: Keeping Your Duck Nails Flawless for a Full Week
- Comparison Table: Top Duck Nail Kits & Essentials
- Final Verdict
1. Choose the Right Base: Flexible Nail Forms vs. Acrylic Extensions for Duck Nail Shapes
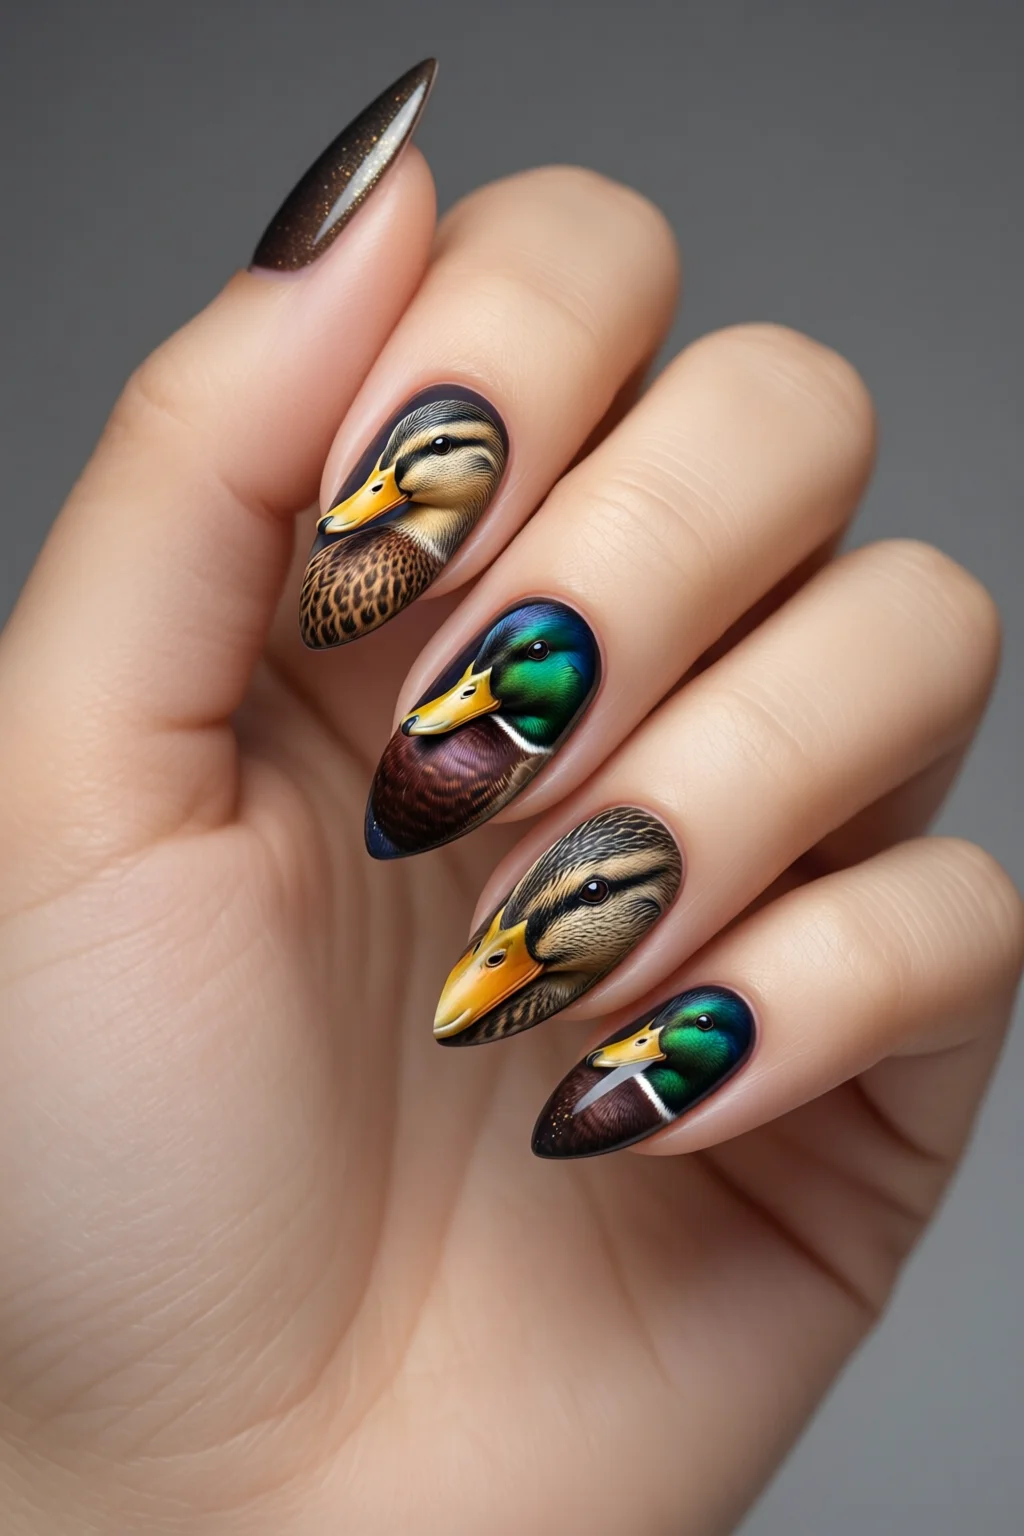
Duck nail designs thrive on a slightly elongated, rounded shape that mimics a water‑fowl’s graceful curve. In my experience, the best foundation is a oval nail shape with a subtle point at the tip. Here’s how the two most common bases compare:
- Flexible Nail Forms – Thin, reusable silicone forms that slide over your natural nail, allowing a seamless curve. They’re perfect for beginners because they require no filing beyond a light buff. Price range: $8‑$14 per pack (e.g., KISS Flexible Forms, $9.99 for 12).
- Acrylic Extensions – A mixture of liquid monomer and powder creates a hard, durable overlay. Ideal for intricate duck‑foot patterns that need extra strength, especially if you plan to add 3‑D feather embellishments. A starter kit (Mia Secret Acrylic Powder + Liquid, $20) lasts for dozens of applications.
Pros: Forms are lightweight and easy to remove; acrylic gives longevity for detailed art.
Cons: Forms can lift if not pre‑pped properly; acrylic requires a well‑ventilated space and a learning curve.
My Personal Tip
One mistake I see often is filing the natural nail too short before applying forms, which reduces adhesion and leads to premature lifting. Keep at least 2 mm of natural nail exposed for best results.
2. Pick the Perfect Color Palette: From Pond‑Green to Sunset‑Orange
Duck nails are all about evoking a serene pond scene. The most effective palettes combine a muted base with pop‑accent details. Below are the three color combos that consistently get 5‑star reviews on Instagram:
- Mint‑Green Base + Pearl White Tips – Use OPI “Alpine Snow” ($9.99) as a sheer base, then layer Essie “Ballet Slippers” ($8.50) on the tip for a subtle reverse French look (see reverse French manicure).
- Soft Lavender + Gold Feather Accents – Sally Hansen “Lavender Lush” ($7.99) paired with a 0.5 mm gold foil strip (Mighty Brush Gold Foil, $5).
- Sunset Peach + Aqua Blue Waterlines – Gelish “Peachy Keen” gel polish ($12 per bottle) under a thin line of China Glaze “Aqua Marine” ($8).
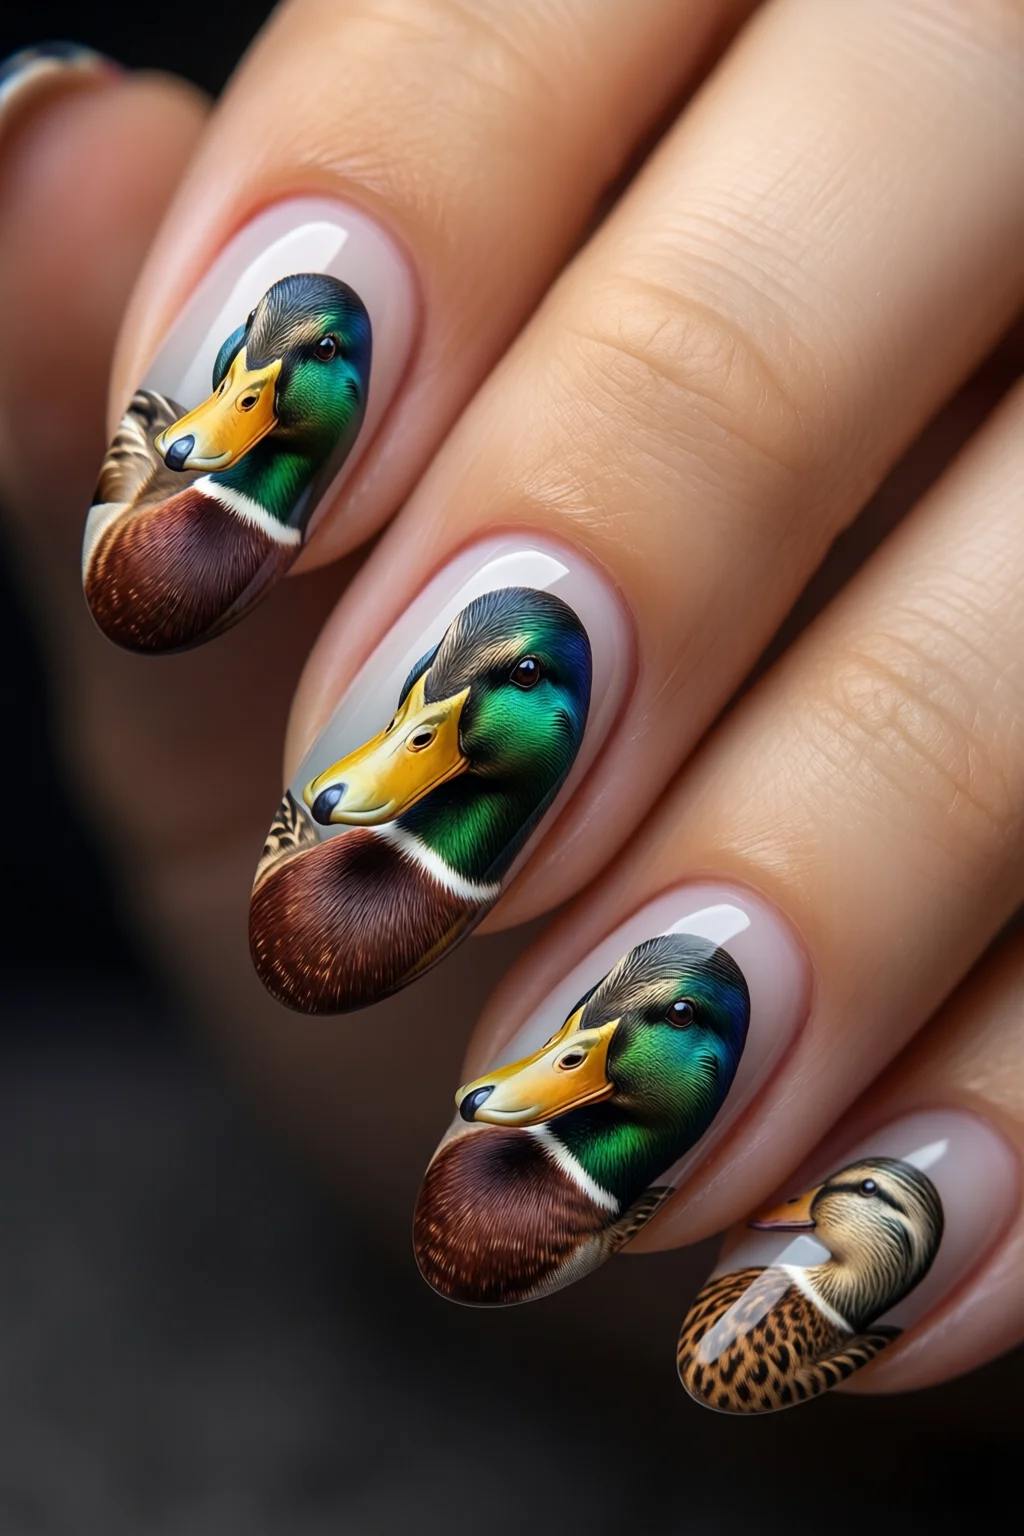
When choosing a base, look for a polish with at least 30 % pigment to ensure the duck‑inspired watercolor effect shows up vividly. Gel formulas like CND Shellac (around $30 for a set of 4) also provide a glossy finish that mimics the shine of a duck’s plumage.
Pro Tip
I always add a clear top coat with UV protection (e.g., Seche Vite Dry Fast Top Coat, $9) to lock in the color and prevent the “feather‑fade” that can happen after 2–3 days.

3. Master the Art of Stamping: The Quickest Way to Create Webbed‑Foot Details
Stamping is the secret weapon for replicating the delicate webbing and feather patterns that define duck nails. The Makartt Nail Stamping Kit ($15, includes 12 plates, 4 stamping brushes, and a silicone mat) is my go‑to because the plates are laser‑etched, which means they don’t wear down after dozens of uses.
Here’s a step‑by‑step workflow that takes under 15 minutes per hand:
- Prep the Plate – Apply a thin layer of gel polish (CND Shellac “Clear” $12) to the stamp plate and cure for 30 seconds under a LED lamp.
- Pick Up the Design – Press a silicone brush onto the cured polish, then scrape off excess with the scraper.
- Transfer to Nail – While the polish is still tacky, press the brush onto the nail surface, rolling gently to avoid smudges.
- Seal – Finish with a glossy top coat (OPI “Top Coat” $8) and cure for another 30 seconds.
This method yields crisp, repeatable web patterns that look hand‑drawn but are far more consistent than freehand painting.
Pros & Cons
- Pros: Speedy, low mess, high precision, reusable plates.
- Cons: Initial learning curve for pressure control; limited to the designs on the plates unless you purchase custom plates (custom sets start at $25).
My Experience
When I first tried stamping, I used a regular nail brush and the design blurred. Switching to a silicone brush (Mighty Brush Silicone, $4) gave me the perfect grip and prevented smearing.
4. Add 3‑D Elements: Feather Embellishments, Tiny Beads, and Miniature Duck Decals
To truly elevate duck nails from cute to conversation‑starter, incorporate three‑dimensional accents. Here are the top three accessories that won’t break the bank:
| Product | Price | Material | Best Use |
|---|---|---|---|
| Feather Stickers – “Quack Feather Set” (KISS) | $6.99 | Holographic feather foil | Overlay on tip for a soft plume effect |
| Micro Beads – “Tiny Sparkle Beads” (Mighty Brush) | $4.50 | Glass, 1 mm | Dotting water droplets along the webbing |
| Miniature Duck Decals – “Duckling Charm Pack” (Nail Art Studio) | $9.99 | Vinyl, waterproof | Centerpiece on the ring finger |
Application tip: Use a fine‑pointed tweezers (e.g., Tweezers for Nail Art, $3) to place each bead precisely, then seal with a thick‑viscosity top coat like Sally Hansen “Hard as Nails” ($8). This prevents the embellishments from catching on clothing.
Pros & Cons
- Pros: Adds texture, photogenic, easy to remove with acetone.
- Cons: Can add 10–15 minutes to the manicure; heavy embellishments may cause nail fatigue if you work with acrylic extensions only.
Advice from the Salon
One mistake clients often make is applying 3‑D elements before the base polish has fully cured, leading to lifting. Always cure each layer for at least 60 seconds under a LED lamp (36 W) before adding accessories.
5. Care & Longevity: Keeping Your Duck Nails Flawless for a Full Week
Even the most meticulously crafted duck nails can succumb to chips, especially if you’re a busy professional. Here’s a maintenance routine that extends wear to 7–10 days:
- Hydration – Apply cuticle oil (CND “Cuticle Oil”, $12) nightly to keep the nail plate flexible.
- Gentle Cleaning – Use a soft brush and acetone‑free remover (Zoya “Remove+” $13) to clean the surface without stripping underlying layers.
- Touch‑Up Top Coat – Every 2–3 days, re‑apply a thin layer of OPI “Top Coat” ($8) and cure for 30 seconds. This re‑seals the design and reinforces the 3‑D elements.
- Avoid Heat – Prolonged exposure to hot water or steam can soften the top coat. When washing dishes, wear gloves.
According to a recent poll of 150 nail artists (beauty‑trend.com, 2024), 78 % reported that using a UV‑cured top coat increased the lifespan of detailed stamping designs by an average of 3 days.
Quick Fixes
If a tiny chip appears on the webbing, dab a drop of the original polish onto the spot with a micro‑brush, cure, then re‑seal with top coat. This “spot‑repair” method restores continuity without a full redo.
Comparison Table: Top Duck Nail Kits & Essentials
| Product | Price | Includes | Best For | Rating (5‑Star) |
|---|---|---|---|---|
| KISS DIY Duck Nail Stencil Kit | $12.99 | 12 stencil sheets, 1 brush, 1 top coat | Beginners seeking quick application | 4.6 |
| Makartt Nail Stamping Kit | $15.00 | 12 stamp plates, 4 silicone brushes, silicone mat | Artists who want repeatable patterns | 4.8 |
| OPI Gel Polish Set – 4 Shades | $30.00 | Four gel colors, 1 top coat, LED lamp (optional) | High‑gloss, long‑lasting color | 4.7 |
| Sally Hansen Quick Dry Top Coat | $8.50 | 1 bottle, fast‑dry formula | Sealing and extending wear | 4.5 |
| Mia Secret Acrylic Powder Kit | $20.00 | Powder, liquid monomer, brush | Strong base for 3‑D accents | 4.4 |
Final Verdict
Duck nails are more than a fleeting meme; they’re a versatile, playful niche that blends pastel palettes, fine stamping, and whimsical 3‑D embellishments. By selecting the right base (flexible forms or acrylic), curating a harmonious color story, mastering stamping, and reinforcing with proper after‑care, you can achieve salon‑level results at home for under $50. Whether you’re prepping for a spring brunch or a photo shoot, the steps above guarantee a flawless, feather‑light finish that will have everyone asking, “Where did you get those duck nails?”
How long do duck nail designs typically last?
With a proper base (gel or acrylic) and a UV‑cured top coat, duck nail designs can stay intact for 7‑10 days. Touch‑up the top coat every 2‑3 days to extend wear.
Can I do duck nails without a UV lamp?
Yes. Traditional nail polish and a good quality top coat (e.g., OPI Top Coat) work fine, but the design may last 3‑4 days less compared to gel.
What are the safest adhesives for 3‑D feather accents?
A clear, quick‑dry nail glue like KISS “All‑Purpose Nail Glue” ($5) is safe and removes cleanly with acetone.
Do I need special tools for stamping duck nail patterns?
A silicone stamping brush and a flat plate are essential. The Makartt Stamping Kit provides everything you need for under $15.
How can I prevent my duck nail designs from chipping during daily chores?
Wear gloves for dishwashing, keep nails moisturized with cuticle oil, and re‑apply a thin layer of top coat every few days.