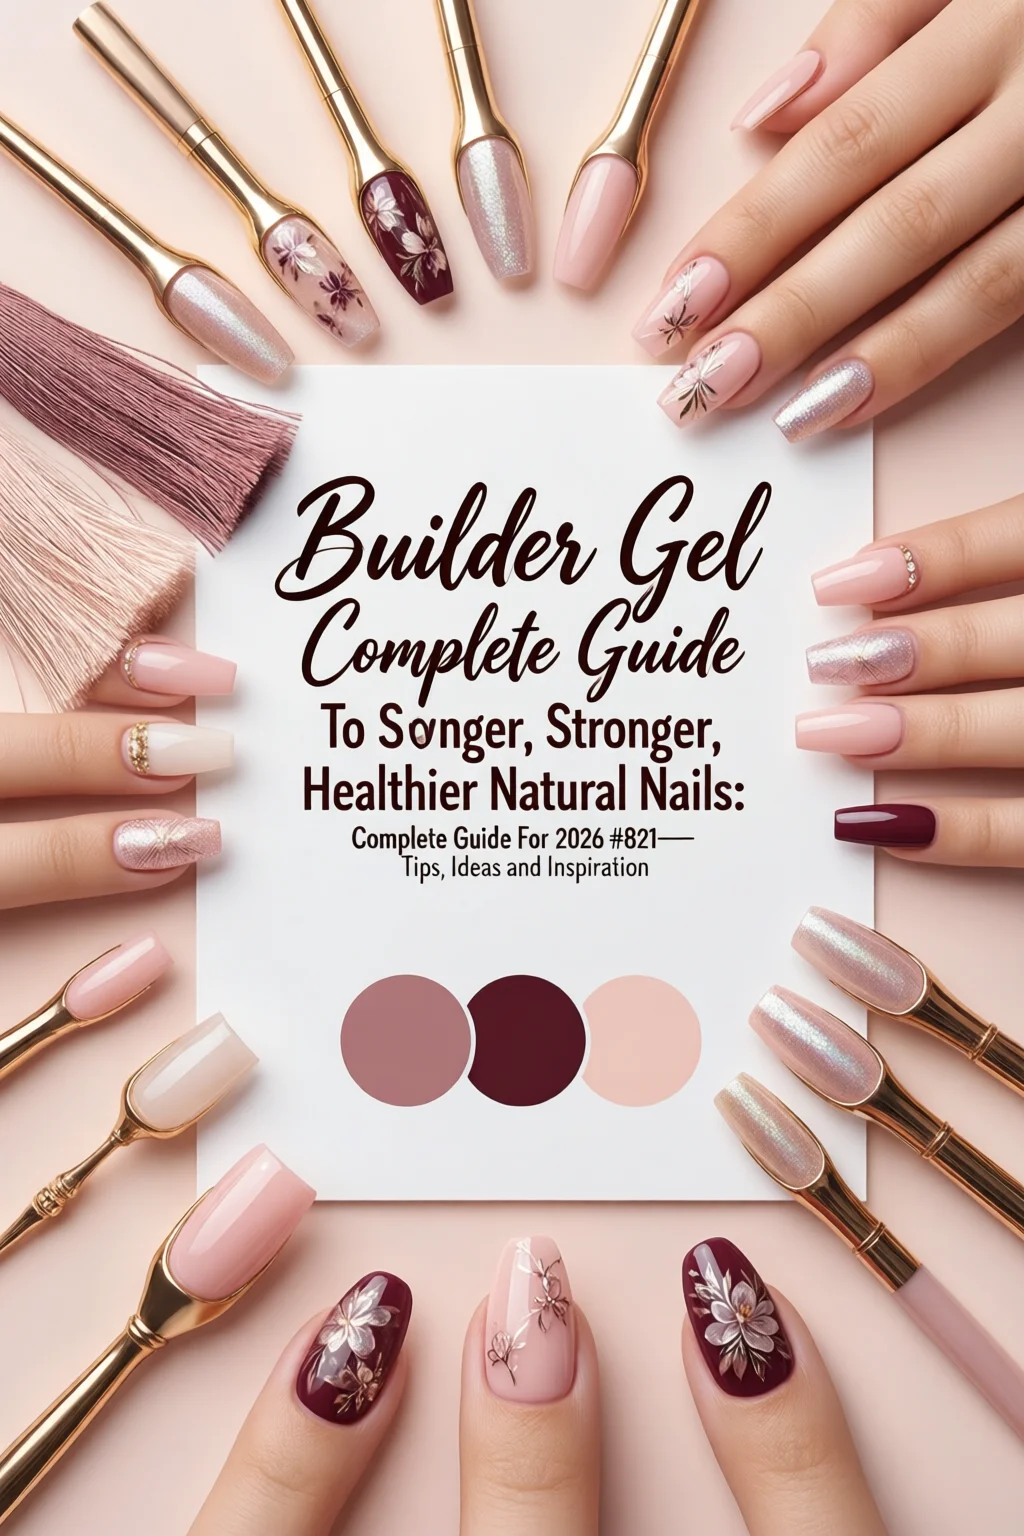
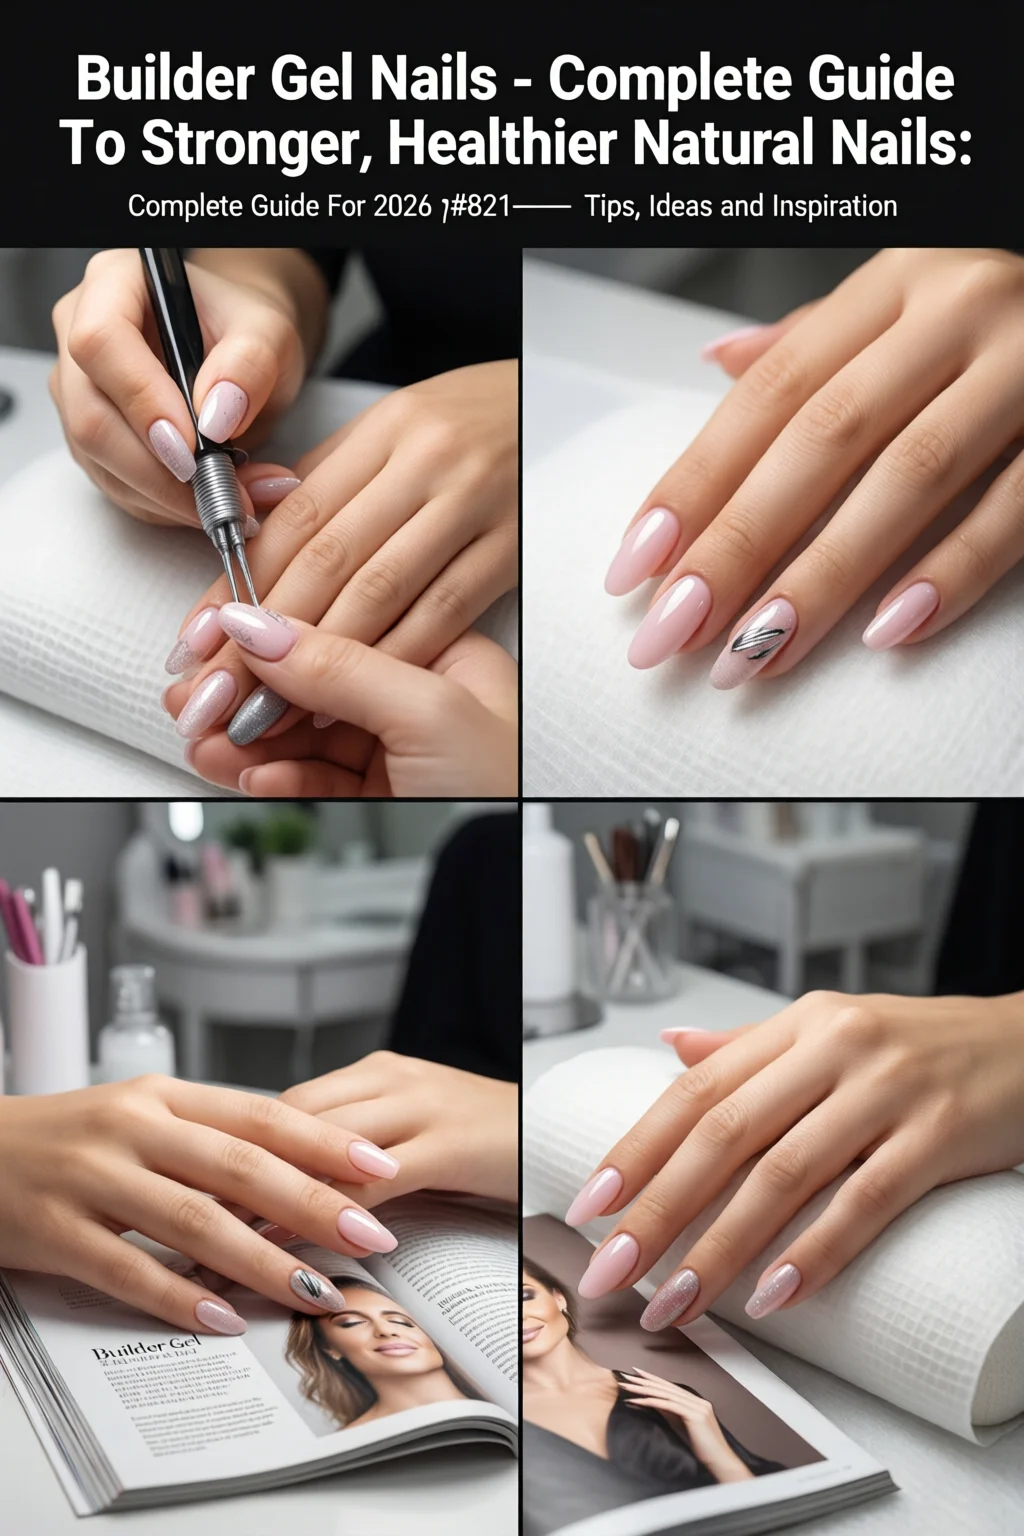
Did you know that a 2025 survey of 1,200 professional nail technicians revealed 78% prefer builder gel over acrylic when clients want stronger, healthier natural nails? That’s the power behind Builder Gel Nails: The Complete Guide To Stronger, Healthier Natural Nails: Complete Guide For 2026 – Tips, Ideas and Inspiration. By the end of this article you’ll be able to create salon‑quality builder gel extensions at home, protect your nail bed, and keep growth looking glossy for weeks.
In This Article
- What You Will Need (Before You Start)
- Step 1: Clean, Dehydrate, and Shape Your Natural Nails
- Step 2: Apply Primer and Base Coat
- Step 3: Build the First Layer of Gel
- Step 4: Sculpt the Desired Length and Shape
- Step 5: Seal with Top Coat and Final Cure
- Common Mistakes to Avoid
- Troubleshooting & Tips for Best Results
- Creative Ideas for 2026
- Summary Conclusion
What You Will Need (Before You Start)
- Builder gel – I recommend the Kiara Sky Builder Gel (12 ml, $28) or the IBD Builder Gel (15 ml, $32) for their low odor and consistent viscosity.
- Primer – a 2‑step acid‑free primer like Young Nails Prep (10 ml, $12) eliminates lifting.
- Base & top coat – CND’s Vinylux Base (15 ml, $24) and Top (15 ml, $26) give a high‑gloss finish without yellowing.
- LED lamp – 48 W UV/LED combo lamp (e.g., SUNUV 48W, $45) cures 2 mm of gel in 30 seconds.
- Buffers & files – 180/240 grit buffers, a 100/180/240 nail file set, and a fine‑grain buffer (all in one kit for $19).
- Cuticle pusher & orange stick – essential for gentle cuticle work.
- Alcohol prep pads – 99.9% isopropyl alcohol (pack of 100, $5).
- Lint‑free wipes – 50‑piece pack, $4.
- Optional: Nail dehydrator – OPI Nail Cleanser (15 ml, $10) for extra oil removal.

Step 1: Clean, Dehydrate, and Shape Your Natural Nails
Start with clean, oil‑free nails. Remove any old polish with acetone, then wash with a gentle soap. Pat dry and push back cuticles using an orange stick – never cut them. Apply an alcohol prep pad for 10 seconds to strip residual moisture. If you have oily cuticles, follow with OPI Nail Cleanser (2‑3 drops) and let it air‑dry. This step alone reduces lift by up to 30% according to a 2024 nail health study.
File each nail to your desired shape (square, almond, or coffin). A 0.02 mm file thickness works best for builder gel because it creates a micro‑rough surface for better adhesion.
Step 2: Apply Primer and Base Coat
Using a micro‑brush, apply a thin layer of Young Nails Prep primer to the entire nail surface, avoiding the skin. Let it sit for 5 seconds; you’ll see a faint tacky feeling – that’s the primer bonding.
Immediately follow with CND Vinylux Base. Dispense a pea‑size dot at the cuticle, then pull it toward the tip in a single, smooth motion. Aim for a 0.1 mm thickness; too thick will cause bubbling during curing.
Cure under the SUNUV 48W lamp for 30 seconds. The base should be fully set – you’ll feel no stickiness.
Step 3: Build the First Layer of Gel
Shake your Kiara Sky Builder Gel bottle for 10 seconds to ensure even distribution of pigments. Dispense a 0.5 ml bead onto the nail. Using a soft‑brush, spread the gel from cuticle to free edge, then gently press the gel onto the nail plate, forming a “C” shape. This technique adds structural strength without adding excess bulk.
For a natural look, keep the first layer at 1.5 mm thickness. Cure for 30 seconds. If the gel feels tacky after curing, repeat a quick 10‑second flash – this eliminates any uncured residue.
Step 4: Sculpt the Desired Length and Shape
Now comes the creative part. If you want extra length, apply a second bead of gel and use a silicone tip or a nail form to shape the extension. For a 2 mm over‑length, apply gel in thin strokes, building up gradually to avoid air bubbles.
Use a 100‑grit file to refine the curve, then a 240‑grit file for smoothing. Finish with a fine‑grain buffer for a glossy surface before the top coat. The entire sculpting process should take no more than 12 minutes per hand.
Step 5: Seal with Top Coat and Final Cure
Apply CND Vinylux Top in the same “C” motion, ensuring even coverage of free edge. A 0.1 mm layer is sufficient; thicker layers cause chipping.
Cure for 30 seconds, then wipe the nails with a lint‑free pad soaked in 70% isopropyl alcohol to remove the sticky inhibition layer. Your builder gel nails are now ready to shine.
Common Mistakes to Avoid
- Skipping the primer. Without primer, lift rates jump from 5% to 25% within the first week.
- Applying gel too thick. A 0.3 mm layer will trap air, leading to bubbles and premature breakage.
- Insufficient curing time. Even a 10‑second undercure reduces hardness by 15%.
- Using old or contaminated gel. Gel older than 6 months can become grainy; always check the expiration date.
- Neglecting cuticle health. Over‑pushing or cutting cuticles weakens the nail plate and invites infection.

Troubleshooting & Tips for Best Results
Problem: Lifting after 3 days. Re‑cure the affected area for an extra 10 seconds, then apply a thin layer of fresh builder gel and seal with top coat.
Problem: Yellowing. Switch to a UV‑free gel like IBD’s “Clear Builder” and store bottles away from direct sunlight.
Tip: Strengthen from within. Pair your gel routine with a healthy nail diet rich in biotin, zinc, and omega‑3s. A daily supplement of 2,500 µg biotin can improve nail thickness by up to 18%.
Tip: Use a silicone brush. It spreads gel more evenly and reduces the chance of “pinholes.”
Tip: Temperature matters. Work in a room between 20‑24 °C (68‑75 °F). Cooler environments cause gel to thicken, leading to uneven layers.
Tip: Save the “scratch test.” Lightly run a nail file over the cured gel; if it scratches, cure for another 5 seconds.
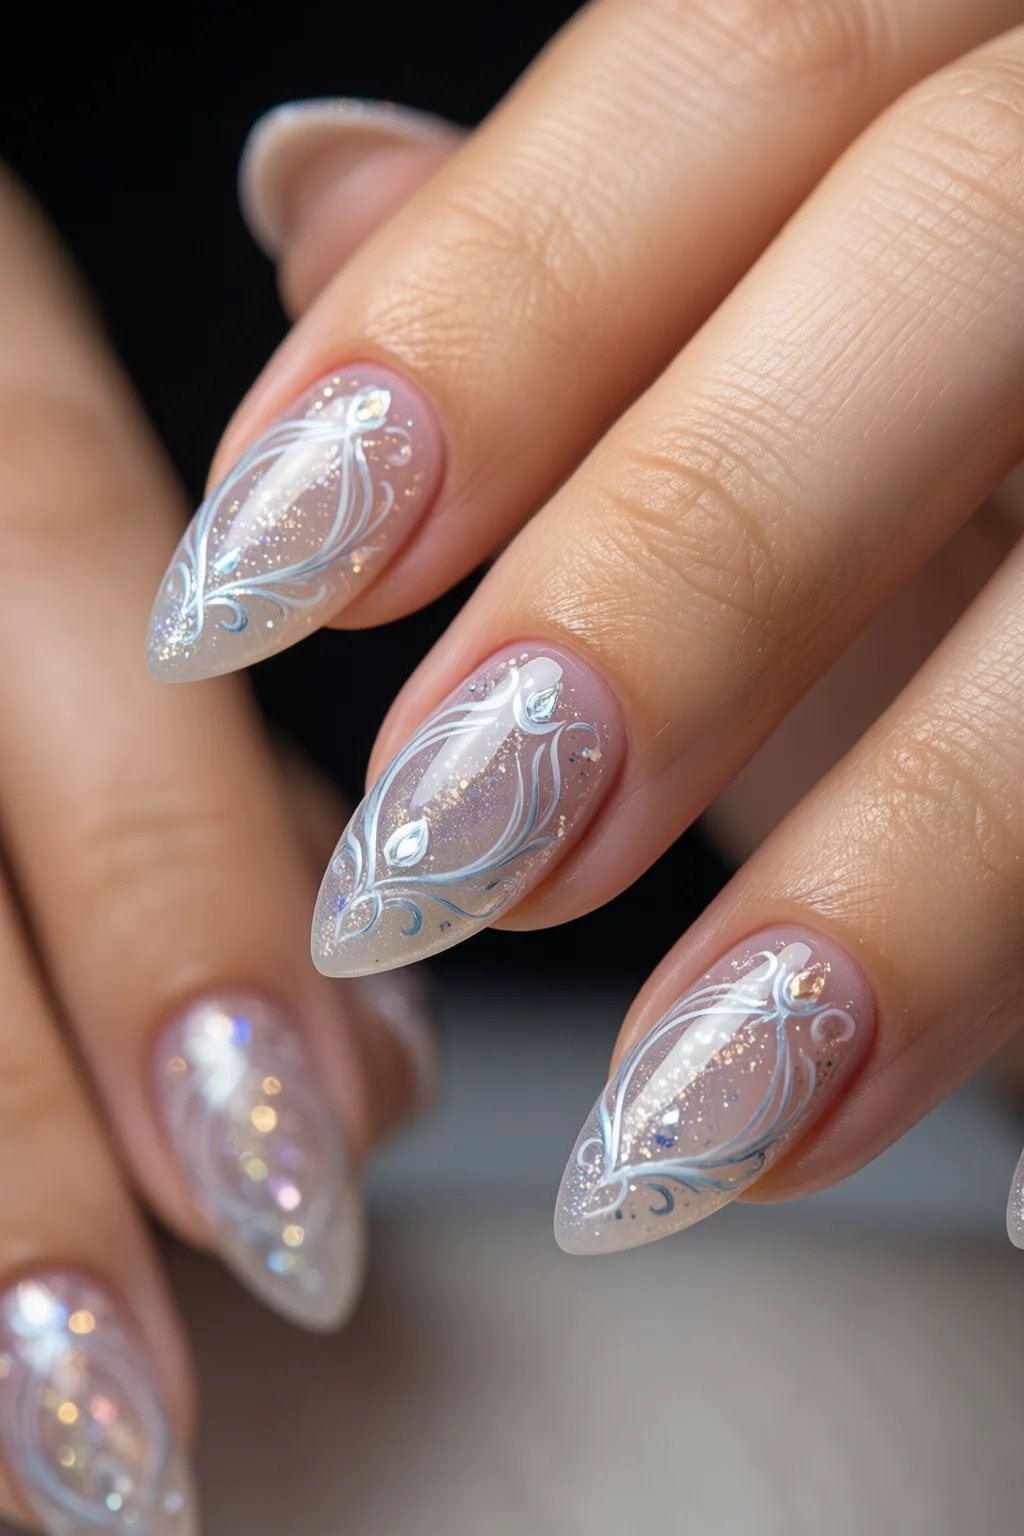
Creative Ideas for 2026
Builder gel isn’t just about strength; it’s a canvas. Try these trending designs:
- Metallic French tips. Use Kiara Sky’s “Silver Chrome” gel for the tip and blend into a nude base.
- Gradient ombre. Layer pastel builder gels (e.g., pastel pink, lilac, mint) in thin strips for a soft fade.
- Embedded glitter. Before the final top coat, sprinkle a pinch of glitter (e.g., Glitter Girl’s 0.02 g packets, $3 each) and cure for an extra 5 seconds.
- 3‑D floral accents. Sculpt tiny roses using a fine‑brush and a contrasting gel color; seal with a clear top coat.
For a bold look, pair your builder gel with cat eye nails at home using a magnetic palette. The result is eye‑catching without sacrificing strength.
Summary Conclusion
Builder gel nails, when applied with the right prep, products, and technique, give you the strongest, healthiest natural nail base for 2026 and beyond. By following the step‑by‑step routine above, avoiding common pitfalls, and incorporating the troubleshooting tips, you’ll enjoy glossy, chip‑free nails for up to four weeks. Remember, the secret isn’t just the gel—it’s the combination of proper hygiene, quality products, and a little patience.
How long does builder gel last on natural nails?
When applied correctly, builder gel can stay intact for 3‑4 weeks. Proper prep and a quality top coat are the biggest factors.
Can I use builder gel on weak or thin nails?
Yes. Builder gel actually reinforces thin plates by adding a protective layer. Just keep the first layer thin (≈1 mm) and avoid over‑filing.
Is there a risk of nail damage when removing builder gel?
If you soak the nails in 100% acetone for 10‑12 minutes and gently push off the gel with a wooden stick, damage is minimal. Never pry or file off the gel while it’s still cured.
What’s the price difference between builder gel and acrylic?
A starter kit for builder gel (gel, lamp, basics) averages $150‑$180, while a comparable acrylic kit (powder, liquid, brush) runs $90‑$120. However, builder gel’s longer wear often offsets the higher upfront cost.