Builder gel has become one of the most searched nail care topics of 2025, with interest surging as more people discover this game-changing nail strengthening solution. Unlike traditional gel polish that is purely cosmetic, builder gel serves a structural purpose – it creates a durable, protective overlay on natural nails that adds strength, prevents breakage, and promotes healthy nail growth. Think of it as a suit of armor for your nails that also happens to look beautifully glossy and natural. Whether you have thin, peeling nails that break at the slightest touch or you simply want added protection while growing your natural nails longer, this guide explains everything about builder gel.
What Is Builder Gel and How Does It Differ from Regular Gel?
Builder gel is a thick, self-leveling gel formula designed to add structure and reinforcement to natural nails or to create nail extensions without the harsh chemicals found in traditional acrylics. While regular gel polish is thin, flexible, and purely decorative (like painting a coat of color on your nails), builder gel is substantially thicker and creates a rigid, supportive layer that physically strengthens the nail plate. It cures under UV or LED light just like gel polish, but the resulting overlay is harder, more durable, and can withstand significantly more daily wear and tear than a standard gel manicure.
The key technical difference lies in the apex structure. When properly applied, builder gel is built up thicker in the center of the nail (the stress point) and thinner at the edges, creating a subtle arch called an apex. This architectural approach distributes force across the nail evenly, dramatically reducing the likelihood of breakage. Regular gel polish, by contrast, is applied in uniformly thin layers that add minimal structural support. Think of the difference between putting a plastic wrap over a table versus placing a glass sheet over it – both cover the surface, but only one provides meaningful reinforcement.
Who Should Use Builder Gel?
Builder gel is ideal for several specific nail concerns. If you have naturally thin, weak, or brittle nails that chip, peel, or break frequently, builder gel provides the reinforcement your nails need to grow without breaking. If you are transitioning away from acrylics, builder gel offers a gentler alternative that protects your damaged natural nails while they recover and grow out. If you want to grow your natural nails longer but find they always break before reaching your desired length, builder gel acts as a scaffold that supports growth. And if you simply want a long-lasting, chip-resistant manicure that outlasts regular gel polish, builder gel delivers superior durability of three to four weeks.
How to Apply Builder Gel: Step-by-Step Guide
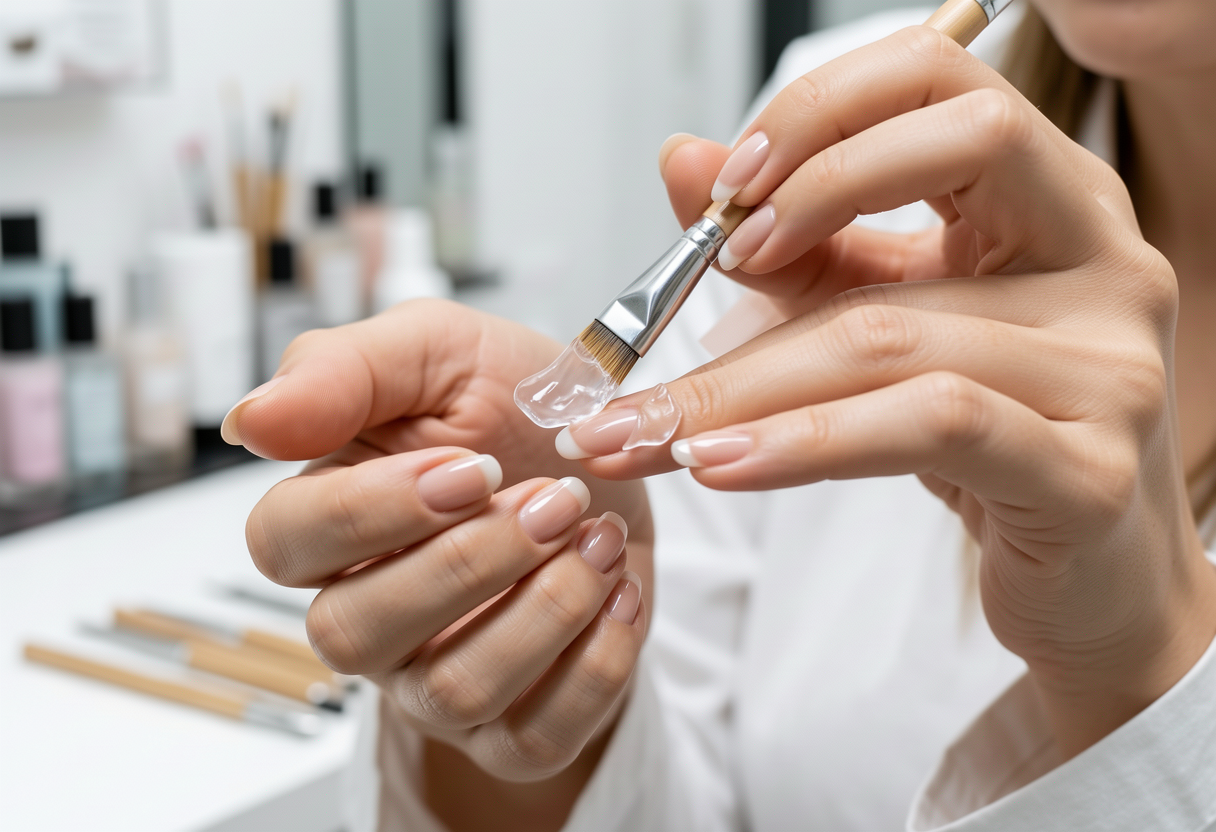
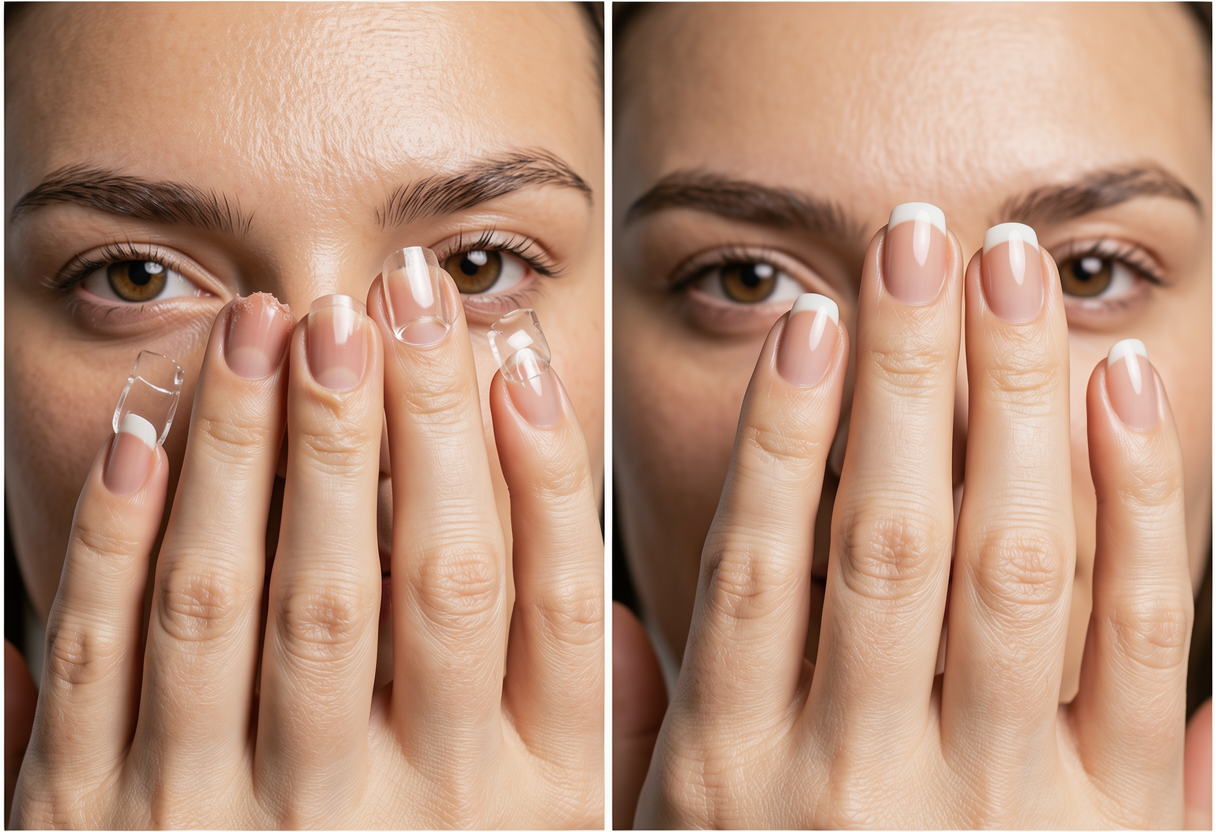
Proper application is crucial for builder gel performance. Start with thorough nail preparation: push back cuticles, remove any lifting skin, lightly buff the nail surface for adhesion, and dehydrate with rubbing alcohol or a nail prep solution. Apply a thin coat of gel base coat and cure for 30 seconds. Now apply a bead of builder gel to the center of the nail near the cuticle area. Using a flat gel brush (dipped in slip solution or rubbing alcohol to prevent sticking), spread the gel from the cuticle toward the tip, building up slightly more product in the center to create the apex. The total thickness should be approximately the depth of a credit card at the highest point.
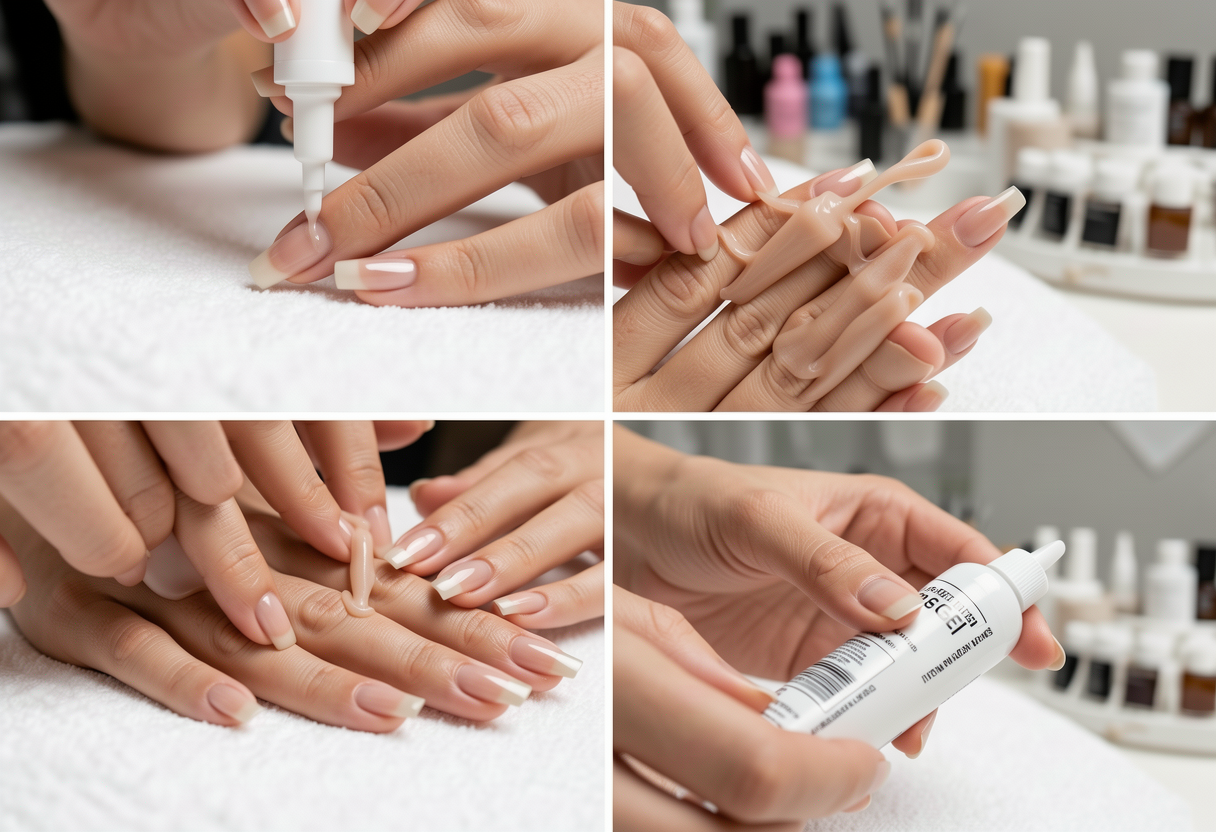
Once you have shaped the gel and created a smooth, even surface with the apex in the correct position, flip your hand over briefly (palm up) for five seconds. This allows gravity to help the gel self-level, creating the perfectly smooth dome shape that defines professional builder gel work. Then cure under your LED lamp for 60 seconds. After curing, wipe the tacky inhibition layer with rubbing alcohol. If needed, gently file and shape the cured gel to refine the contour. Apply gel polish color if desired, then finish with a no-wipe gel top coat and cure. The entire process takes approximately 30 to 45 minutes.
Builder Gel vs. Acrylic vs. Regular Gel: Which Is Best?
Understanding the differences between these three nail enhancement systems helps you make the right choice. Acrylic nails are created by mixing a liquid monomer with a powder polymer that hardens through a chemical reaction. They are the strongest and most rigid option but involve harsh chemicals, strong fumes, and require aggressive filing of the natural nail for adhesion. They are best for maximum length extensions and extreme durability but are the most damaging to natural nails. Regular gel polish is a thin, flexible coating that adds color and shine but minimal structural support. It is gentle on natural nails but offers no strengthening benefit.
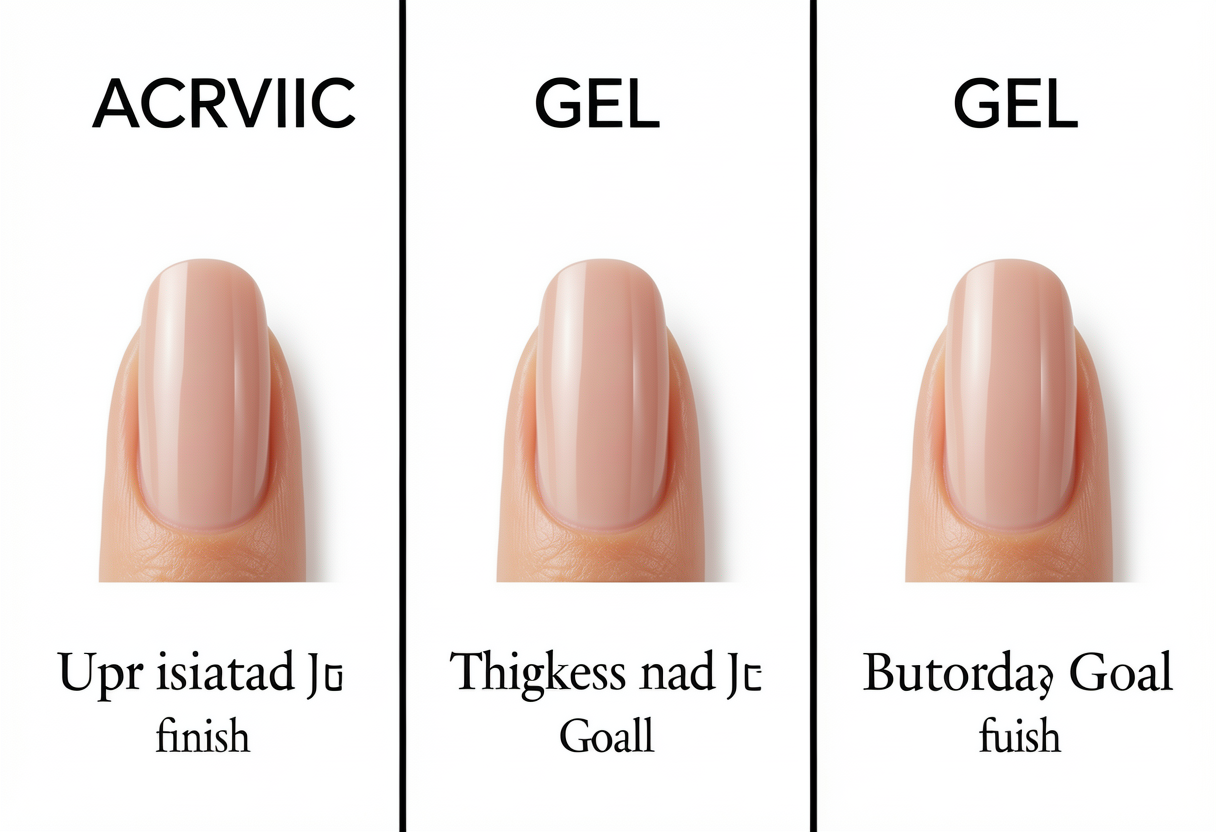
Builder gel occupies the sweet spot between these two extremes. It provides meaningful structural reinforcement (less than acrylic but far more than gel polish), uses gentle formulas without harsh monomers, requires minimal filing during preparation, and can be soaked off or gently filed away during removal. It is the healthiest option for natural nails among structural enhancements. The main limitation of builder gel compared to acrylic is that it cannot achieve the same extreme lengths – builder gel works best for natural nail overlays and short to medium extensions, while very long dramatic extensions still require the superior strength of acrylic.
Builder Gel Maintenance and Infill Process
One of builder gel’s greatest advantages is the ability to do infills rather than full removal. As your nails grow, a gap appears at the cuticle. Instead of removing the entire overlay and starting fresh (as with regular gel polish), a skilled nail technician can gently file the existing builder gel surface, prepare the new growth area, and apply fresh builder gel only to the grown-out section. This infill process takes less time, wastes less product, and – most importantly – avoids repeated removal and reapplication that weakens the natural nail over time. Infills are typically done every three to four weeks.
Frequently Asked Questions About Builder Gel
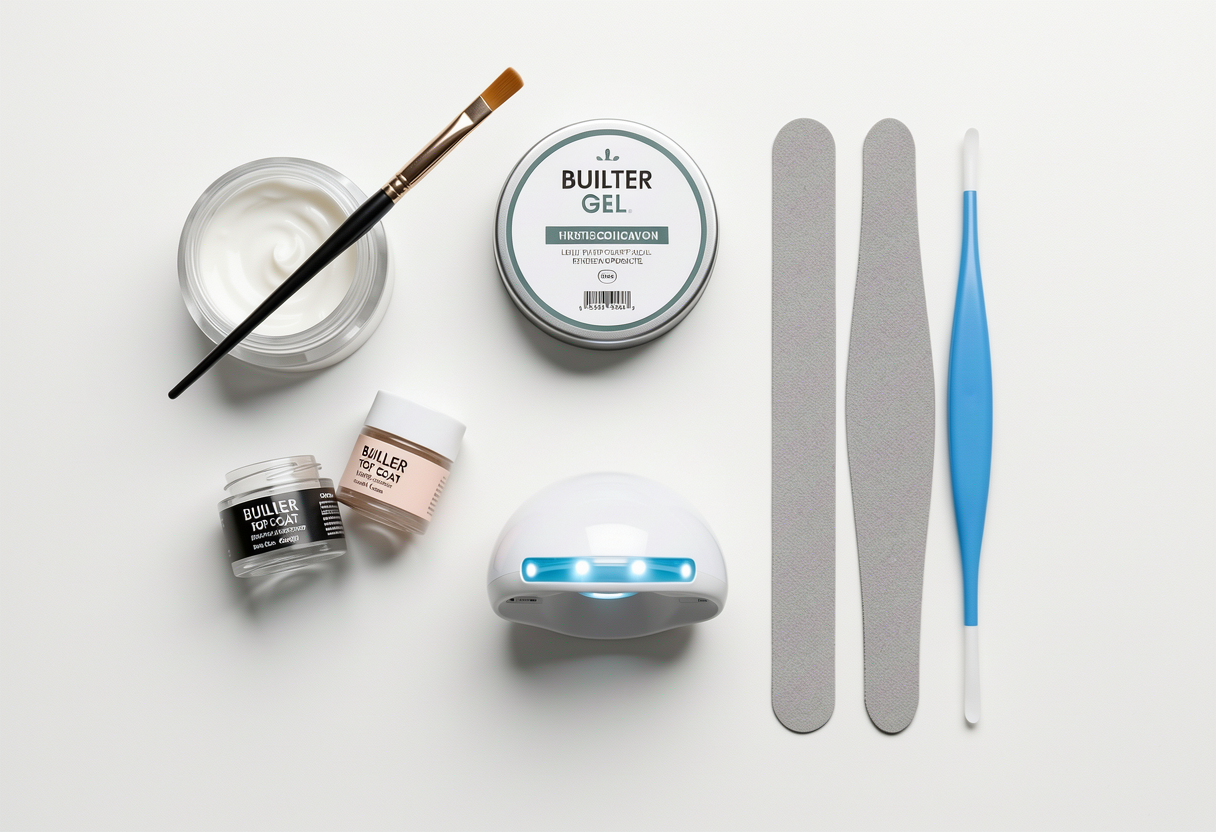
Can I use builder gel at home? Yes, but there is a learning curve. The self-leveling properties of builder gel make it more forgiving than acrylic, but creating a proper apex structure requires practice. Start with a builder gel in a bottle (BIAB) product – these are designed for home use with a built-in brush, making application similar to regular gel polish while still providing structural benefits. As your skills improve, you can graduate to pot-style builder gels applied with a separate brush for greater control and customization.
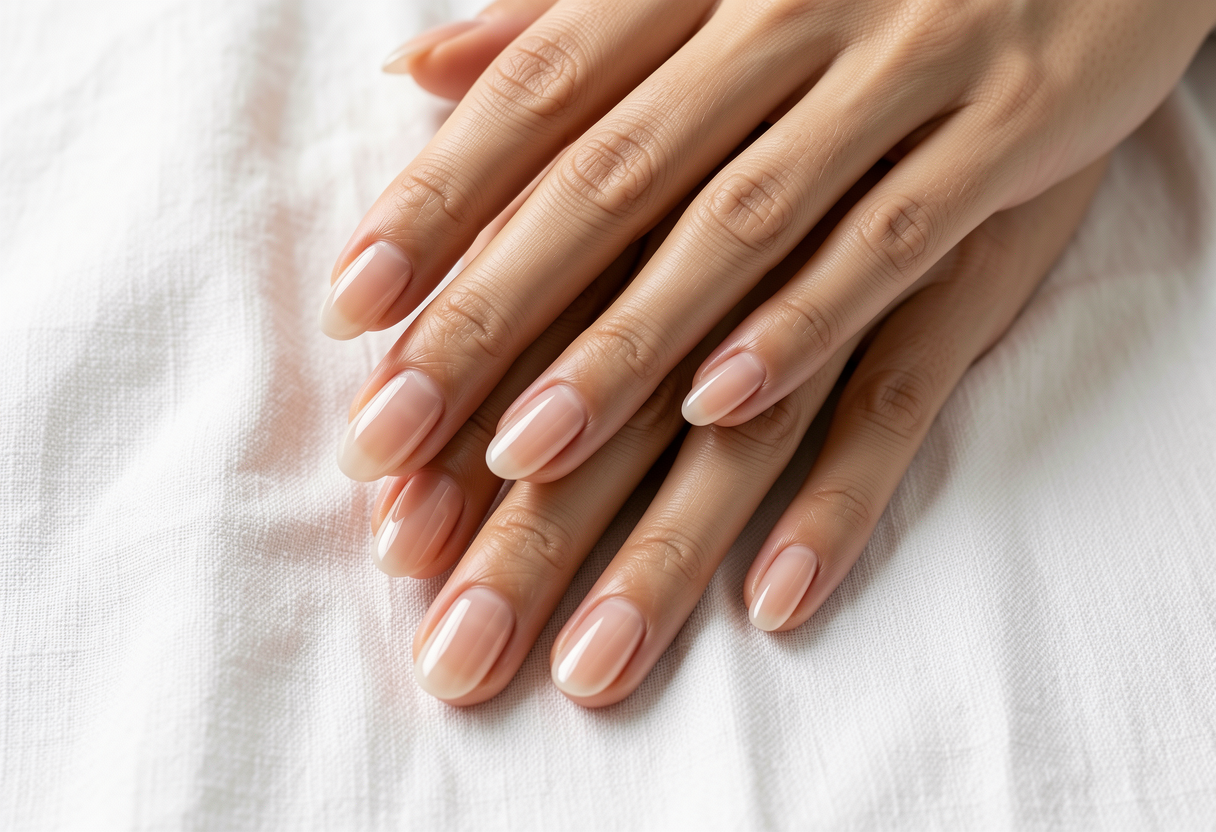
Does builder gel damage natural nails? When applied and removed correctly, builder gel is one of the gentlest structural nail enhancements available. It requires only light buffing during preparation (unlike acrylic which often involves heavy filing), and removal can be done by soaking in acetone or gentle filing. The protective overlay actually shields natural nails from environmental damage. Many users report that their natural nails are in their best condition ever after months of continuous builder gel use.
Can I apply color over builder gel? Absolutely. Clear builder gel serves as a perfect foundation for regular gel polish, gel art, chrome powders, glitter, and any other nail decoration. Apply your builder gel overlay first, cure and prep the surface, then apply gel polish color exactly as you would on a natural nail. This combination gives you both the structural benefits of builder gel and the creative possibilities of gel polish. Many nail technicians use this as their standard service – builder gel base for strength, gel polish for color and design.