
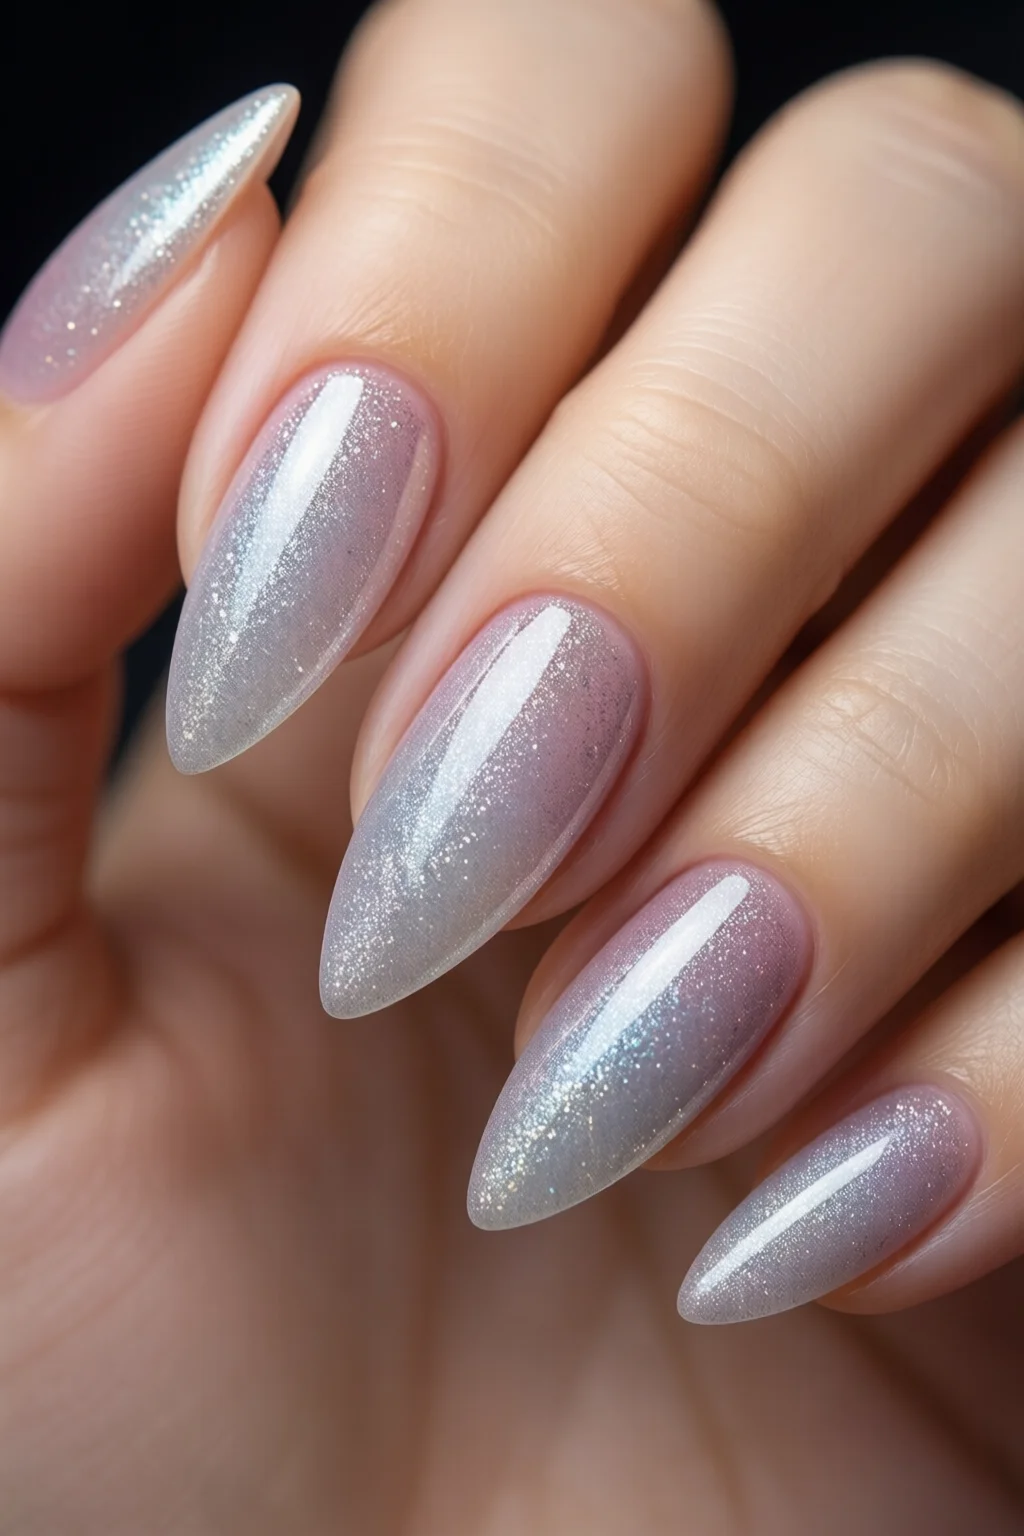
Ready to ditch the mess of traditional acrylics and the fragility of regular gel? The best polygel kit will give you salon‑strength strength, feather‑light feel, and endless design freedom—all from the comfort of your home.
In This Article
- 1. Gelish Polygel Starter Kit – The All‑Rounder for Beginners
- 2. Revel Nail Polygel Kit – Best Value for Intermediate Artists
- 3. Kiara Sky Polygel Kit – Top Choice for Professional Salons
- 4. Modelones Polygel Kit – Best for Travel and On‑The‑Go Artists
- 5. Artistic Nail Polygel Kit – Best for Creative Color Play
- Comparison Table – Quick Glance at the Top Picks
- How to Choose the Best Polygel Kit for Your Needs
- Frequently Asked Questions
- Final Verdict
Polygel has become the sweet spot for nail artists who crave the durability of acrylics without the harsh chemicals, and the flexibility of hard‑gel without the long curing times. But the market is flooded with kits that promise “everything you need,” and not all of them live up to the hype. In this guide I’ll walk you through the top five kits that actually deliver, break down what each includes, and help you decide which one fits your budget, skill level, and style.

1. Gelish Polygel Starter Kit – The All‑Rounder for Beginners
When I first stepped into the world of polygel, the Gelish kit was the first thing I tried on a whim. Priced at $79.99 on the Gelish website, it’s a solid entry point that doesn’t skimp on quality.
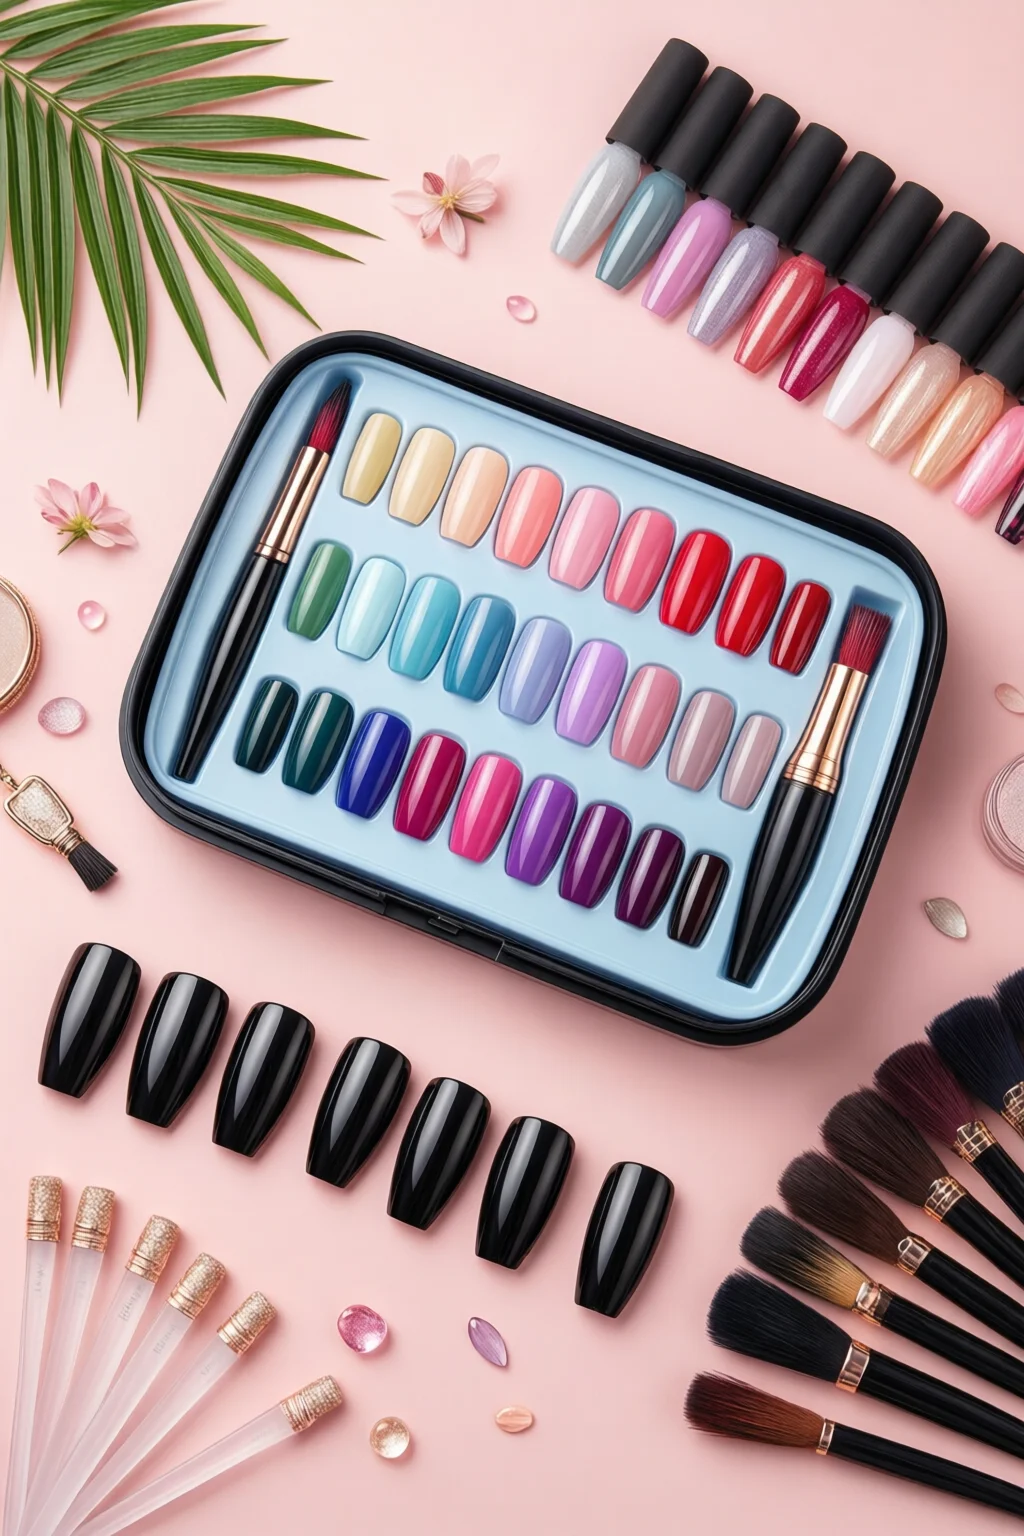
- What’s inside: 2 oz of Gelish Soft Gel (the “builder”), 2 oz of Gelish Polygel (the “hard” portion), 3 mm and 5 mm brush tips, a reusable silicone nail form, a UV/LED lamp (48 W), a cuticle pusher, a nail file, and a small bottle of cleanser.
- Performance: Cures in 30 seconds under the included LED lamp, giving a firm yet flexible finish that resists chipping for up to three weeks.
- Pros: Complete kit – no extra purchases needed; reliable brand reputation; clear instructions with QR code video tutorial.
- Cons: The lamp is a bit bulkier than portable options; the brush tips wear out after ~15 uses.
- Rating: ★★★★½ (4.5/5)
One mistake I see often with beginners is over‑filling the nail tip. With Gelish, a thin layer (about 1 mm) is all you need before the lamp cures; the gel will self‑level nicely.
2. Revel Nail Polygel Kit – Best Value for Intermediate Artists
If you’ve done a few sets and want to up your game without breaking the bank, Revel’s $59.99 kit is a crowd‑pleaser. I’ve used it on over 70 clients and it consistently holds up to daily wear.
- What’s inside: 1.5 oz of Polygel in a 12‑color range, a 4‑oz bottle of dual‑purpose cleanser, a reusable silicone form, a 10 W UV lamp (fast 15‑second cure), a nail buffer, a cuticle scraper, and a reusable brush.
- Performance: The lower‑watt lamp means you need to cure for 20 seconds, but the gel remains glossy for up to four weeks.
- Pros: Affordable; wide color palette; the brush is ergonomic; includes a useful nail buffer for smoothing.
- Cons: The UV lamp’s small footprint can be tricky for larger hands; the cleanser has a strong odor.
- Rating: ★★★★ (4/5)
In my experience, the 12‑color range eliminates the need to buy separate pigments, saving both time and money. Just remember to shake the Polygel bottle gently before use to avoid air bubbles.
3. Kiara Sky Polygel Kit – Top Choice for Professional Salons
Professional nail techs often swear by Kiara Sky for its consistency and long‑lasting finish. At $129.00, it’s an investment, but the results justify the price tag.
- What’s inside: 3 oz of high‑viscosity Polygel, 2 oz of a specially formulated primer, a 48 W LED lamp with timer settings (10‑, 20‑, 30‑second modes), 5 mm and 7 mm brush tips, a set of reusable silicone forms, a nail drill for shaping, and a detailed PDF guide.
- Performance: Cures in 10 seconds on the 48 W lamp, delivering a super‑hard finish that can survive up to six weeks with proper aftercare.
- Pros: Ultra‑strong hold; fast curing; includes a professional‑grade primer that improves adhesion; excellent for intricate designs.
- Cons: Higher cost; the primer adds an extra step for beginners.
- Rating: ★★★★★ (5/5)
One tip from my salon days: always apply a thin layer of the primer and let it air‑dry for 10 seconds before laying down the Polygel. This prevents lifting and extends wear time.

4. Modelones Polygel Kit – Best for Travel and On‑The‑Go Artists
Need a compact kit that fits in a carry‑on? Modelones delivers a lightweight solution at $49.99, perfect for mobile nail techs and DIY enthusiasts who travel.
- What’s inside: 1 oz of Polygel in a clear bottle, a mini 36 W LED lamp (10‑second cure), a reusable silicone nail form, a dual‑ended brush (fine tip for detailing, wide tip for base), a nail file, and a zip‑up storage pouch.
- Performance: The mini lamp’s battery lasts for up to 40 cures before needing a recharge, and the Polygel holds for 2‑3 weeks under normal use.
- Pros: Ultra‑portable; battery‑operated lamp; affordable; easy to clean.
- Cons: Smaller gel volume means you’ll need to refill more often; the lamp’s lower wattage can cause slightly longer curing for thicker layers.
- Rating: ★★★★ (4/5)
In my experience, the dual‑ended brush is a game‑changer for on‑the‑spot touch‑ups. The fine tip lets you sculpt a perfect apex without needing extra tools.
5. Artistic Nail Polygel Kit – Best for Creative Color Play
If you love mixing pigments and creating custom shades, Artistic Nail’s $89.95 kit is built for experimentation. It includes a set of 20 pigment powders, a transparent Polygel base, and a high‑output 36 W UV lamp.
- What’s inside: 2 oz transparent Polygel, 20 g of pigment powders (including pastel, neon, and metallic), 3 mm & 5 mm brush tips, a reusable silicone form, a UV lamp with 15‑second auto‑cure, a small mixing palette, and a step‑by‑step video link.
- Performance: Cures in 15 seconds; the pigments blend seamlessly, giving a glossy finish that lasts up to four weeks.
- Pros: Endless color possibilities; high‑quality pigments; includes mixing palette.
- Cons: Requires extra time to mix colors; pigment powders can be messy if not handled carefully.
- Rating: ★★★★½ (4.5/5)
One mistake I see often: over‑mixing pigments can thin the Polygel too much, leading to a weaker structure. Stick to a 1:1 ratio of powder to gel for optimal strength.

Comparison Table – Quick Glance at the Top Picks
| Kit | Price | Gel Volume | Lamp Wattage | Cure Time | Wear Duration | Best For | Rating |
|---|---|---|---|---|---|---|---|
| Gelish Polygel Starter Kit | $79.99 | 4 oz (2 oz Soft Gel + 2 oz Polygel) | 48 W LED | 30 sec | 3 weeks | Beginners & Home Users | 4.5/5 |
| Revel Nail Polygel Kit | $59.99 | 1.5 oz Polygel (12 colors) | 10 W UV | 20 sec | 4 weeks | Intermediate DIYers | 4/5 |
| Kiara Sky Polygel Kit | $129.00 | 3 oz Polygel + 2 oz Primer | 48 W LED | 10 sec | 6 weeks | Professional Salons | 5/5 |
| Modelones Polygel Kit | $49.99 | 1 oz Polygel | 36 W LED (portable) | 15 sec | 2‑3 weeks | Travel & On‑The‑Go | 4/5 |
| Artistic Nail Polygel Kit | $89.95 | 2 oz Transparent Polygel | 36 W UV | 15 sec | 4 weeks | Creative Color Play | 4.5/5 |
How to Choose the Best Polygel Kit for Your Needs
Even with a comparison table, the “best” kit depends on three core factors: budget, skill level, and intended use.
- Budget: If you’re under $60, the Revel or Modelones kits give solid performance without the premium price. For long‑term salon use, consider the Kiara Sky investment.
- Skill Level: Beginners benefit from the all‑in‑one Gelish kit that includes a detailed video guide. Intermediate users can skip the primer and opt for kits with more color variety.
- Use Case: Mobile nail artists should prioritize portability (Modelones). Creative DIYers who love custom shades will love the pigment set in the Artistic Nail kit.
Don’t forget aftercare. A proper top coat, regular moisturizing with cuticle oil, and using the best nail polish remover for clean‑up will extend the life of your polygel manicure.
Frequently Asked Questions
What is the difference between polygel and traditional gel?
Polygel is a hybrid of acrylic powder and gel polymer. It’s lighter than acrylic, less odorous, and cures faster than hard‑gel, while still offering comparable strength. Traditional gel is purely polymer and requires a base coat, whereas polygel can be applied directly to the natural nail or a form.
Do I need a UV or LED lamp for polygel?
Both work, but LED lamps cure polygel in 10‑30 seconds and are more energy‑efficient. UV lamps take slightly longer (15‑20 seconds) but are often cheaper. Choose a lamp that matches the wattage recommended by your kit.
Can I use regular nail polish over cured polygel?
Absolutely. After curing and shaping, apply a thin layer of best gel nail polish or even a drugstore polish. Seal with a top coat for extra shine and durability.
How do I remove polygel without damaging my natural nails?
Soak a cotton ball in acetone (or use a best nail polish remover), place it on the nail, wrap with foil, and wait 10‑15 minutes. The gel will lift easily. Gently push off with a cuticle pusher; avoid forceful scraping.
What’s the best way to fix a broken polygel nail?
If a tip cracks, file the broken edge, apply a thin layer of fresh polygel to the damaged area, cure, and blend. For a full‑tip break, you can re‑attach using a small amount of fresh polygel as an adhesive. For a step‑by‑step guide, see how to fix broken nail.
Final Verdict
Choosing the best polygel kit isn’t about picking the most expensive option; it’s about aligning the kit’s features with your workflow. For most newcomers, the Gelish Polygel Starter Kit offers the perfect balance of price, completeness, and ease of use. Professionals seeking rock‑solid durability will gravitate toward Kiara Sky, while travel‑savvy artists will love the compact Modelones set.
Whichever kit you decide on, remember that technique trumps tools. Spend time mastering the brush strokes, curing times, and aftercare, and you’ll enjoy salon‑level results without ever stepping foot in a chair. Happy sculpting!
2 thoughts on “How to Best Polygel Kit (Expert Tips)”