
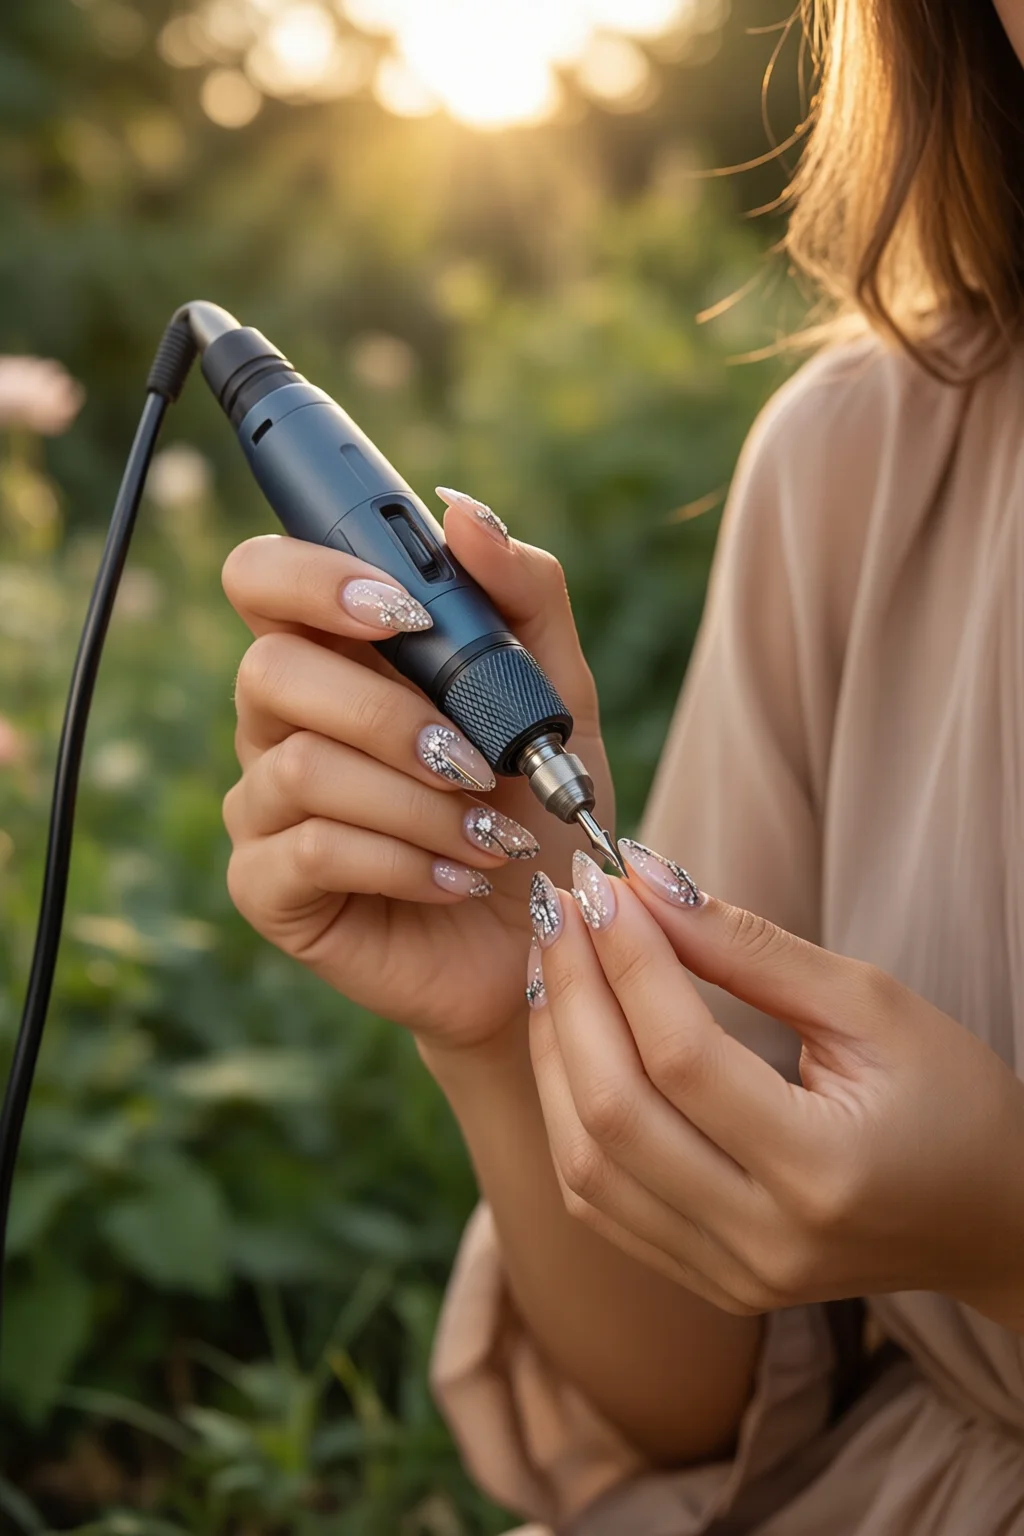
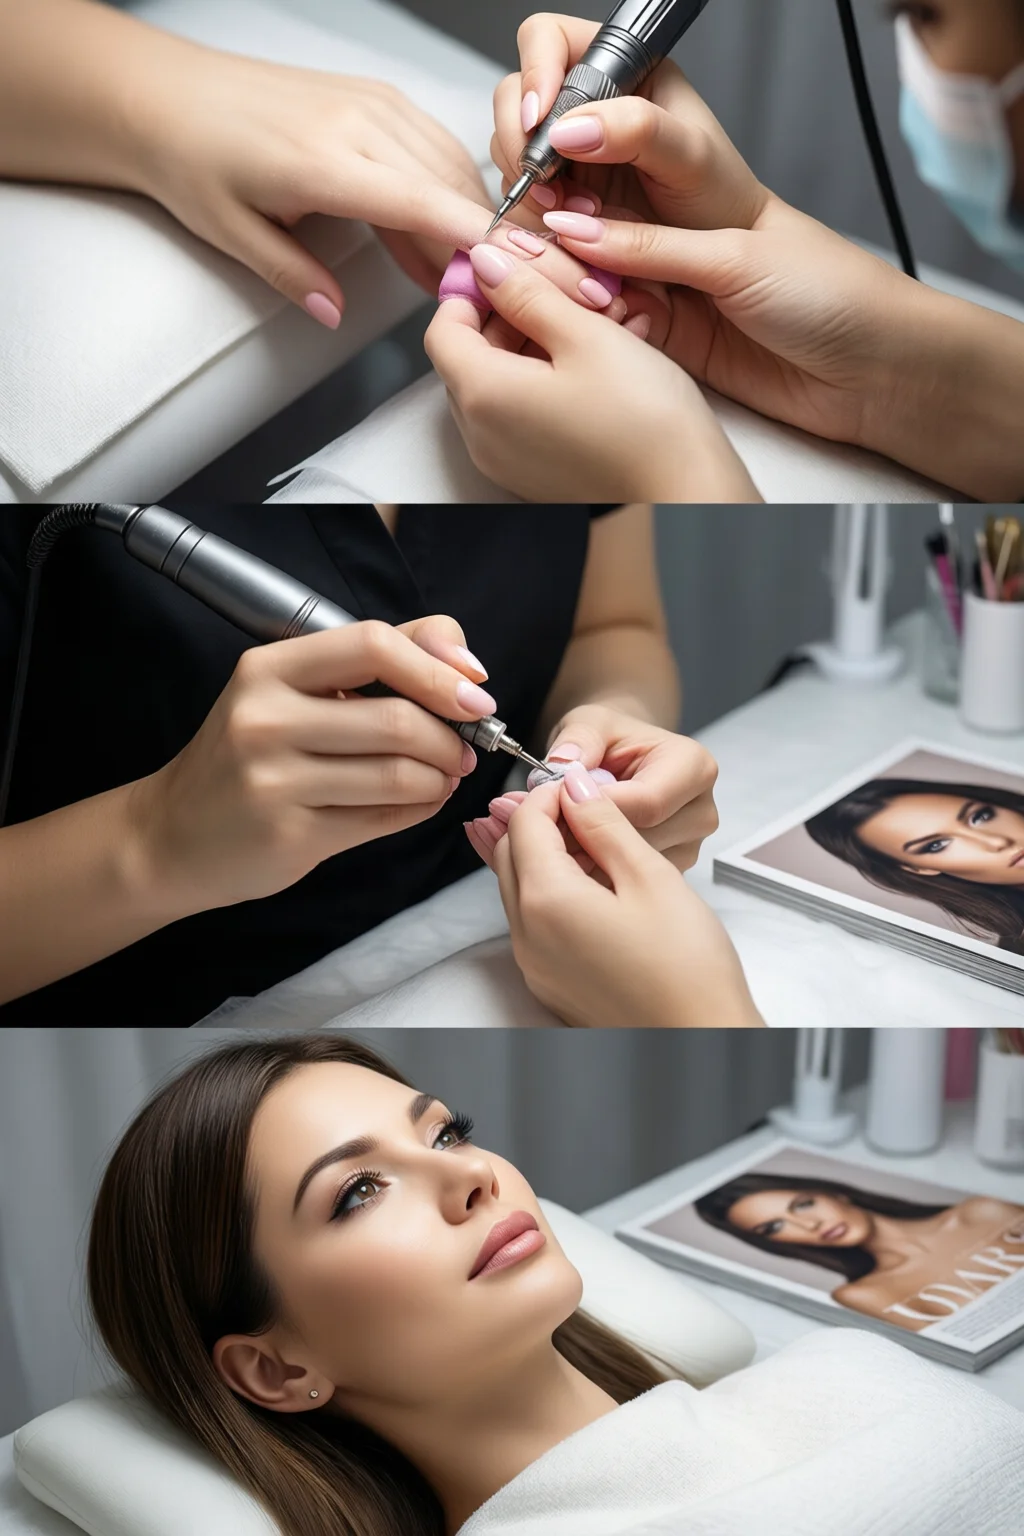
Last week a client of mine asked me to fix a cracked acrylic that had been left on for too long. I reached for my go‑to device, the best nail drill in my kit, and within ten minutes the nail looked salon‑perfect again. If you’ve ever stared at a dusty countertop full of rotary tools and wondered which one actually lives up to the hype, this guide is for you. By the end you’ll know exactly what to buy, how to set it up, and how to avoid the rookie errors that turn a quick fix into a nail‑nightmare.
In This Article
What You Will Need (Before You Start)
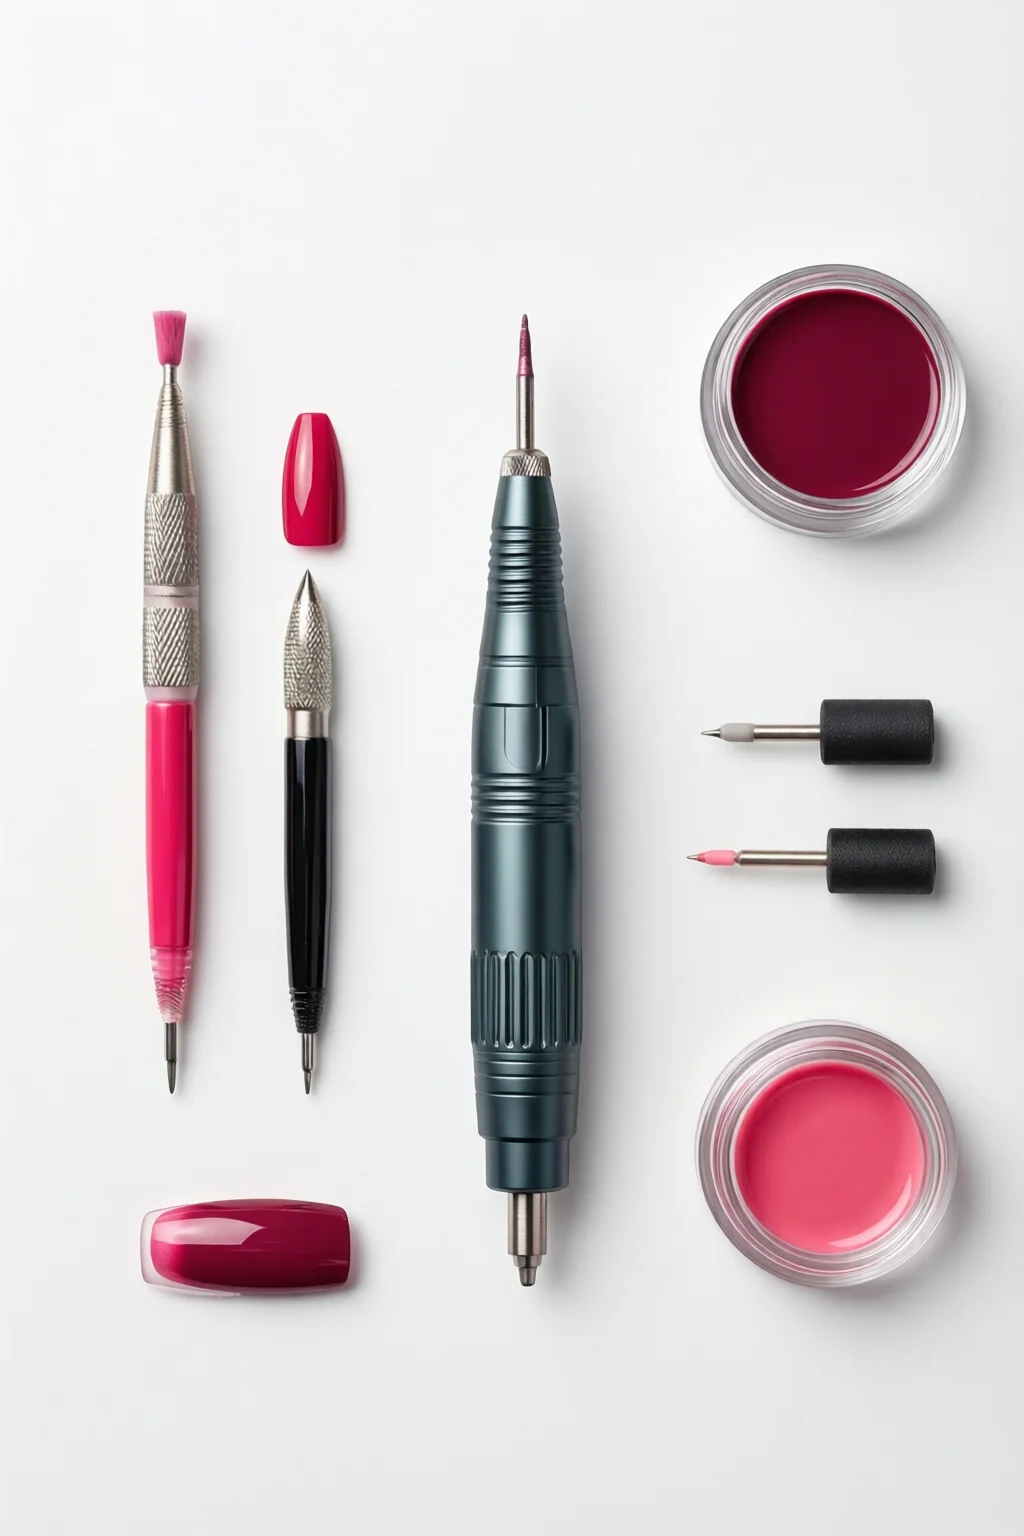
- Best nail drill: I recommend the Makartt Pro 2 (120 V, 2.5 lb, $79). It offers 30,000 rpm, a variable speed dial, and a quiet brushless motor—perfect for both beginners and pros.
- Alternative budget pick: MelodySus 3‑Speed ($49) – 20,000 rpm, three preset speeds, lightweight plastic housing.
- Drill bits (cobalt, ceramic, sanding bands): a starter set of 8 bits typically runs $15‑$25.
- Alcohol wipes or 70% isopropyl solution for sanitation.
- Protective gloves and a mask (to avoid inhaling fine dust).
- Cuticle pusher, nail buffer, and a high‑quality best nail glue for any acrylic work.
- Timer (your phone works fine) – aim for 10‑second bursts per area.

Step 1: Choose the Right Drill Speed
Speed is the most critical setting. Too fast and you’ll heat the nail plate; too slow and you’ll waste time. Most professionals work between 5,000 and 12,000 rpm for shaping natural nails, and 15,000‑20,000 rpm for acrylic or gel removal.
- Turn the dial to the lowest setting (≈5,000 rpm) and test on a disposable tip.
- If the bit feels sluggish, increase by 1,000 rpm increments until the material shaves cleanly without burning.
- For delicate work (cuticle trimming), stay under 6,000 rpm.
Remember: the best nail drill will have a smooth, click‑free speed transition. The Makartt Pro 2’s digital display makes this adjustment painless.

Step 2: Attach the Proper Bit
Each task has a matching bit. Here’s my quick cheat sheet:
| Task | Bit Type | RPM Range |
|---|---|---|
| Fine cuticle work | Cobalt cone (size 2) | 5,000‑7,000 |
| Acrylic removal | Ceramic grinding band | 15,000‑20,000 |
| Gel polishing | Sanding band (220‑grit) | 10,000‑12,000 |
| Natural nail shaping | Fine diamond bur (150 µm) | 8,000‑10,000 |
Lock the bit into the chuck, give it a gentle tug to ensure it’s secure, then wipe the tip with an alcohol pad before you begin.
Step 3: Prepare the Nail Bed
A clean surface is non‑negotiable. Follow these three quick actions:
- Sanitize the client’s hands with an alcohol wipe; let them air‑dry for 30 seconds.
- Push back cuticles using a wooden pusher; avoid cutting them unless you have a sterile nail clipper.
- Apply a thin layer of best hand cream to the surrounding skin to protect against dust irritation.
This prep reduces friction, prevents the drill from slipping, and gives you a clearer view of the nail’s natural curve.
Step 4: Shape and File Safely
Now the fun part begins. Use the drill like a high‑tech file, not a saw.
- Grip: Hold the drill at a 45° angle to the nail, with the bit pointing toward the free edge.
- Motion: Move in short, overlapping strokes—think “soft sandpaper” rather than “circular saw.”
- Timing: Keep each contact under 10 seconds; pause to check heat buildup. If the nail feels warm, reduce speed by 1,000 rpm.
- Check: Every 30 seconds, wipe away dust and inspect the shape with a nail guide.
For a classic almond shape, start at the sides and gradually taper toward the tip. If you’re aiming for a square, keep the edges parallel and finish with a gentle bevel on the corners.
Step 5: Finish and Clean Up
Once the desired shape is achieved:
- Switch to a polishing band (220‑grit) at 8,000 rpm to smooth any micro‑scratches.
- Wipe the nail with a lint‑free pad soaked in nail cleanser.
- Apply a nourishing top coat and let it cure for 60 seconds.
- Sanitize the drill: detach the bit, soak the chuck in isopropyl alcohol for 5 minutes, then let air‑dry.
Proper cleanup extends the life of your best nail drill and keeps your workspace compliant with health regulations.
Common Mistakes to Avoid
- Over‑speeding: New techs often crank the drill to maximum. This causes heat, nail plate damage, and a burnt smell.
- Using the wrong bit: A coarse carbide on thin natural nails will split them. Match the bit to the material.
- Skipping the timer: Even a seasoned pro can lose track. Ten‑second bursts keep heat down.
- Neglecting sanitation: Re‑using bits without cleaning spreads bacteria. A quick dip in 70% alcohol after each client is essential.
- Applying too much pressure: Let the bit do the work. Pressing hard leads to uneven surfaces and premature wear on the bit.
Troubleshooting & Tips for Best Results
Problem: The nail feels hot after a few strokes.
Solution: Reduce speed by 1,500 rpm, increase airflow (use a small fan), and switch to a ceramic bit which generates less friction.
Problem: Bits dull quickly.
Solution: Invest in a magnetic bit holder and store bits separately. Rotate bits every 15‑20 uses; a dull bit can double filing time.
Tip: For acrylic removal, start with a low‑grit band (80‑grit) to break the bulk, then finish with a fine band (220‑grit) to smooth.
Tip: If you’re working on a client with thin, natural nails, pre‑soak the nail in a warm water bath for 2 minutes. The slight swelling makes the nail less prone to cracking under the drill.
Tip: Pair your drill work with a high‑quality luxury nail polish finish; the smoother the surface, the longer the polish will stay chip‑free.
Summary & Conclusion
Choosing the best nail drill isn’t about the flashiest price tag; it’s about reliable speed control, ergonomic design, and a bit of durability. The Makartt Pro 2, MelodySus 3‑Speed, and even the budget-friendly Kupa Professional (priced at $39) all deliver solid performance when paired with the right bits and proper technique.
Remember the three pillars of safe drilling: speed, sanitation, and pressure control. Follow the step‑by‑step routine above, avoid the common pitfalls, and you’ll consistently achieve salon‑grade results—whether you’re shaping a natural nail, removing gel, or prepping acrylic extensions.
Now that you have a clear roadmap, go ahead and upgrade your kit. Your clients (and your own confidence) will thank you.
What RPM is ideal for natural nail shaping?
Aim for 5,000‑10,000 rpm. Lower speeds (5,000‑6,000) are safest for delicate cuticle work, while 8,000‑10,000 rpm provides efficient shaping without overheating.
How often should I replace drill bits?
A high‑quality cobalt or ceramic bit lasts about 30‑40 uses on acrylic. If you notice a loss of cutting efficiency or increased heat, replace it immediately.
Can I use the same drill for gel and acrylic removal?
Yes, but switch bits. Use a coarse ceramic band for acrylic, then a fine sanding band (220‑grit) for gel. Adjust speed accordingly to avoid damaging the natural nail.
Is it necessary to wear a mask while drilling?
Absolutely. Fine dust from acrylic and gel can irritate lungs. A simple N95 mask or a dedicated salon dust extractor keeps the air clean.
Where can I find the best nail glue for acrylic repairs?
Check out our best nail glue roundup. Brands like KISS and IBD offer strong, quick‑dry formulas perfect for on‑the‑spot fixes.
1 thought on “Best Nail Drill: Complete Guide for 2026”