
Did you know that 63% of professional nail technicians recommend the round nail shape for clients who want a classic, resilient look that ages gracefully?
In This Article
What You’ll Achieve and What You’ll Need
By the end of this guide you’ll be able to file, shape, and finish a flawless round nail shape that feels natural, strengthens the nail plate, and serves as the perfect canvas for everything from a simple glossy French manicure to bold navy blue nail art. Grab a few tools and you’re ready to start.
- Fine-grit filing block (e.g., OPI Pro Nail File, $8.99 for a pack of 3)
- Coarse-grit buffer (Seche Vite Buffer, $6.50)
- Nail strengthener (CND Resilience Nail Strengthener, 15 ml – $22)
- Base & top coat (Essie Gel‑Fit Base, $12; OPI Top Coat, $9)
- Cuticle oil (Burt’s Bees, 15 ml – $7)
- Optional: a nail drill (MelodySus Mini Drill, $45) – not required but speeds up the process
Make sure your workspace is clean, and have a small towel, a bowl of warm water, and a hand moisturizer nearby. If you’re new to shaping, start with short nails (about 8‑9 mm from cuticle to tip) – they’re easier to control.
Step 1 – Prep the Natural Nail
Begin by removing any old polish with a non‑acetone remover (e.g., Zoya Cleanser, $9). Soak your fingertips in warm water for 2‑3 minutes to soften the cuticles. Gently push them back with a wooden cuticle pusher; avoid cutting them unless you have a professional cuticle nipper.
Apply a thin layer of CND Resilience Nail Strengthener and let it dry for 1 minute. This creates a protective barrier that reduces splitting when you file.
Step 2 – Rough Shape with Coarse File
Hold the nail at a 45° angle to the filing block. Use long, smooth strokes from the side toward the center, never sawing back and forth. The goal is to achieve a uniform length on each nail, typically 2‑3 mm beyond the fingertip for a balanced round shape.
Measure the length with a ruler – most clients prefer a total length of 12‑13 mm for a subtle elongation without compromising durability.
Step 3 – Refine the Curve
Switch to a fine‑grit file (OPI Pro Nail File). Starting at the nail’s sidewall, gently curve the file toward the center, creating a soft oval that tapers evenly on both sides. The tip should be the same width as the nail’s base – this is the hallmark of a true round nail shape.
Check symmetry by holding a ruler across both nails; the distance from the cuticle to the tip should match within 0.5 mm.
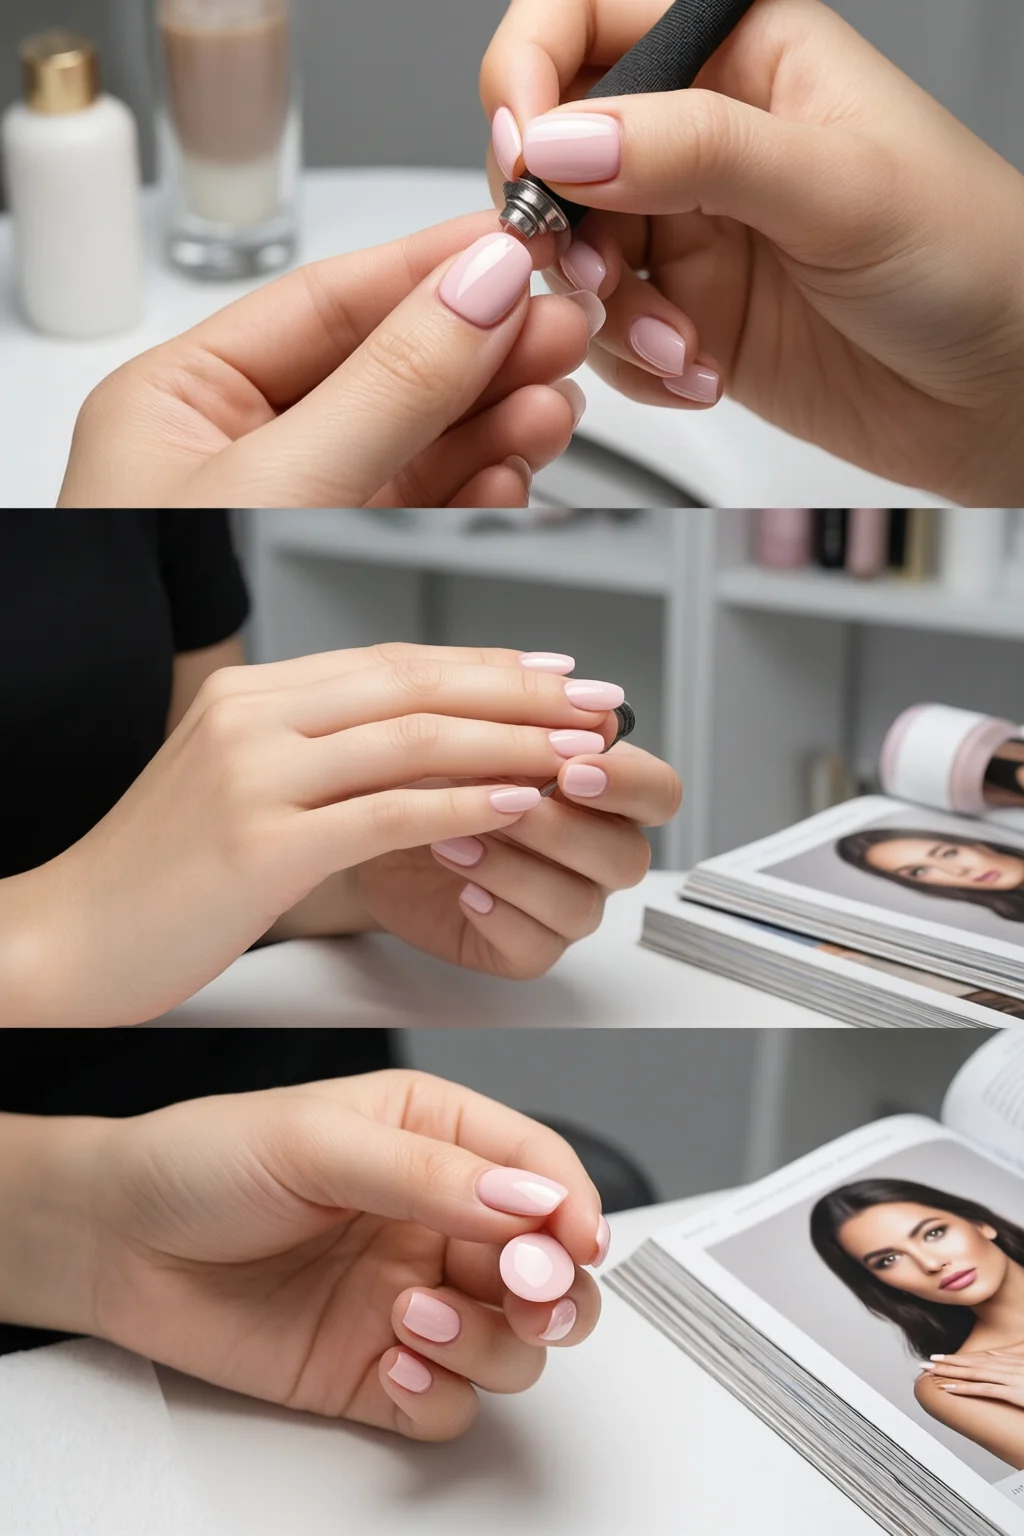
Step 4 – Buff and Smooth
Use the coarse‑grit buffer to smooth any rough edges, then finish with a fine buffer (Seche Vite Fine Buffer, $6) for a glass‑like surface. This step is crucial because a smooth surface ensures better polish adhesion and reduces chip rates by up to 30%.
Step 5 – Polish and Finish
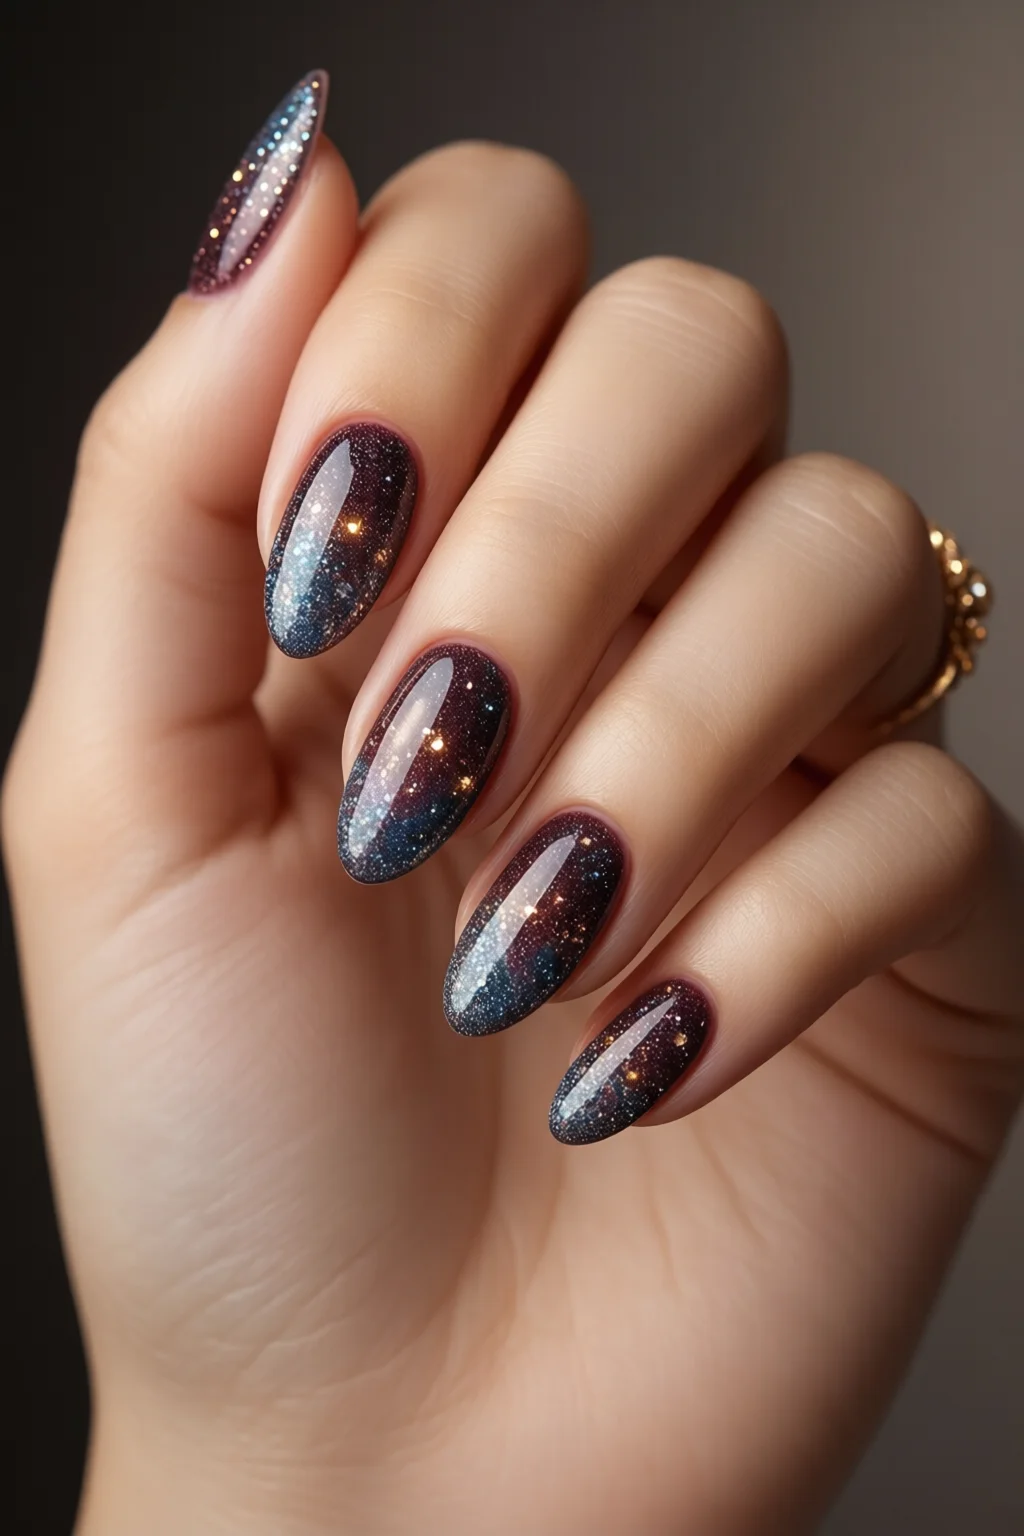
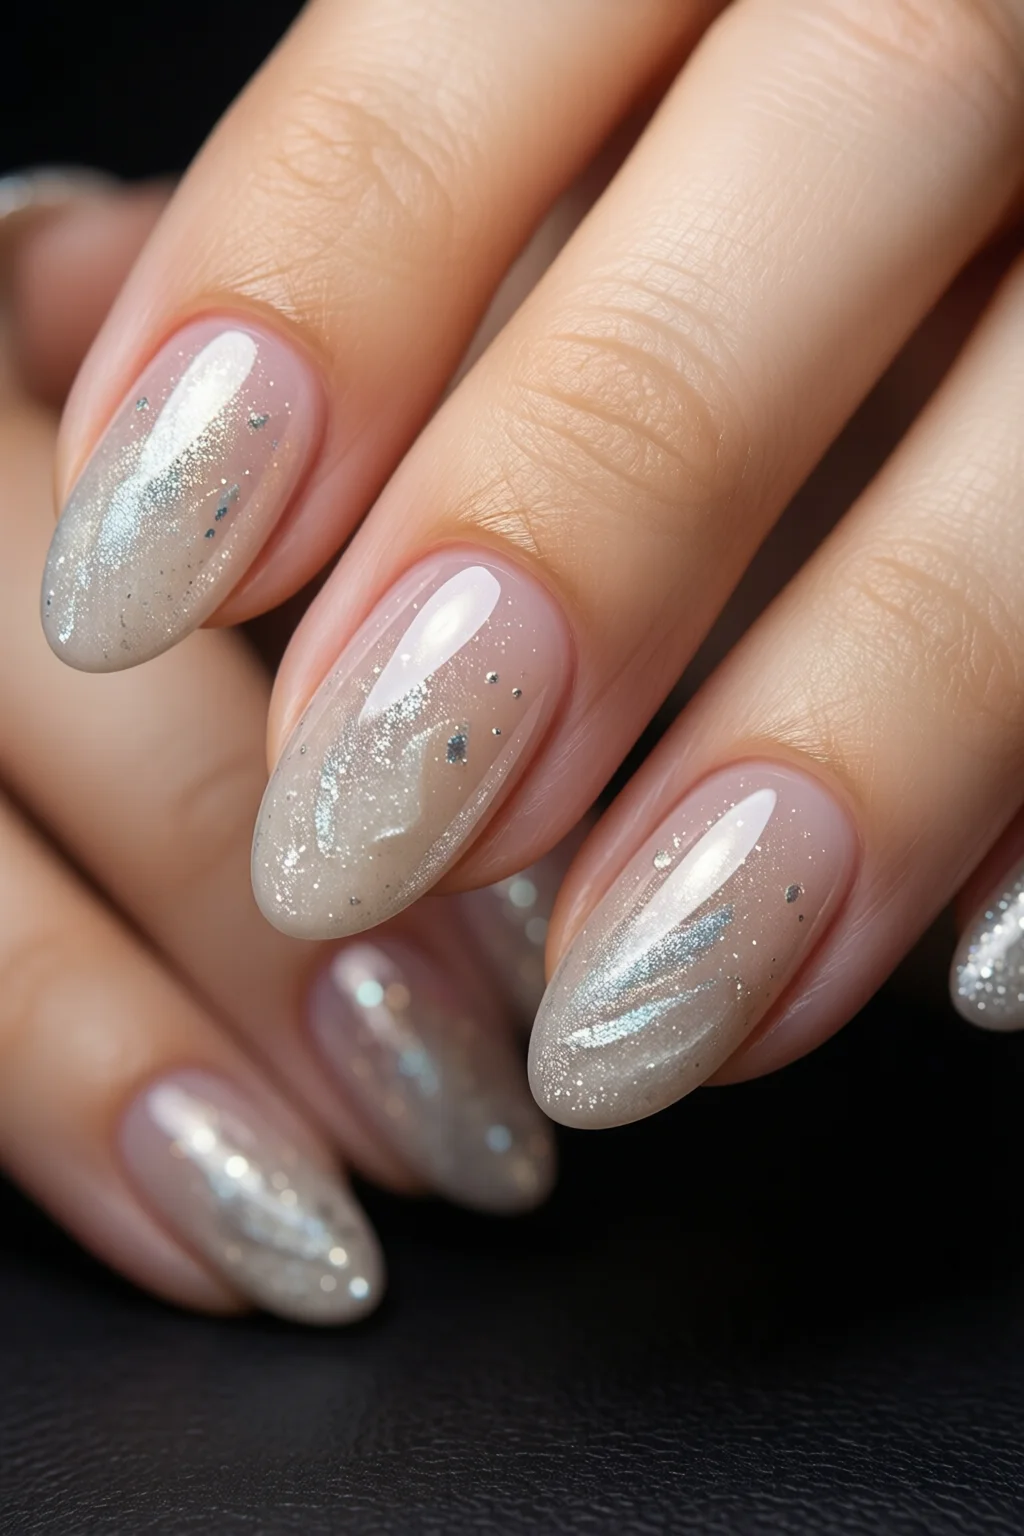
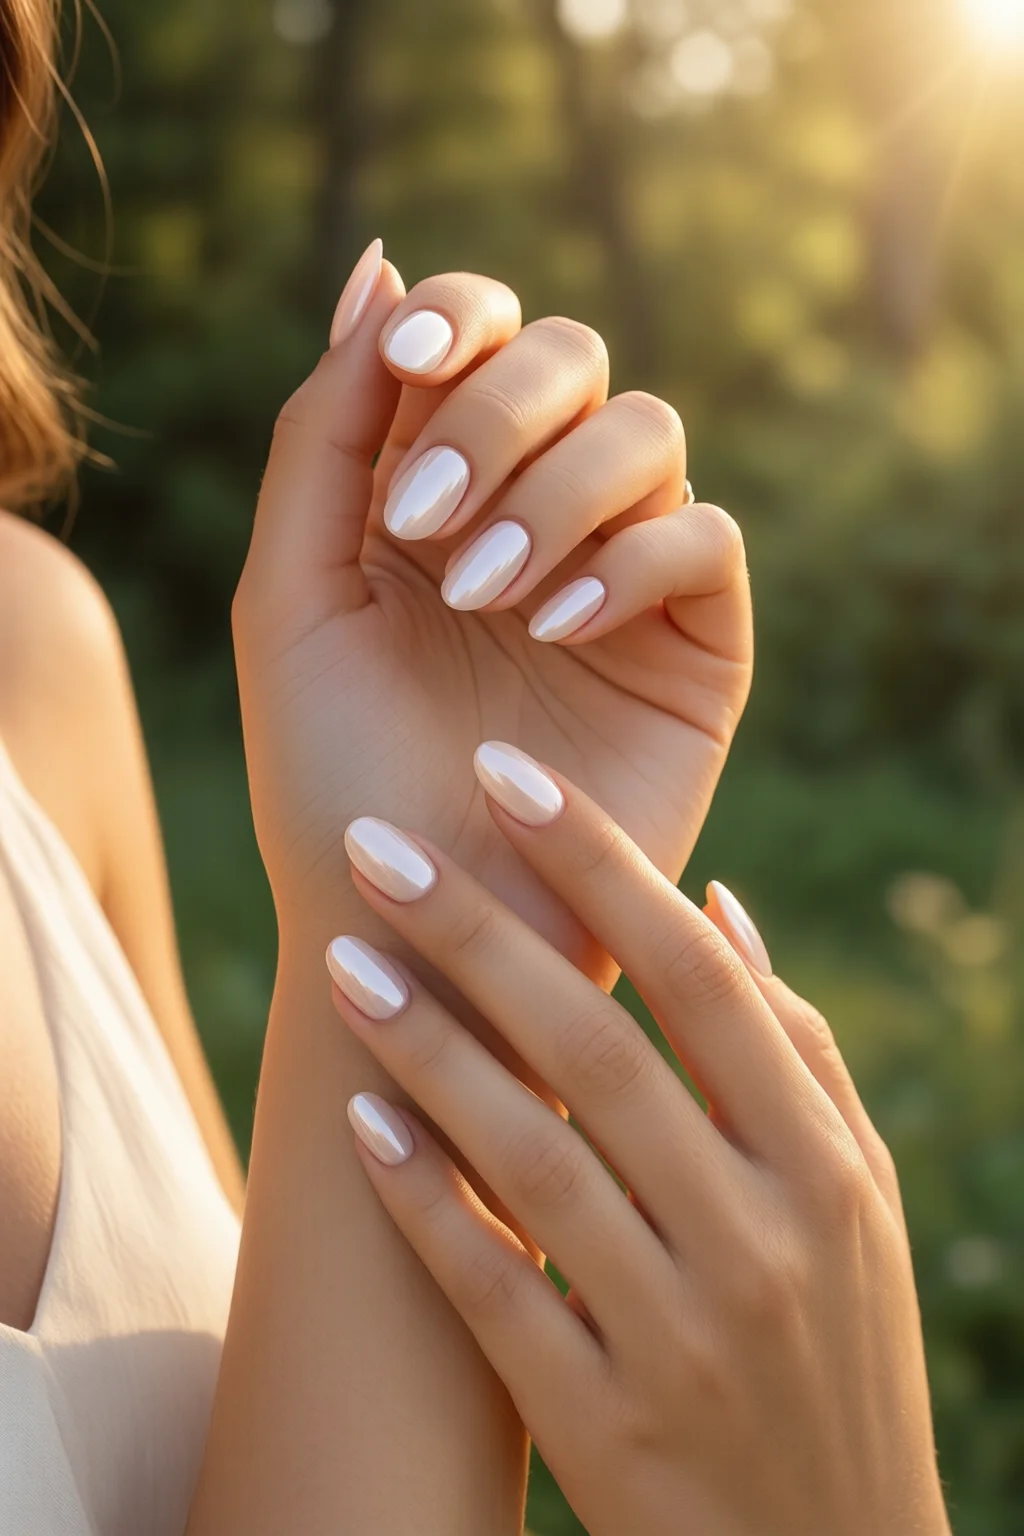
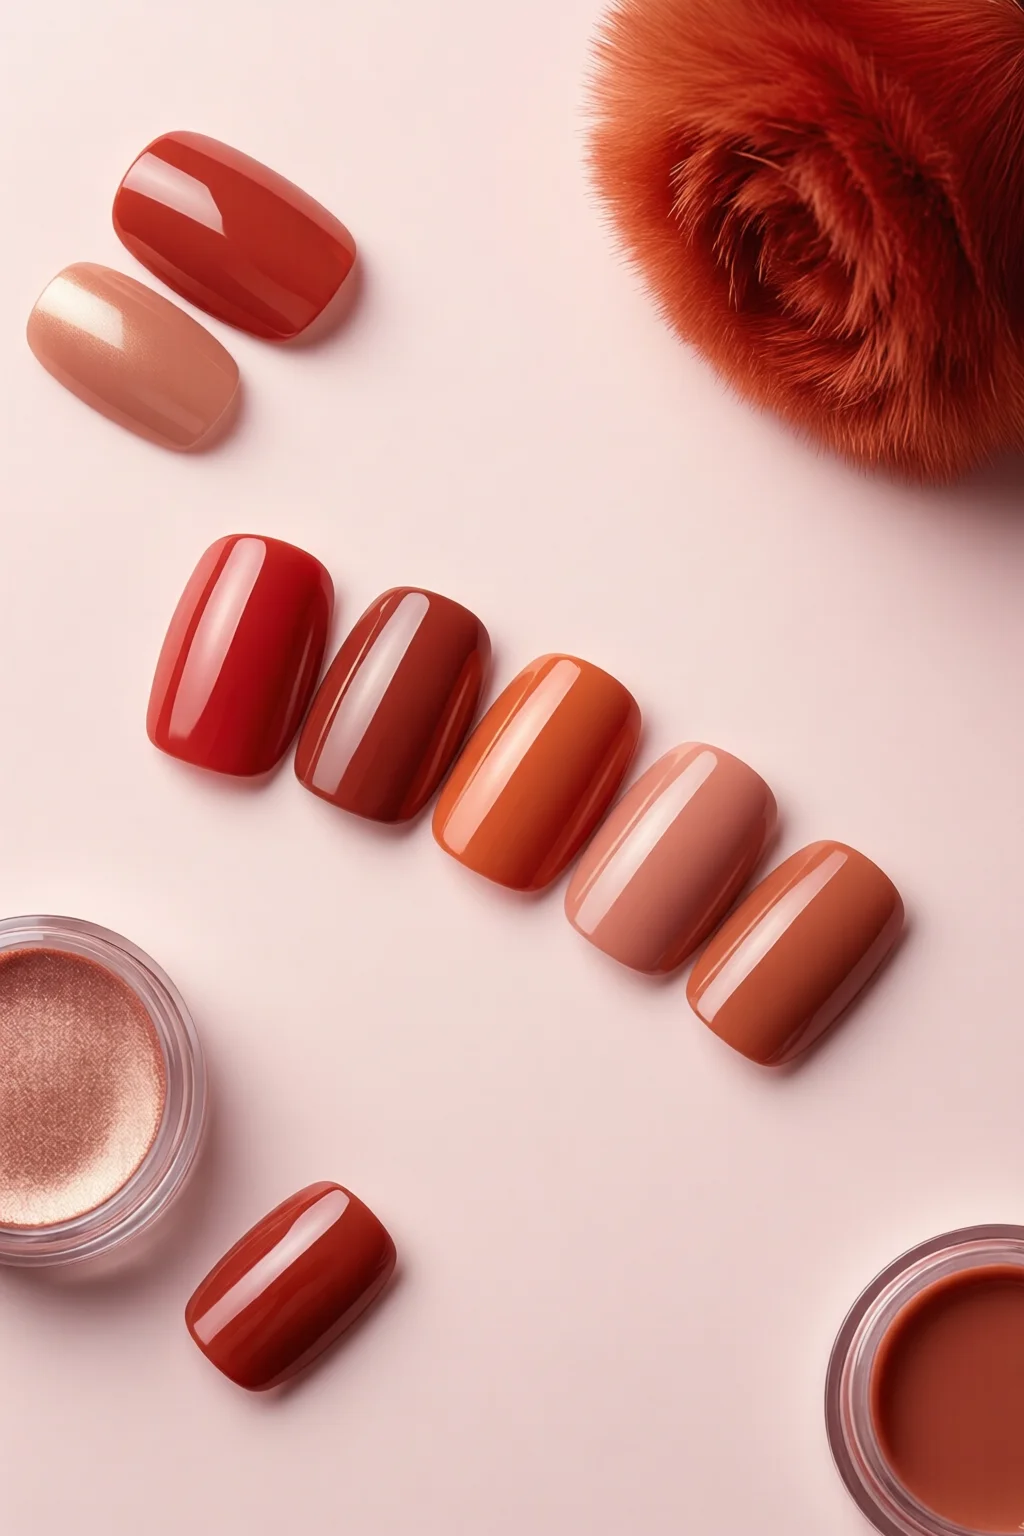
Apply a thin base coat, let it cure for 60 seconds (if using a UV lamp, 30 seconds per layer). Choose any color – a classic French manicure works beautifully with round nails, especially when paired with the latest French manicure trends 2026. Finish with a top coat for extra shine and durability.
Seal the cuticles with a dab of cuticle oil and massage it in; this keeps the nail‑plate hydrated and reduces breakage.
Common Mistakes to Avoid
Mistake 1: Sawing the file. Back‑and‑forth motion creates micro‑tears that lead to splitting. Keep strokes long and smooth.
Mistake 2: Over‑filing the tip. Removing too much length destroys the natural curve and makes the nail prone to bending. Stick to the 2‑3 mm guideline.
Mistake 3: Ignoring nail health. Filing wet nails or neglecting strengtheners can cause brittleness. Always moisturize and use a strengthening product.
Mistake 4: Using the wrong file grit. A coarse file on thin, natural nails can cause gouging. Reserve coarse grit for artificial extensions only.
Tips for Best Results and Troubleshooting
- Maintain consistency. File all nails in one direction to avoid uneven surfaces.
- Check for symmetry every two steps. A quick visual comparison prevents cumulative errors.
- Use a nail drill sparingly. If you opt for a drill, set it to the lowest speed (≈1500 RPM) and use a soft polishing bit.
- Prevent chipping. Apply a 2‑step top coat system like OPI Top Coat + OPI Quick‑Dry Top Coat – the combo extends wear time by up to 45%.
- For extra flair. Pair the round nail shape with ballerina nails or try a subtle navy blue nails design for an elegant twist.
- When nails feel weak. Pause the shaping process, apply an additional coat of CND Resilience, and let it sit for 5 minutes before filing again.
If you notice a “spike” forming at the tip, you’ve over‑filmed. Lightly sand the spike with a fine buffer and re‑file the sidewalls to smooth the curve.
Summary
The round nail shape is the timeless, low‑maintenance option that works for any lifestyle or fashion statement. By following the five‑step process—prep, rough shape, refine, buff, and finish—you’ll achieve a resilient, elegant curve that showcases polish beautifully and lasts longer than many other shapes. Remember to avoid common pitfalls like sawing the file and over‑filing, and always prioritize nail health with strengtheners and cuticle oil.
How long does it take to shape a round nail?
For a set of natural nails, expect 15‑20 minutes total: 5 minutes for prep, 8‑10 minutes for filing, and 2‑3 minutes for buffing and polishing.
Can I do a round shape on acrylic extensions?
Yes, but use a coarse‑grit file first to shape the bulk, then switch to fine grit to smooth the curve. Finish with a buffer designed for acrylics.
Is the round nail shape suitable for people with weak nails?
Absolutely. Its low‑profile curve reduces stress on the nail plate, especially when paired with a strengthening treatment like CND Resilience.
What polish finishes look best on round nails?
Glossy finishes and subtle shimmer work wonderfully; they accentuate the smooth curve. For a modern edge, try a matte top coat over a glossy base.
How often should I re‑file round nails?
Every 2‑3 weeks, depending on growth. Lightly smooth the sidewalls to maintain the shape without removing too much length.