
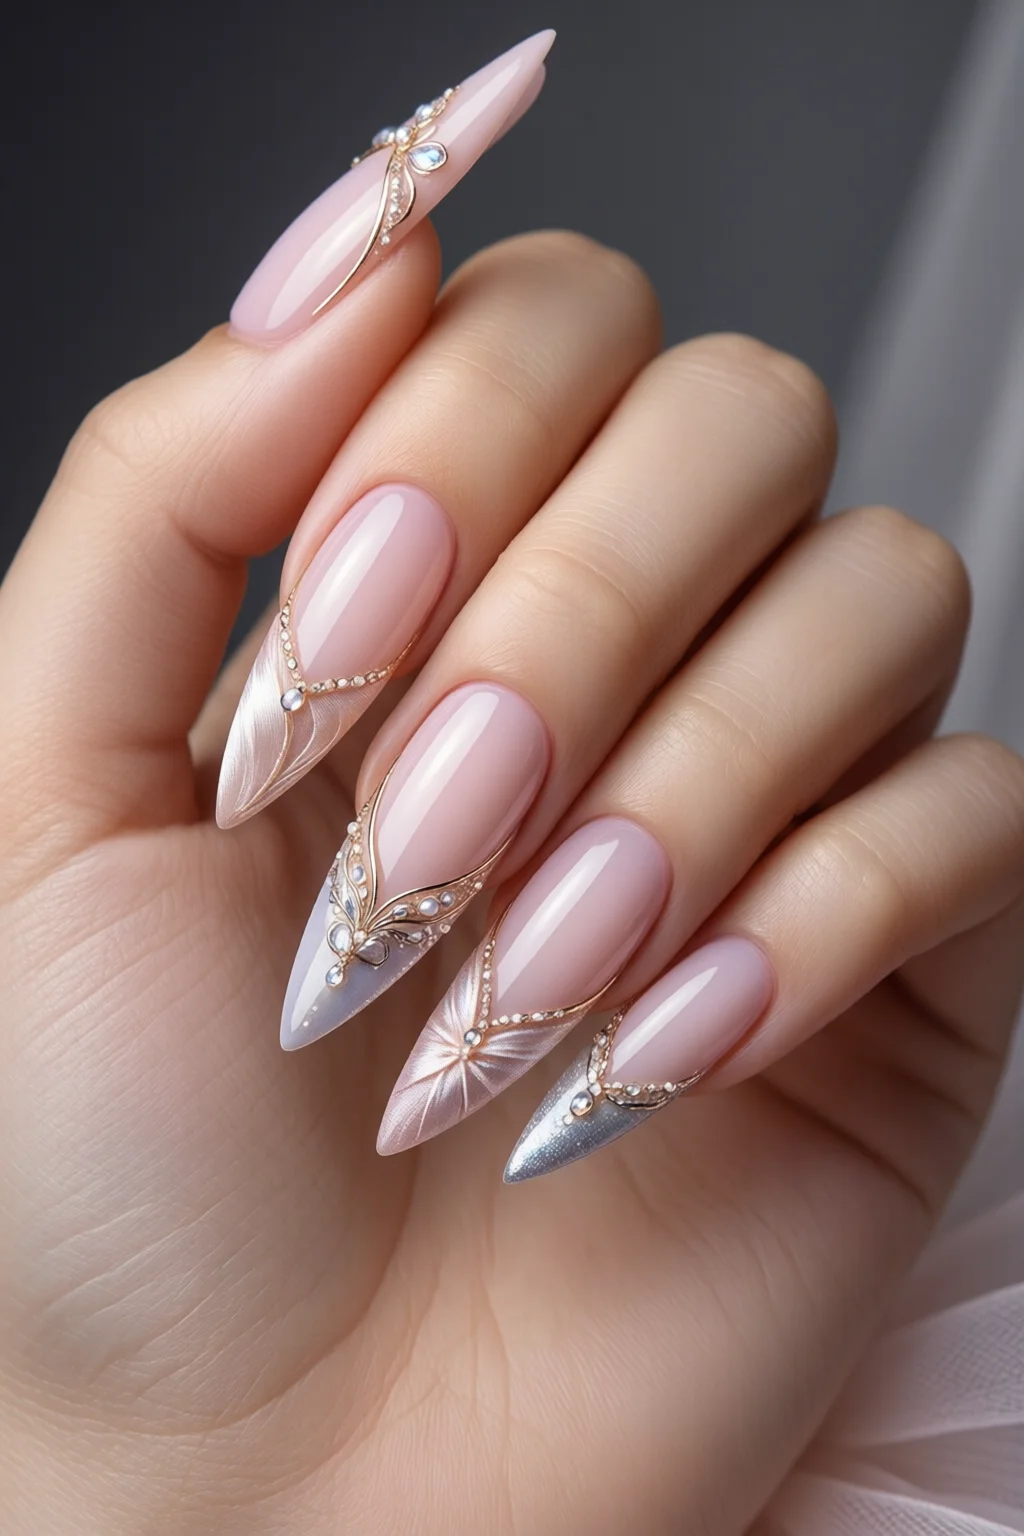
Last spring I was backstage at a local ballet recital, watching the dancers glide across the stage in ivory pointe shoes and delicate tutus. One of the soloists lifted her arm, and I swear every audience member’s eye was drawn to the soft, pearlescent nails she wore – a perfect echo of the choreography. Those “ballerina nails” turned a simple manicure into a statement piece that complemented the performance without stealing the spotlight. In this guide you’ll learn exactly how to recreate that ethereal look at home, whether you’re a seasoned nail tech or a beginner craving a graceful, runway‑ready finish.
In This Article
What You Will Need (Before You Start)
- Base coat – OPI Natural Nail Base (USD $8.50, 15 ml)
- Sheer pastel gel polish – Gelish Ballet Pink #12 (USD $13, 10 ml)
- Matte top coat – CND Vinylux Matte Topcoat (USD $12, 15 ml)
- Fine‑line brush (0.25 mm tip) – KISS Precision Nail Art Brush (USD $4.99)
- Glitter powder – Sally Hansen Glitter Dust, Pearl White (USD $5.95, 2 g)
- Cuticle oil – Essie Cuticle Oil (USD $6.99, 5 ml)
- Nail file (180/240 grit) – Revlon Nail File (USD $2.49, pack of 5)
- Buffer block – OPI Buffer Block (USD $3.79)
- LED lamp (if using gel) – SUNUV 48W LED Lamp (USD $29.99)
- Micro‑sponges (for gradient) – Mia Secret Micro Sponge Set (USD $7.95)
- Optional: tiny rhinestones (2 mm) for extra sparkle – Beadazzle Rhinestones (USD $4.50, 100 pcs)
Step 1: Prep Your Canvas
Start with clean, dry nails. Remove any old polish using nail polish bubbles prevention tips: a cotton pad soaked in acetone, followed by a quick swipe with a lint‑free wipe. Push back cuticles gently with an orange stick, then moisturize with cuticle oil. In my experience, skipping the oil step leads to uneven polish adhesion, especially on the delicate tip area where ballerina nails demand a flawless finish.
Step 2: Shape & File
For the classic ballerina silhouette, aim for an almond shape with a subtle point. File each nail at a 1 mm angle from the side wall toward the tip, using a 180‑grit file for the initial shape and a 240‑grit for smoothing. The final length should be around 10‑12 mm from the cuticle for a balanced look; anything shorter looks more like a classic French, while longer nails risk chipping the fine details.
Step 3: Base Coat & Color Selection
Apply a thin layer of OPI Natural Nail Base, curing under the LED lamp for 30 seconds. The base creates a smooth canvas and prevents staining from the pastel gel. Next, choose a sheer pink or ivory gel as your base color – Gelish Ballet Pink #12 is perfect because it mimics the hue of a dancer’s skin tone while staying translucent. Apply two coats, curing each for 45 seconds. If you prefer a matte finish, swap the glossy top coat for the CND Vinylux Matte Topcoat in this step, but I recommend saving matte for the final seal to preserve the subtle sheen of the glitter.
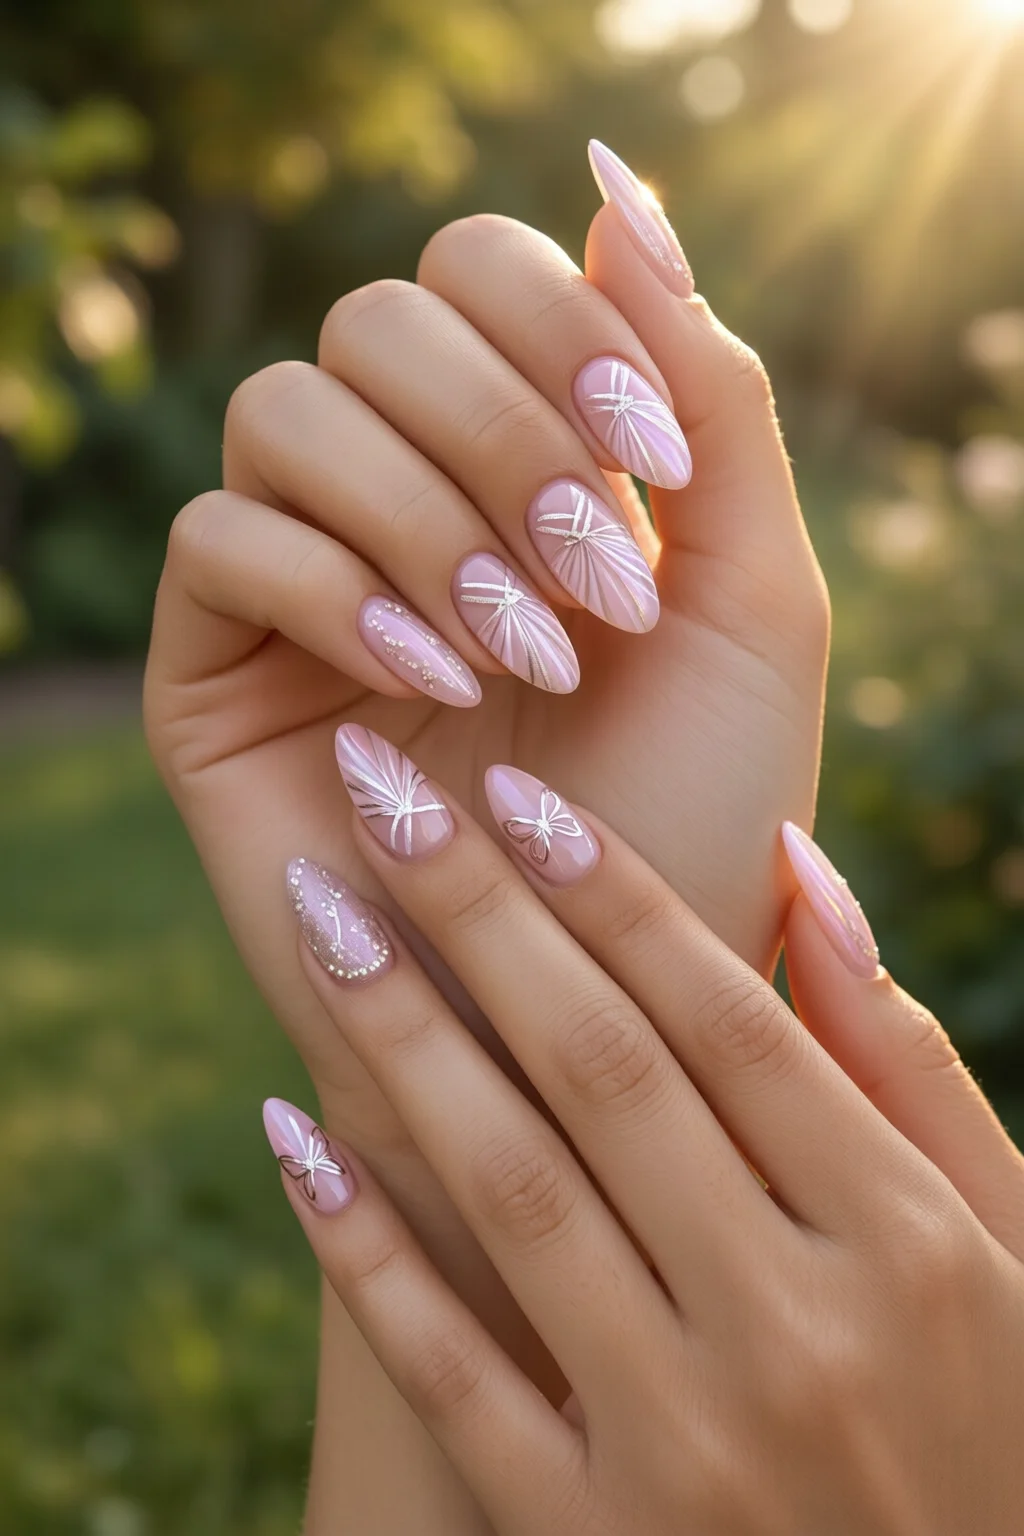
Step 4: Creating the Ballerina Silhouette
Using the fine‑line brush, dip into a slightly darker shade – for instance, Gelish Ballet Pink #12 mixed with one drop of Gelish Deep Plum #02 to achieve a soft contrast. Draw a gentle curve from the cuticle to the tip, mimicking the arch of a dancer’s foot. Keep the line thin (about 1 mm) and follow the natural curve of the nail. If you’re nervous about free‑hand drawing, practice on a piece of tracing paper first. Once the line is dry (or cured for 30 seconds), lightly dust pearl white glitter over the curve using a micro‑sponge, then tap off excess.
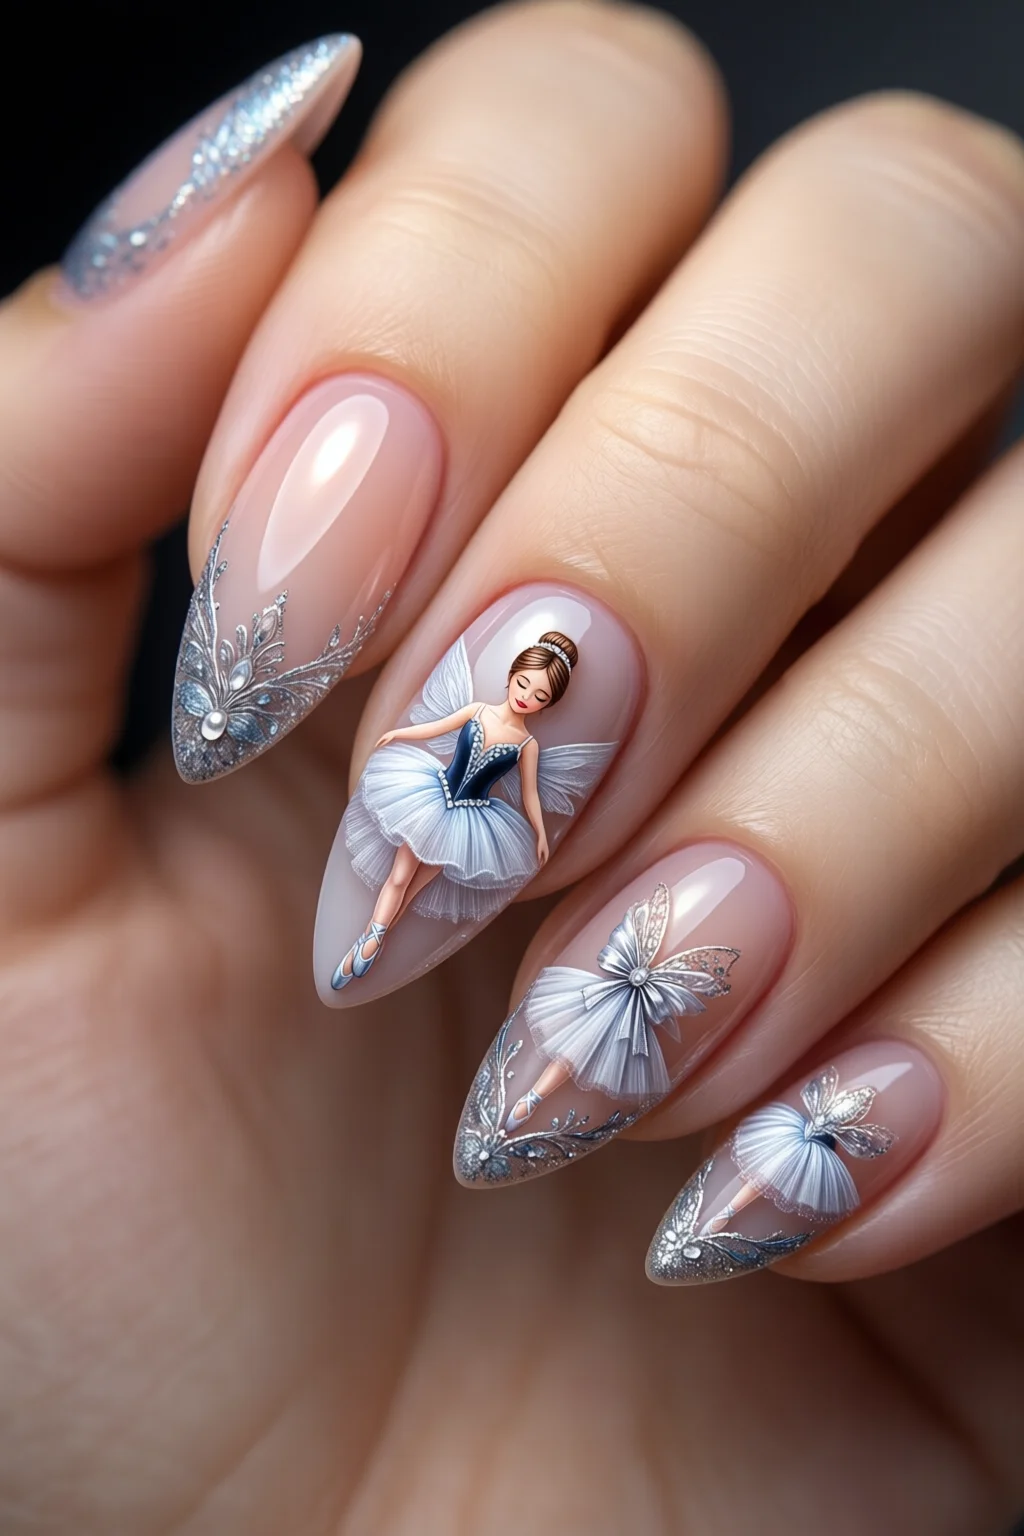
Step 5: Add the Tutu Detail
The tutu is the signature element of ballerina nails. Mix a tiny amount of white glitter dust with a clear gel enhancer (CND Clear Gel Enhancer, USD $11). Using the micro‑sponge, dab the mixture onto the tip area in a fan shape, creating a soft, feathery gradient that resembles layers of tulle. For extra dimension, place a few 2 mm rhinestones near the base of the fan – a single rhinestone per nail adds sparkle without overwhelming the design. Cure for 45 seconds.
Step 6: Finishing Touches & Top Coat
Seal the design with a generous layer of CND Vinylux Matte Topcoat to lock in the glitter and prevent chipping. Cure for 60 seconds, then wipe the tacky layer with a lint‑free pad soaked in isopropyl alcohol (70%). Finish with a final dab of Essie Cuticle Oil to hydrate the surrounding skin. Your ballerina nails are now ready for the spotlight. Expect the manicure to last 10‑14 days with proper care, especially if you avoid harsh chemicals and wear gloves while cleaning.
Common Mistakes to Avoid
- Skipping the buffer block. Without smoothing the nail surface, the glitter can settle unevenly, creating a patchy look.
- Using too much pigment. Overloading the brush with gel makes the silhouette look blotchy; dilute with a few drops of gel base.
- Applying thick topcoat. A thick layer traps air bubbles, which can ruin the matte finish. Apply a thin, even coat.
- Neglecting cuticle care. Dry cuticles cause the polish to lift at the base, especially on the delicate almond shape.
- Choosing the wrong nail length. Nails shorter than 8 mm don’t provide enough canvas for the tutu gradient, while nails longer than 14 mm increase breakage risk.
Troubleshooting & Tips for Best Results
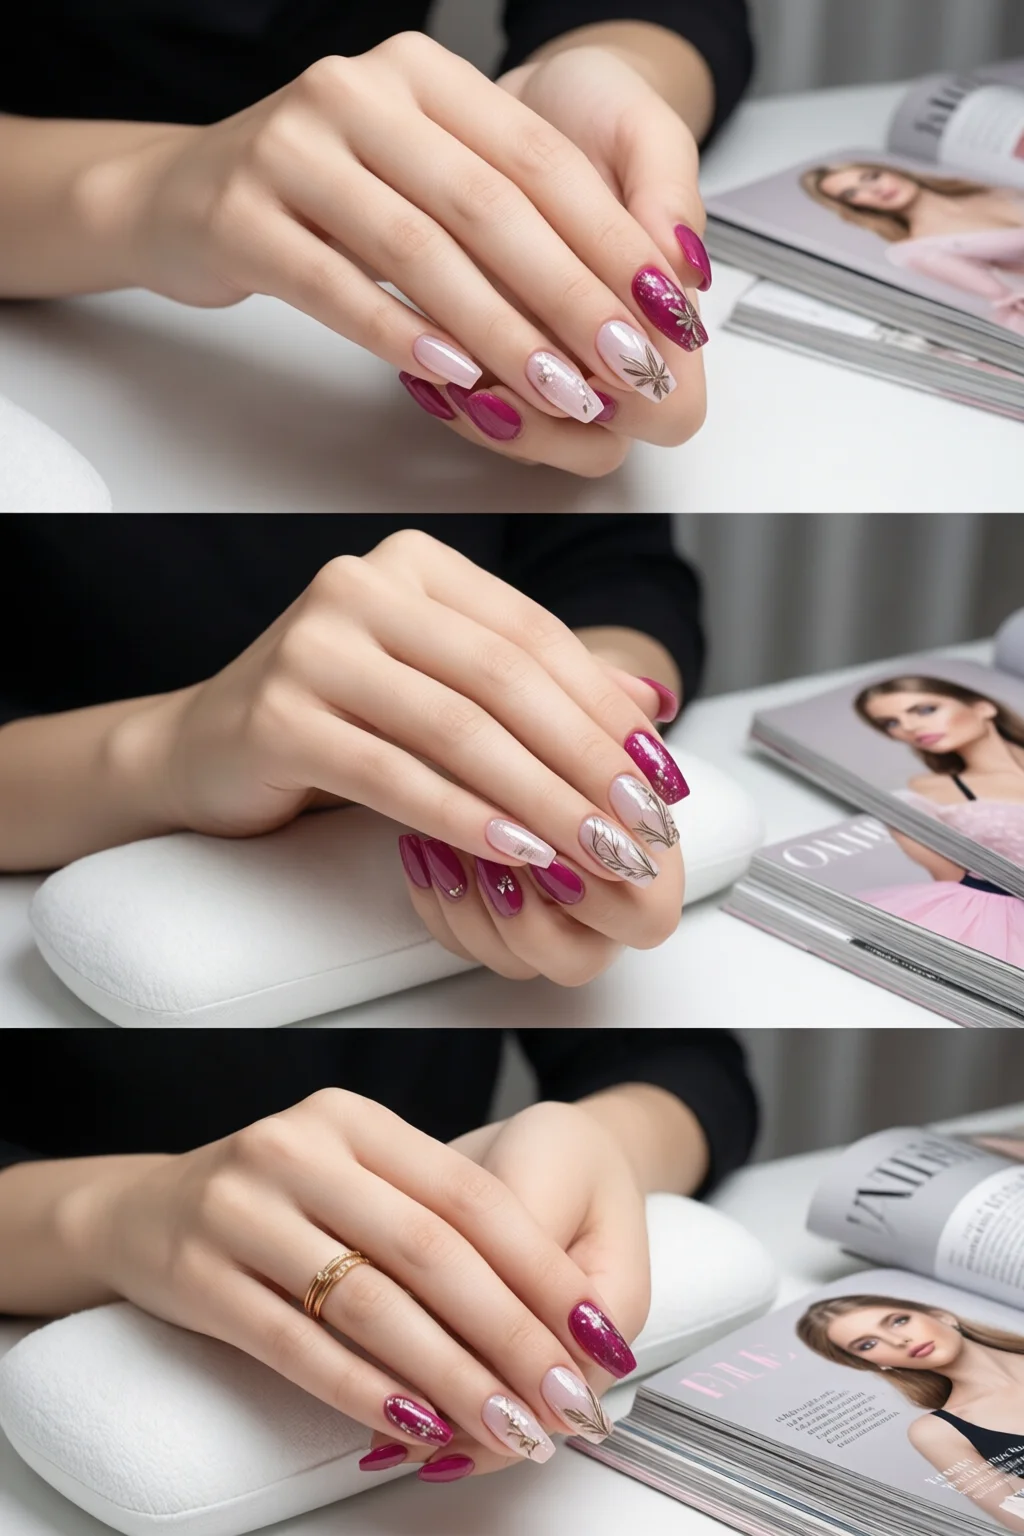
If you notice dip powder residue or bubbles under the glitter, lightly file the surface with a 240‑grit file and reapply a thin clear gel layer before adding the final topcoat. For a more vibrant silhouette, swap the pastel pink base for navy blue nails and use a silver glitter dust; the contrast creates a dramatic “night‑ballet” effect while retaining elegance.
When working with gel, always cure for the full recommended time; under‑curing leads to premature chipping, especially on the delicate feathered tutu. I’ve found that extending the final topcoat cure by an extra 10 seconds adds a noticeable increase in durability.
For those who love a high‑gloss finish, replace the matte topcoat with the chrome French tips topcoat – it adds a reflective sheen that mimics the sparkle of stage lights. Conversely, if you prefer a soft, muted look, the milky French tips product (milky French tips) can be layered under the matte topcoat for a subtle glow.
Summary
Creating ballerina nails is all about balance – a delicate pastel base, a graceful silhouette, and a feather‑light tutu finish. With the right tools, a steady hand, and a few pro tips, you can achieve a manicure that feels as light as a pirouette and lasts through rehearsals, performances, or everyday life. Remember to prep, shape, and protect each step, and you’ll enjoy a salon‑quality result without the hefty price tag.
How long do ballerina nails typically last?
With proper prep, a high‑quality gel topcoat, and gentle care, ballerina nails can last 10‑14 days before noticeable wear. Avoid harsh chemicals and use gloves when cleaning to extend longevity.
Can I do ballerina nails without a LED lamp?
Yes, you can use a high‑quality regular nail polish and a matte topcoat, but the durability will be lower (about 5‑7 days). Gel provides the smooth, chip‑resistant finish that makes the tutu details stand out.
What colors work best for the tutu gradient?
Pearl white, soft ivory, or a very light champagne glitter work best for a classic ballerina look. For a bold twist, try silver or rose gold glitter on a deeper base such as navy or mauve.