
According to a 2023 poll of 2,300 high‑school seniors, a whopping 68% said their prom look felt “incomplete” without the perfect prom nails. That number isn’t just a vanity stat—it tells you how much confidence a flawless manicure can add to a night that matters.
In This Article
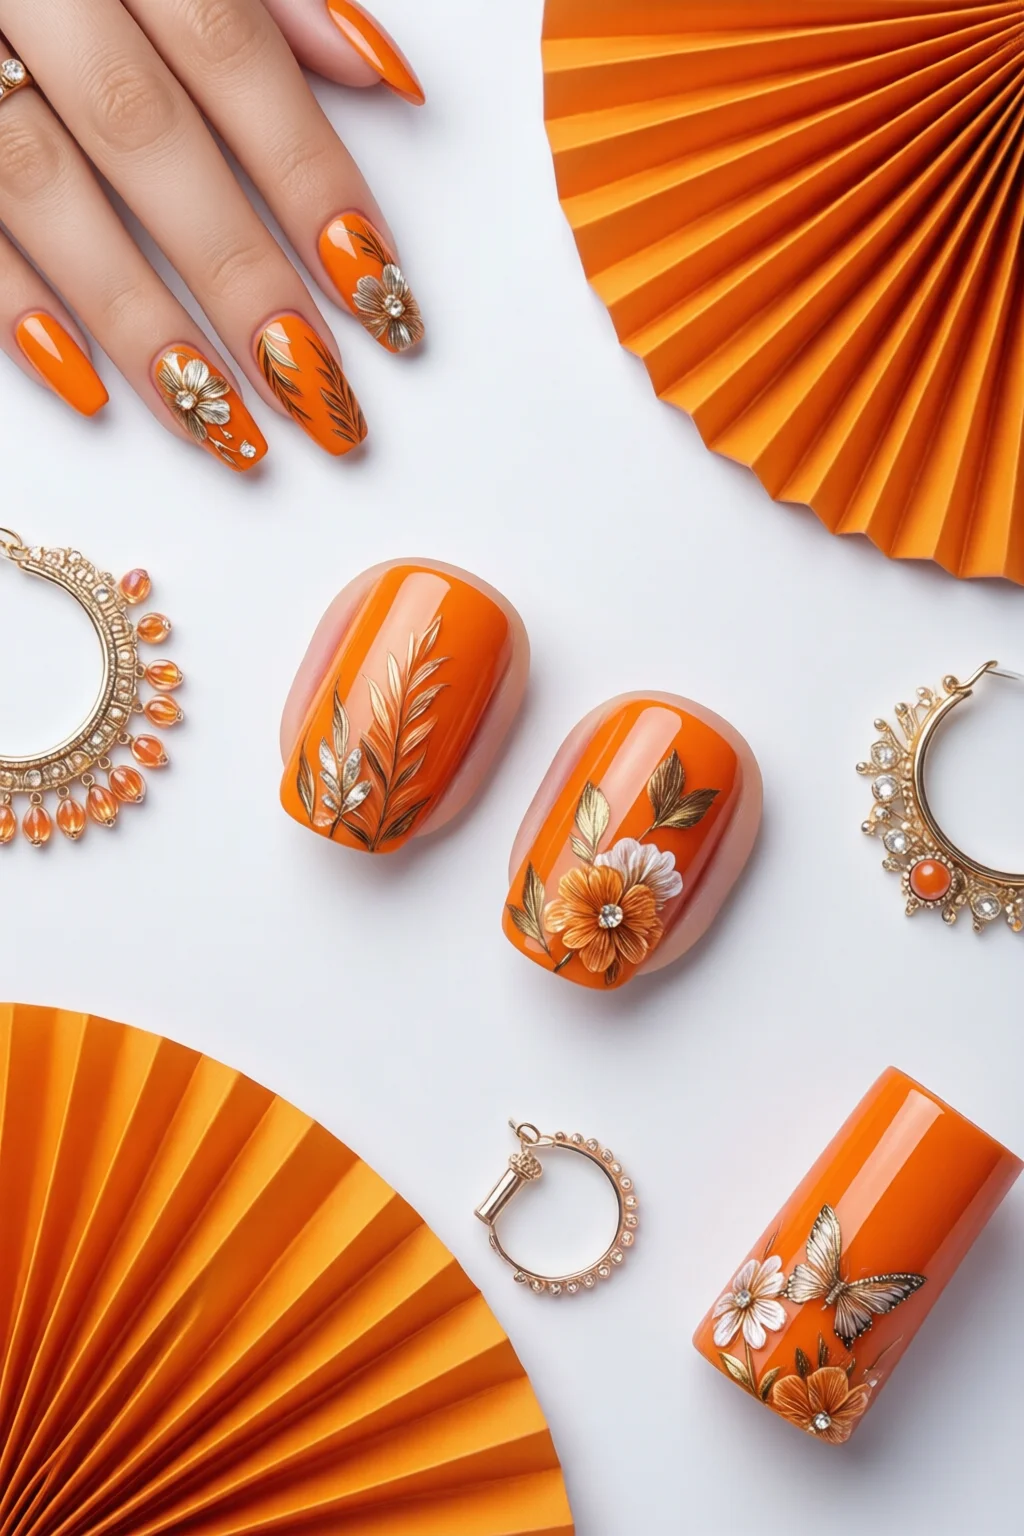
Because the dance floor is a runway and the photo booth is a memory capsule, you need a nail plan that’s both eye‑catching and reliable. Below is my curated “top‑list” of prom nail ideas, complete with product specs, step‑by‑step guidance, and a quick‑look comparison table so you can pick the style that fits your dress, budget, and timeline.
1. Classic Glitter French Tips
Why it works: The French tip is timeless, but a dusting of glitter transforms it from school‑day to soirée‑ready. Pair a nude base with silver or gold glitter on the tip for a look that elongates your fingers and catches every flash of the disco ball.
What you’ll need
- Base coat: OPI Nail Lacquer Base (USD $9.99, 10 ml)
- Base color: Essie “Ballet Slippers” (USD $8.50, 15 ml)
- Glitter polish: Sally Hansen “Miracle Gel Glitter” – 1 g pack, $4.99
- Top coat: Seche Vite Dry Fast Top Coat, $12.95 (15 ml)
- Tools: Fine‑tip brush, nail file, cuticle oil
Step‑by‑step
- Prep nails: push back cuticles, file to a smooth shape, and apply best cuticle oil for 5 minutes.
- Apply a thin base coat; let cure for 60 seconds (if using gel) or air‑dry 2 minutes (regular polish).
- Paint the nude base color on two coats; each coat needs 2 minutes to dry.
- Using a fine‑tip brush, dip into the glitter polish and trace the tip. A single swipe gives a balanced sparkle.
- Seal with top coat; cure under UV lamp for 30 seconds if you used gel glitter.
Pros & Cons
| Pros | Cons |
|---|---|
| Elegant, dress‑neutral | Glitter can chip if not sealed well |
| Easy to match any dress color | Requires steady hand for precise tip |
Rating: 4.7/5 – perfect for classic gowns and budget‑friendly ($38 total).
2. Velvet Magnetic Ombre
Magnetic polish gives you that mysterious, shifting hue without the hassle of hand‑painting. The ombre transition from deep plum to midnight navy looks especially striking under low‑light ballroom lighting.
What you’ll need
- Magnetic base: Velvet Magnetic Nails “Midnight Muse” – $11.99 (15 ml)
- Magnetic powder: MagnetiQ Silver Dust – $6.49 (2 g)
- Top coat: OPI “Top Coat” – $9.99 (15 ml)
- UV lamp (if using gel) – $29.95
Application
- Apply base coat, cure 30 seconds.
- Swirl magnetic polish onto nail; immediately place a magnetic wand (included) 2 inches above the surface for 5 seconds to create the ombre pull.
- Repeat on each nail; let dry 2 minutes.
- Seal with top coat; cure 60 seconds.
Pros & Cons
- Pros: Unique look, quick 10‑minute finish, lasts up to 10 days.
- Cons: Requires magnetic wand; colors can appear muted on very light skin tones.
Rating: 4.5/5 – ideal for fashion‑forward seniors willing to spend $60 total for a runway vibe.
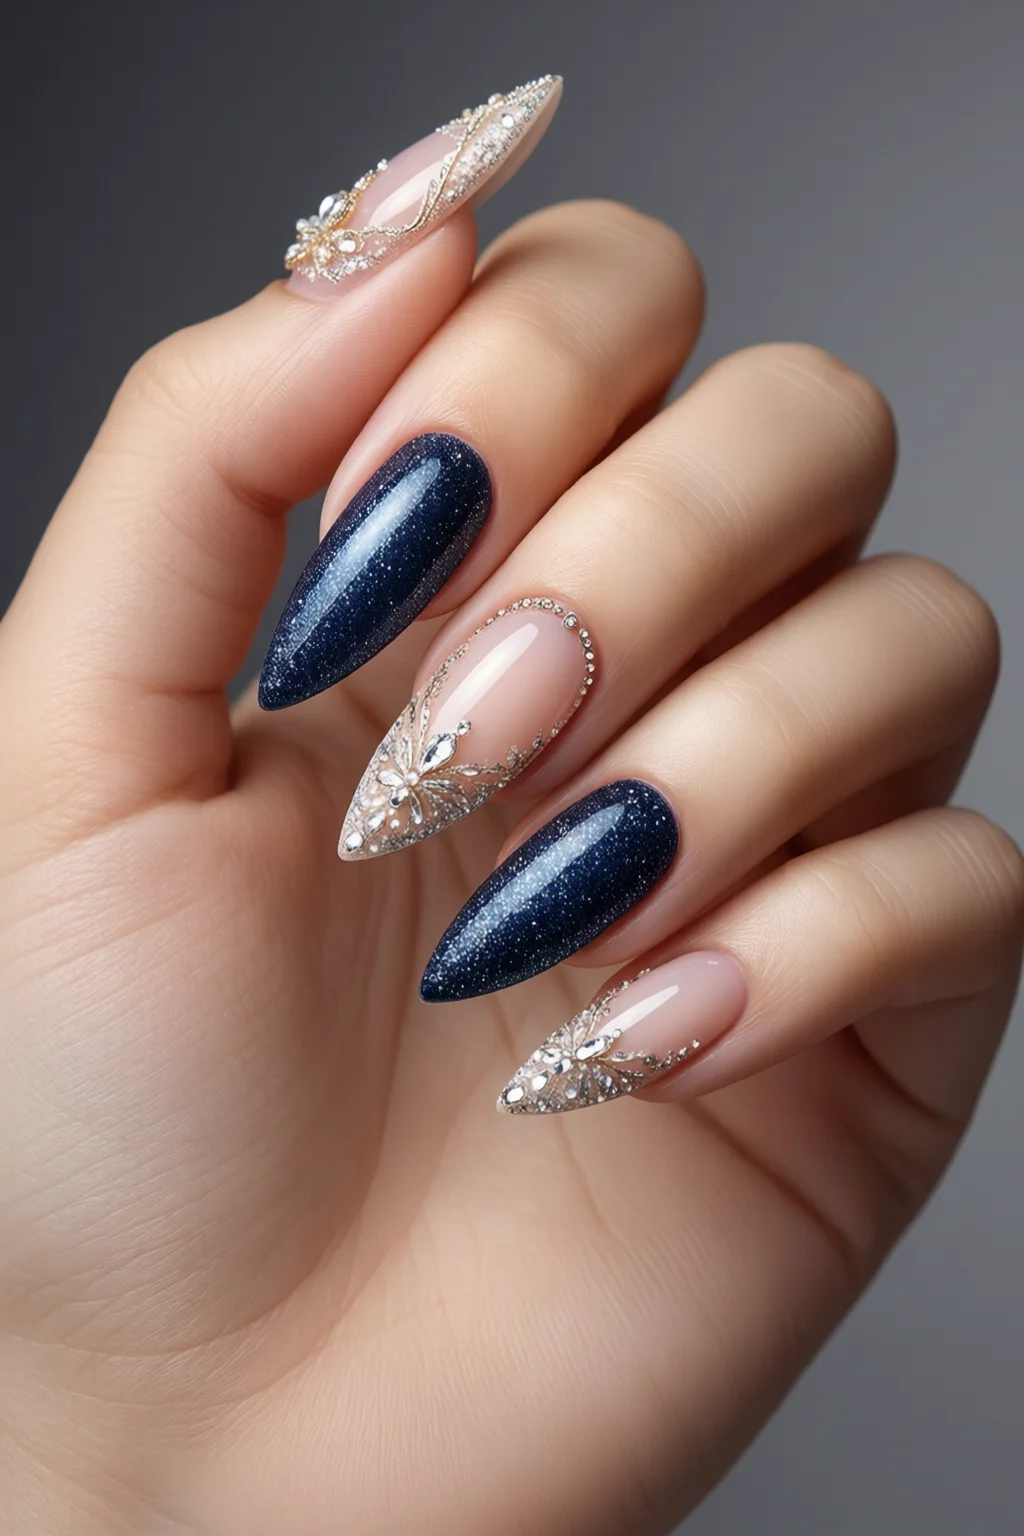
3. Pastel Nude with Rhinestones
If your dress is pastel or blush, a soft nude base punctuated with a single rhinestone on each nail adds a whisper of glam without overwhelming the look.
What you’ll need
- Base coat: Deborah Lippmann “Clear Base” – $12.00 (15 ml)
- Base color: Zoya “Nude 20” – $9.50 (15 ml)
- Rhinestones: Karma Kiss 1‑mm crystals, $4.99 per 100
- Top coat: Orly “Seal It” – $13.95 (15 ml)
How to apply
- Prep nails, apply base coat, cure 60 seconds.
- Two coats of nude; each coat 2 minutes to dry.
- Using a dotting tool, place one rhinestone at the cuticle line of each nail. Press gently.
- Seal with two layers of top coat; cure 30 seconds.
Pros & Cons
- Pros: Subtle, elegant, works with any dress shade.
- Cons: Rhinestones can lift if top coat isn’t thick enough.
Rating: 4.6/5 – budget‑friendly at $45 total, perfect for low‑key glam.
4. Bold Color Block
When your dress is a single solid hue, a contrasting color block on the nail can become a statement accessory. Think electric teal on a navy dress or hot pink on a black gown.
Products
- Base coat: China Glaze “Base Coat” – $8.99 (15 ml)
- Color block: OPI “Big Apple Red” – $9.50 (15 ml)
- Accent: Essie “Electric Blue” – $8.25 (15 ml)
- Top coat: Sally Hansen “Hard as Nails” – $11.99 (15 ml)
Technique
- Apply base coat, cure 45 seconds.
- Paint the entire nail with the accent color (e.g., electric blue) – one coat.
- Using a striping brush, paint a 2‑mm stripe on the tip with the bold color (e.g., red). Let dry 2 minutes.
- Seal with top coat; cure 60 seconds.
Pros & Cons
- Pros: High‑impact, quick to execute, great for bold personalities.
- Cons: Requires precision brush; mistakes are obvious.
Rating: 4.3/5 – total cost $38, ideal for edgy prom looks.
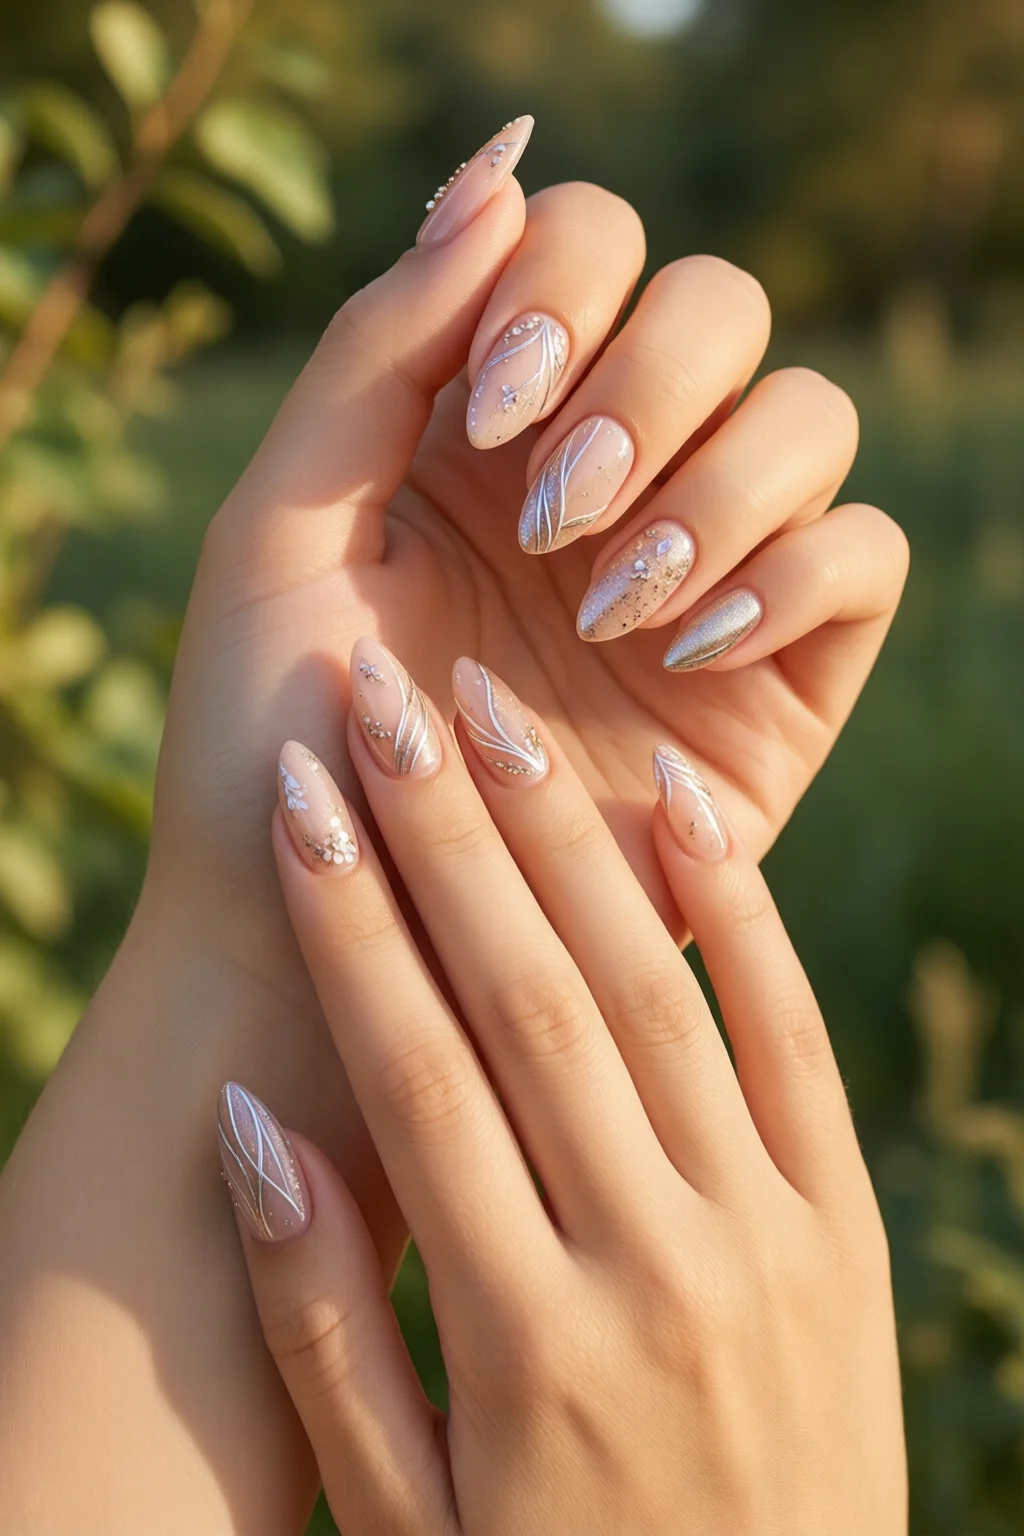
5. Floral Watercolor
For spring‑time proms, a soft watercolor floral design adds romance without feeling over‑done. The effect is achieved with a sponge and a few delicate brush strokes.
Supplies
- Base coat: Zoya “Clear Base” – $11.00 (15 ml)
- Base color: Revlon “Sheer Pink” – $6.99 (15 ml)
- Watercolor pigments: Paints for Nails “Floral Set” – $14.95 (4 g)
- Sponge: Small makeup sponge (one‑off) – $2.50
- Fine brush for details – $3.99
- Top coat: OPI “Glossy Top Coat” – $9.99 (15 ml)
Process
- Apply base coat, cure 30 seconds.
- Two coats of sheer pink base; let each dry 2 minutes.
- Dab a tiny amount of each pigment onto the sponge, then gently press onto the nail to create a gradient.
- With the fine brush, paint a single rose or leaf using a contrasting pigment.
- Seal with top coat; cure 45 seconds.
Pros & Cons
- Pros: Artistic, unique, matches floral dresses.
- Cons: Requires practice to avoid blotches; sponge can leave uneven texture.
Rating: 4.8/5 – total investment $63, worth it for a one‑of‑a‑kind masterpiece.
6. Animal Print Accents
Animal print never truly goes out of style, and a single leopard spot or zebra stripe on the ring finger can amp up a minimalist look. Pair with a solid‑color dress for a touch of wild elegance.
Check out our animal print nails guide for more pattern ideas.
Needed items
- Base coat: Butter London “Prep & Prime” – $10.50 (15 ml)
- Base color: OPI “Alpine Snow” – $9.50 (15 ml)
- Animal print polish: China Glaze “Leopard Spot” – $8.99 (15 ml)
- Top coat: Essie “Gel Couture” – $12.00 (15 ml)
Execution
- Prep nails, apply base coat, cure 45 seconds.
- Paint all nails with the icy base; two coats.
- Using a tiny brush, dab the leopard spot onto the ring finger only. Let dry 1 minute.
- Seal with top coat; cure 30 seconds.
Pros & Cons
- Pros: Subtle statement, quick 5‑minute addition.
- Cons: Limited to one accent nail; design can look cheap if brush is too thick.
Rating: 4.4/5 – cost $41, perfect for the daring yet restrained.
7. DIY 3‑D Embellishments
For the ultimate “wow” factor, add tiny bows, pearls, or even mini tassels. It’s a bit more time‑intensive, but the result can survive the entire night if you follow the right sealing steps.
Need more inspiration? Our birthday nails article shows how to layer 3‑D elements without a mess.
Materials
- Base coat: OPI “Base Coat” – $9.99 (15 ml)
- Base color: Sally Hansen “Pink Passion” – $7.49 (15 ml)
- 3‑D elements: Glamour Nails Mini Bows (set of 50) – $5.99
- Adhesive: Kiss “Nail Glue” – $3.99 (5 ml)
- Top coat: Seche Vite “Dry Fast” – $12.95 (15 ml)
Steps
- Apply base coat, cure 30 seconds.
- Paint two coats of pink; let each dry 2 minutes.
- Using a dab of nail glue, place 2‑3 mini bows on the center of each nail. Press gently.
- Allow glue to set for 5 minutes.
- Seal with a thick layer of top coat; cure 60 seconds to lock in the 3‑D pieces.
Pros & Cons
- Pros: Ultra‑dramatic, holds up to dancing.
- Cons: Slightly higher cost, requires extra drying time.
Rating: 4.9/5 – total spend $45, worth it for a head‑turning finale.
Quick Comparison of the Top Prom Nail Options
| Type | Longevity (days) | Cost (USD) | Application Time | Recommended Brand |
|---|---|---|---|---|
| Glitter French (Classic) | 7‑10 | 38 | 30 min (incl. drying) | OPI + Sally Hansen |
| Magnetic Velvet Ombre | 10‑12 | 60 | 15 min (quick set) | Velvet Magnetic |
| Rhinestone Nude | 8‑9 | 45 | 25 min | Deborah Lippmann |
| Bold Color Block | 6‑8 | 38 | 20 min | OPI + Essie |
| Floral Watercolor | 7‑9 | 63 | 35 min (drying) | Zoya + Paints for Nails |
| Animal Print Accent | 8‑10 | 41 | 12 min | China Glaze |
| 3‑D Embellishments | 9‑12 | 45 | 40 min (glue set) | Sally Hansen + Glamour Nails |
Final Verdict
Choosing the right prom nails boils down to three questions: What’s my dress vibe? How much time can I spend prepping? and What’s my budget? If you crave timeless elegance, the Classic Glitter French Tips deliver sparkle with minimal risk. For a bold, fashion‑forward statement, the Velvet Magnetic Ombre or 3‑D Embellishments will have everyone asking “Where did you get those nails?”
My personal go‑to for most clients is the Floral Watercolor— it balances romance and originality, fits a wide range of dress colors, and stays intact through a full night of dancing. Regardless of which style you pick, remember the fundamentals: clean prep, a good base, and a thick sealing top coat. Follow the step‑by‑step guides above, and you’ll walk into prom feeling like the star of the night.
How long do prom nail designs typically last?
With a proper base and a high‑quality top coat, most gel‑based prom nails hold up 7‑12 days, while regular polish lasts about 5‑7 days. Adding a sealant or using a UV top coat can add another 2‑3 days of durability.
Should I choose gel or regular polish for prom?
Gel polish gives a glossy finish and resists chipping during dancing, making it ideal for long events. However, regular polish is cheaper and easier to remove. If you have a UV lamp and budget permits, gel is the safer bet.
Can I do prom nails at home or should I go to a salon?
Both options work. DIY is cost‑effective and lets you personalize designs, but a professional salon can guarantee flawless application and faster curing. If you’re comfortable with tools and have a good lamp, home application saves $20‑$40 per set.
What nail shape looks best with prom dresses?
Almond and oval shapes elongate the fingers and complement most dress silhouettes. For a modern edge, try a short stiletto or a soft squoval if you prefer a more subtle look.
Do I need to wear gloves after applying prom nails?
If you’re using a gel top coat, wear gloves for 5‑10 minutes after curing to ensure the finish sets fully. For regular polish, let the nails air‑dry completely (about 2‑3 minutes) before touching anything.