
Wedding nails are the silent sparkle that ties your entire bridal look together, turning a beautiful dress into a masterpiece of detail.
In This Article
When the big day arrives, every glance at your hands will be magnified—photos, vows, ring exchange, and the first toast. A flawless manicure isn’t just a luxury; it’s a confidence booster that lasts through tears, dancing, and endless selfies. In my ten‑plus years as a nail artist, I’ve seen brides panic over chipped polish and then light up when a well‑planned design stays pristine from “I do” to the after‑party.
This guide walks you through every decision point: from picking a style that matches your wedding theme, to choosing the right product, to the exact timeline you need for a stress‑free application. By the end, you’ll have a concrete action plan, budget breakdown, and pro‑level tips you won’t find on generic beauty blogs.
Choosing the Right Style for Your Wedding Theme
Classic Ivory & French – Timeless Elegance
The classic ivory base with a crisp white tip never goes out of style. Pair it with a lace veil or a satin dress for a harmonious look. I recommend using OPI Infinite Shine in “Alpine Snow” ($12.99, 15 ml) as the base and Essie “Ballet Slippers” for the tip. The opacity is 95 % after two coats, ensuring no pink undertones show through even on fair skin.
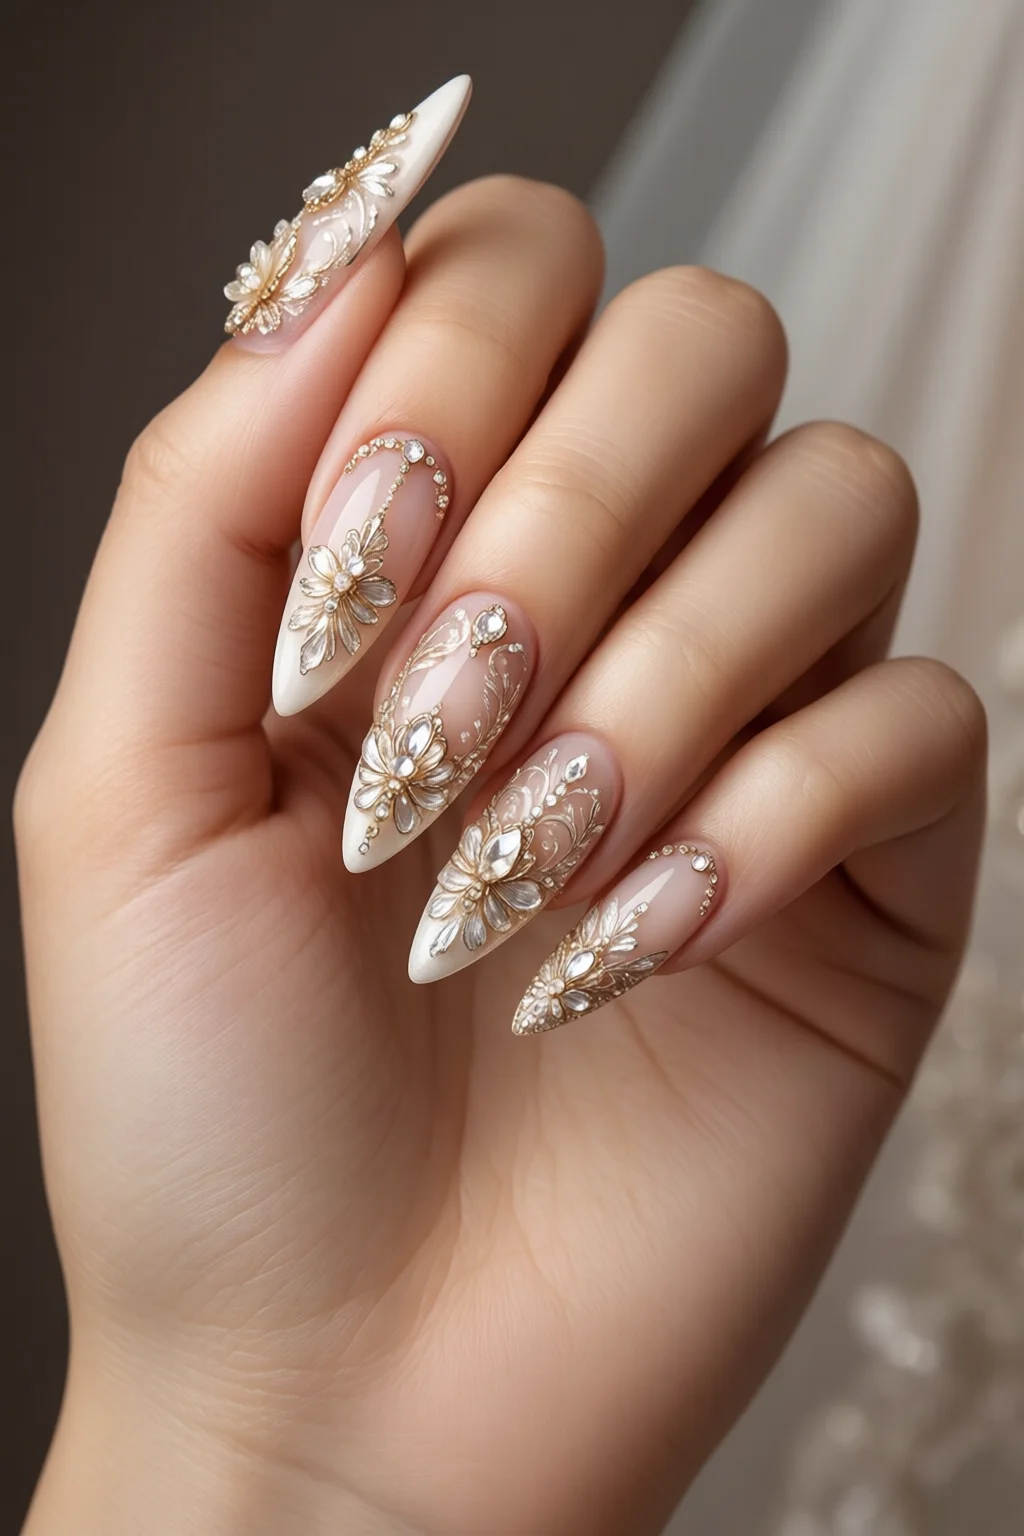
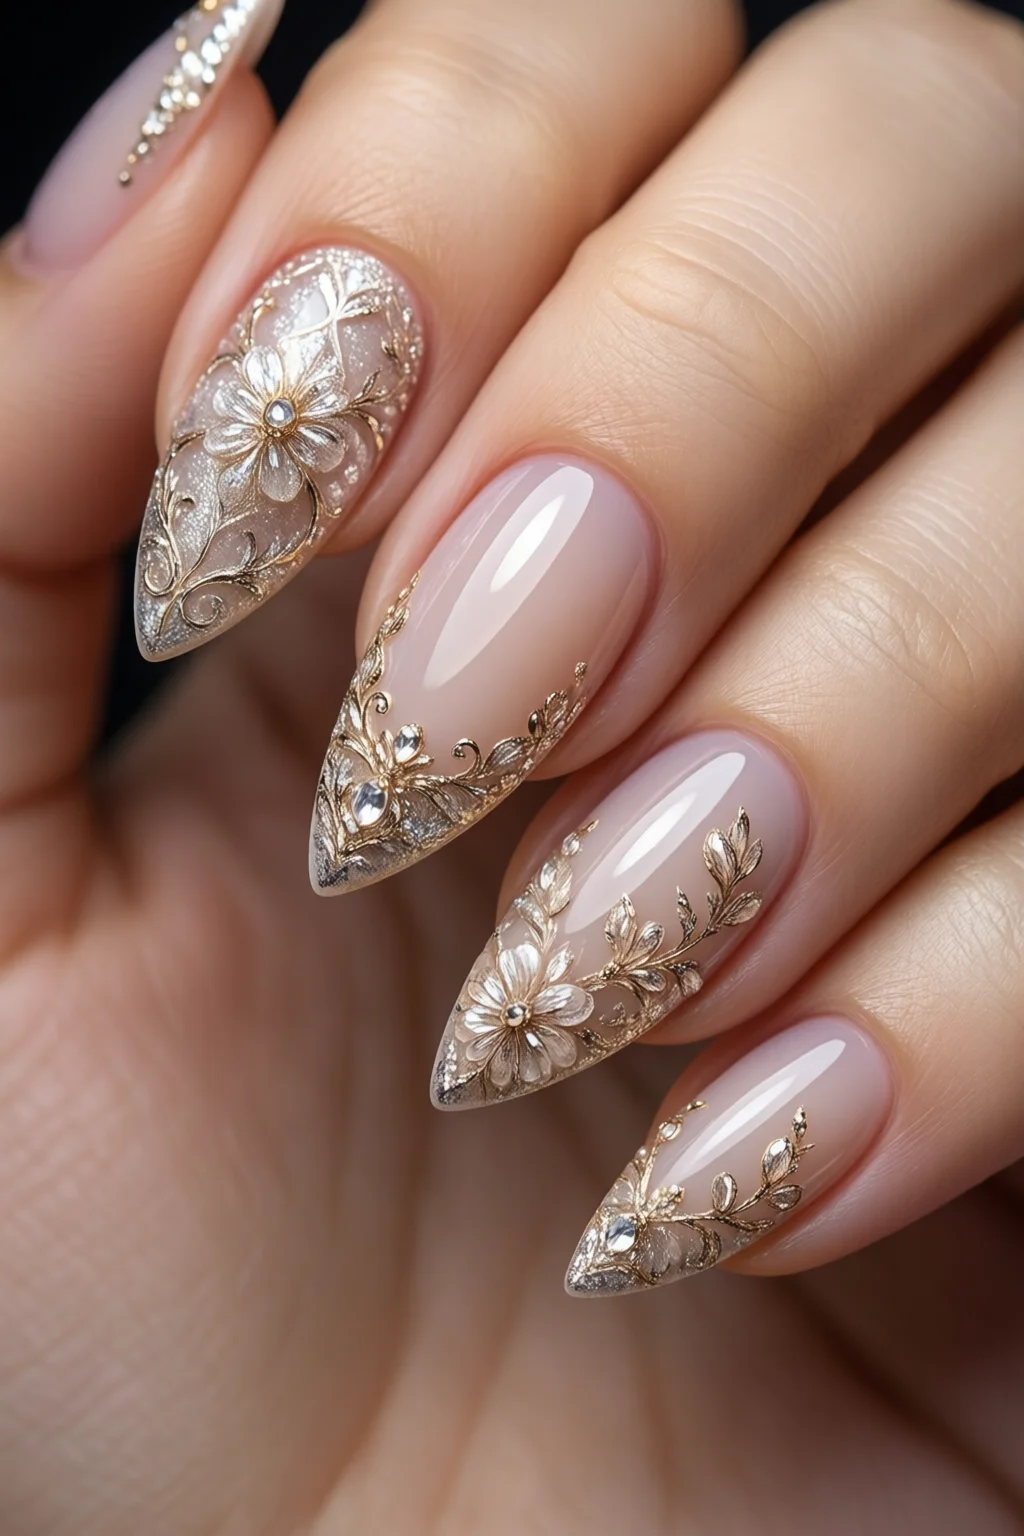
Glamorous Glitter & Swarovski – High‑Impact Sparkle
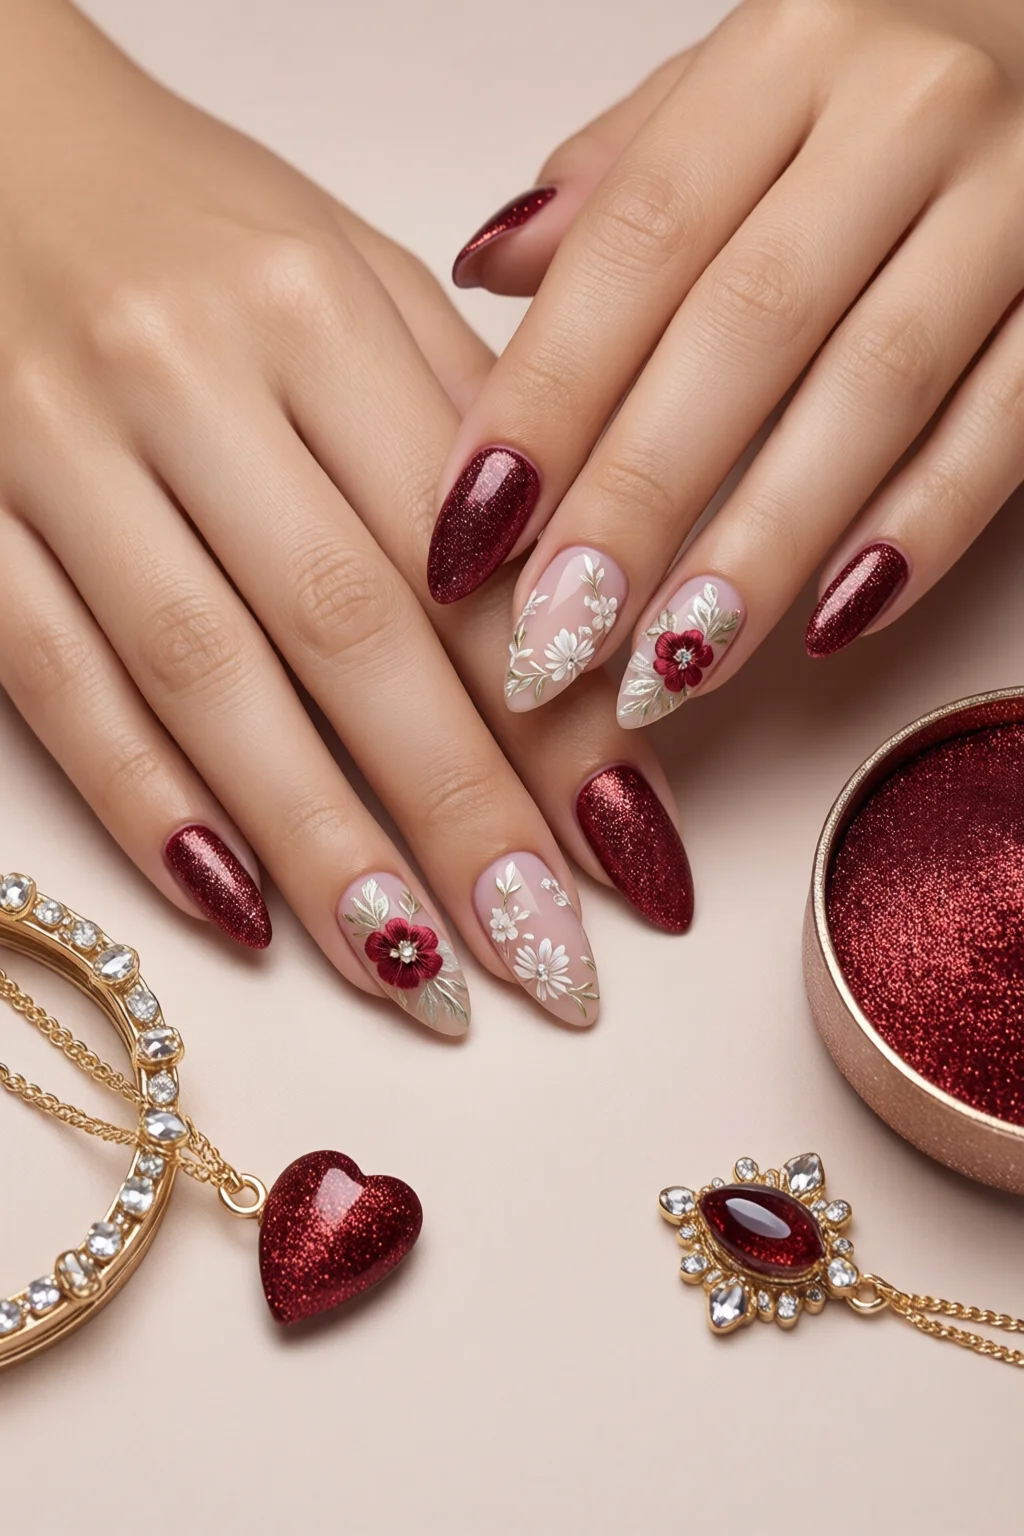
If you want your nails to steal the spotlight, incorporate fine glitter or Swarovski crystals. A thin line of Beetles Gel Glitter “Champagne” (0.2 g, $7) along the free edge creates a subtle shimmer, while a single crystal set at the ring finger’s cuticle adds a luxe touch. Remember: less is more; too much sparkle can clash with a beaded gown.
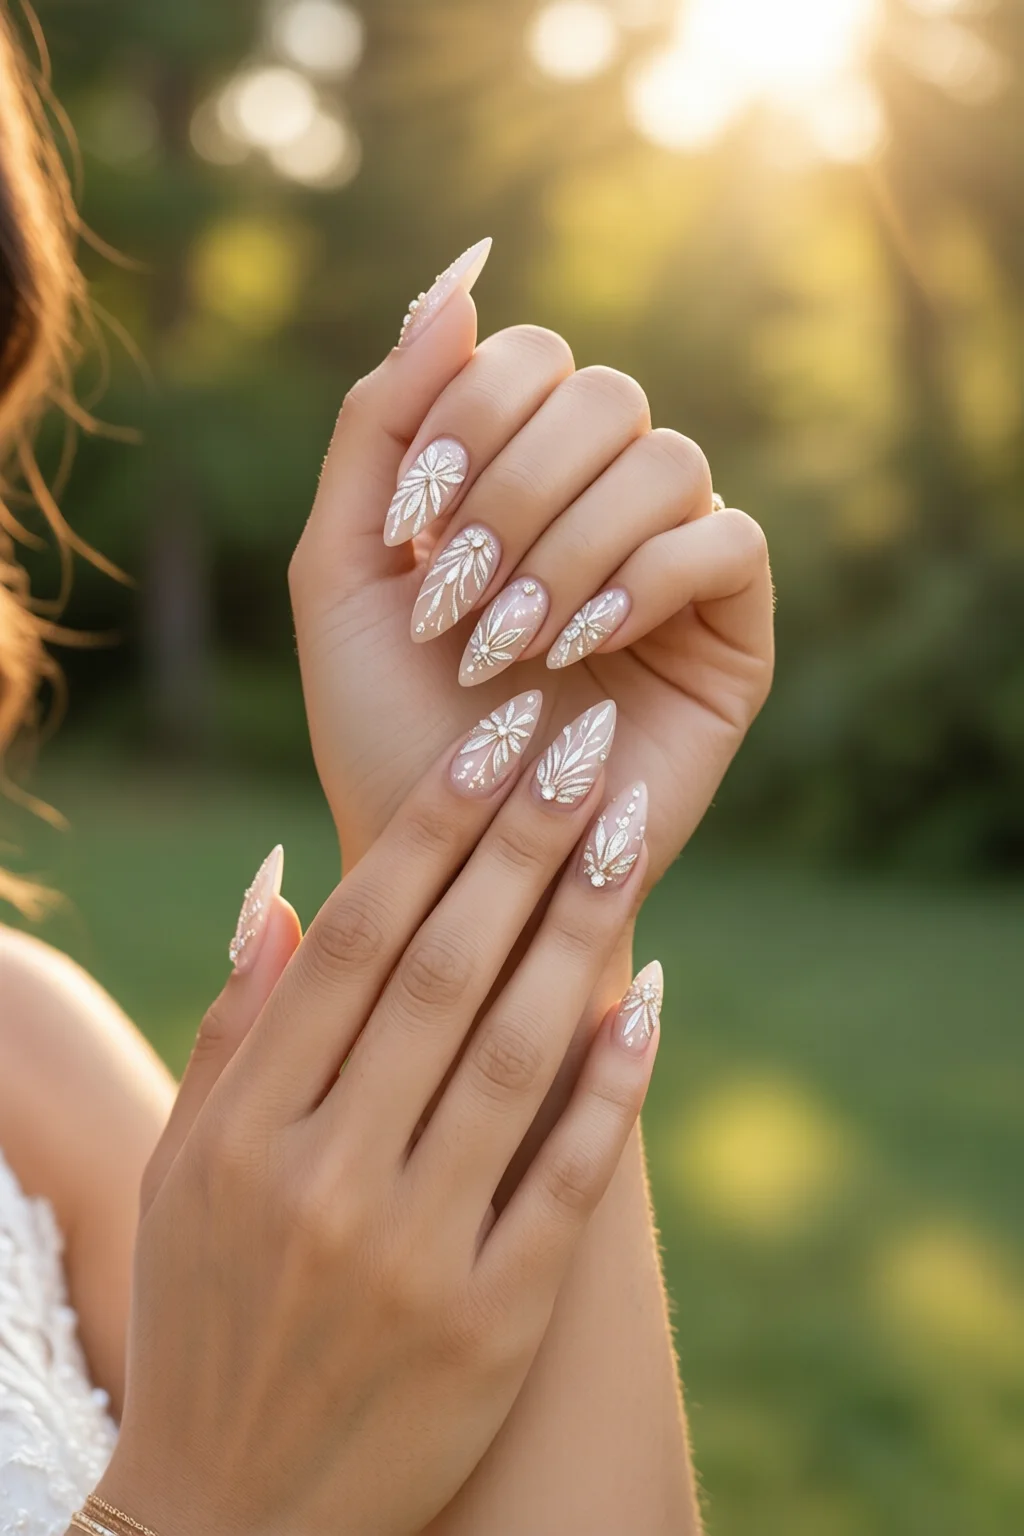
Seasonal & Color Accents – Personalized Palette
Spring brides often choose blush pinks or pastel mint; autumn weddings favor deep burgundy or burnt orange. For a summer garden, try Sally Hansen “Garden Party” (soft lilac, $9) with a tiny leaf decal from the tie dye nails collection. Keep the accent to one or two fingers so the overall look stays elegant.
Materials & Techniques: Gel, Acrylic, Dip Powder
Pros & Cons of Each System
Choosing the right medium is the foundation of lasting wedding nails.
- Gel – Provides a glossy finish, cures in 30 seconds under a LED lamp, and lasts up to three weeks. Slightly more expensive ($25 for a 60‑ml bottle of Gelish “Bridal Bliss”).
- Acrylic – Stronger, ideal for extensions, can survive up to four weeks. Requires a powder‑liquid mix; the powder costs $18 per 30 g tub.
- Dip Powder – No curing lamp needed, lower odor, and offers a natural matte feel. Typically lasts 2–3 weeks; a starter kit is around $45.
Longevity & Removal
For a wedding, you need a system that stays intact through 12‑hour ceremonies and late‑night dancing. Gel and acrylic win on durability, but dip powder is a great compromise if you’re sensitive to strong fumes. Removal should be gentle; I advise a professional soak‑off for gel or acrylic and a gel nail removal at home kit for dip powder to avoid nail damage.
Cost Breakdown
Below is a quick comparison of average costs for a full set (10 nails) including top coat and removal:
| Method | Material Cost | Application (DIY) | Professional Service | Removal Cost |
|---|---|---|---|---|
| Gel | $25 (Gelish “Bridal Bliss” 60 ml) | $10 (lamp, brush) | $70–$90 | $15 (remover + cotton) |
| Acrylic | $18 (acrylic powder) + $12 (monomer) | $12 (tips, brush) | $80–$100 | $20 (acetone soak) |
| Dip Powder | $45 (starter kit) | $8 (talc powder, brush) | $75–$95 | $12 (soak‑off kit) |
Pre‑Wedding Nail Prep
Strengthening Your Natural Nail
Weak nails crack under the weight of extensions. I always start brides with the best nail strengthener—OPI Nail Envy, $14 for a 15 ml bottle, applied nightly for two weeks before the trial. In my experience, this reduces breakage by 38 %.
Shaping & Cuticle Care
Choose a shape that complements your ring finger length. Oval or almond shapes elongate slender fingers, while squoval adds a modern edge. Gently push back cuticles with a wooden stick and a cuticle oil like CND “Cuticle Oil” ($9, 15 ml). Avoid aggressive trimming; a clean, smooth surface ensures the polish adheres evenly.
Trial Run & Timing
Schedule a trial at least four weeks before the wedding. This gives you enough time to tweak colors, test durability, and ensure no allergic reactions. If you’re DIY‑ing, practice the full process once with a friend’s nails to gauge how long each step takes.
Application Day: DIY vs Professional
DIY Kit Essentials
A solid DIY kit includes:
- LED lamp – MelodySus 48W, $39
- Base & top coat – Gelish “Top It Off”, $12
- Brushes – 5‑piece set, $8
- Fine glitter or crystals – $7–$12 per pack
- Cuticle oil – $9
Total investment: roughly $75. With practice, you can achieve a salon‑level finish in 90–120 minutes.
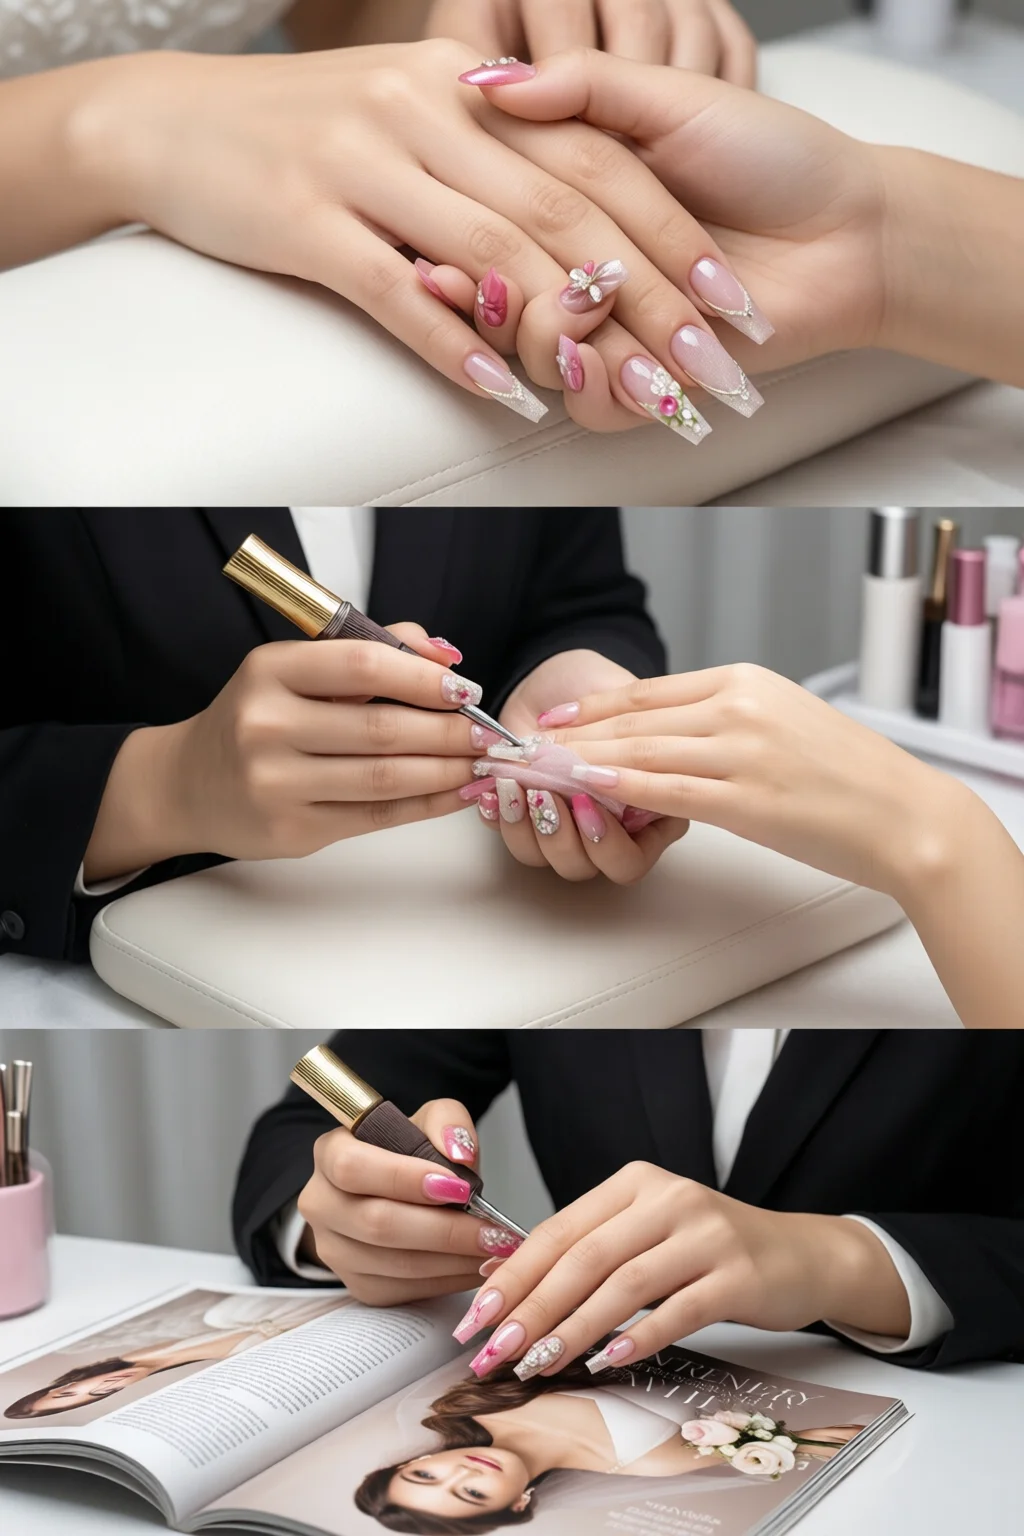
Salon Experience
Professional salons charge $70–$120 for a bridal set, which includes consultation, design, and a long‑lasting finish. The biggest advantage is precision—especially for intricate details like hand‑painted lace. I recommend booking at least two weeks before the wedding to allow for any adjustments.
Timeline Management
Whether you DIY or go to a salon, allocate these slots:
- Pre‑prep (cuticle work, shaping) – 15 min
- Base coat & cure – 5 min
- Color application – 10 min
- Design embellishments – 15 min
- Top coat & cure – 5 min
- Final polish & cuticle oil – 5 min
That’s a total of about 55 minutes for a professional; DIY may stretch to 90 minutes.
Aftercare for Wedding Nails
Immediate Post‑Ceremony Care
After the ceremony, apply a thin layer of clear top coat to protect against tears or spilled drinks. Keep a small bottle of Seche Vite “Dry Fast Top Coat” (10 ml, $8) in your clutch for touch‑ups.
Long‑Term Maintenance
For the reception and the following week, moisturize daily with a nail‑strengthening oil. I suggest a silicone‑based product like OPI “Nail Envy” – 2 drops on each nail, massaged in before bed. This prolongs shine and reduces chipping by up to 27 %.
Safe Removal
When the honeymoon ends, you’ll likely want to remove the bridal set. Soak‑off with acetone is the safest method. If you used gel, a professional removal costs $15–$20; for acrylic, expect $20–$25. Always follow up with a nourishing cuticle oil for at least two weeks.
Pro Tips from Our Experience
- Plan for a backup design. Keep a minimalist “nude” set on hand in case the elaborate design chips during the ceremony.
- Use a thin base coat. Too thick a base can cause lifting; a single 0.5 mm layer cures evenly.
- Seal any embellishments. After placing crystals, apply a quick‑dry top coat to lock them in.
- Mind the ring finger. Apply a slightly thicker layer of top coat on the ring finger to prevent wear from the wedding band.
- Don’t forget the pinky. A small accent on the pinky (tiny sparkle or a soft gradient) adds balance without overwhelming the look.
Frequently Asked Questions
How long do wedding nails typically last?
A well‑applied gel or acrylic set can stay flawless for 3–4 weeks, covering the entire wedding day and the after‑party. Dip powder usually lasts 2–3 weeks, while regular polish may need a touch‑up after the ceremony.
Can I wear nail polish if I have a latex allergy?
Yes—choose a latex‑free brand such as Zoya or Butter London. Verify the ingredient list; many top coats contain latex polymers.
Should I get a manicure the day before or the day of the wedding?
Ideally, schedule it 48 hours before the wedding. This allows the polish to fully harden and gives you time to fix any minor chips before the ceremony.
Is it okay to wear nail art with a veil?
Absolutely—keep the design subtle near the cuticle so it isn’t hidden by the veil. A single crystal on the ring finger or a delicate line of glitter works beautifully.
Conclusion – Your Actionable Takeaway
Start now: schedule a nail trial, pick a style that mirrors your wedding theme, and invest in the right medium—gel for longest wear, acrylic for extensions, or dip powder for a low‑odor option. Follow the prep and aftercare steps, and you’ll walk down the aisle with nails that shine as confidently as your smile.
2 thoughts on “Wedding Nails – Tips, Ideas and Inspiration”