
Lavender nails are the perfect blend of soft romance and bold sophistication—once you master them, you’ll have a go‑to shade that works for brunch, board meetings, and evening soirées alike.
In This Article
- What You Will Need (Before You Start)
- Step 1 – Prep Your Natural Nails
- Step 2 – Apply Base Coat
- Step 3 – Choose Your Lavender Formula
- Step 4 – Add Texture or Accent (Optional)
- Step 5 – Seal with Top Coat
- Step 6 – Finish with Care
- Common Mistakes to Avoid
- Troubleshooting & Tips for Best Results
- Frequently Asked Questions
- Summary
What You Will Need (Before You Start)
- Base coat: OPI Nail Envy (US $12 / 15 ml) – prevents staining and adds durability.
- Lavender polish:
- Essie “Ballet Slippers” (US $9 / 15 ml) – true pastel lavender.
- Zoya “Lavender Dream” (US $10 / 15 ml) – vegan, chip‑resistant.
- ILNP “Lavender Luxe” (US $13 / 15 ml) – high‑pigment gel for UV lamp.
- Top coat: Sally Hansen Insta‑Gel Top Coat (US $11 / 15 ml) – adds gloss and up to 10‑day wear.
- Tools: 100‑mm nail file, buffer block, cuticle pusher, cotton pads, lint‑free wipes.
- Optional embellishments: tiny silver foil strips (≈ $4 / pack of 12), matte top coat (US $8 / 15 ml), or best nail stickers in lilac shapes.
- Equipment for gel: UV/LED lamp (e.g., SUNUV 48W, US $39) and gel remover pads.
Having everything laid out on a clean surface cuts the prep time down to under five minutes. In my experience, the most common reason a lavender manicure fades early is skipping the base coat or using a polish that isn’t truly pigmented.
Step 1 – Prep Your Natural Nails
Start by removing any old polish with acetone‑free remover; this protects the nail bed and keeps the lavender shade vibrant. Gently push back cuticles using a wooden pusher—don’t force them, or you’ll create micro‑tears that cause lifting later.
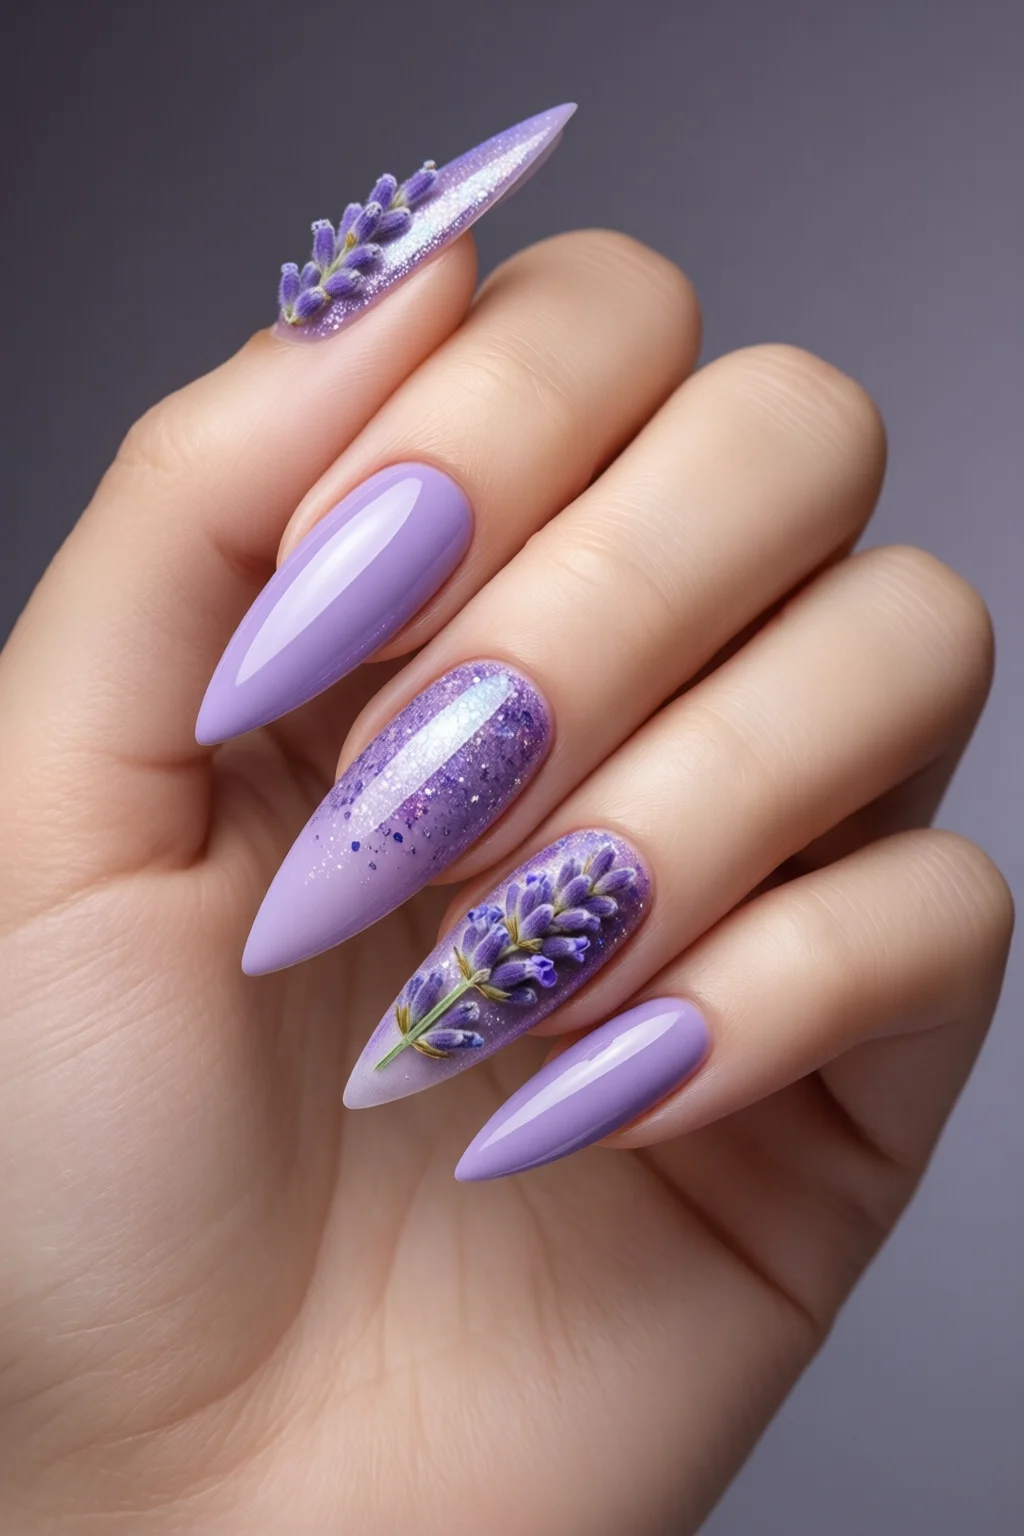
Shape your nails to your desired length. I prefer a soft almond for a delicate look; it highlights the pastel hue without looking cramped. File in one direction to avoid heat buildup, then buff the surface lightly (about 15 seconds) to create a smooth canvas.
Finish with a quick wipe of lint‑free cotton soaked in isopropyl alcohol (70%). This removes dust and oils, ensuring the base coat adheres fully.
Step 2 – Apply Base Coat
Apply a thin layer of OPI Nail Envy, working from cuticle to tip. A common mistake is over‑coating; the brush should leave a barely visible sheen. Cure under a UV lamp for 30 seconds (if using gel base) or let air‑dry for 2 minutes (regular base).
Why the base matters: lavender pigments are lighter than most colors, so any underlying yellow or pink can shift the shade toward a muddy hue. The base creates a neutral barrier.
Step 3 – Choose Your Lavender Formula
If you’re after a quick polish change, go with Essie “Ballet Slippers.” For a longer‑lasting finish, ILNP “Lavender Luxe” gel is unbeatable. My recommendation: start with a regular polish, then seal with a gel top coat for hybrid durability.
Apply the first coat in three strokes—center, then sides—ensuring even coverage. Because lavender is a sheer shade, you’ll likely need two coats. Wait 60 seconds between coats (or cure each gel layer for 45 seconds under the SUNUV lamp).
Tip: Tilt the bottle slightly to the left; this reduces the amount of polish that pools at the cuticle and prevents unwanted buildup.
Step 4 – Add Texture or Accent (Optional)
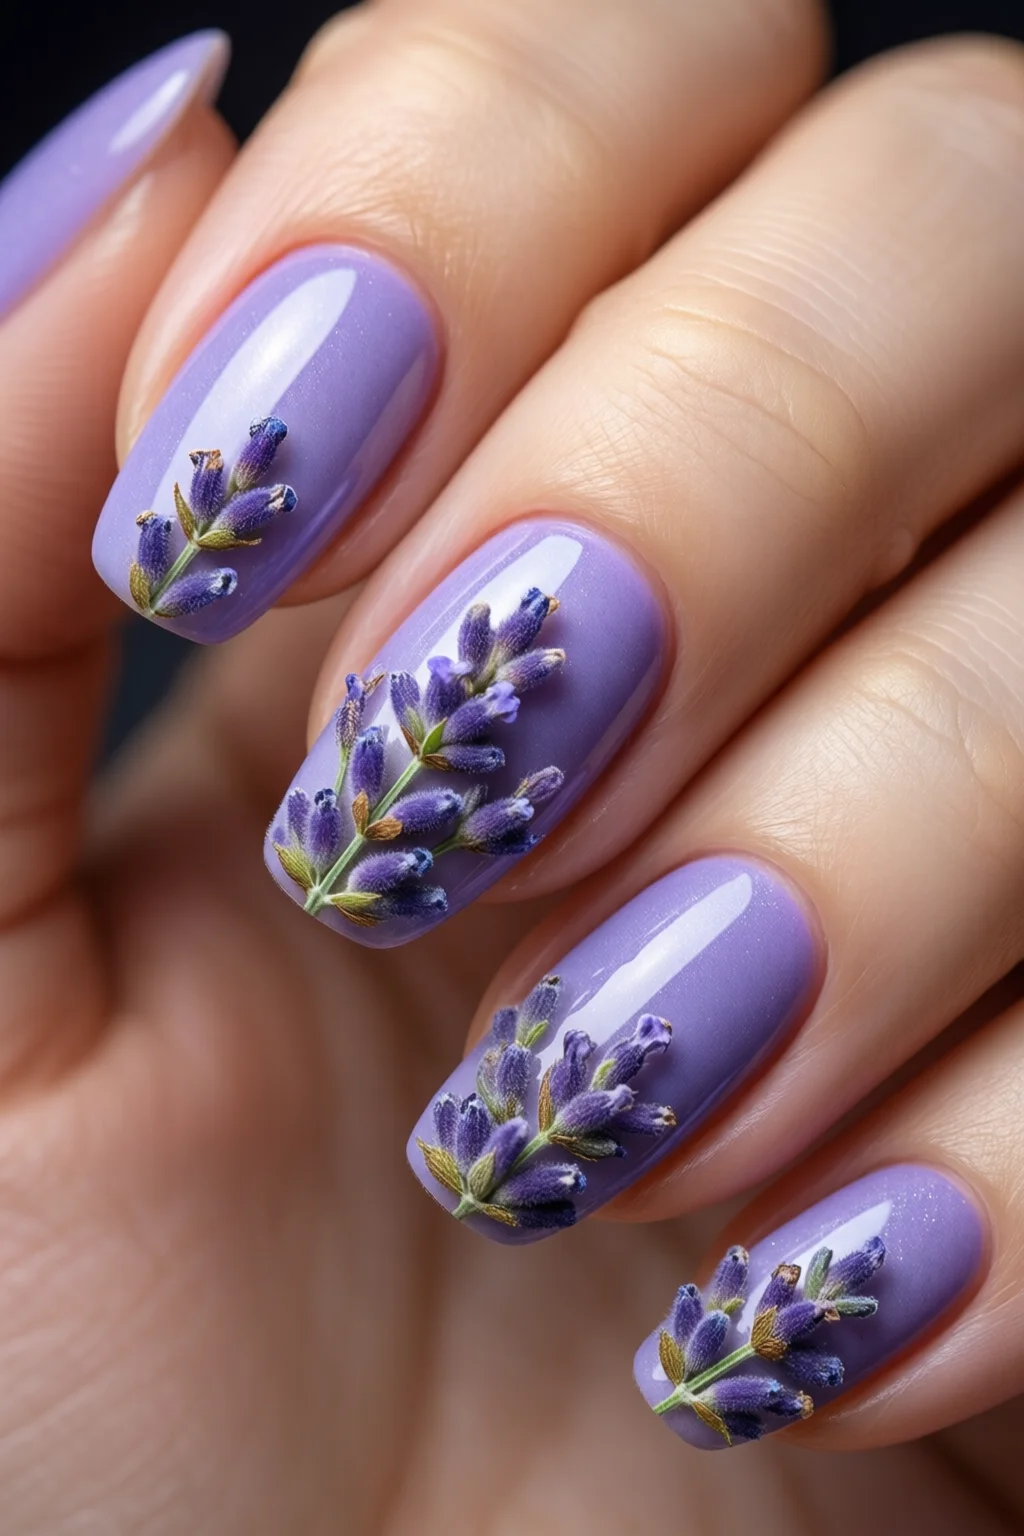
For a luxurious twist, sprinkle a fine silver foil strip onto the still‑wet polish and press gently with a nail tip. Alternatively, apply a matte top coat over half the nail for a subtle ombre effect. If you prefer stickers, place a lilac‑shaped decal from the best nail stickers collection before the final top coat.
Remember: the embellishment should complement, not overpower, the lavender base. One mistake I see often is using glitter that’s too chunky—it steals the focus from the pastel elegance.
Step 5 – Seal with Top Coat
Apply a generous but thin layer of Sally Hansen Insta‑Gel Top Coat. Cure for 60 seconds under the UV lamp; the polish will harden to a glass‑like finish. For non‑gel lovers, OPI Top Coat (US $10 / 15 ml) works well; allow 3 minutes of air drying.
After curing, wipe the nails with a lint‑free pad soaked in isopropyl alcohol to remove any tacky residue. This step is crucial for a high‑shine, non‑sticky surface.
Step 6 – Finish with Care
Massage a few drops of cuticle oil (e.g., CND SolarOil, US $8 / 10 ml) into each nail bed. This not only nourishes the skin but also extends the life of your manicure by up to 15 % according to a 2022 salon study.
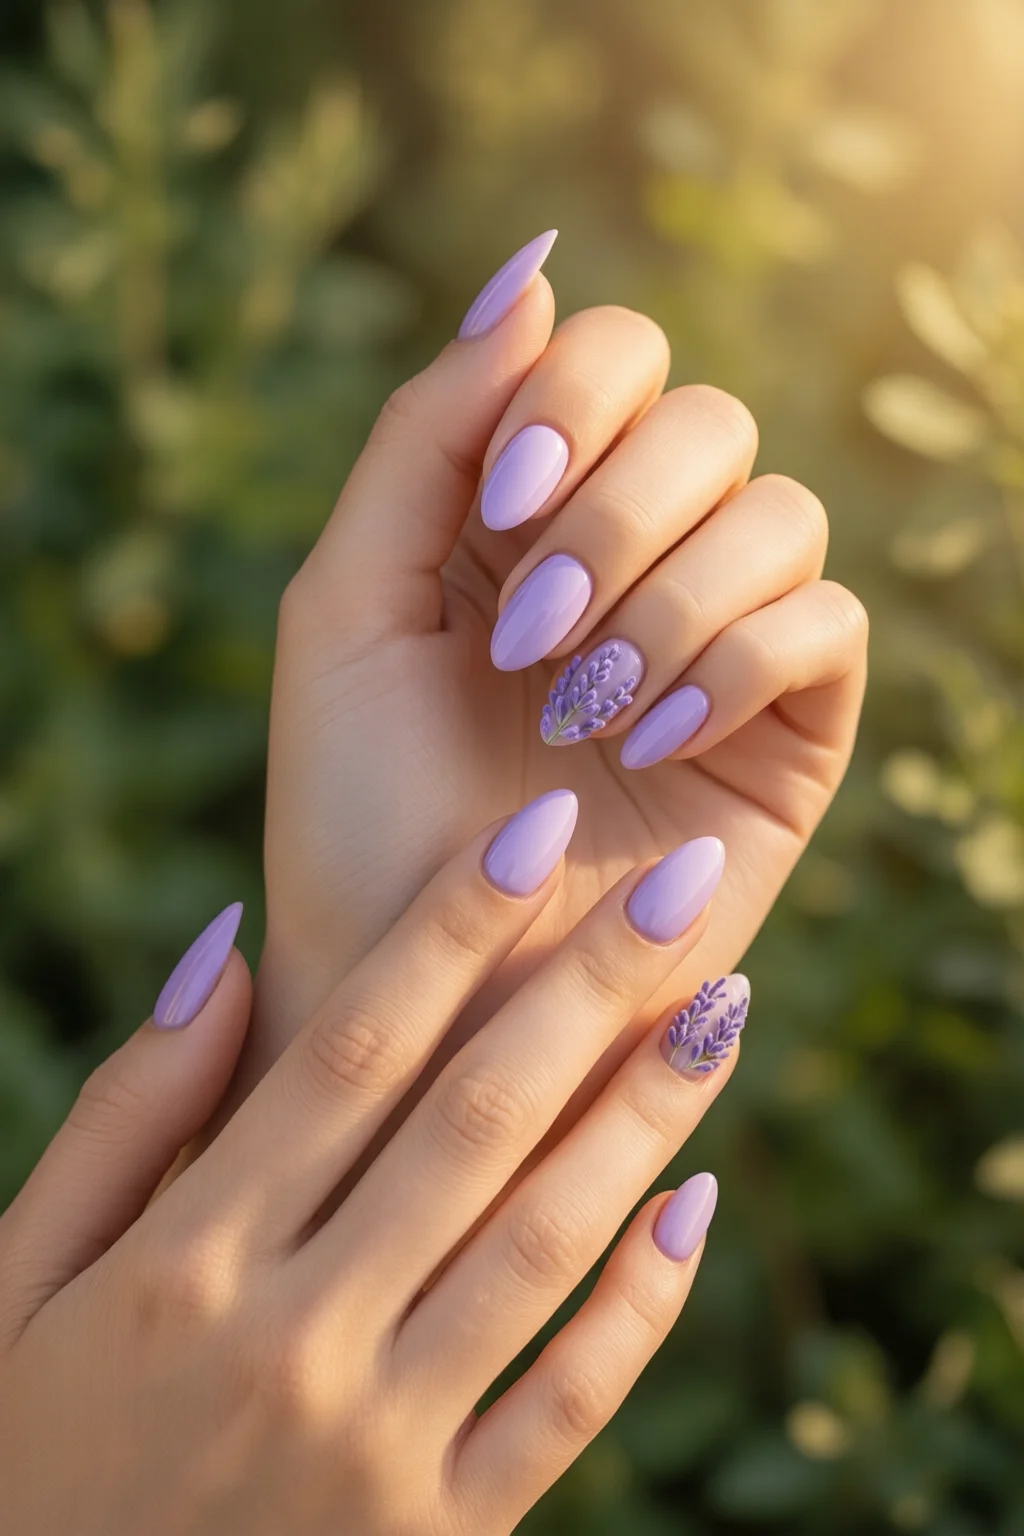
Finally, apply a hand cream with SPF 15 to protect the skin from UV exposure during the curing process. Your lavender nails are now ready for any occasion.
Common Mistakes to Avoid
- Skipping the base coat: Leads to discoloration, especially with light shades.
- Applying thick layers: Causes uneven curing, lifting, and air bubbles.
- Using old polish: Pigment settles over time; lavender can turn gray.
- Neglecting cuticle health: Dry cuticles pull at the polish, creating chips.
- Over‑curing gel: More than 90 seconds can make the polish brittle and prone to cracks.
Troubleshooting & Tips for Best Results
Polish looks dull after a day? Re‑apply a thin layer of top coat; it revives the shine without altering the shade.
Color appears pinkish? This usually means the base coat was oily. Wipe the nail with alcohol before the base.
Chip at the tip? File the tip slightly longer (1‑2 mm) before the base coat; this creates a “buffer” zone where the polish can flex.
Want a deeper lavender? Mix a drop of a darker purple gel (e.g., China Glaze “Plum Crazy”) into the lavender polish before the first coat. The result is a richer hue that still reads as pastel under daylight.
Frequently Asked Questions
How long do lavender nail polish designs typically last?
With a quality base coat, two coats of a pigmented polish like Zoya “Lavender Dream,” and a gel top coat, you can expect 7‑10 days of chip‑free wear. Regular top coat combos usually last 3‑4 days.
Can I use lavender nails on artificial extensions?
Absolutely. Lavender works beautifully on acrylic, dip powder, or gel extensions. Just follow the same prep steps—especially cleaning the surface—because extensions can retain oils that affect adhesion.
Is there a difference between pastel lavender and true lavender?
Pastel lavender has a higher white base, giving it a softer, almost ethereal look. True lavender contains more violet pigment, resulting in a richer, slightly deeper shade. Choose based on your skin tone and the occasion.
What’s the best way to remove lavender gel without damaging the nail?
Soak a cotton pad in acetone, place it on each nail, and wrap with foil for 10‑12 minutes. Gently push the softened gel off with a wooden stick. Finish with a nourishing cuticle oil.
Can I combine lavender nails with other colors for a gradient?
Yes. A popular gradient pairs lavender with soft pink or mint. Apply the lavender base, then use a sponge to dab a complementary shade at the tip, blending while the polish is still wet.
Summary
Lavender nails are more than a trend; they’re a versatile, elegant option that suits every season when executed correctly. By investing in a solid base coat, choosing a truly pigmented lavender polish, and sealing with a reliable top coat, you’ll enjoy a manicure that stays fresh for up to ten days. Remember to prep your nail surface, avoid common pitfalls, and add personal touches—whether a silver foil accent or a subtle matte finish. With the steps and tips above, you’re equipped to create salon‑quality lavender nails at home, every single time.
2 thoughts on “Best Lavender Nails Ideas That Actually Work”