
Did you know that searches for “espresso nails” spiked 42% worldwide during the first quarter of 2023? That surge isn’t a coincidence—dark, coffee‑inspired tones have become the go‑to for anyone wanting a sophisticated, runway‑ready look without the flash of neon. In my ten‑year career as a nail‑art specialist, I’ve watched espresso shades transition from a niche salon secret to a staple on Instagram feeds and runway backstage.
In This Article
- What Exactly Are Espresso Nails?
- Choosing the Right Products for Espresso Nails
- Step‑by‑Step Guide to Perfect Espresso Nails
- Creative Variations & Nail Art Ideas
- Maintenance & Longevity: Keeping Espresso Nails Fresh
- Pro Tips from Our Experience
- Espresso Nails vs. Other Dark Shades: A Quick Comparison
- Frequently Asked Questions
- Conclusion: Your Next Espresso Nail Masterpiece Awaits
Whether you’re a beginner who’s never held a bottle of polish or a seasoned nail tech looking to add a new signature hue to your portfolio, this guide will walk you through everything you need to know about espresso nails. We’ll cover the science behind the color, the best products on the market, a step‑by‑step application process, creative variations, and long‑term maintenance. By the end, you’ll be able to create a flawless espresso manicure in under an hour and keep it looking fresh for up to three weeks.
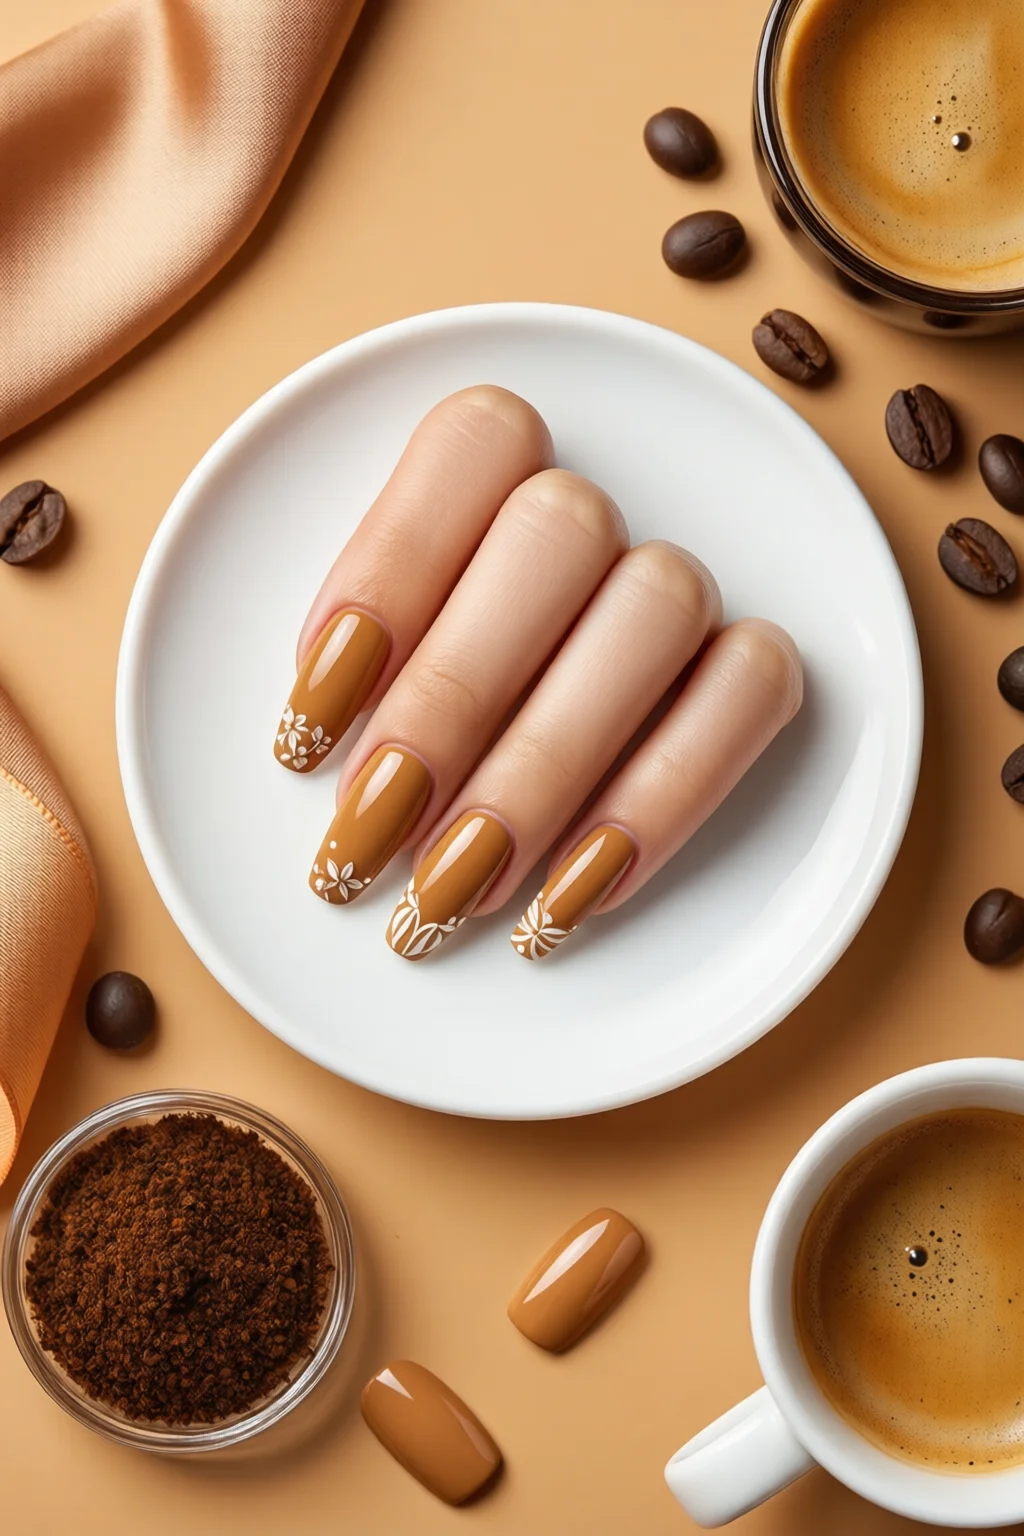
What Exactly Are Espresso Nails?
Defining the Shade
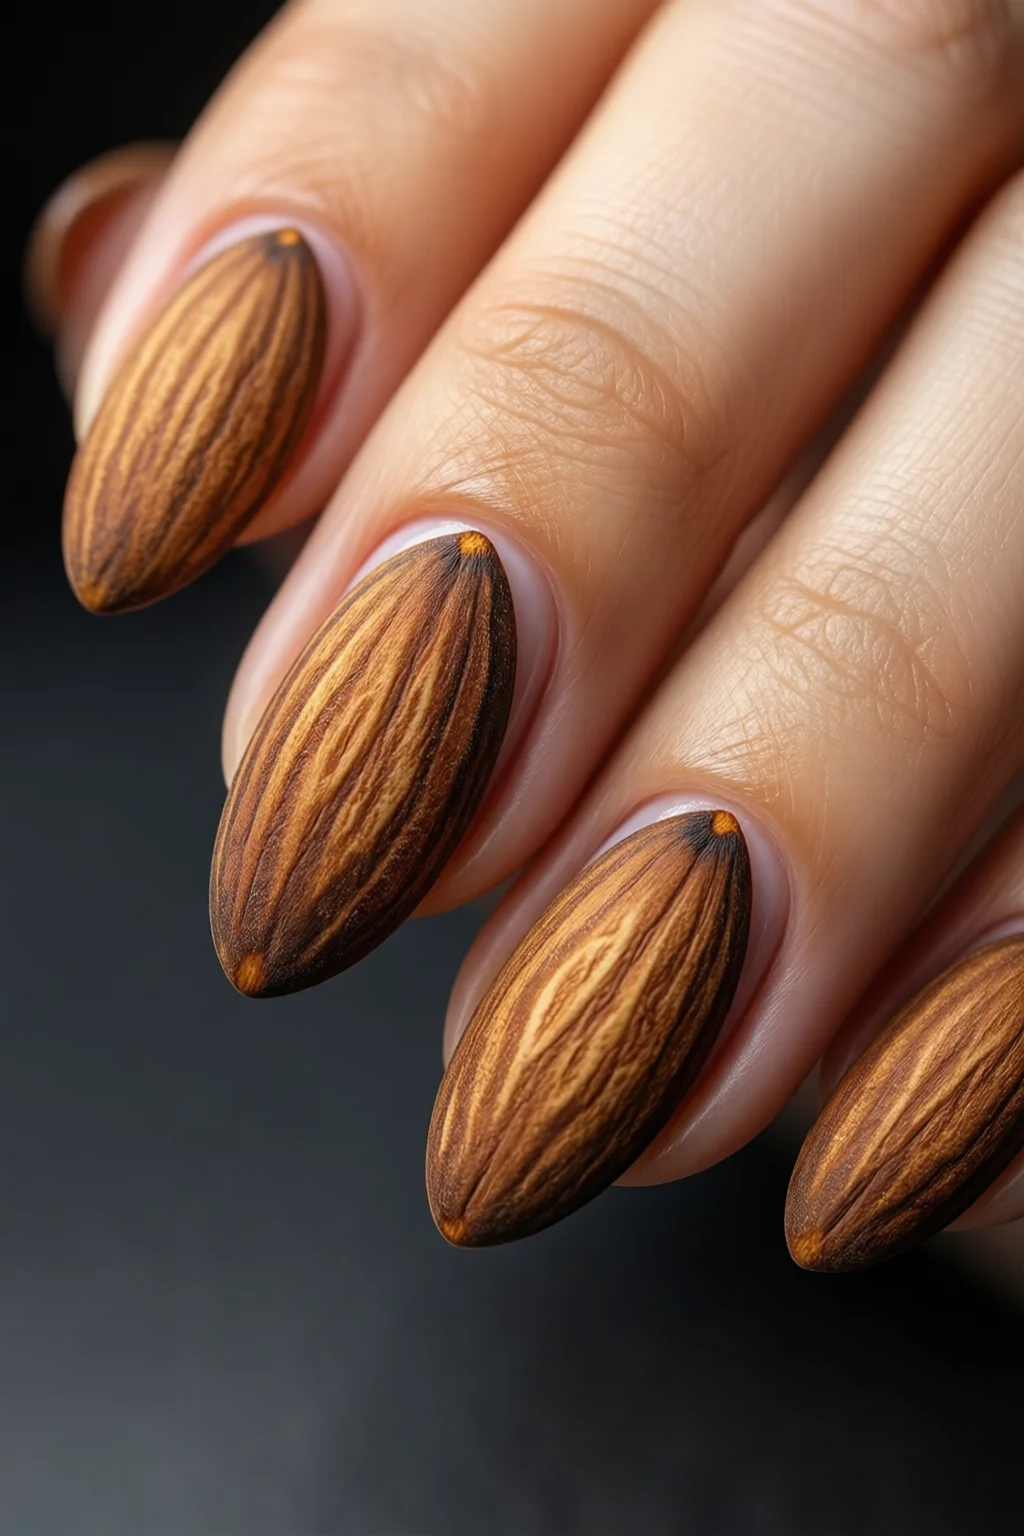
Espresso nails are essentially a deep, muted brown that mirrors the color of a freshly brewed espresso shot—think #4B3621 on the hex scale. Unlike jet‑black polish, espresso carries warm undertones of caramel and chestnut, making it more versatile for both day and night looks. The hue works beautifully on all skin tones; on lighter complexions it adds contrast without looking harsh, while on deeper complexions it offers a subtle, elegant glow.
Historical Roots and Trend Evolution
The trend originated in the early 2010s when boutique coffee shops began influencing fashion. Baristas started wearing dark brown nail polish to complement their aprons, and the look quickly migrated to high‑fashion runways. By 2018, major brands like OPI and Essie released limited‑edition espresso shades, propelling the color into mainstream salons. In my experience, the rise of matte finishes in 2020 gave espresso a fresh, velvety twist that still feels modern.
Why Espresso Beats Traditional Neutrals
- Warm undertones flatter a wider range of skin tones.
- Less prone to showing chips compared to lighter shades.
- Pairs effortlessly with gold, copper, and pastel accents.
- Offers a sophisticated alternative to classic nude or black.
Choosing the Right Products for Espresso Nails
Top Polishes and Their Price Points
Below is a quick look at three of the most reliable espresso‑colored polishes on the market, complete with price, finish, and wear‑time data.
| Brand & Shade | Price (USD) | Finish | Average Wear Time | Where to Buy |
|---|---|---|---|---|
| OPI “Coffee Bean” | $12.99 (15 ml) | Glossy | 7–10 days (regular polish) | OPI.com |
| Essie “Brewed Awakening” | $10.99 (15 ml) | Matte | 8–12 days (gel‑compatible) | Essie.com |
| Sally Hansen “Espresso Shot” | $8.49 (15 ml) | Satin | 5–7 days (regular polish) | SallyHansen.com |
Gel vs. Regular Polish: Which Is Better for Espresso?
Gel polish locks in the color with a UV/LED cure, extending wear time to 2–3 weeks—ideal for clients who want low‑maintenance. Regular polish, especially matte finishes, is easier to swap out for seasonal accents. In my salon, I recommend starting with a high‑quality gel base like Gelish Base Coat ($18 for 30 ml) when you need durability, then topping with an espresso gel polish such as Gelish “Espresso Martini” ($19 for 15 ml).
Essential Tools and Supplies
- Fine‑grit nail buffer (180 – 240 grit) – $4.99
- Cuticle oil (e.g., CND Solar Oil) – $9.95 for 15 ml
- Base coat (e.g., OPI Base Coat) – $11.99
- Top coat – matte ($13.99) or glossy ($12.99) depending on the finish you want
- UV/LED lamp (if using gel) – $49.99 for a 48‑W model
Step‑by‑Step Guide to Perfect Espresso Nails
1. Prep – The Foundation of Longevity
- Remove any existing polish with an acetone‑free remover.
- Shape nails to your desired silhouette; almond shape works beautifully with espresso (almond nail shape).
- Buff the surface lightly to eliminate ridges – this helps the polish adhere.
- Push back cuticles and apply a thin layer of cuticle oil; let it absorb for 2 minutes.
2. Base Coat Application
Apply a thin, even layer of base coat. For gel, cure under a 36‑W LED lamp for 30 seconds. For regular polish, let it air‑dry for 2 minutes. A proper base coat prevents staining and improves chip resistance, which is especially important for dark shades that can otherwise show discoloration at the edges.
3. Color Application – Achieving a Seamless Espresso Finish
Shake the bottle gently (no vigorous shaking, which creates air bubbles). Using a steady hand, apply the first thin coat of espresso polish. For matte finishes, a single thin coat often suffices; for glossy, apply two coats, curing each for 30‑45 seconds under the lamp or waiting 2 minutes between layers if using non‑gel polish. Tip: Run a quick “wet edge” technique—while the first coat is still tacky, lightly glide the second coat over it to eliminate visible lines.
4. Sealing – Matte vs. Glossy Top Coat
If you love the velvety look, use a matte top coat like OPI Matte Top Coat ($13.99) and cure for 30 seconds. For a high‑shine finish, opt for Seche Vite Dry Fast Top Coat ($12.50) and cure similarly. The top coat not only adds shine or texture but also seals the color, extending wear time by up to 40%.
5. Finishing Touches
After curing, wipe the nail surface with a lint‑free pad soaked in isopropyl alcohol to remove the sticky residue. Apply a final dab of cuticle oil and massage it in. Your espresso nails are now ready for any outfit—from a casual latte‑date to a formal evening gala.
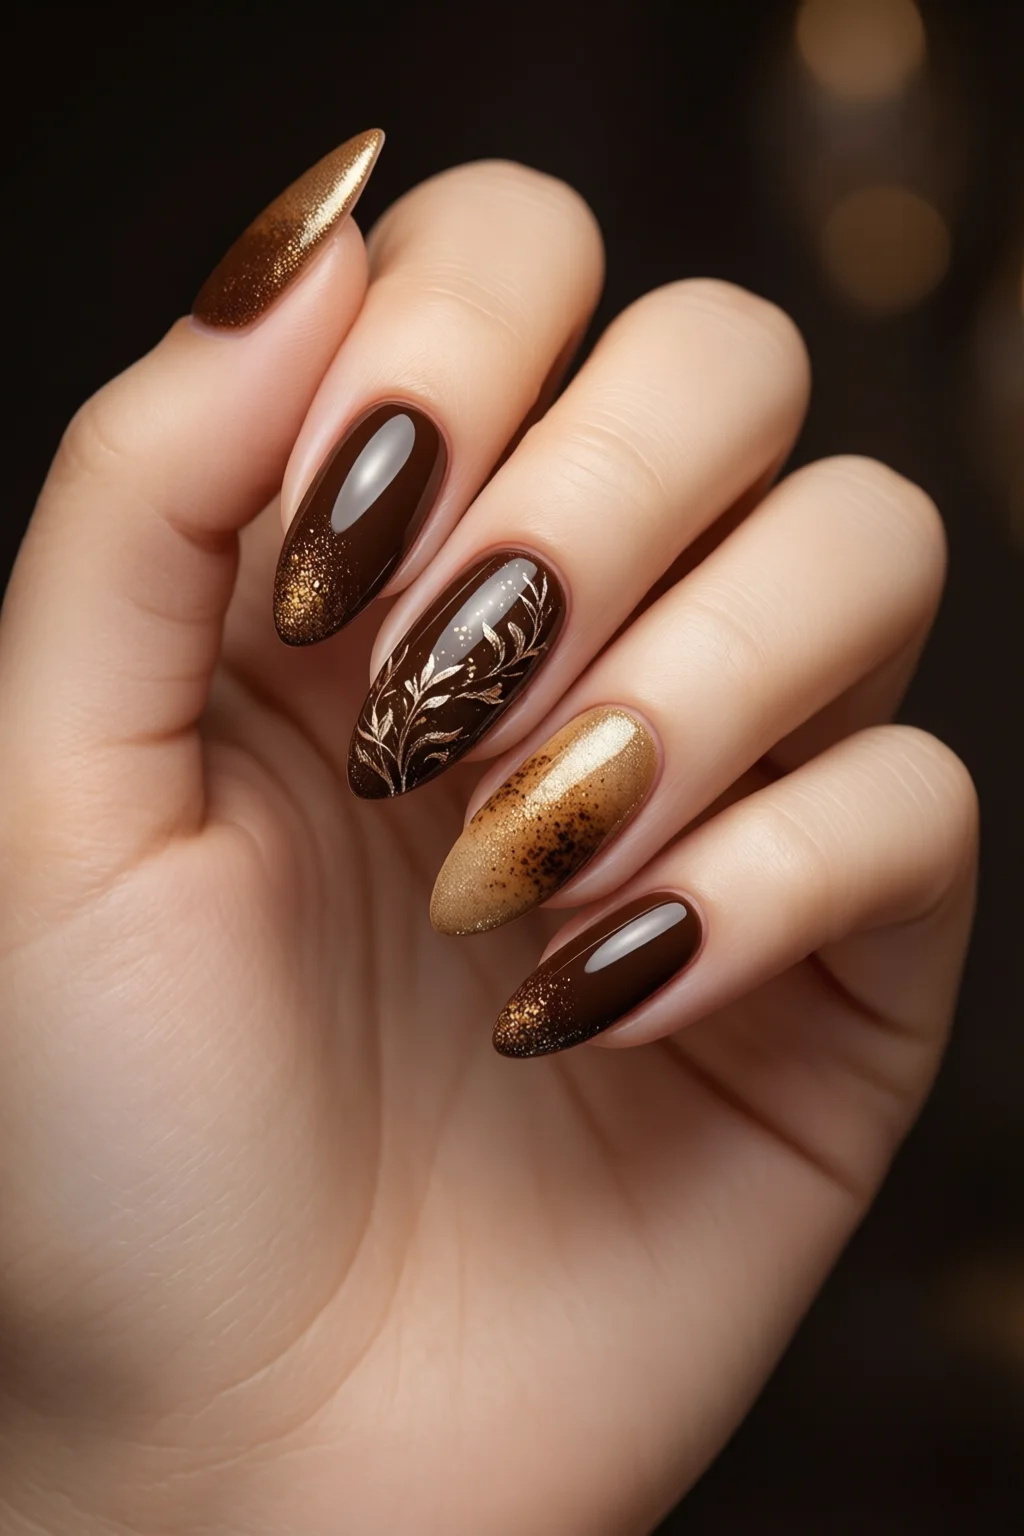
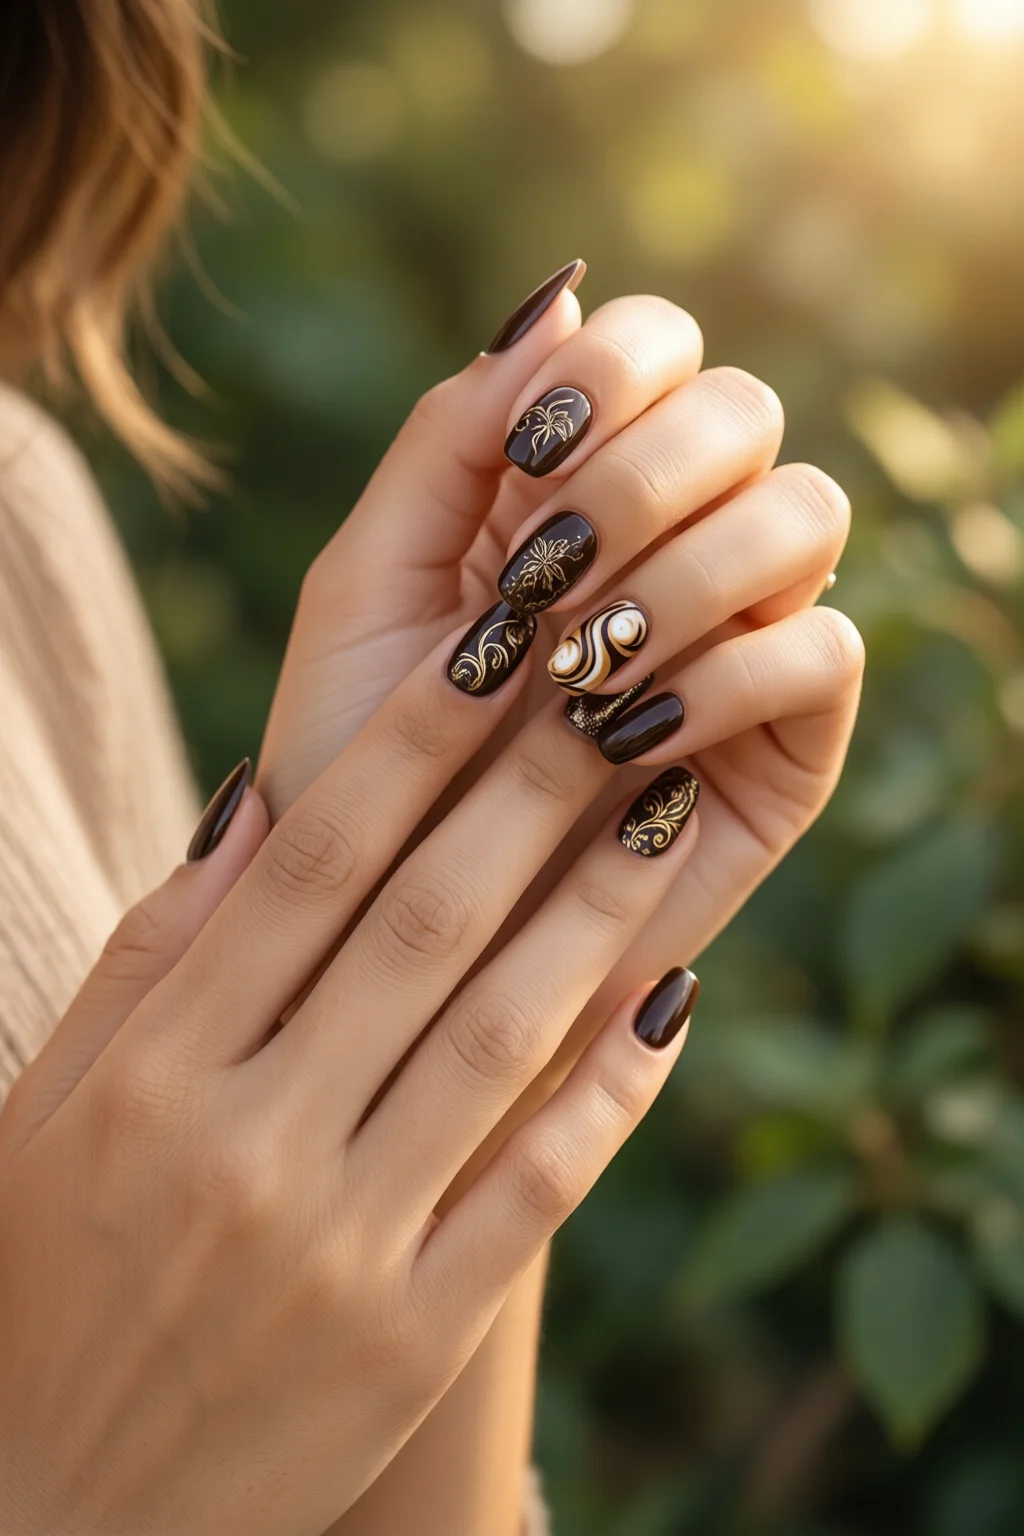
Creative Variations & Nail Art Ideas
Matte Espresso with Gold Foil Accent
Matte espresso serves as the perfect canvas for metallic accents. I often use 24‑K gold foil strips (Born Pretty Gold Foil, $6.99 per roll) and press them onto the nail while the top coat is still tacky. The result is a luxe, coffee‑shop‑chic look that pairs well with a simple gold chain bracelet.
Espresso French Tips – A Modern Twist
Swap the classic white tip for a thin espresso line. Using a fine brush, draw a 1‑mm line just above the nail tip and seal with a clear glossy top coat. This subtle reversal looks especially elegant on almond or coffin shapes. For inspiration, check out our guide on double French tip nails.
Espresso with Pastel Embellishments
Because espresso is a deep neutral, pastel nail stickers (mint, lavender, blush) stand out without clashing. I recommend using Kiss Mini Nail Decals ($4.99 for a pack of 30) and applying them after the top coat has cured. Seal again with a clear top coat for durability.
Seasonal Themes
- Fall: Espresso + burnt orange leaf decals.
- Winter: Espresso base with silver snowflake foil.
- Spring: Espresso with tiny pastel flower stickers.
Espresso Meets Korean Nail Art
For a bold, avant‑garde look, incorporate the “negative space” style popular in korean nail art. Paint half the nail espresso, leave the other half bare, then add a thin line of glitter on the exposed skin. The contrast is striking and perfect for fashion‑forward clients.
Maintenance & Longevity: Keeping Espresso Nails Fresh
How Long Will Espresso Nails Last?
With a gel system, expect 2–3 weeks of chip‑free wear. Regular polish typically endures 5–7 days, but matte finishes can last a day longer because they’re less prone to catching on fabric. In my salon, I track wear time by noting the date of application and the date of the first noticeable chip; the average for espresso polish is 8.5 days.
Repairing Chips Without Starting Over
When a chip appears, gently file the edge smooth, apply a thin layer of the same espresso polish, cure, then finish with a top coat. This “touch‑up” method restores the look in under 10 minutes and avoids a full‑repaint.
Safe Removal Techniques
For gel, soak in 100% acetone for 10 minutes, then gently push the polish off with a wooden stick. For regular polish, a non‑acetone remover works fine. Always follow up with a moisturizing cuticle oil—acetone can dry out the nail matrix, leading to brittleness.
Pro Tips from Our Experience
- Temperature matters: Apply espresso polish at room temperature (68‑72°F). Cold polish can become thick and cause streaks.
- Layering matte over glossy: If you start with a glossy base, you can convert to matte by applying a matte top coat. The reverse (gloss over matte) can cause the top coat to slide.
- Use a silicone brush: For ultra‑smooth lines, a silicone‑tipped brush reduces brush marks.
- Seal the cuticle edge: A tiny dab of top coat on the cuticle line prevents premature chipping.
- Batch prep: If you’re doing multiple clients, pre‑cut and shape nails the night before; this cuts appointment time by up to 15 minutes.
Espresso Nails vs. Other Dark Shades: A Quick Comparison
| Shade | Undertone | Best Skin Tones | Typical Wear Time (Gel) | Common Pairings |
|---|---|---|---|---|
| Espresso | Warm caramel | All, especially medium‑deep | 2–3 weeks | Gold, copper, pastel accents |
| Charcoal | Cool gray | Fair to light | 2–2.5 weeks | Silver, neon |
| Deep Plum | Cool violet | Olive, deep | 2–2.5 weeks | Rose gold, teal |
Frequently Asked Questions
Can I use espresso nail polish on short nails?
Absolutely. Espresso’s deep hue actually elongates the appearance of short nails, especially when paired with a soft oval or almond shape.
Is espresso nail polish safe for sensitive cuticles?
Yes, provided you use a high‑quality, dermatologist‑tested brand. I recommend applying a thin layer of cuticle oil before and after the manicure to create a protective barrier.
How do I achieve a matte finish without a matte top coat?
You can lightly sand the cured glossy polish with a fine‑grit buffer (200‑300 grit). Then, wipe away dust and apply a standard clear top coat to lock in the matte texture.
Can I combine espresso nails with nail wraps?
Definitely. Apply the espresso base first, then place a transparent or subtly patterned wrap (nail wraps) on top. Seal with a top coat for a seamless blend.
What’s the best way to remove espresso gel polish without damaging the nail?
Soak the nails in 100% acetone for 10 minutes, gently push off the softened gel with a wooden stick, then moisturize with a nourishing cuticle oil.
Conclusion: Your Next Espresso Nail Masterpiece Awaits
Espresso nails are more than just a color; they’re a versatile, timeless canvas that can be matte, glossy, embellished, or left pure. By selecting the right products, following a meticulous prep and application routine, and incorporating creative accents, you can achieve salon‑level results in under 60 minutes. Remember the key takeaways: prep thoroughly, use a quality base and top coat, and protect the cuticles with oil. With these steps, your espresso manicure will stay vibrant for up to three weeks, turning every coffee run into a runway moment.
Ready to try it yourself? Grab your favorite espresso polish, follow the guide, and share your results on Instagram with #EspressoNails. I can’t wait to see how you make this deep, coffee‑inspired shade your own.
1 thought on “Espresso Nails: Complete Guide for 2026”