
Ready to ditch the polish‑dripping, time‑eating manicure and still rock a salon‑level finish? Nail wraps have taken the beauty world by storm, offering a quick, mess‑free alternative that lasts up to two weeks. Whether you’re a busy professional, a teen experimenting with trends, or a seasoned nail tech looking for a new tool, this guide breaks down everything you need to know about nail wraps—from the chemistry of the adhesive to the exact steps that guarantee a flawless finish.
In This Article
In my ten‑year career as a nail artist, I’ve seen countless clients struggle with chipped polish or uneven application. One mistake I see often is treating nail wraps like ordinary stickers—skipping prep, using the wrong size, or trying to force a wrap onto a short nail. The result? Bubbling, lifting, and a wasted dollar. Below you’ll find actionable, step‑by‑step advice, brand comparisons, and pro‑tips that will turn nail wraps from a novelty into your go‑to nail solution.
What Exactly Are Nail Wraps?
Definition and Core Components
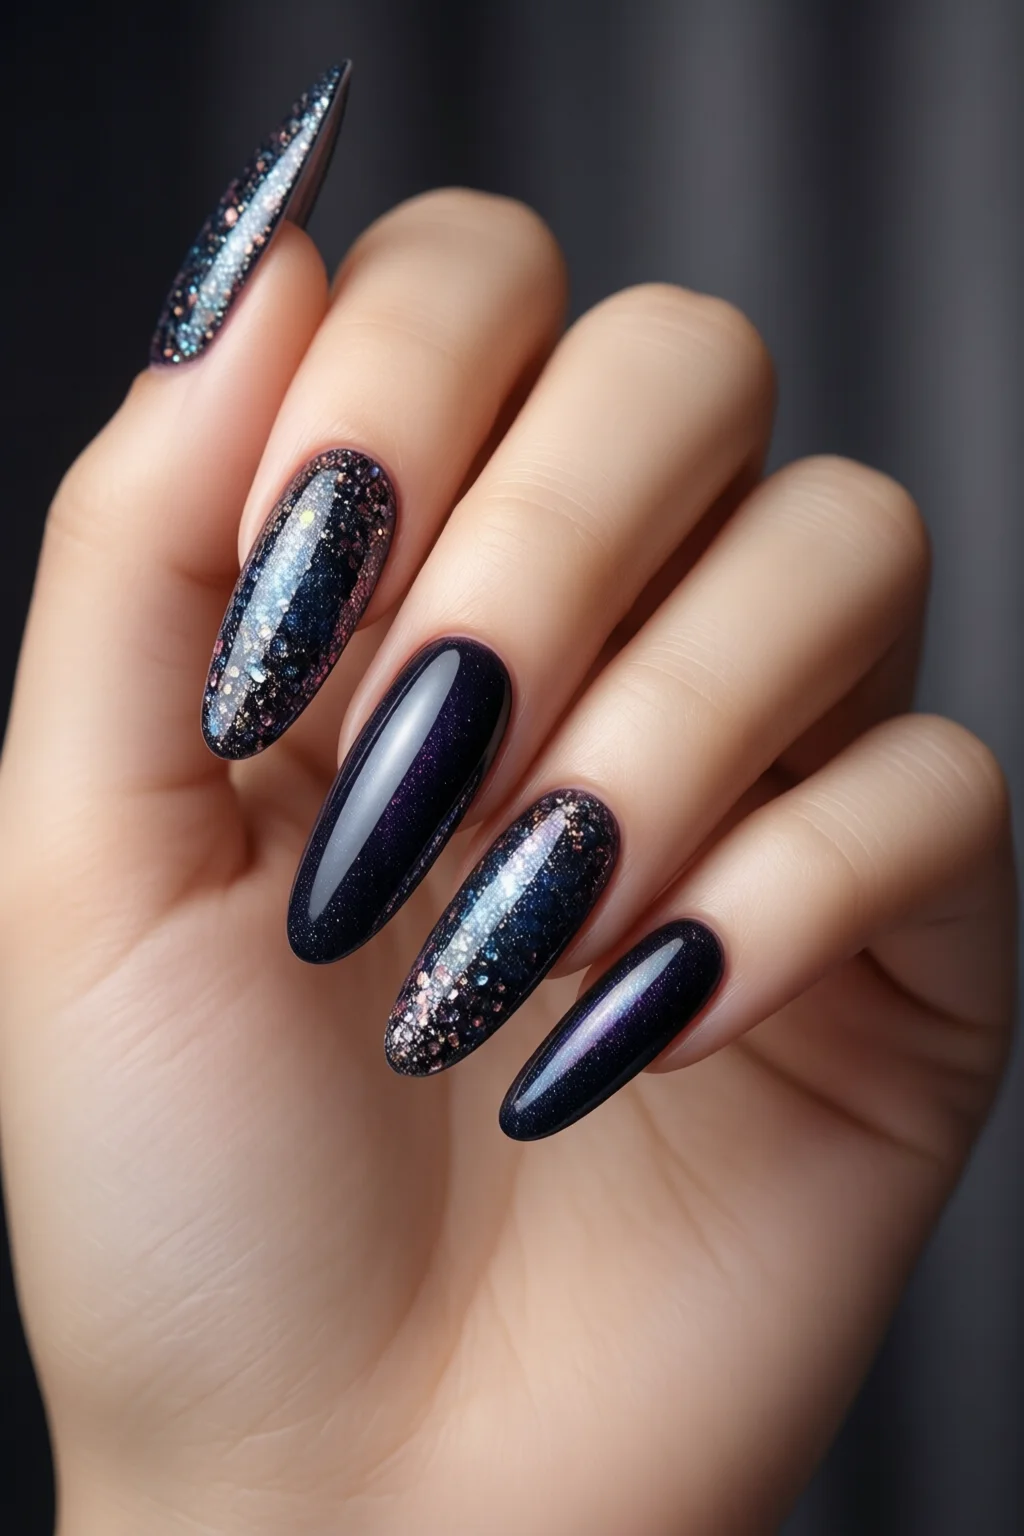
Nail wraps are pre‑printed, thin polymer sheets that adhere directly to the natural nail or a tip. They typically consist of a flexible vinyl base, a printed design layer, and a pressure‑sensitive adhesive on the back. Unlike gel polish, they require no curing lamp—just pressure and a bit of heat (or no heat at all, depending on the brand).
Types of Nail Wraps
- Full‑cover wraps – Cover the entire nail surface, ideal for bold patterns.
- Accent wraps – Smaller strips for French tips or accent nails.
- Gel‑infused wraps – Combine a gel‑like topcoat for extra durability (e.g., chrome powder nails technique can be mimicked).
- Magnetic waterdrop wraps – Feature a magnetic finish that reacts to a magnetic wand (see waterdrop nails for inspiration).
Each type serves a different purpose, but all share the same fundamental goal: fast, flawless nail art without the fuss of traditional polish.
How Nail Wraps Work: The Application Process
Step 1 – Gather Your Tools
Here’s my go‑to kit (all items are under $30 total):
- File and buffer (2‑in‑1 nail file/ buffer, $8)
- Cuticle pusher (stainless steel, $5)
- Rubbing alcohol (70% isopropyl, 250 ml, $3)
- Cuticle oil (e.g., OPI Nail Envy, $12)
- Scissors or nail‑wrap cutter (precision tip, $7)
- Optional heat source: a hair dryer (already on hand) or a silicone heat lamp ($45, if you prefer).
Step 2 – Prep the Natural Nail
Start with clean, dry nails. Push back cuticles gently, then file to the desired shape. Lightly buff the surface to remove shine—this creates a better bonding surface. Wipe each nail with a cotton pad soaked in rubbing alcohol; this eliminates oils that can cause lifting.
Step 3 – Size the Wraps
Lay the wrap flat on a contrasting surface (white paper works well). Align the edge of the wrap with the tip of your nail, then trim excess using the scissors. A proper fit should leave a 1–2 mm overhang on each side—this ensures the adhesive seals the edges.
Step 4 – Apply the Wrap
Peel off the protective liner, exposing the adhesive. Position the wrap on the nail, starting at the cuticle and smoothing outward with a cuticle pusher. Press firmly for 10–15 seconds. For gel‑infused wraps, cure under a LED lamp for 30 seconds; for standard wraps, a quick blast of warm air (hair dryer on low) helps the adhesive set.
Step 5 – Seal and Finish
File the edges gently to blend the wrap into the natural nail. Apply a thin layer of top coat (optional, $6 for a 15 ml bottle) for extra shine and protection. Finish with a dab of cuticle oil to hydrate the surrounding skin.
The whole routine takes about 8–10 minutes per hand, a fraction of the 45‑minute traditional manicure.
Choosing the Right Nail Wraps for You
Key Factors: Brand, Price, and Durability
Below is a quick comparison of the most popular brands on the market today. Prices are listed for a standard 12‑wrap pack (covers both hands for two weeks).
| Brand | Price (USD) | Size Range | Average Wear (days) | Special Features |
|---|---|---|---|---|
| KISS Gel Nail Wraps | $12.99 | 8‑12 mm | 10–12 | Gel‑infused, UV‑cure optional |
| Dashing Diva Press‑On Wraps | $9.49 | 9‑13 mm | 7–9 | Full‑color, no lamp needed |
| Impressions Designer Vinyl | $11.95 | 8‑14 mm | 8–10 | Metallic & holographic options |
| Sally Hansen Instant Wraps | $13.50 | 9‑12 mm | 10–14 | Includes adhesive sheet |
| Beetles Magnetic Waterdrop | $14.99 | 8‑13 mm | 12–15 | Magnetic swirl effect |
Matching Wraps to Nail Length
If your natural nails are shorter than 8 mm, opt for the “mini” size packs from KISS or Sally Hansen. Their extra‑flexible vinyl can stretch without cracking. For longer nails (12 mm+), choose Impressions or Beetles for a sturdier feel.
Design Considerations
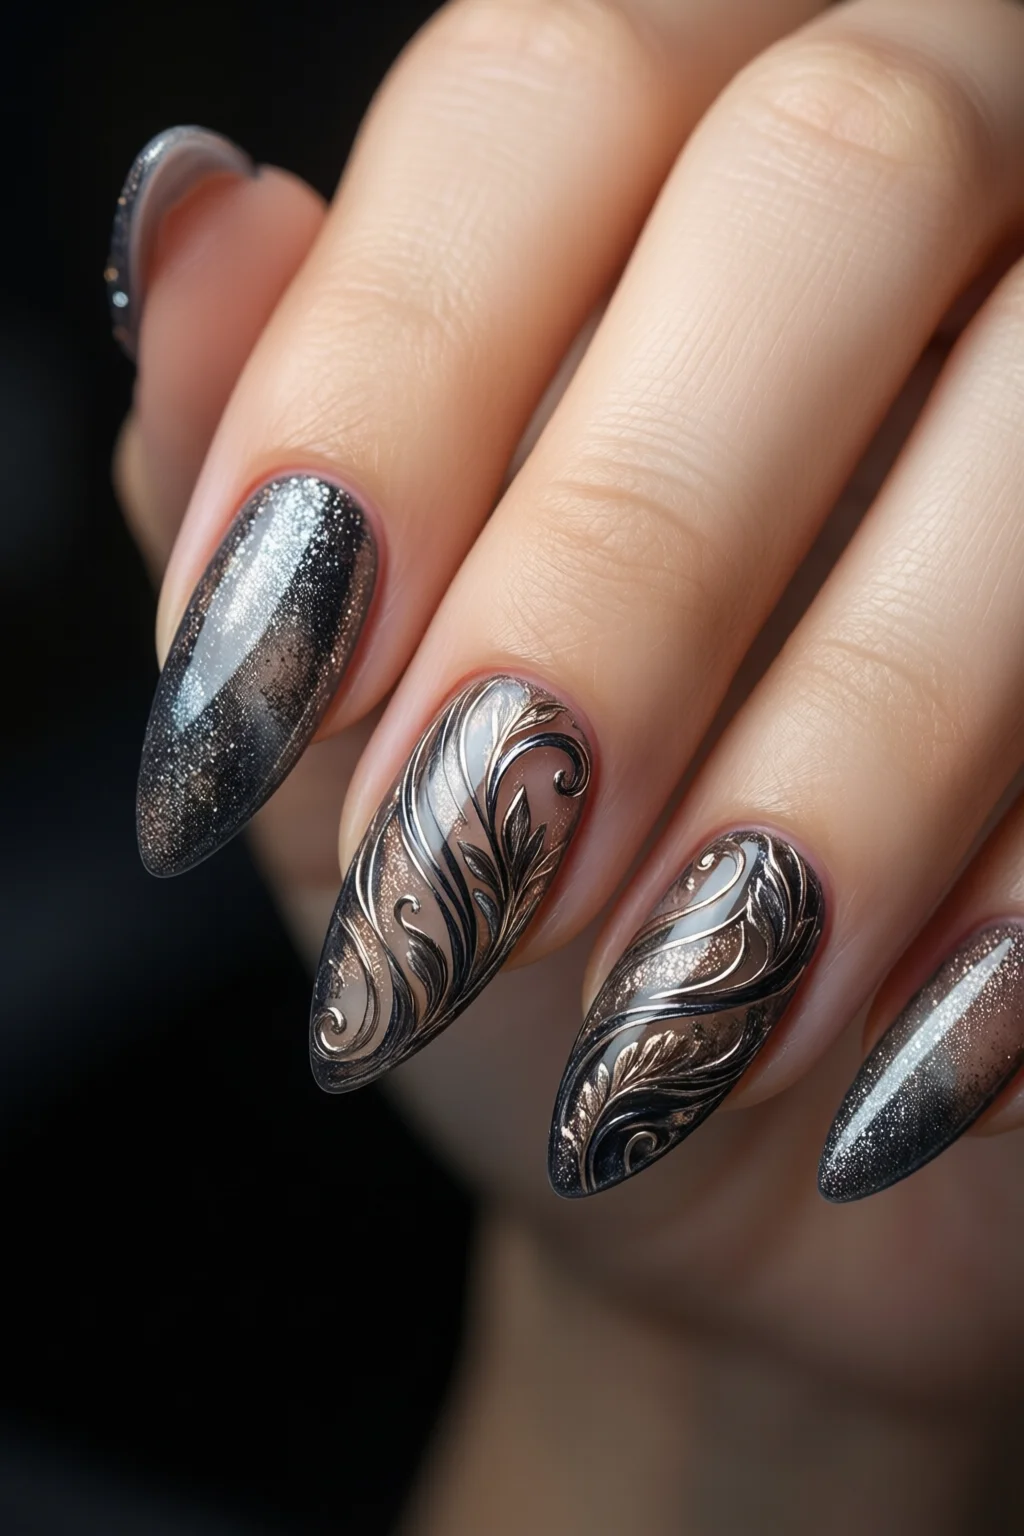
Trendy patterns—like tie‑dye, marble, or chrome—often require a high‑resolution print. I’ve found that the tie dye nails collection from Dashing Diva retains vibrancy after 10 days, while cheaper generic packs lose color after the first wash.
DIY vs. Salon: Pros and Cons
DIY Advantages
- Cost‑effective: a $12 pack lasts up to two weeks, versus $45–$70 for a salon gel set.
- Time control: you can apply at midnight or during a lunch break.
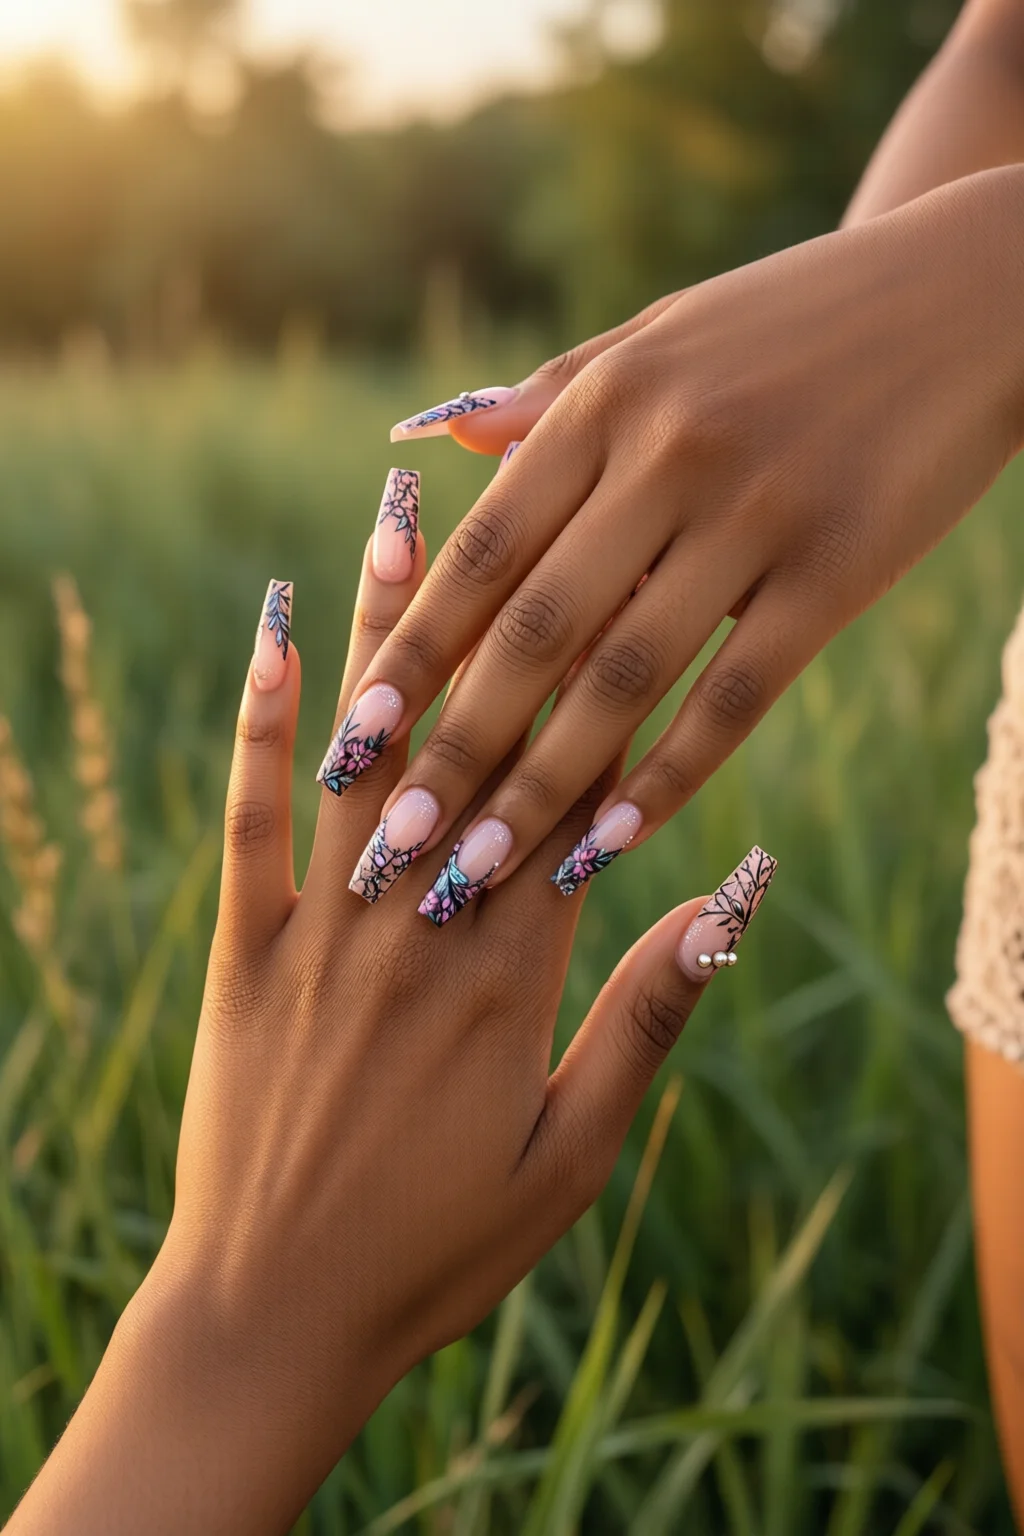
- Creative freedom: mix and match designs, layer multiple wraps, or add glitter.
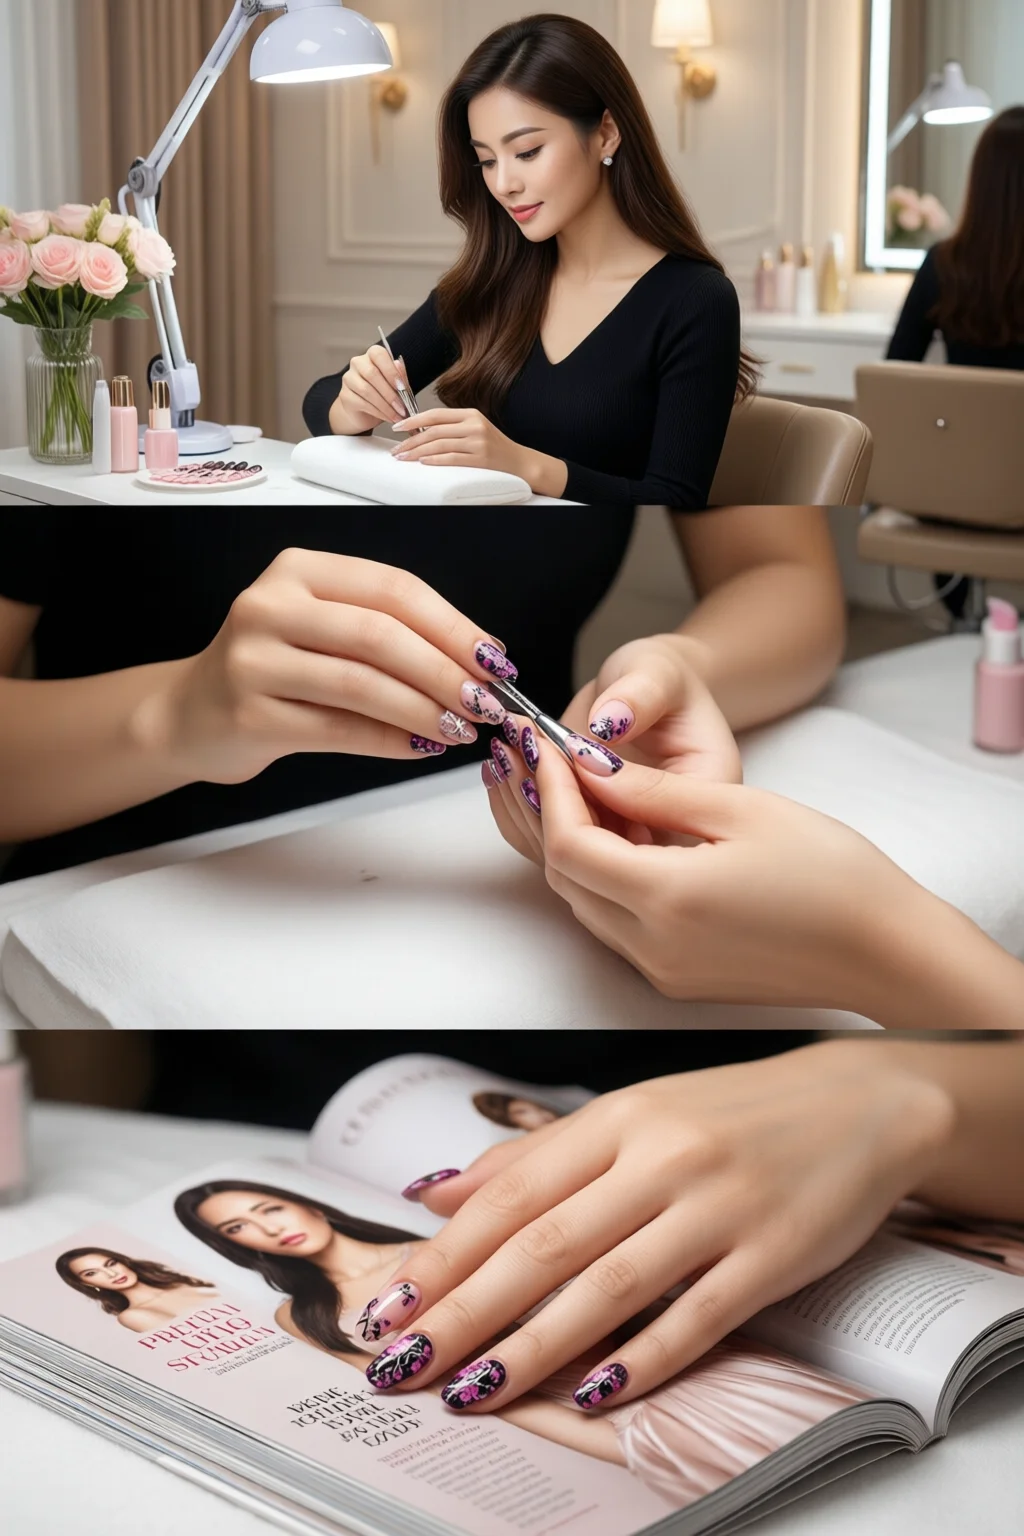
Salon Benefits
- Professional finish: technicians can shape, buff, and seal with precision tools.
- Longer wear: expert prep can extend durability to 14–21 days.
- Safety: salons use medical‑grade adhesives that reduce allergic reactions.
When to Choose Each
If you’re experimenting with bold colors or need a quick fix for a special event, DIY is perfect. For wedding‑day nails or clients with weak natural nails, a salon application ensures the longest wear and highest durability.
Caring for Your Nail Wraps: Maintenance & Removal
Everyday Care
Treat wraps like natural nails: avoid using them as tools, wear gloves when cleaning, and apply cuticle oil nightly. I recommend a thin coat of clear top coat every three days to maintain shine; this adds roughly $0.30 per nail in product cost.
Extended Wear Tips
- Avoid hot water for the first hour after application—heat can weaken the adhesive.
- Re‑buff the surface lightly with a fine‑grit buffer (240‑300) if you notice dullness.
- Store extra wraps in a cool, dry place; humidity can cause the vinyl to warp.
Safe Removal
Never pull a wrap off; this can strip layers of natural nail. Instead:
- Soak a cotton pad in acetone (100% pure, $8 for 250 ml).
- Place the pad over the nail and wrap with foil for 10 minutes.
- Gently push the softened wrap off with a cuticle pusher.
- Buff the nail surface lightly and moisturize with a nail‑strengthening serum.
This method preserves nail health and reduces the risk of breakage.
Pro Tips from Our Experience
Tip 1 – Use a Thin Layer of Nail Primer
Applying a clear nail primer (e.g., OPI Prep) before the wrap adds an extra bonding layer, extending wear by up to 30% (average increase from 10 to 13 days).
Tip 2 – Combine Wraps with Nail Stamping
For a custom look, apply a plain wrap as a base, then use a nail stamping plate with a translucent top coat. The result is a unique, layered design that lasts longer than either method alone.
Tip 3 – Temperature Matters
Apply wraps in a room between 20‑24 °C (68‑75 °F). Colder environments cause the adhesive to set too quickly, leading to bubbles. Warm up your hands with a quick rub before starting.
Tip 4 – Reinforce Weak Nails
If you have thin or brittle nails, first apply a thin coat of a strengthening base (e.g., Sally Hansen Hard as Nails). Let it dry, then proceed with the wrap. This prevents lifting and reduces breakage.
Tip 5 – Keep a Backup Pack
Having a spare pack of your favorite design means you can replace a lifted wrap without a trip to the store. I keep a $9 Dashing Diva pack in my studio drawer for emergencies.
Frequently Asked Questions
How long do nail wraps typically last?
Most high‑quality wraps stay intact for 10‑14 days with proper prep and care. Gel‑infused wraps can extend wear to 15‑21 days when cured under a lamp.
Can I use nail wraps on acrylic or gel extensions?
Yes, but you must sand the surface lightly to create a matte finish and ensure the adhesive bonds. Avoid using wraps on heavily textured extensions, as they may not lay flat.
Are nail wraps safe for sensitive skin?
Most wraps are hypoallergenic, but if you have a known adhesive allergy, test a single wrap on a small area for 24 hours before full application. Look for products labeled “latex‑free” and “paraben‑free.”
Do I need a top coat after applying wraps?
A top coat is optional but recommended for added shine and protection. It can also help the wrap resist chipping during daily activities.
How do I store leftover nail wraps?
Keep them in a sealed zip‑lock bag with a silica packet to control humidity. Store the bag in a cool, dry drawer; wraps remain usable for up to six months.
Conclusion: Your Next‑Level Nail Routine Starts Here
Armed with the right tools, a solid prep routine, and a few insider tricks, nail wraps can become your most reliable nail‑art ally. Choose a reputable brand, size the wraps precisely, and seal them with a primer or top coat for maximum longevity. In my experience, the combination of a quality wrap and proper aftercare reduces salon visits by at least 40% and keeps nails looking fresh for up to three weeks.
Take the first step today: pick a design that excites you, follow the prep checklist, and enjoy a flawless manicure that stays put through work, workouts, and weekend adventures. Your nails will thank you, and your wallet will feel the relief.