
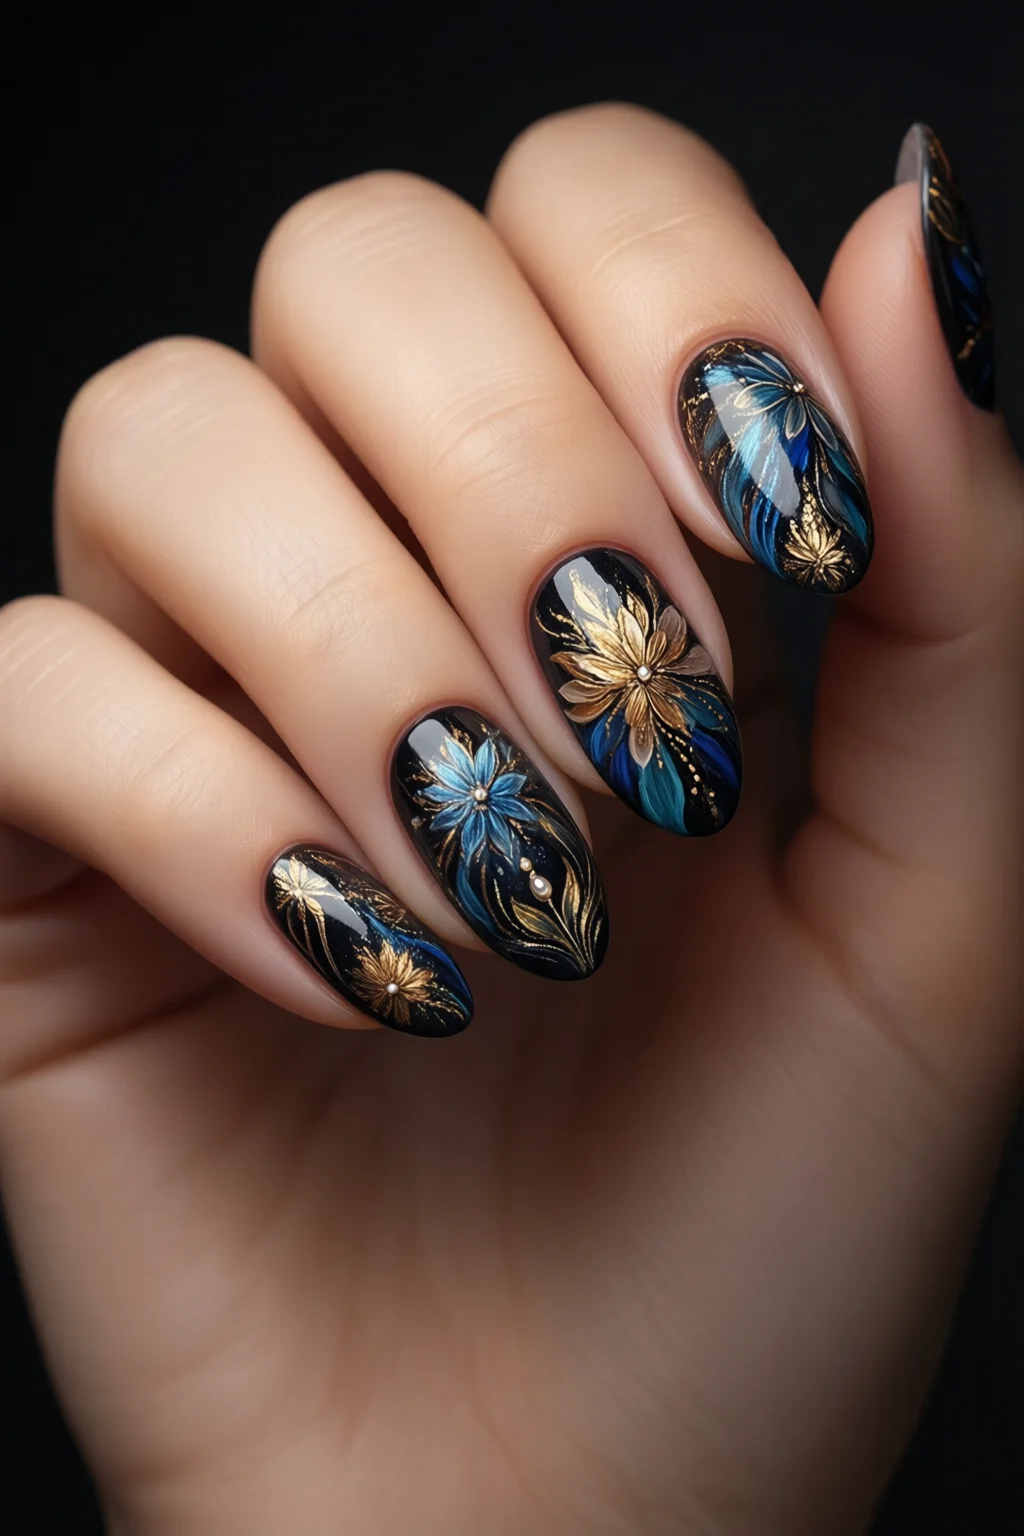
Turn ordinary fingertips into a living canvas with hand painted nail art that looks salon‑perfect every single day.
In This Article
In this step‑by‑step tutorial you’ll learn exactly what tools, techniques, and little secrets I use to create crisp lines, flawless gradients, and intricate details without spending a fortune on a professional appointment. By the end you’ll be able to design, paint, and seal your own custom nail masterpieces in under two hours.
What You Will Need (Before You Start)
Gathering the right supplies is the foundation of any successful hand painted nail art session. Below is my go‑to kit, complete with brand names, typical retail prices (U.S.), and the exact measurements that make a difference.
- Base & Top Coat: OPI Pro Spa Top Coat – $12.99 (15 ml). Provides a glossy, chip‑resistant shield.
- Base Coat (optional for light colors): Essie First Base – $9.49 (15 ml).
- Nail Polish: Choose at least three shades. I recommend:
- OPI “Lincoln Park After Dark” – $11.99 (15 ml) – deep matte black.
- Sally Hansen “Watercolor Blooms” – $8.99 (15 ml) – soft pastel pink.
- China Glaze “Electric Blue” – $9.99 (15 ml) – vibrant accent.
- Fine‑Detail Brush: KISS Professional 0.5 mm nail art brush – $4.95 (pack of 2).
- Medium Brush (for larger fills): Minnie’s 1 mm brush – $3.50.
- Dotting Tool: Betina Dotting Tool Set – $6.99.
- Cuticle Oil: CND Solar Oil – $13.99 (15 ml).
- Hand Buffer & Nail File: Revlon Quick File – $2.79 (pack of 4).
- Rubbing Alcohol (70% isopropyl): for cleaning – $2.00 per 16 oz bottle.
- Paper Towels & Cotton Swabs: for quick corrections.
- Optional: stiletto nail shape guide if you plan to file into a dramatic silhouette, and a nail glue guide for applying press‑on tips before painting.
Tip: Stock up on a basic palette of neutrals (nude, white, sheer pink) – they cost about $8 each and serve as perfect background layers for any design.
Step 1: Prepare Your Canvas
Clean, shape, and prime your nails so the paint adheres evenly.
- Remove any existing polish with a non‑acetone remover and a cotton pad.
- Push back cuticles gently using a wooden pusher; then massage a few drops of cuticle oil.
- File each nail to your desired length and shape. In my studio I often file into a stiletto nail shape for dramatic effect – the angle is roughly 45° from the tip to the side.
- Buff the surface lightly (120‑grit) to smooth ridges. This step reduces “bubbles” when you apply the base coat.
- Wipe each nail with a cotton ball soaked in rubbing alcohol. This removes dust and oils, ensuring the base coat bonds perfectly.
Step 2: Base Coat and Color Selection
A solid base is the secret behind long‑lasting hand painted nail art.
- Apply one thin layer of OPI Pro Spa Top Coat as a base. It may sound counterintuitive, but this top coat doubles as a base when you need extra durability for intricate designs.
- Let it dry for 60 seconds. If you’re in a rush, a quick fan of cool air (set on low) can shave 15 seconds off the drying time.
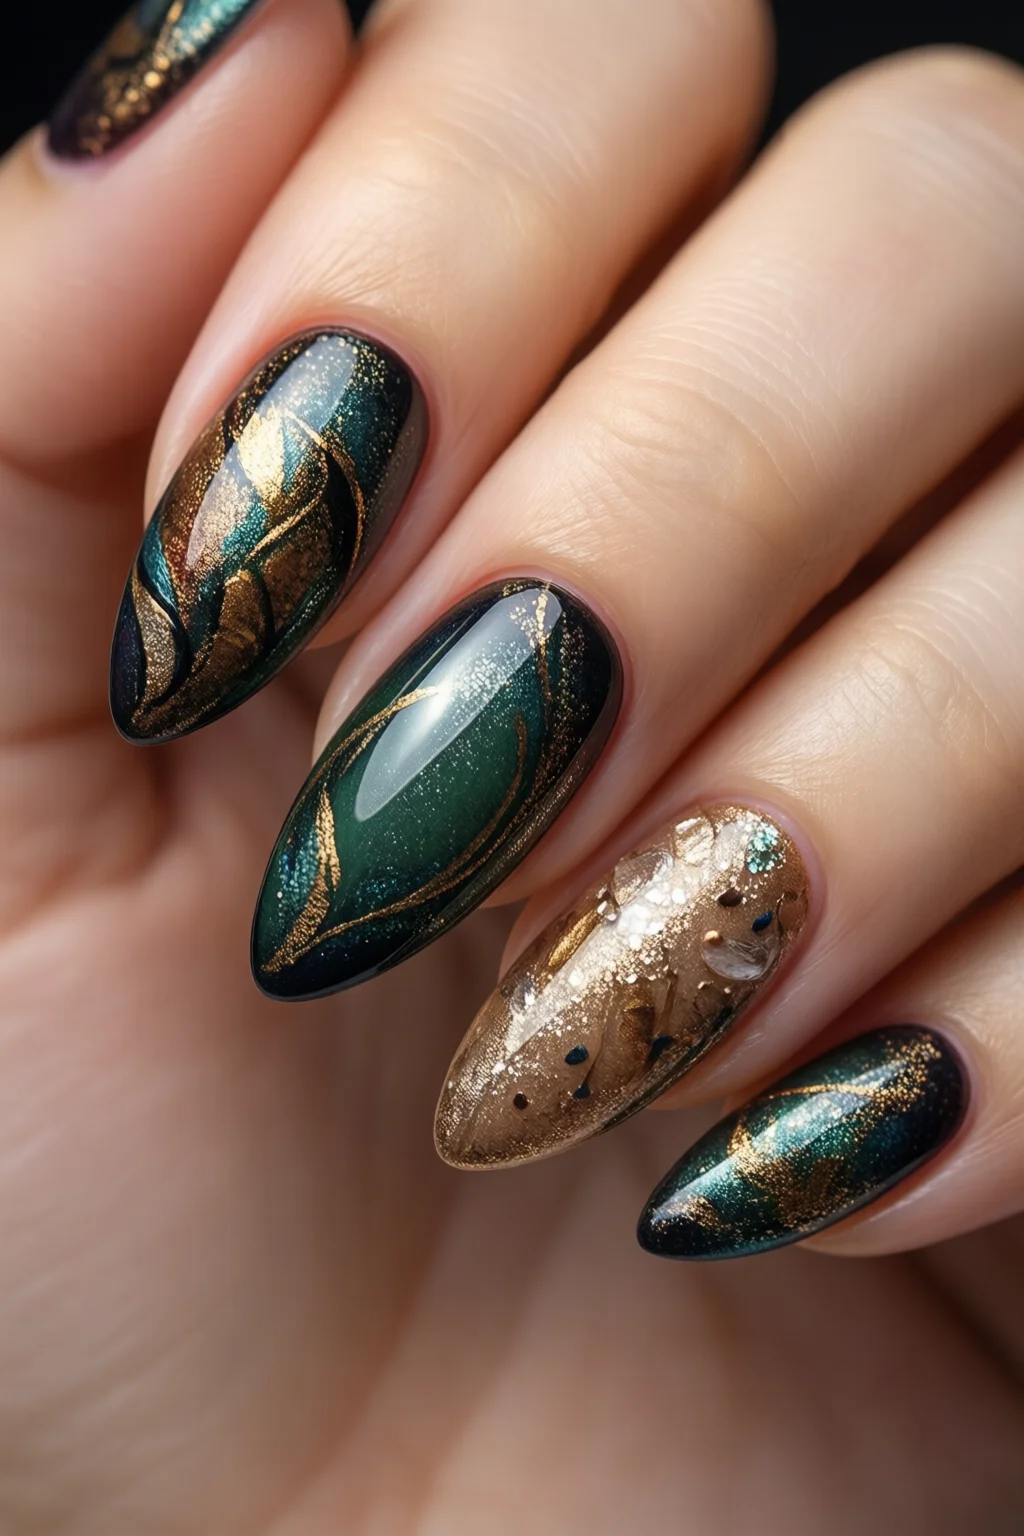
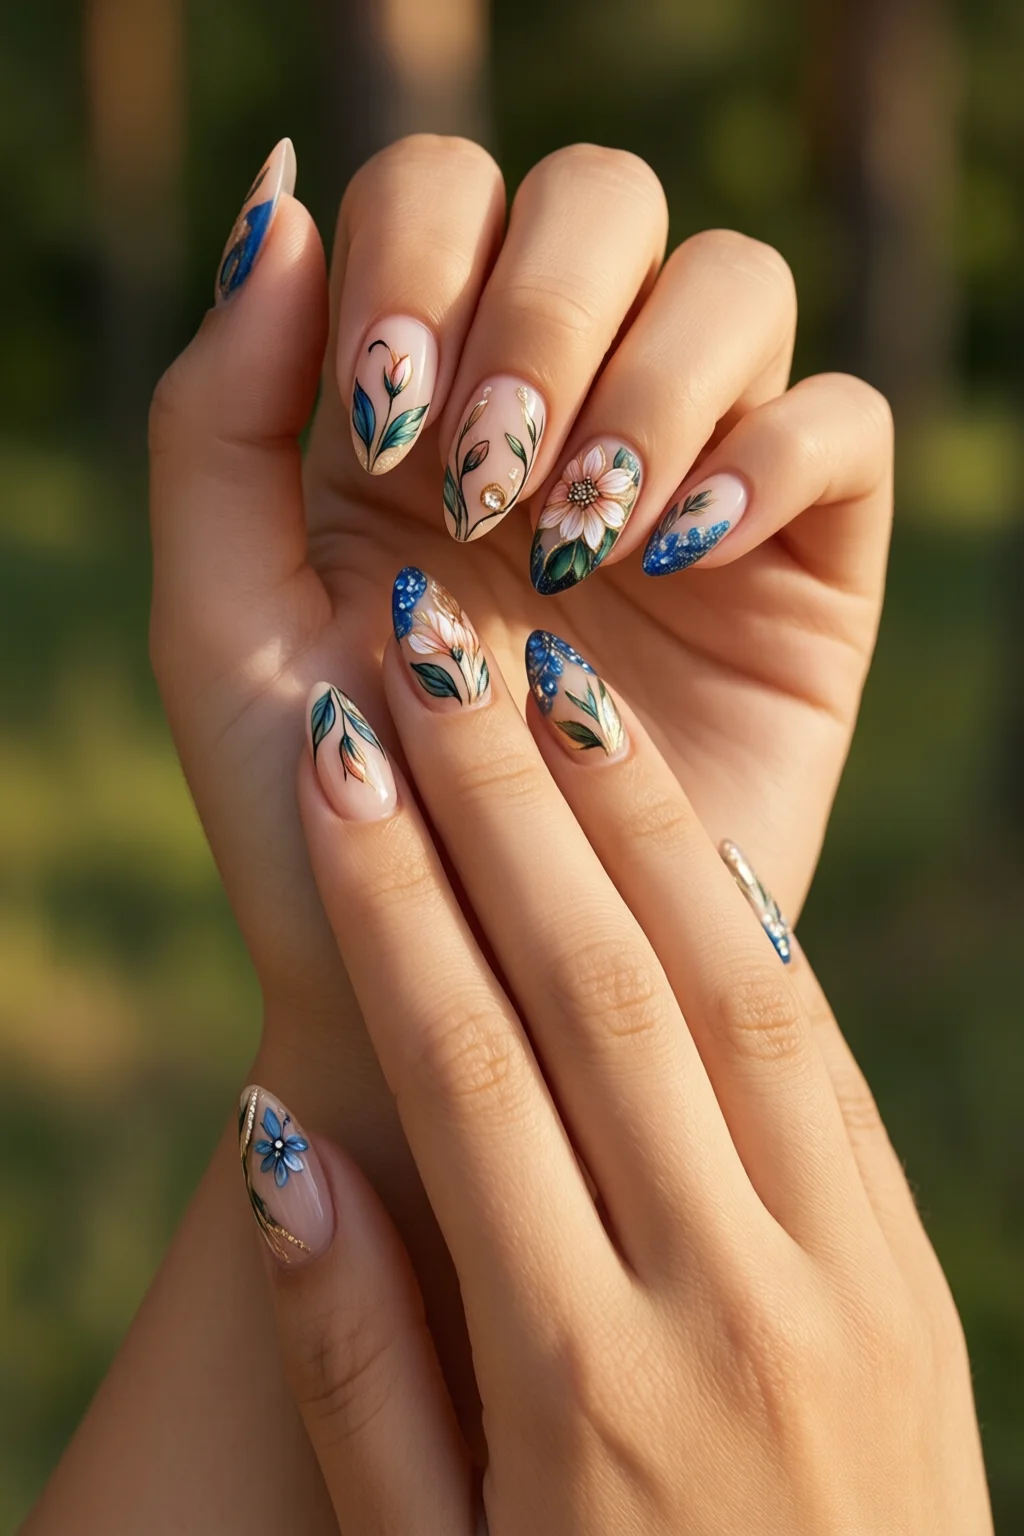
- Choose your primary colors. For a classic “black‑and‑white” motif, start with the matte black (“Lincoln Park After Dark”) as the background, then layer pastel pink (“Watercolor Blooms”) for accents.
- If you prefer a gradient, apply a thin wash of the lighter shade first, then blend the darker shade while the first is still tacky using a soft brush.
Step 3: Sketch the Design
Before you commit to paint, lightly outline the pattern.
- Using the 0.5 mm KISS brush dipped in a diluted mix of polish (about 1 part polish to 2 parts rubbing alcohol), draw basic shapes – lines, dots, or floral silhouettes.
- Keep the strokes light; they act as a guide and will disappear under the final layers.
- If you’re nervous about free‑hand drawing, place a piece of clear tape on the nail tip and use it as a stencil. I often use the Betina Dotting Tool to create perfect circles for polka‑dot motifs.
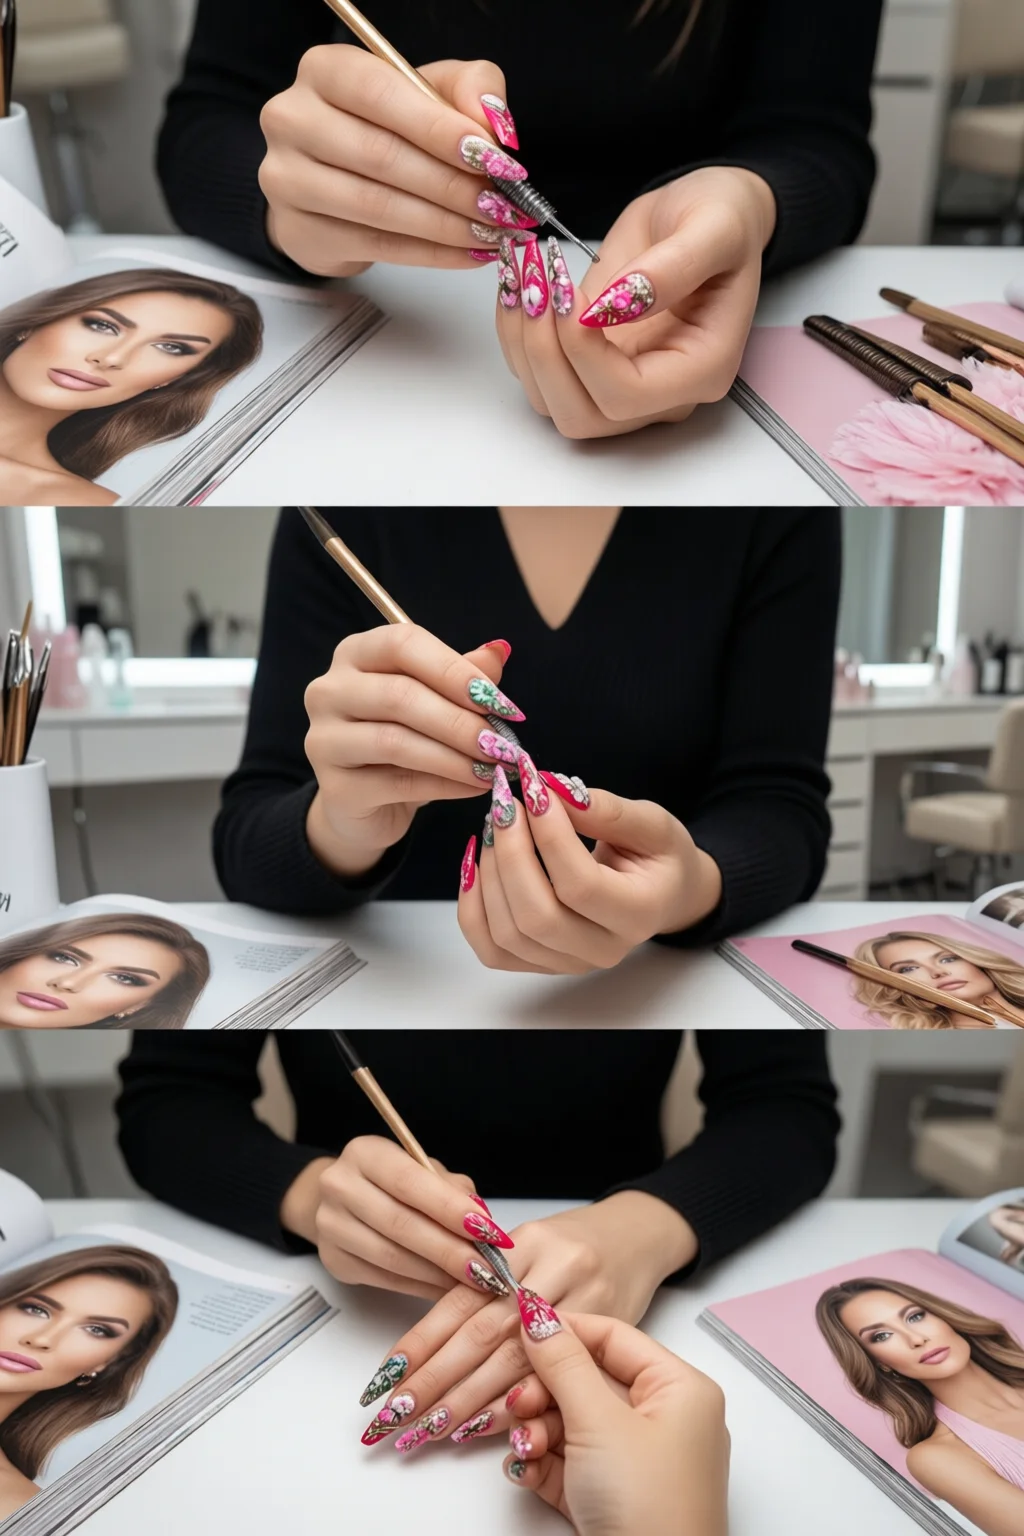
Step 4: Paint the Details
This is where the magic happens. Patience and steady hands win the day.
- Line Work: Load the fine‑detail brush with a small amount of polish. Press lightly against the nail to release just enough pigment. Move the brush in one smooth motion; if the line wavers, let it dry and trace over it again.
- Dotting: Dip the tip of the dotting tool into the polish, then press onto the nail. For tiny 1 mm dots, a quick tap does the trick.
- Layering: After each color dries (about 90 seconds for thin layers), add shading or highlights. A common technique is “negative space” – painting around a white cut‑out shape to let the natural nail show.
- Texture: For a marble effect, swirl two complementary shades together using a disposable brush, then blot with a cotton swab.
In my experience, using a “wet‑on‑wet” approach (painting while the previous layer is still tacky) reduces visible brush marks and speeds up the process by up to 30%.
Step 5: Seal and Finish
Sealing locks in color, prevents smudging, and adds that professional shine.
- Apply a generous layer of OPI Pro Spa Top Coat. For a matte finish, swap it for Essie Matte Top Coat ($10.99, 15 ml).
- While the top coat is still wet, gently press a small piece of dip powder onto the tip of each nail if you want extra reinforcement; this adds a thin, protective shell that can extend wear time from 5 days to 10‑12 days.
- Allow the final coat to cure for at least 2 minutes. If you have a UV lamp, a 30‑second burst on the low setting will set the polish instantly.
- Finish with a dab of cuticle oil on each nail and massage it in. This prevents dryness and adds a subtle sheen.
Common Mistakes to Avoid
Even seasoned nail artists slip up now and then. Here are the slip‑ups I see most often and how to dodge them.
- Skipping the alcohol wipe: Residual oils cause polish to lift. Always wipe with 70% isopropyl before the base coat.
- Using too much polish on the brush: Overloading leads to clumpy lines and longer drying times. A dab the size of a pea is plenty for fine details.
- Rushing the drying time: Thin layers dry quickly, but thicker strokes need at least 90 seconds. A fan or cool air dryer can help without compromising the finish.
- Applying top coat too soon: If the underlying colors are still tacky, the top coat will trap pigments, creating a cloudy effect.
- Choosing the wrong brush size: A 1 mm brush for tiny dots results in blobby spots. Keep the 0.5 mm brush for all line work and dots under 1 mm.
Troubleshooting & Tips for Best Results
When things don’t go as planned, these fixes keep your hand painted nail art looking flawless.
- Polish streaks: Lightly dip a cotton swab in nail polish remover and swipe the streak away before it dries.
- Uneven color coverage: Apply a second thin coat after the first dries; this evens out opacity without adding thickness.
- Peeling after a day: Ensure the nail surface is clean and dry before applying the base coat. A quick wipe with alcohol solves most adhesion issues.
- Smudged designs: Keep a small bottle of quick‑dry spray (e.g., Seche Vite) handy; a quick mist between layers prevents smearing.
- Broken brush tip: Split tips happen when you press too hard. Let the brush rest on a soft cloth between uses to keep it flexible.
One habit that has saved me countless designs is to keep a tiny pencil‑shaped nail file on the side. If a design becomes too thick, a gentle scrape smooths it out without ruining the underlying layers.
Summary Conclusion
Hand painted nail art is a blend of preparation, precision, and patience. By following the five steps above—prepping the canvas, selecting a solid base, sketching, painting details, and sealing—you can create salon‑grade looks in under two hours, for as little as $70 in supplies. Remember to avoid the common pitfalls, use the right tools, and always finish with a high‑quality top coat. With practice, your fingertips will become a moving gallery of personal expression.
FAQ
How long does hand painted nail art usually last?
When sealed with a quality top coat and kept away from harsh chemicals, hand painted nail art typically lasts 5‑7 days. Adding dip powder reinforcement can extend wear to 10‑12 days.
Can I do hand painted nail art on natural nails without a base coat?
It’s possible, but the polish will chip faster. A thin base coat creates a barrier that improves adhesion and reduces staining.
What brush size is best for tiny details?
A 0.5 mm fine‑detail brush is ideal for lines and dots under 1 mm. For slightly larger shapes, a 1 mm brush provides better control without sacrificing precision.
Do I need a UV lamp for hand painted nail art?
No. Traditional polish dries with air, but a UV lamp can speed up curing if you incorporate gel top coats or dip powder. A 30‑second burst on low setting is sufficient.
How can I stop my nail art from smudging while I’m still painting?
Work in a well‑ventilated area with a gentle fan, and let each layer dry for at least 60 seconds before adding the next. A quick mist of Seche Vite between layers also locks the pigment in place.