
Ever wondered why dip powder nails have become the go‑to buzzword in salons and TikTok tutorials alike? The answer lies in a blend of durability, low odor, and a finish that rivals a fresh gel manicure without the constant UV exposure. If you’re ready to skip the salon queue and master a salon‑quality look at home, keep reading – I’ll walk you through everything you need to know, from the chemistry behind the powder to a step‑by‑step application guide that even a nail‑newbie can follow.
In This Article
In my ten‑plus years as a nail technician, I’ve seen trends come and go, but dip powder nails have stuck around for good reason. Clients love the feather‑light feel, the virtually chip‑proof wear, and the fact that a single session can last up to three weeks. Below, you’ll find a comprehensive guide that breaks down the why, the what, and the how, plus pro‑tips that I’ve gathered from countless client makeovers.

What Are Dip Powder Nails?
How the System Works
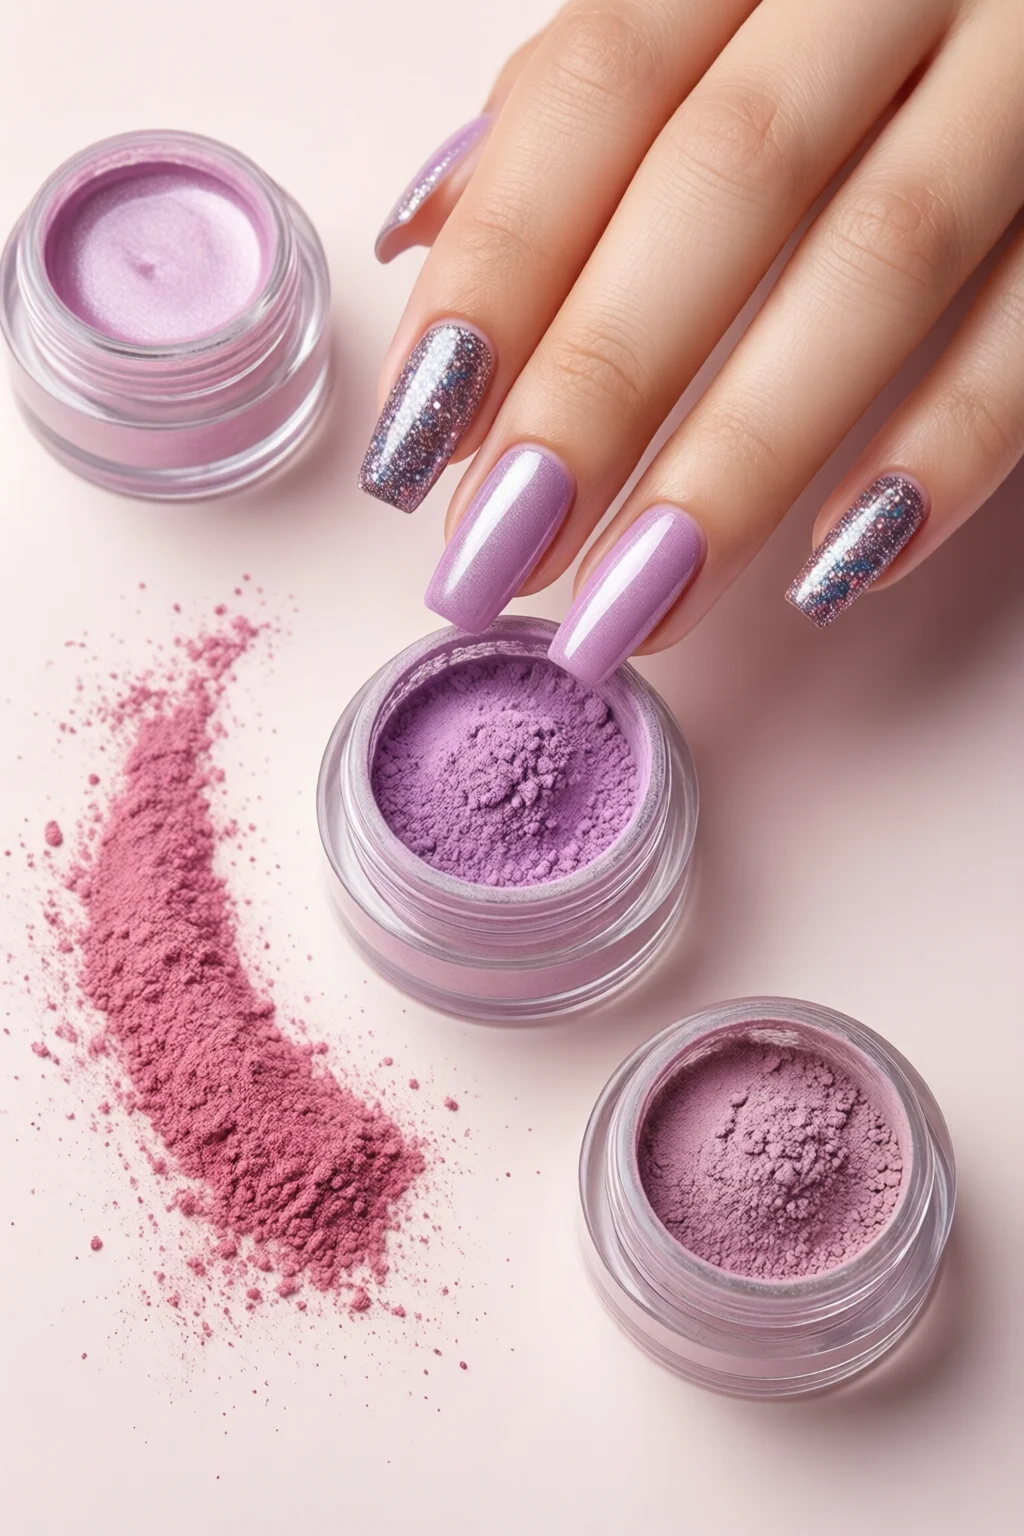
Dip powder nails combine a liquid base coat, finely milled polymer powder, and a sealant top coat. The process is simple: after applying the base, you dip the nail into the powder or tap it on the surface, then repeat the cycle before sealing. The powder particles bond with the resin in the base, creating a hard, flexible shell that cures in seconds without a UV lamp.
Key Ingredients
Modern dip powders are primarily made of polymer powders (often a blend of acrylic resin and nylon), mica for shimmer, and titanium dioxide for opacity. Premium brands like Kiara Sky and Revel Nail keep the particle size under 15 µm, which reduces the risk of nail surface scratching and ensures a smoother finish.
Benefits vs. Traditional Gel & Acrylic
Longevity & Strength
A properly applied dip set can endure 2–3 weeks of daily wear, compared to 1–2 weeks for most gel manicures. The polymer matrix adds about 20 % more tensile strength than standard acrylic, meaning fewer cracks and less peeling.
Health & Odor
Unlike acrylic, dip powders emit virtually no smell because they polymerize without a monomer‑based liquid. For clients with sensitivities, this is a game‑changer. Additionally, because you don’t need a UV lamp, you avoid potential skin damage associated with prolonged UV exposure.
Cost & Time
Professional dip powder kits range from $30 to $80, which covers multiple colors and reusable tools. In contrast, a single gel session at a salon can cost $45–$70. Home application takes roughly 30–45 minutes, shaving off both time and travel expenses.
Essential Tools & Products
Powder Brands & Color Range
My go‑to brands are:
- Kiara Sky – 75 colors, $45 per 8 oz jar, known for high‑pigment, low‑dust formulas.
- Revel Nail – 100 colors, $38 per 8 oz jar, includes holographic and neon shades.
- Modelones – budget‑friendly, $25 per 8 oz jar, decent coverage for beginners.
Base & Top Coats
Both Kiara Sky and Revel sell dedicated dip base and top coats. The base is a thin, brush‑on resin that cures in 30 seconds under a LED lamp (optional). The top coat adds high‑gloss and seals the powder; it typically costs $15–$20 per 15 ml bottle.
Accessories
A complete dip kit should include:
- Fine‑grain buffer (180‑grit)
- Cuticle pusher (cuticle pusher technique guide)
- Lint‑free wipes and alcohol prep pads
- Dust brush (soft, natural bristles)
- Optional LED/UV lamp (if you prefer a quicker cure)
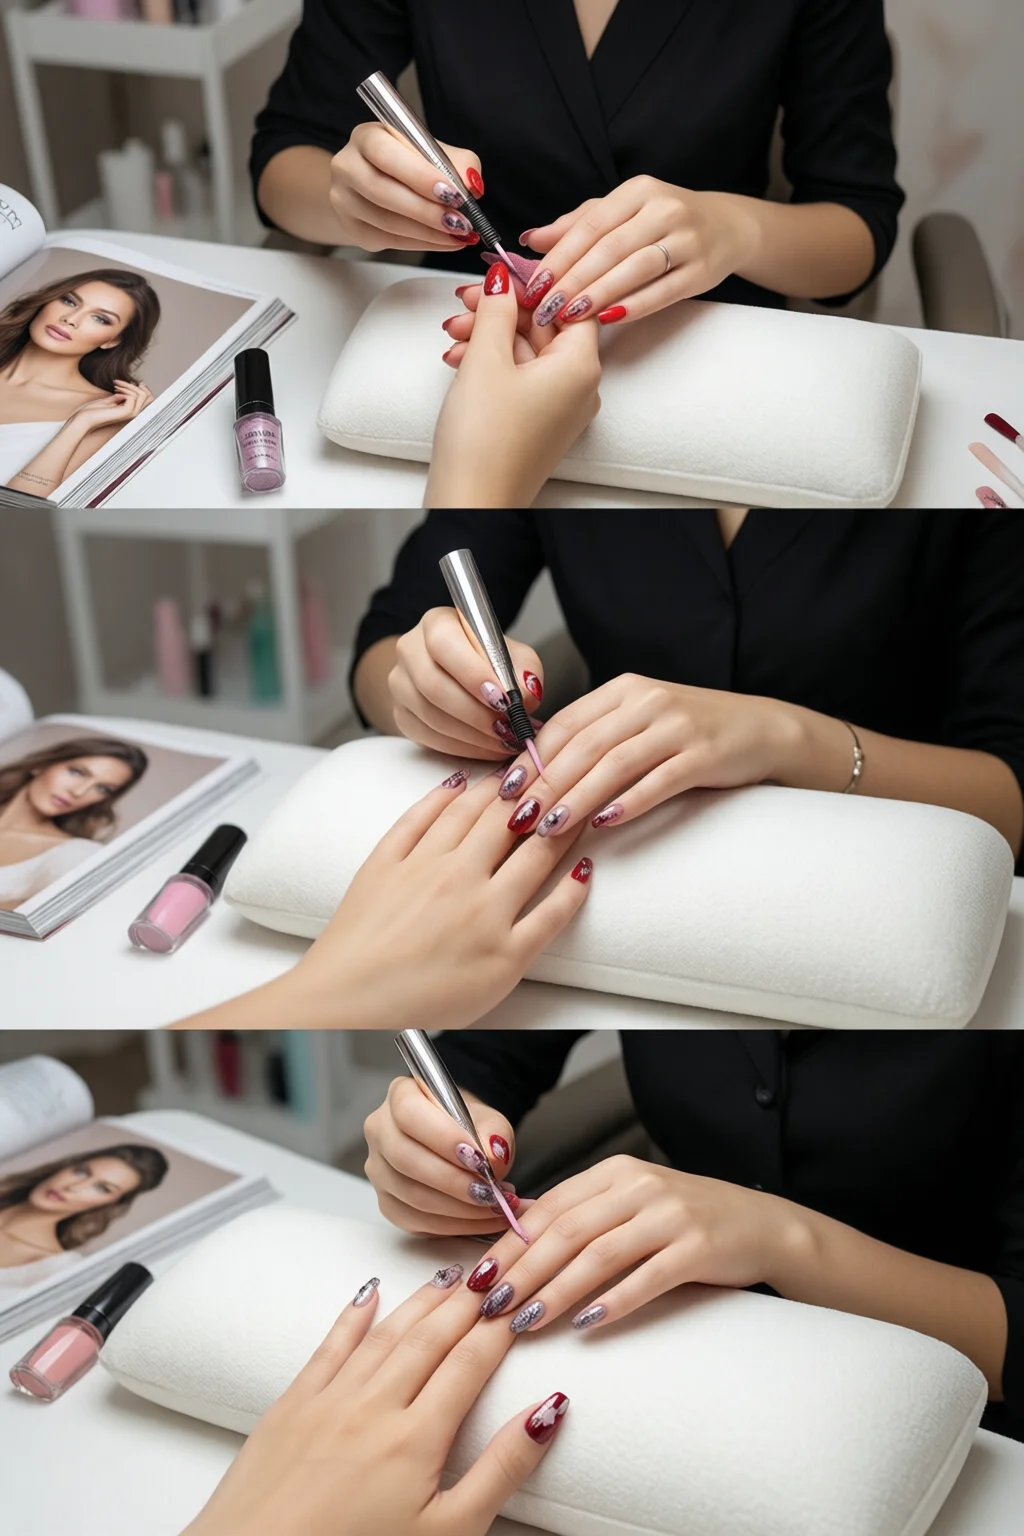
Step‑by‑Step Application at Home
1. Prep & Nail Preparation
- Remove any existing polish and gently push back cuticles.
- File nails to your desired shape; a light buff on the surface (180‑grit) removes shine and improves adhesion.
- Clean the nail with 70 % isopropyl alcohol; let dry completely.
2. The Dipping Process
- Apply a thin coat of dip base using a disposable brush. Avoid pooling at the cuticle.
- Immediately dip the nail into the powder or tap the powder onto the nail, ensuring full coverage.
- Shake off excess powder gently with the dust brush.
- Repeat steps 1–3 for a second layer to build opacity, especially for lighter shades.
- Once the final layer is set, brush off remaining powder and wipe the nail with a lint‑free pad dipped in alcohol.
3. Finishing & Aftercare
- Apply the dip top coat; cure under a LED lamp for 30 seconds if the product recommends it.
- Buff the surface lightly (200‑grit) to achieve a glass‑like shine, then apply a drop of cuticle oil.
- Schedule a gentle removal after 3 weeks using a soak‑off method: soak nails in acetone for 10 minutes, then gently push off the softened powder with a wooden stick.
For those who already love gel, you might wonder how the removal differs. Dip powder removal is quicker—typically 10 minutes versus 15–20 minutes for gel—because the powder doesn’t bind as tightly to the nail plate.
Common Mistakes & Troubleshooting
Lifting & Bubbling
One mistake I see often is applying a base coat that’s too thick. The excess resin creates a cushion where the powder can’t fully embed, leading to lift. Keep the base as thin as possible—think a single brush stroke.
Uneven Color
If you notice streaks, the culprit is usually uneven tapping. Use a gentle, consistent motion and rotate the nail while dipping. For glitter‑heavy powders, tap the nail on a clean surface before dipping to avoid clumping.
Removing Dip Powder Safely
Never file off the powder; this can thin the natural nail. Instead, soak in acetone or use a dip removal kit that includes a protective foil wrap. A quick tip: place a cotton ball soaked in acetone on the nail, wrap with foil, and wait 10 minutes. The powder will lift off effortlessly.
Pro Tips from Our Experience
- Temperature matters. Work in a room between 68–72 °F; colder temps cause the base to thicken, leading to uneven dips.
- Layering for special effects. Combine a sheer base color with a glitter top powder for a custom sparkle without overloading the nail.
- Seal the edges. After the final top coat, run the brush along the free edge for an extra seal that prevents chipping.
- Use a high‑quality LED lamp. Even if your base doesn’t require curing, a 36‑watt lamp speeds up the top coat cure and adds durability. See our UV lamp safety nails guide for safe usage.
- Combine with nail wraps. For intricate designs, apply a nail wrap first, then seal with a thin dip base before powdering. This technique merges the best of both worlds—see nail wraps for more.
Dip Powder vs. Gel vs. Acrylic: Quick Comparison
| Feature | Dip Powder | Gel | Acrylic |
|---|---|---|---|
| Cure Time | 30 seconds (no lamp required) | 30–60 seconds under LED/UV | Immediate (no lamp) |
| Durability (weeks) | 2–3 | 1–2 | 2–3 (but higher breakage) |
| Odor | Low | Low | Strong chemical smell |
| UV Exposure | None | Yes (UV/LED) | None |
| Removal Time | 10 minutes (acetone soak) | 15–20 minutes (acetone soak) | 15–20 minutes (acetone soak) |
| Cost (per set) | $30–$80 kit | $45–$70 salon | $35–$75 kit |
FAQ
Can I use dip powder nails if I have a weak natural nail?
Yes. The powder creates a protective shell that can actually reinforce thin nails. Just be sure to keep the base layer ultra‑thin and avoid over‑filing the natural nail before application.
Do I need a UV lamp for dip powder?
A lamp isn’t mandatory, but using a 36‑watt LED lamp for the top coat can speed up curing and improve shine. It’s especially helpful in cooler climates.
How do dip powder nails differ from gel nails at home?
Unlike gel, dip powder doesn’t require a brush‑on gel polish that you cure under a lamp for each coat. The powder is applied by dipping, which reduces the number of steps and eliminates the strong odor of gel solvents.
Is dip powder safe for men’s nail care?
Absolutely. The same low‑odor, high‑strength benefits apply regardless of gender. For a men‑focused routine, check out our nail care for men guide.
Conclusion: Your Next Dip Powder Nail Journey Starts Now
Dip powder nails deliver a professional finish without the salon price tag or the UV exposure concerns of traditional gel. By investing in a quality kit, mastering the three‑step dip process, and avoiding common pitfalls, you can enjoy chip‑resistant, glossy nails for up to three weeks. Grab a kit, set up a clean workspace, and give it a try—your nails (and your wallet) will thank you.
1 thought on “Dip Powder Nails – Tips, Ideas and Inspiration”