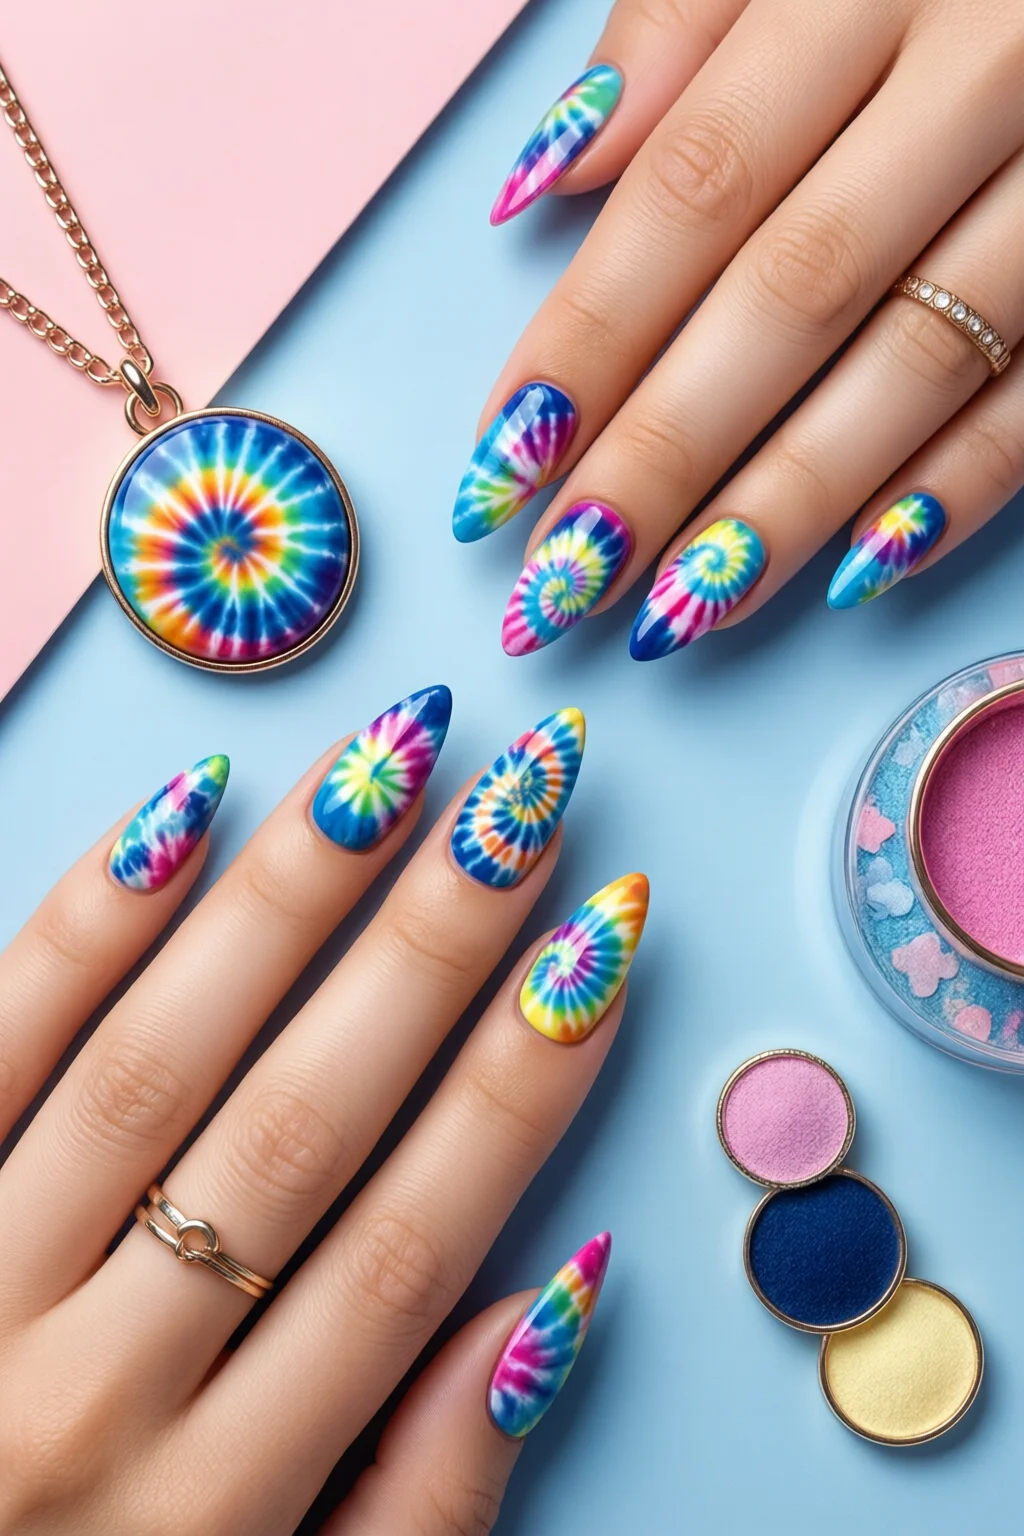
Did you know that over 42% of nail‑art enthusiasts on Instagram experimented with tie dye nails in the past year? That surge tells me one thing: people love the psychedelic vibe, but many still struggle to get the swirls smooth and the colors balanced. In this guide you’ll walk away with a salon‑level tie dye nails look that lasts at least a week, using tools you can buy at any beauty retailer.
In This Article
- What You Will Need (Before You Start)
- Step 1 – Prep Your Nails
- Step 2 – Apply Base Coat
- Step 3 – Choose Your Color Palette
- Step 4 – Load the Sponge
- Step 5 – Create the First Swirl
- Step 6 – Layer Additional Swirls
- Step 7 – Seal the Design
- Step 8 – Clean Up the Edges
- Common Mistakes to Avoid
- Tips for Best Results (Troubleshooting)
- Creative Variations
- Summary
What You Will Need (Before You Start)
- Base coat: OPI Pro Spa Base Coat, $12, 15 ml – creates a smooth canvas and prevents staining.
- Top coat: Seche Vita Gloss Top Coat, $14, 15 ml – adds high‑shine protection and extends wear up to 10 days.
- Two or three nail polishes: Choose contrasting shades. I recommend Zoya “Satin Sapphire” (deep blue, $10, 0.5 oz), Essie “Biscotti” (soft beige, $9, 0.5 oz), and Sally Hansen “Neon Pink” (electric pink, $8, 0.5 oz). The more saturated the pigments, the sharper the tie‑dye effect.
- Nail sponge: KISS Pro Sponging Sponge, $5 for a pack of 12. The porous surface pulls color into each other without muddying.
- Nail dehydrator: Best nail dehydrator (e.g., Orly Cleanse & Prep, $7, 15 ml) – wipes away oils for better adhesion.
- Cuticle pusher & nail file: Standard 0.5 mm emery board, $3.
- Cotton pads & lint‑free wipes: $2 for a pack.
- Optional: Glitter or metallic accent polish (e.g., China Glaze “Gold Dust” $9) for extra pop.
Set aside about 30 minutes for prep, 15 minutes for each color layer, and another 20 minutes for drying. If you have a LED lamp, a quick 30‑second cure after each coat can cut total time in half.
Step 1 – Prep Your Nails
Start with clean, filed nails. Push back cuticles with the pusher, then shape the tips to your preference (square, almond, or short French). Wash hands with a gentle soap, dry thoroughly, and wipe each nail with a lint‑free pad soaked in the nail dehydrator. In my experience, skipping this step leads to premature lifting, especially with the heavy pigments used in tie dye designs.
Step 2 – Apply Base Coat
Paint a thin layer of OPI Pro Spa Base Coat on each nail. Let it dry for 2 minutes (or 30 seconds under an LED lamp). The base coat not only protects your natural nail but also gives the sponge a slightly tacky surface so the colors spread evenly.
Step 3 – Choose Your Color Palette
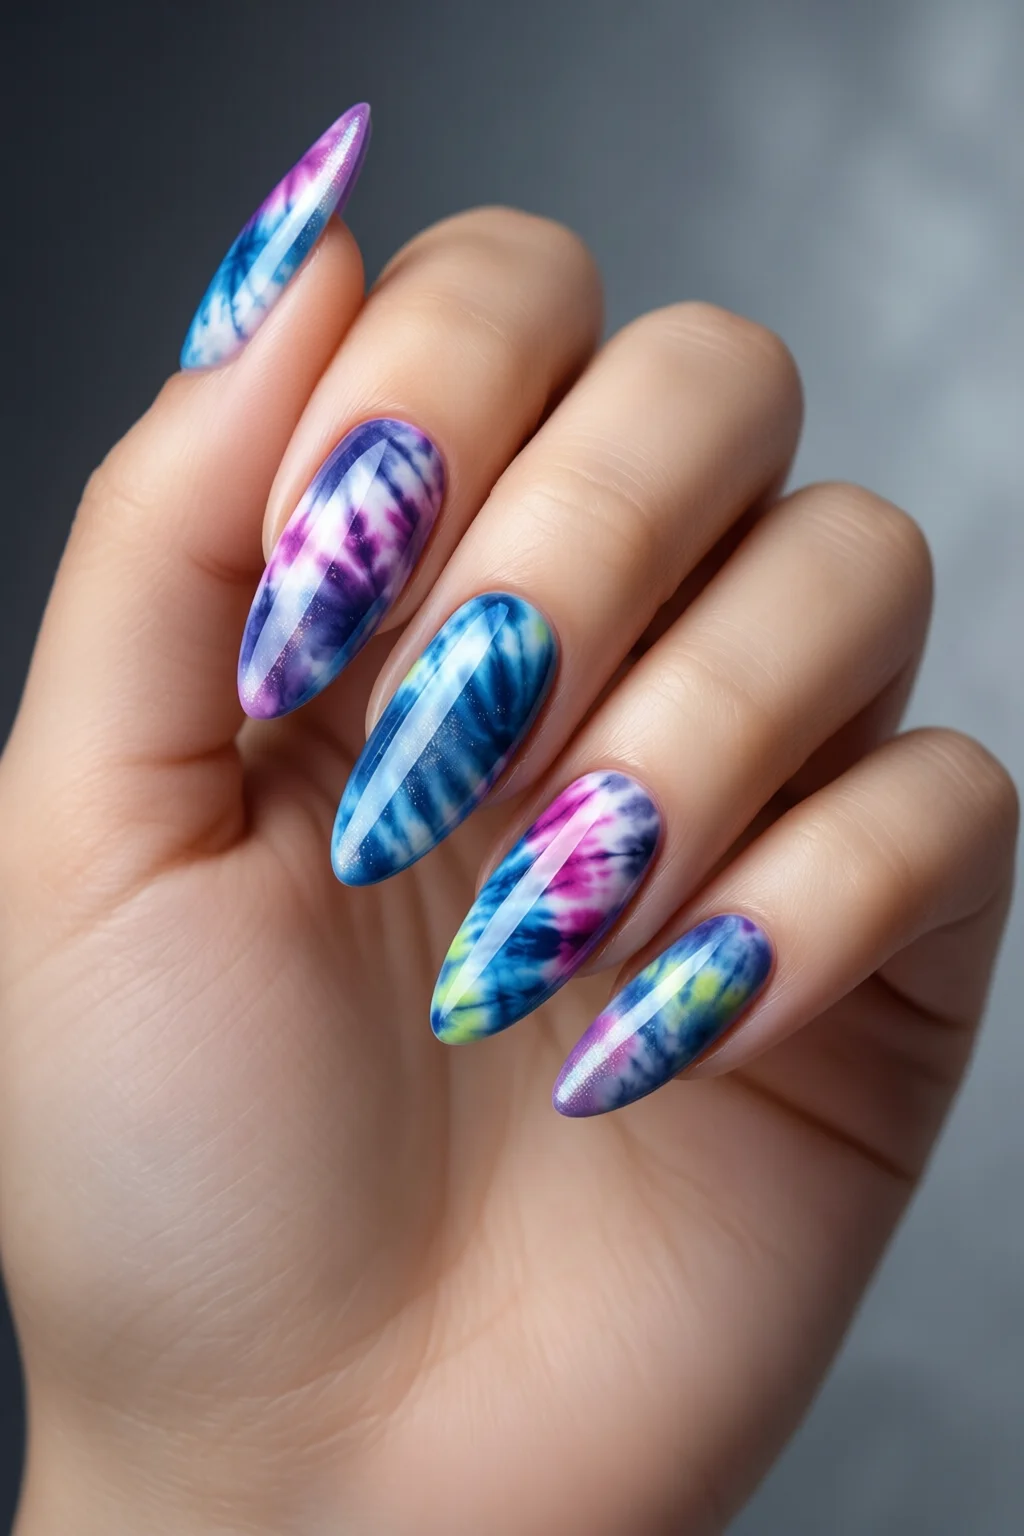
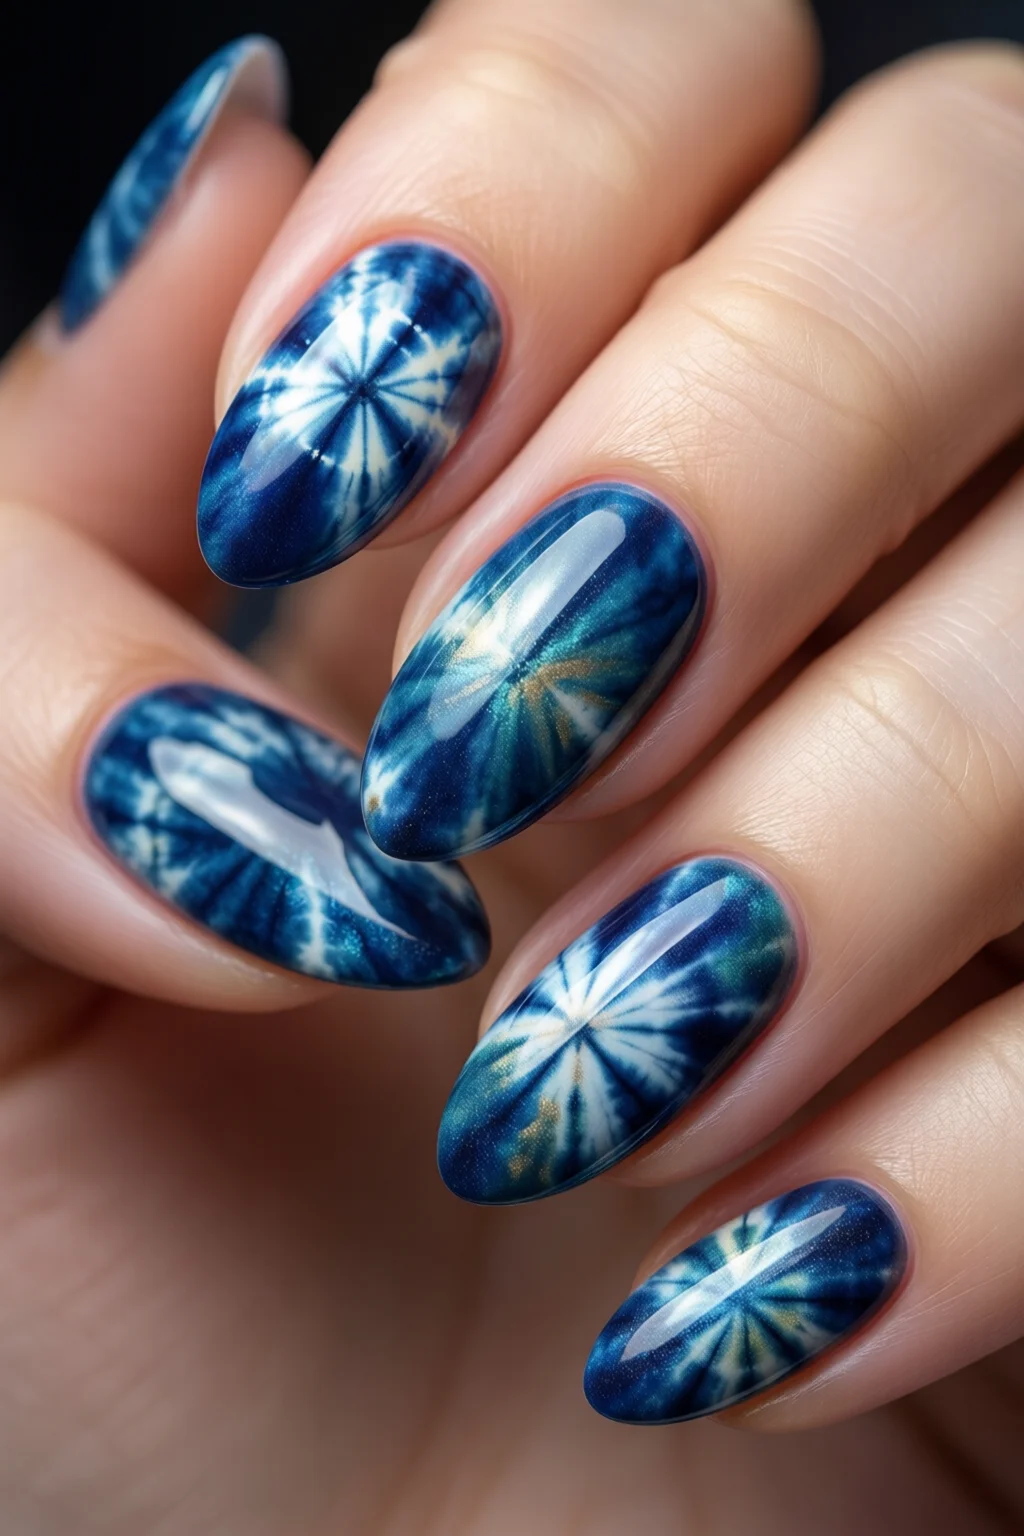
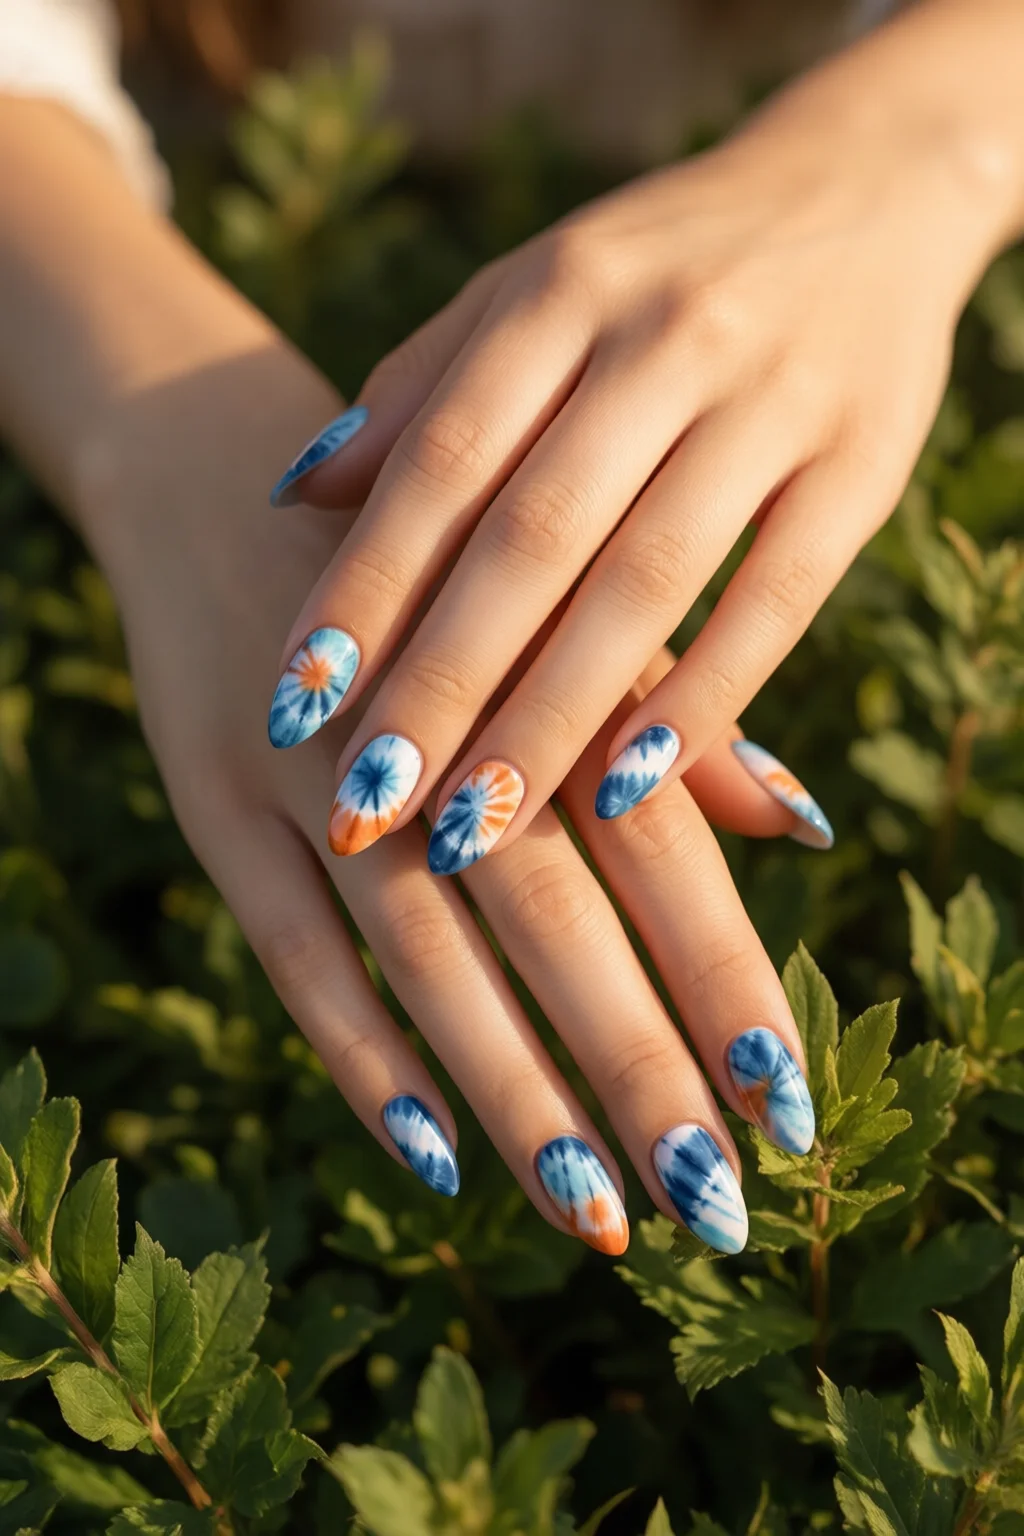
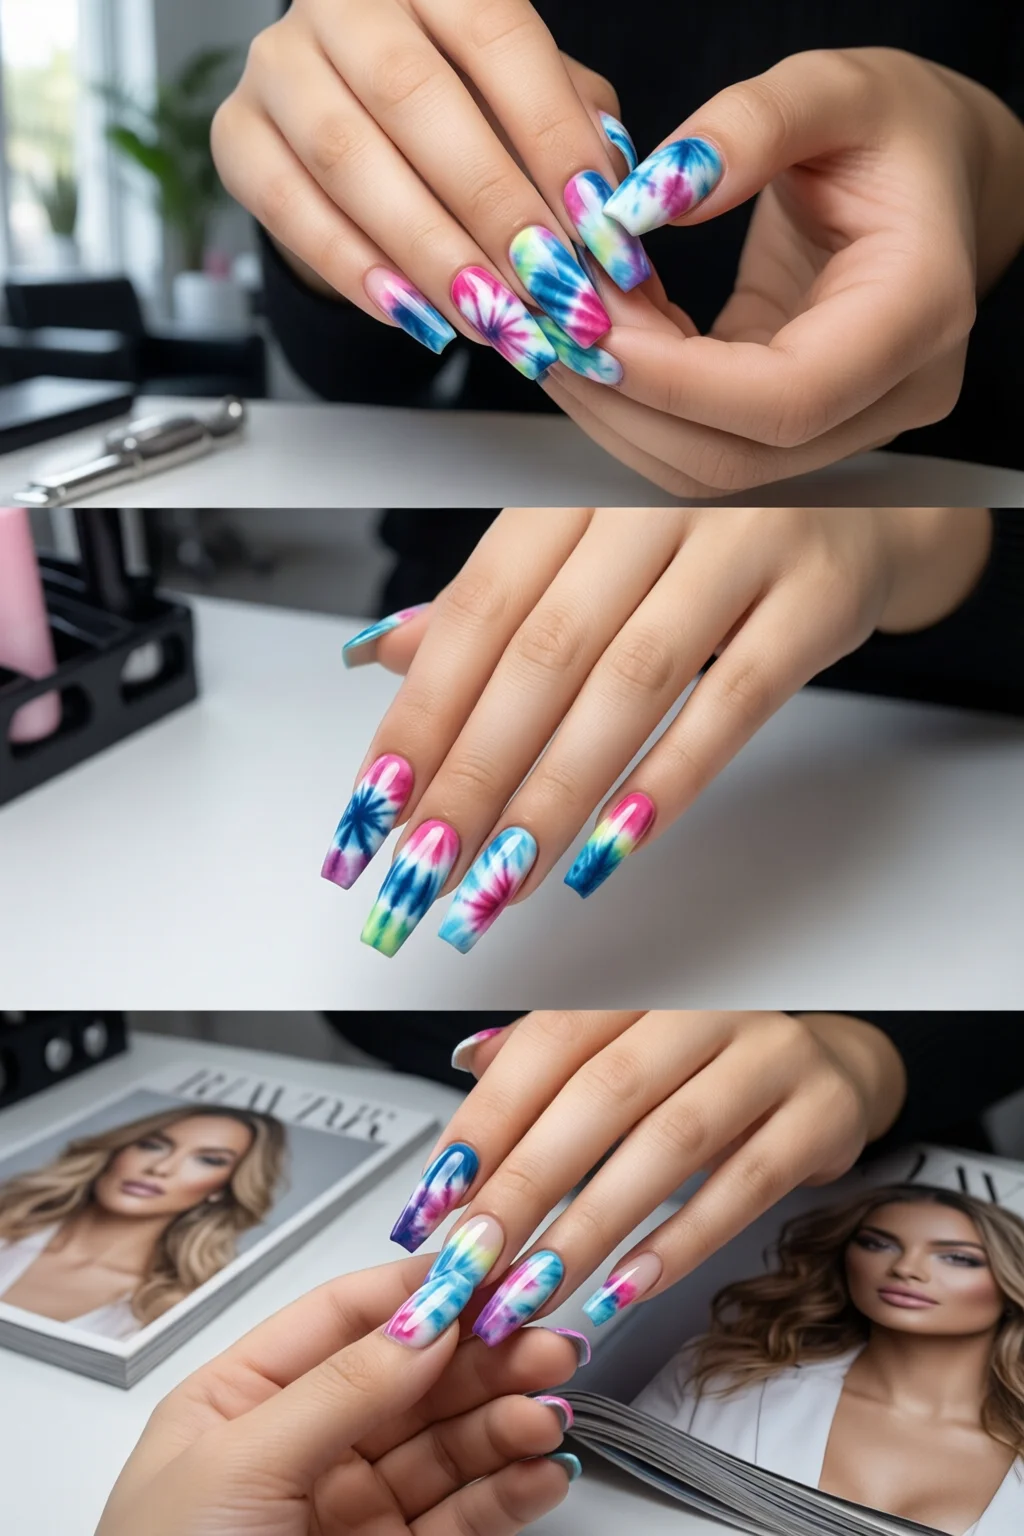
Pick three shades that contrast yet complement. A classic combo is navy, beige, and neon pink – it mimics the “rainbow‑rain” tie‑dye look. If you want a softer pastel vibe, try lavender (Zoya “Lavender Haze” $10), mint (Essie “Mint Condition” $9), and pale gold (Sally Hansen “Champagne” $8). Write the order on a sticky note; you’ll apply them in the same sequence each time.
Step 4 – Load the Sponge
Place a small dab of each polish onto a white palette or a disposable plate. Using a clean brush, pick up a pea‑size amount of the first color and dab it onto the sponge. Repeat with the second and third colors, spacing them slightly apart. The trick is to keep the colors distinct on the sponge; overlapping too early creates muddy swirls.
Step 5 – Create the First Swirl
Press the loaded sponge gently onto the tip of a nail, then roll it down toward the cuticle in a single, smooth motion. Don’t lift the sponge until you reach the base; this ensures the colors blend gradually. For a tighter spiral, rotate the sponge 180° before pressing. I’ve found that applying light pressure (about the force needed to press a thumbtack into a cork) yields the cleanest lines.
Step 6 – Layer Additional Swirls
After the first layer dries (about 3 minutes air‑dry or 15 seconds under LED), repeat the sponge technique on the same nail, offsetting the position slightly. This builds depth and prevents the colors from looking flat. Most nail artists use 2–3 layers total; beyond that the design can become too congested.
Step 7 – Seal the Design
Once you’re satisfied with the swirls, apply a thin coat of Seche Vita Gloss Top Coat. This top coat contains UV‑filters that protect neon pigments from fading. Allow it to cure for 60 seconds under LED or 2 minutes air‑dry. The result is a glass‑like finish that makes the tie‑dye pattern pop.
Step 8 – Clean Up the Edges
Dip a small brush in nail polish remover and carefully run it along the skin edges to remove any stray pigment. This step makes the design look professional and prevents the colors from rubbing off onto your hands.
Common Mistakes to Avoid
- Using thin or watery polishes: Low‑pigment formulas bleed too much, resulting in a blotchy look. Opt for high‑opacity brands like Zoya or Essie.
- Over‑saturating the sponge: Too much polish creates clumps that leave uneven patches. A pea‑size dab per color is sufficient.
- Skipping the dehydrator: Natural oils cause the top coat to lift after a few days, especially on the high‑gloss finish.
- Rushing the drying time: If the base coat isn’t fully set, the sponge will drag it and ruin the swirl.
- Applying the top coat too thickly: A heavy top coat can flatten the 3‑D effect and cause air bubbles.
Tips for Best Results (Troubleshooting)
Achieving sharper gradients: Lightly heat the sponge with a hair dryer for 5 seconds before loading polish. Warmed pores hold pigment better, giving cleaner transitions.
Preventing color bleed on the cuticle: Place a thin strip of medical tape along the nail bed before sponging. Remove the tape after the top coat dries; the tape acts as a barrier.
Extending wear time: Finish with a quick 30‑second dip in a nail‑strengthening serum (e.g., OPI Nail Envy, $13). It seals micro‑cracks and adds flexibility.
Adapting for short nails: Use a smaller sponge (1 cm square) and apply only two colors. The reduced surface area makes the swirls more visible on a short canvas.
Adding sparkle: After the final top coat, lightly dust a fine glitter (e.g., Glitter Boutique “Silver Galaxy”, $6) using a makeup brush. Seal with another thin top coat to lock the glitter in place.
Creative Variations
If you love experimenting, try these twists:
- Halloween nail art inspiration: replace neon pink with orange and add black splatter for a spooky tie‑dye.
- Liquid metal nails effect: incorporate a metallic gold polish as the third color for a futuristic vibe.
- K‑beauty nail art approach: use pastel shades and a matte top coat for a soft, modern tie‑dye.
- Lavender nails palette: swap navy for deep violet and add a lilac shimmer for a springtime tie‑dye.
Summary
Tie dye nails are a playful way to bring festival‑ready color to everyday life. By following the eight steps above—prepping properly, using a high‑pigment sponge technique, and sealing with a quality top coat—you can achieve a vibrant, long‑lasting design in under an hour. Remember to choose bold pigments, keep the sponge lightly loaded, and protect your work with a good dehydrator and top coat. With a little practice, you’ll be able to customize palettes for any season, theme, or mood.
How long do tie dye nails typically last?
When you use a high‑opacity polish, a proper base coat, and seal with a durable top coat like Seche Vita, the design can stay chip‑free for 7–10 days. Adding a nail‑strengthening serum can push wear time to two weeks.
Can I do tie dye nails on natural nails without a gel extension?
Absolutely. The sponge technique works on any nail length. Just ensure the natural nail is clean, dehydrated, and prepped with a base coat to prevent staining.
What’s the best sponge size for short nails?
A 1 cm square sponge works best for nails under 7 mm. It gives you control without overwhelming the nail surface.
Do I need a UV/LED lamp for tie dye nails?
A lamp isn’t required, but curing each layer for 30 seconds can drastically reduce drying time and improve polish adhesion, especially with thick pigments.
How can I prevent the colors from bleeding onto my skin?
Apply a thin strip of medical tape along the nail bed before sponging, or use a small amount of liquid latex as a barrier. Remove it after the top coat dries.