
Ever wondered why double French tip nails keep popping up on Instagram feeds and in salon windows?
In This Article
- 1. Classic White‑on‑White Double French
- 2. Colored Double French (Dual‑Tone Twist)
- 3. Ombre Double French
- 4. Glitter Double French
- 5. Negative‑Space Double French
- Quick Comparison of the Top Double French Styles
- Essential Tools & Products for a Flawless Double French
- Common Mistakes & How to Fix Them
- FAQs
- Final Verdict
Because they’re the perfect blend of classic elegance and modern edge—offering a fresh twist on the timeless French manicure while staying versatile enough for everyday wear or a night out. This list will walk you through the five most on‑trend double French styles, the tools you need, and the exact steps to nail the look without breaking the bank.
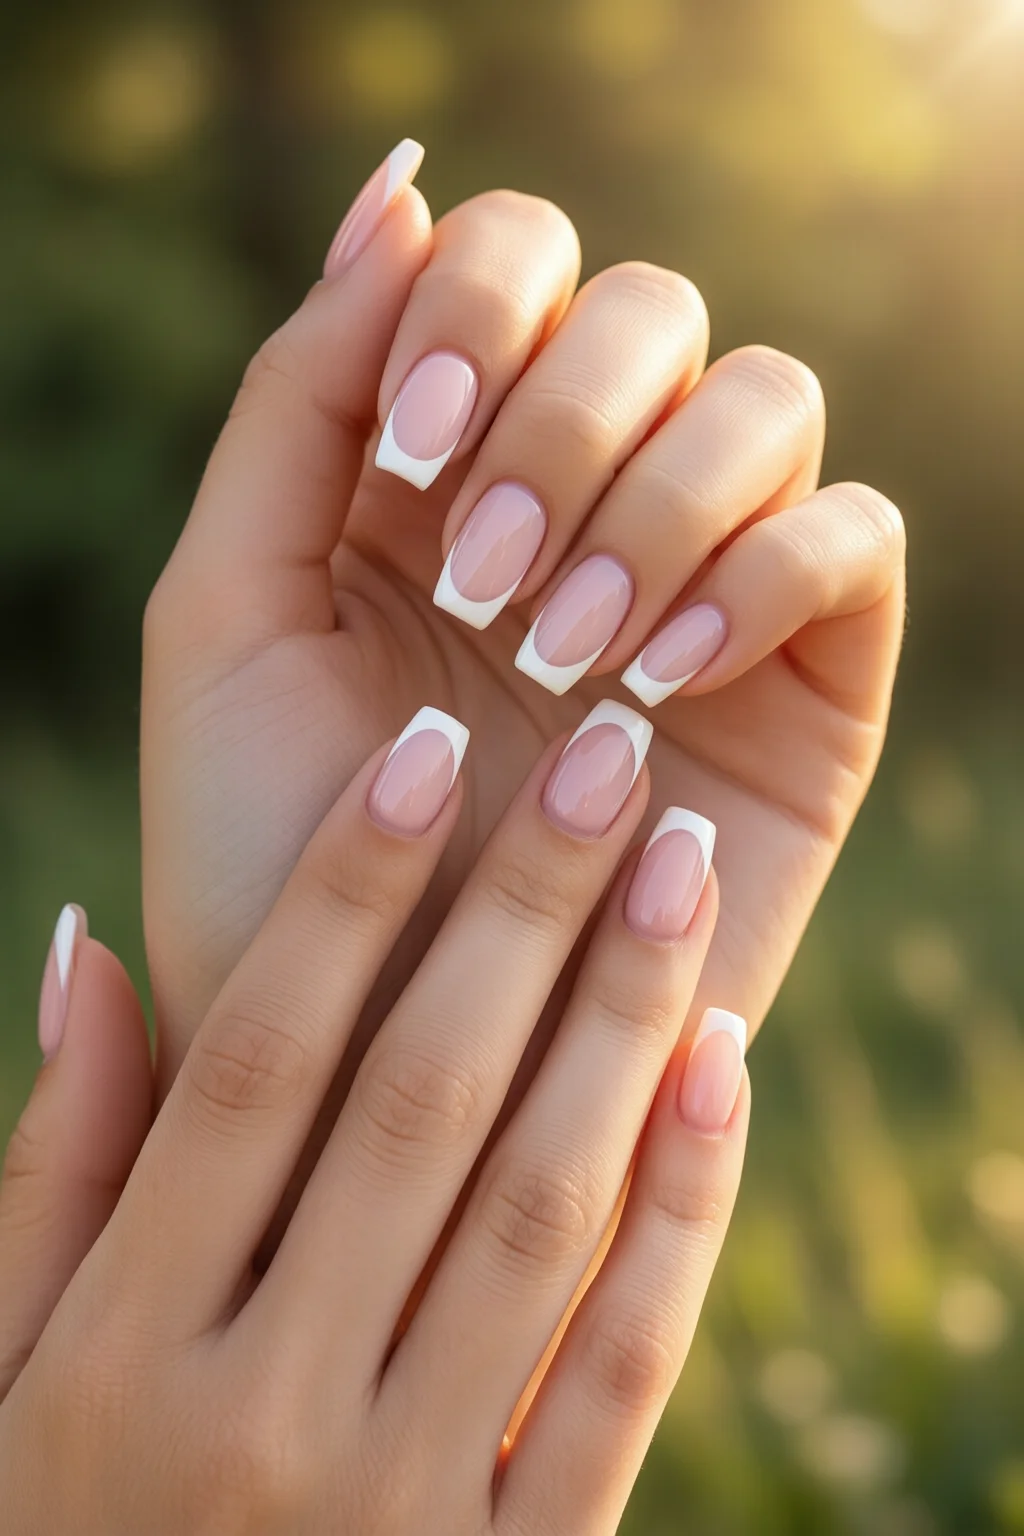
1. Classic White‑on‑White Double French
This is the purest interpretation of the double French tip: a thin white line at the nail tip followed by a second, slightly wider white band a few millimeters down. The result is a clean, elongated look that works on any nail shape, from square nail shape to almond.
How to achieve it:
- Prep your nails with a base coat (I recommend OPI Nail Envy, $12 for 15 ml).
- Apply a sheer pink or nude polish as the base color; let it cure for 30 seconds.
- Using a 1 mm white striping tape, place the first line at the very tip.
- Apply a second strip of 2 mm tape 3–4 mm below the first line.
- Fill both sections with a high‑gloss white gel polish (Essie Gel Couture, $18 for 15 ml).
- Remove the tape while the polish is still tacky, seal with a top coat, and cure for 30 seconds under a 36‑watt LED lamp.
Pros: ultra‑classic, elongates fingers, easy to match any outfit.
Cons: requires steady hands for tape placement; beginners may prefer a brush‑free method.
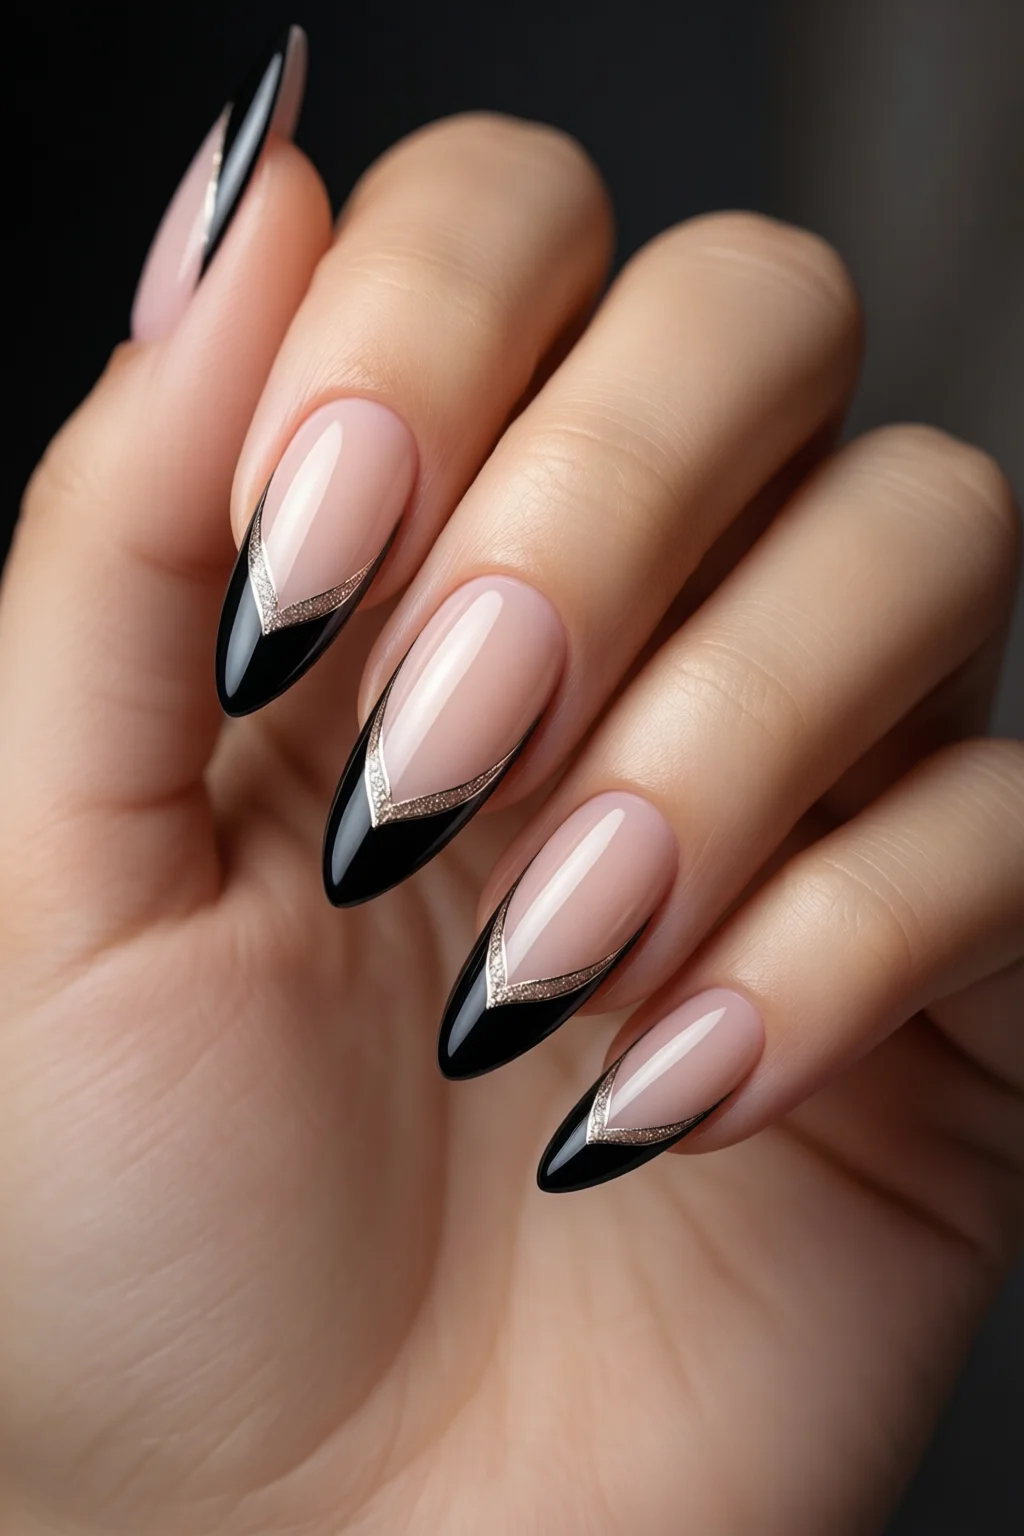
2. Colored Double French (Dual‑Tone Twist)
If you love a pop of color, the colored double French swaps the second white band for a hue of your choice—think pastel mint, dusty rose, or even a bold navy. The top white tip stays, preserving that signature French elegance.
Step‑by‑step:
- Start with a clear base coat.
- Apply your chosen base color (e.g., Zoya “Ballet Slippers” – $16 for 15 ml) to the entire nail.
- After curing, place 1 mm white tape at the tip and 2 mm tape 3 mm below.
- Paint the top band white (OPI “Alpine Snow” – $13) and the lower band with your chosen color.
- Seal with a glossy top coat; expect 2–3 weeks of wear with proper maintenance.
Pros: customizable, adds personality, works well with seasonal trends.
Cons: color may chip faster than white; consider a top coat with UV protection.
3. Ombre Double French
For a gradient lover, the ombre double French blends two shades from tip to cuticle. The classic white tip remains, then the second band fades from a light pastel to a deeper hue, creating a seamless transition.
Tools you’ll need:
- Two gel polish shades (e.g., pastel lilac and deeper plum).
- A silicone gradient brush (≈ $9 from nail art brushes guide).
- Two taping strips as in previous methods.
Application:
- Base coat and cure.
- Apply white tip using 1 mm tape.
- Place the second band tape; using the gradient brush, dip into the lighter shade, then pull through the darker shade while moving upward.
- Blend quickly; cure for 30 seconds.
- Finish with a top coat; the ombre will soften any harsh lines.
Pros: eye‑catching, modern, works great with nail extensions.
Cons: requires a steady gradient brush technique; practice makes perfect.
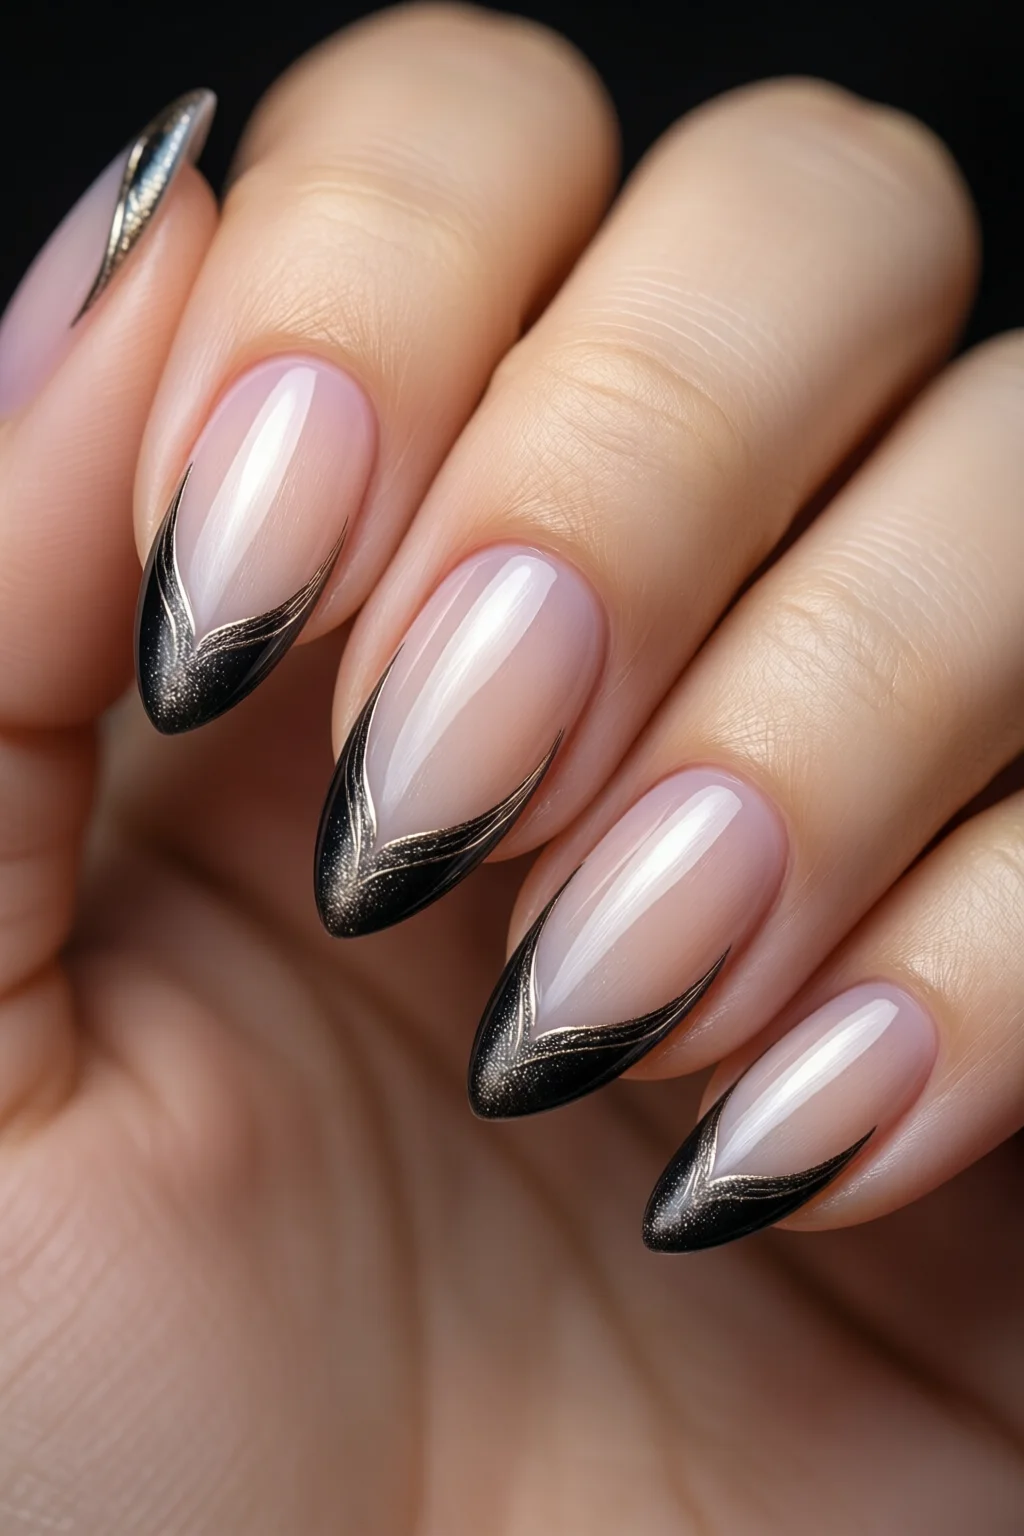
4. Glitter Double French
Glitter adds instant drama. The double French format remains, but the lower band is packed with fine glitter particles, while the top white tip stays crisp.
Materials:
- Fine glitter gel polish (e.g., ILNP “Glitter Bomb” – $22 for 15 ml).
- Standard white gel polish.
- Two‑step tape method.
Process:
- Base coat and cure.
- White tip with 1 mm tape.
- Apply glitter polish to the lower band; press gently with a flat silicone tip to embed particles.
- Cure, then seal with a high‑shimmer top coat for extra sparkle.
Pros: party‑ready, adds dimension, glitter stays visible even as the polish wears.
Cons: glitter can be pricier ($22–$30 per bottle) and may require more frequent touch‑ups.
5. Negative‑Space Double French
Negative space removes the traditional solid color from the lower band, leaving a translucent or skin‑tone “gap” that reveals the natural nail. The top white tip provides the classic French feel, while the empty middle creates a minimalist vibe.
What you’ll need:
- Clear base coat (Essie “Clear Base” – $10).
- White gel polish for the tip.
- Fine‑point brush (size 0) for clean edges.
Steps:
- Apply base coat and cure.
- Using a fine‑point brush, paint a 1 mm white line at the tip.
- Leave the area below untouched; if you prefer a faint nude, apply a sheer “barely‑there” polish (e.g., Sally Hansen “Barely Pink” – $9).
- Seal with a top coat; the result looks like a floating white tip.
Pros: ultra‑modern, less product needed, perfect for nail health lovers.
Cons: may show imperfections on the natural nail; a smooth nail prep is essential.
Quick Comparison of the Top Double French Styles
| Style | Difficulty (1‑5) | Average Cost per Set | Longevity (weeks) | Best For |
|---|---|---|---|---|
| Classic White‑on‑White | 2 | $30–$35 | 2‑3 | Everyday elegance |
| Colored Double French | 3 | $28–$38 | 2‑3 | Seasonal color trends |
| Ombre Double French | 4 | $35–$45 | 3‑4 | Gradient lovers & extensions |
| Glitter Double French | 3 | $40–$55 | 2‑3 | Parties & night events |
| Negative‑Space Double French | 2 | $20–$28 | 2‑3 | Minimalist & nail‑health fans |
Essential Tools & Products for a Flawless Double French
Investing in the right gear saves time and prevents frustration. Here’s my go‑to kit (prices are U.S. retail as of 2024):
- LED lamp – 36 W, $45 (e.g., SUNUV 48W LED).
- Base & top coats – OPI Nail Envy & Gel Couture, $12–$18 each.
- Striping tape – 1 mm & 2 mm, $6 for a 100‑sheet pack.
- Gel polish palette – Essie Gel Couture 15 ml bottles, $18 each.
- Fine‑point brush – nail art brushes guide recommends the KUPA 0‑size brush, $9.
- Cuticle oil – CND “Solar Oil,” $14 for 30 ml, essential for longevity.
In my experience, a clean workstation and a single‑use lint‑free wipe dramatically reduce dust and improve polish adhesion.
Common Mistakes & How to Fix Them
Mistake #1: Uneven tape placement. The result looks sloppy. Solution: Use a magnifying lamp and align the tape with the nail’s natural curve before pressing down.
Mistake #2: Over‑curing the base coat. This can cause peeling. Solution: Stick to the lamp’s recommended time—30 seconds for gel, 2 minutes for regular polish.
Mistake #3: Ignoring nail health. Thin or damaged nails break easily under double layers. Solution: Apply a strengthening base (e.g., OPI “Keratin 10”) and hydrate daily with cuticle oil.
FAQs
Can I do a double French on short nails?
Absolutely. Choose a narrower lower band (1‑2 mm) and a short white tip (2‑3 mm) to keep the design proportional. The negative‑space style works especially well on short nails because it emphasizes the tip without adding bulk.
How long does a double French tip last?
With gel polish and proper top‑coat sealing, expect 2‑4 weeks of wear. Regular touch‑ups of the tip area (every 7‑10 days) keep the line crisp.
Do I need a professional nail tech for a double French?
No. The tape method is DIY‑friendly, and with the right tools you can achieve salon‑quality results at home. If you’re after intricate ombre or glitter gradients, a quick visit to a tech can save time, but it’s not required.
What’s the best nail shape for a double French?
Square and almond shapes provide the most surface area for the two bands, making the design look balanced. For a softer look, try a ballerina nail shape; the elongated silhouette accentuates the tip.
Can I combine double French with other nail art (e.g., geometric patterns)?
Yes. Apply the double French base first, then use a fine brush or stamping plates to add geometric nail art on the lower band. Keep the design minimal to avoid visual overload.
Final Verdict
Double French tip nails are more than a fleeting trend—they’re a versatile canvas that lets you toggle between classic sophistication and bold creativity in minutes. Whether you choose the timeless white‑on‑white, a splash of color, a glittery party‑ready look, or the sleek minimalism of negative space, the key is solid prep, quality products, and a steady hand. With the tools and step‑by‑step guides above, you’ll be able to master the double French at home, save on salon costs, and keep your nails looking runway‑ready all season long.