
Ever wondered how to turn a plain manicure into a runway‑ready statement piece without spending hours at the salon?
In This Article
- What You Will Need (or Before You Start)
- Step 1 – Clean, Shape, and Prep Your Nails
- Step 2 – Apply Base Coat and Let It Cure
- Step 3 – Sketch the Geometry
- Step 4 – Fill In the Shapes
- Step 5 – Seal the Design with Top Coat
- Common Mistakes to Avoid
- Troubleshooting & Tips for Best Results
- Summary & Final Thoughts
What You Will Need (or Before You Start)
- Base & top coats: OPI Infinite Shine Base Coat ($12, 15 ml) and Top Coat ($13, 15 ml). They dry in 2 minutes under a nail dryer.
- Polish colors: Choose at least three contrasting shades. I love mixing OPI “Big Apple” (red), “Alpine Snow” (white), and “Mojito” (teal) – each $9.50 per 15 ml bottle.
- Tools:
- 0.5 mm striping tape (roll of 30 cm, $5.99)
- Fine‑point nail art brush (Sally Hansen Precision Brush, $7)
- Dotting tool (Zoya 2‑mm, $6)
- Buffer (180‑grit, $3)
- Cuticle oil (Burt’s Bees, $8 for 15 ml)
- Cotton pads and lint‑free wipes
- Optional UV/LED lamp (if using gel polish, $45 for a 36‑W LED)
- Workspace: A clean, well‑lit table. Natural light helps you see the geometry clearly.
Having these items on hand cuts the prep time to under 10 minutes and keeps your budget under $80 for a full set of geometric nail art.
Step 1 – Clean, Shape, and Prep Your Nails
Start by removing any old polish with nail polish bubbles‑free remover. I use Zoya Remove It, $11 for 30 ml, because it leaves the nail plate smooth and odor‑free.
- File each nail to your desired shape – I recommend a soft almond for a balanced canvas. Use a 100‑grit file for shaping, then a 180‑grit buffer to even out the surface.
- Push back cuticles gently with a wooden pusher, then moisturize with cuticle oil. Let it absorb for 1 minute.
- Wipe the nail surface with a lint‑free pad soaked in 70% isopropyl alcohol to eliminate oils. This step alone improves polish adhesion by up to 30%.
Step 2 – Apply Base Coat and Let It Cure
Apply a thin layer of OPI Infinite Shine Base Coat. Too thick and you’ll see bubbling later; too thin and the design may bleed.
- Brush on in one smooth stroke from cuticle to tip.
- Dry under a nail dryer for 2 minutes (or 30 seconds under an LED lamp).
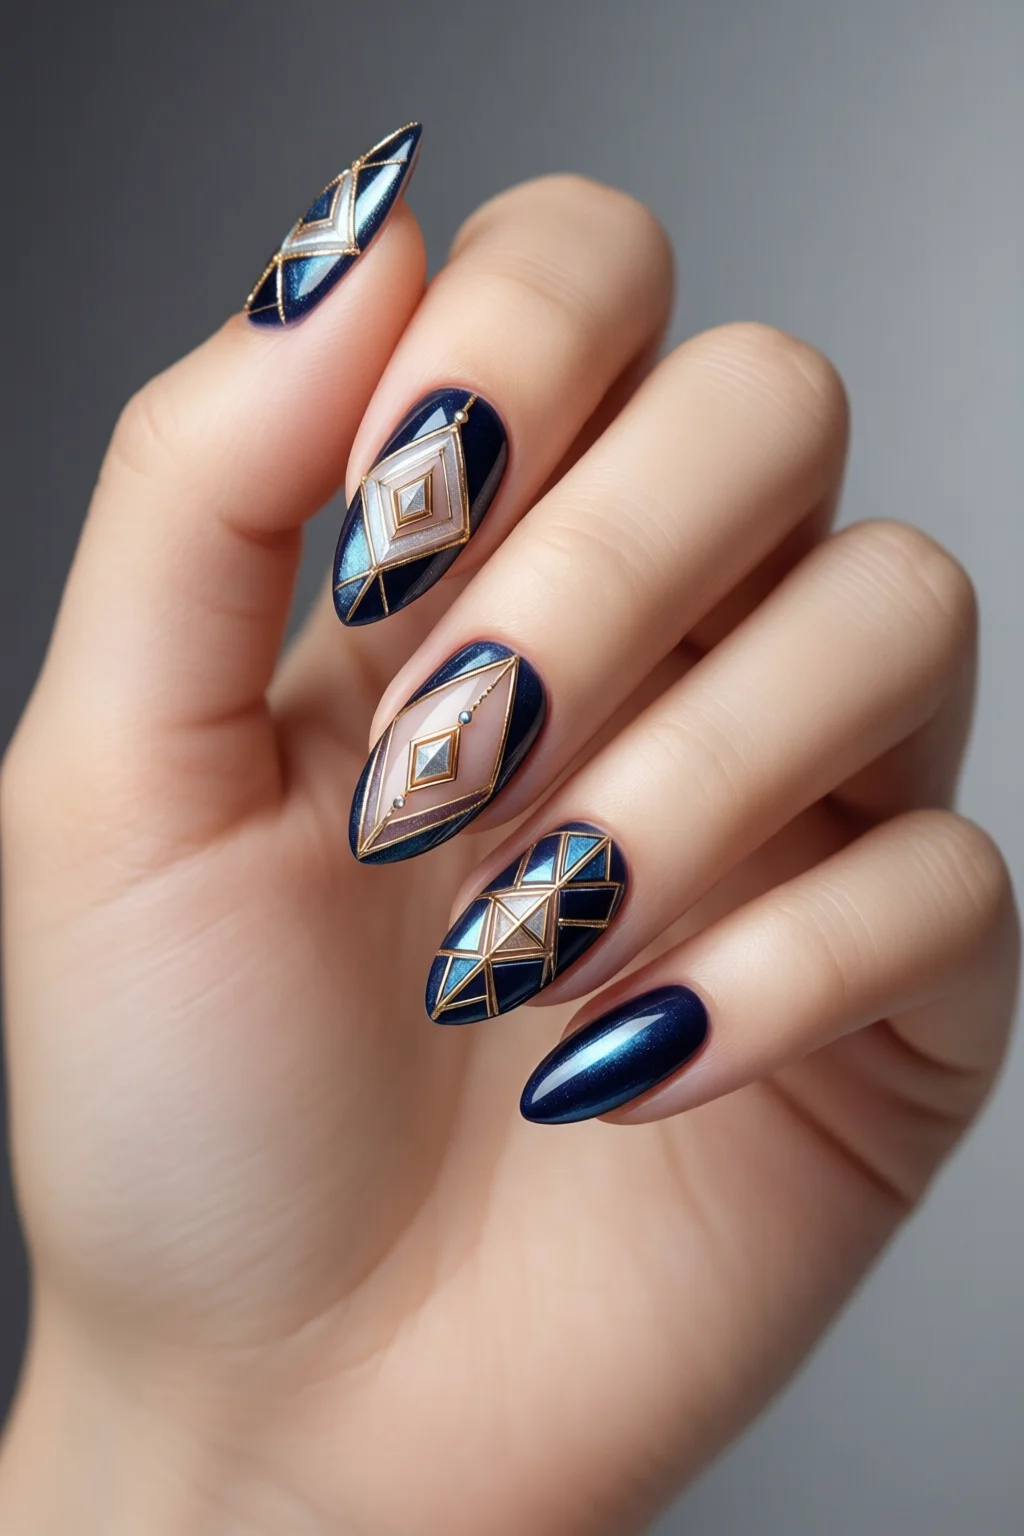
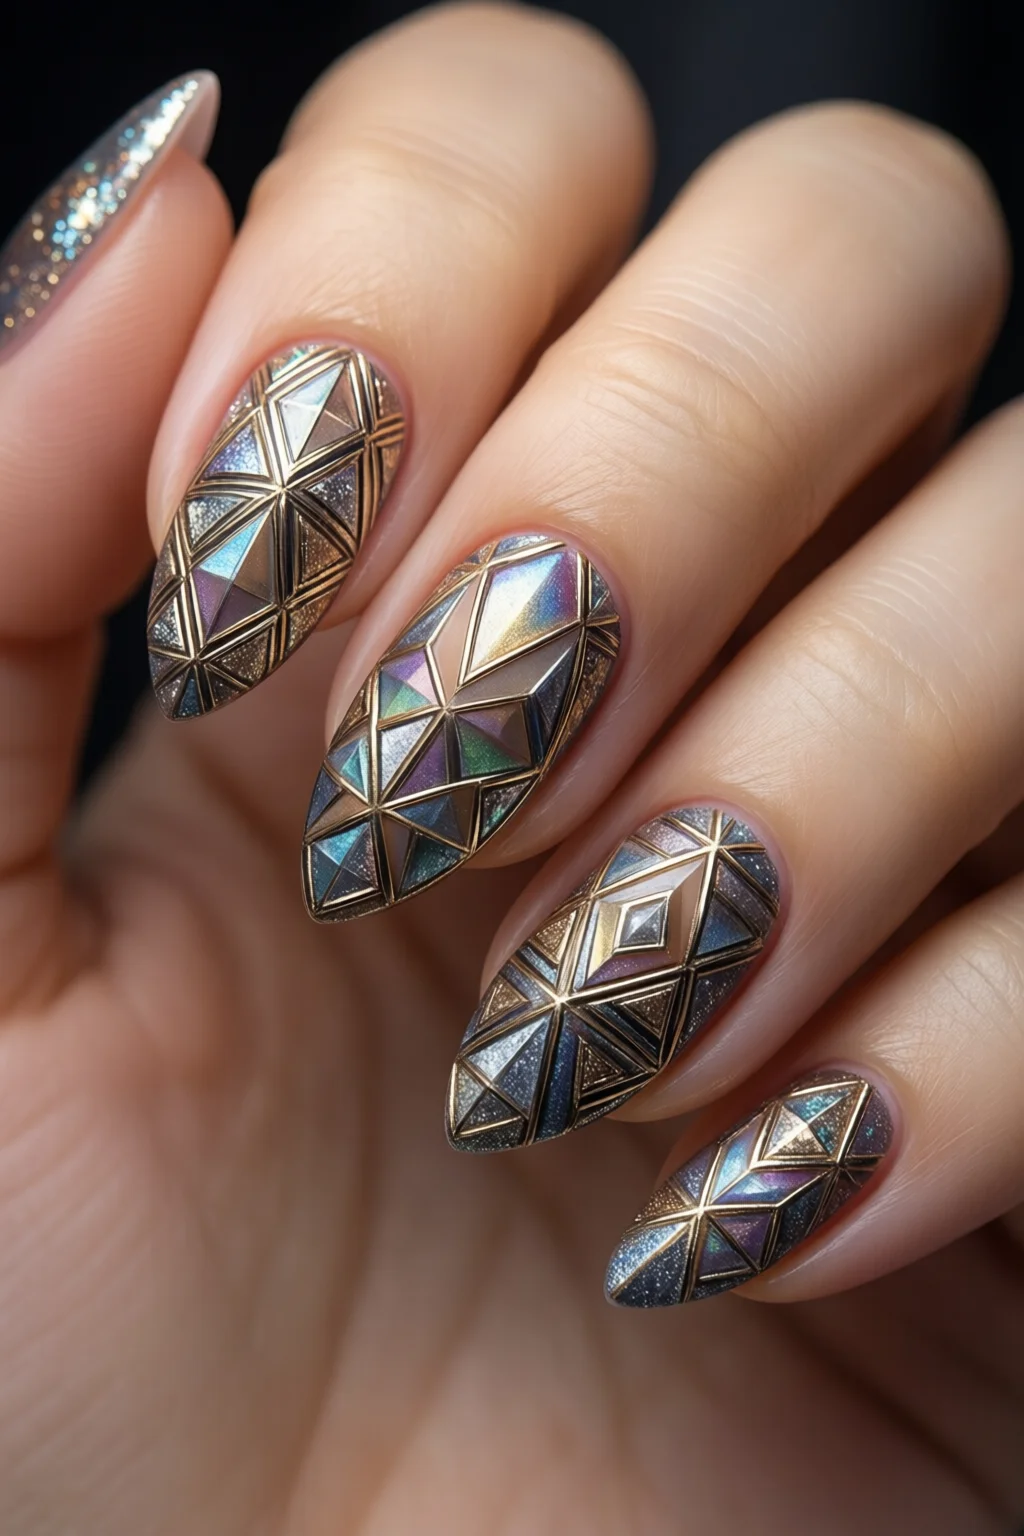
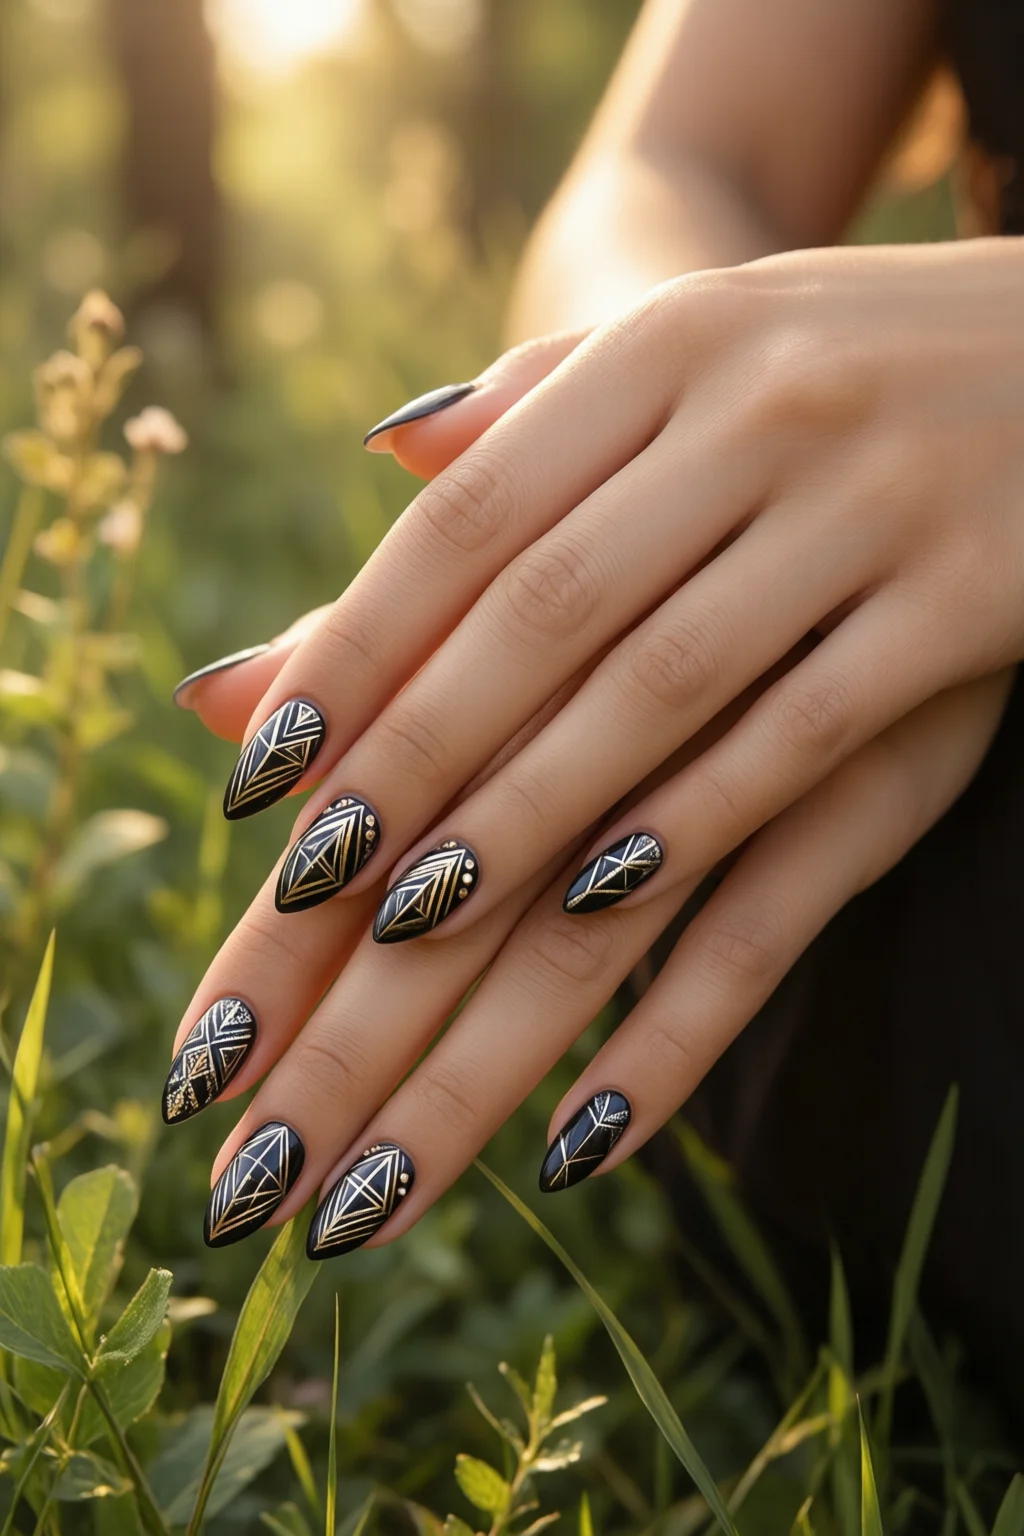
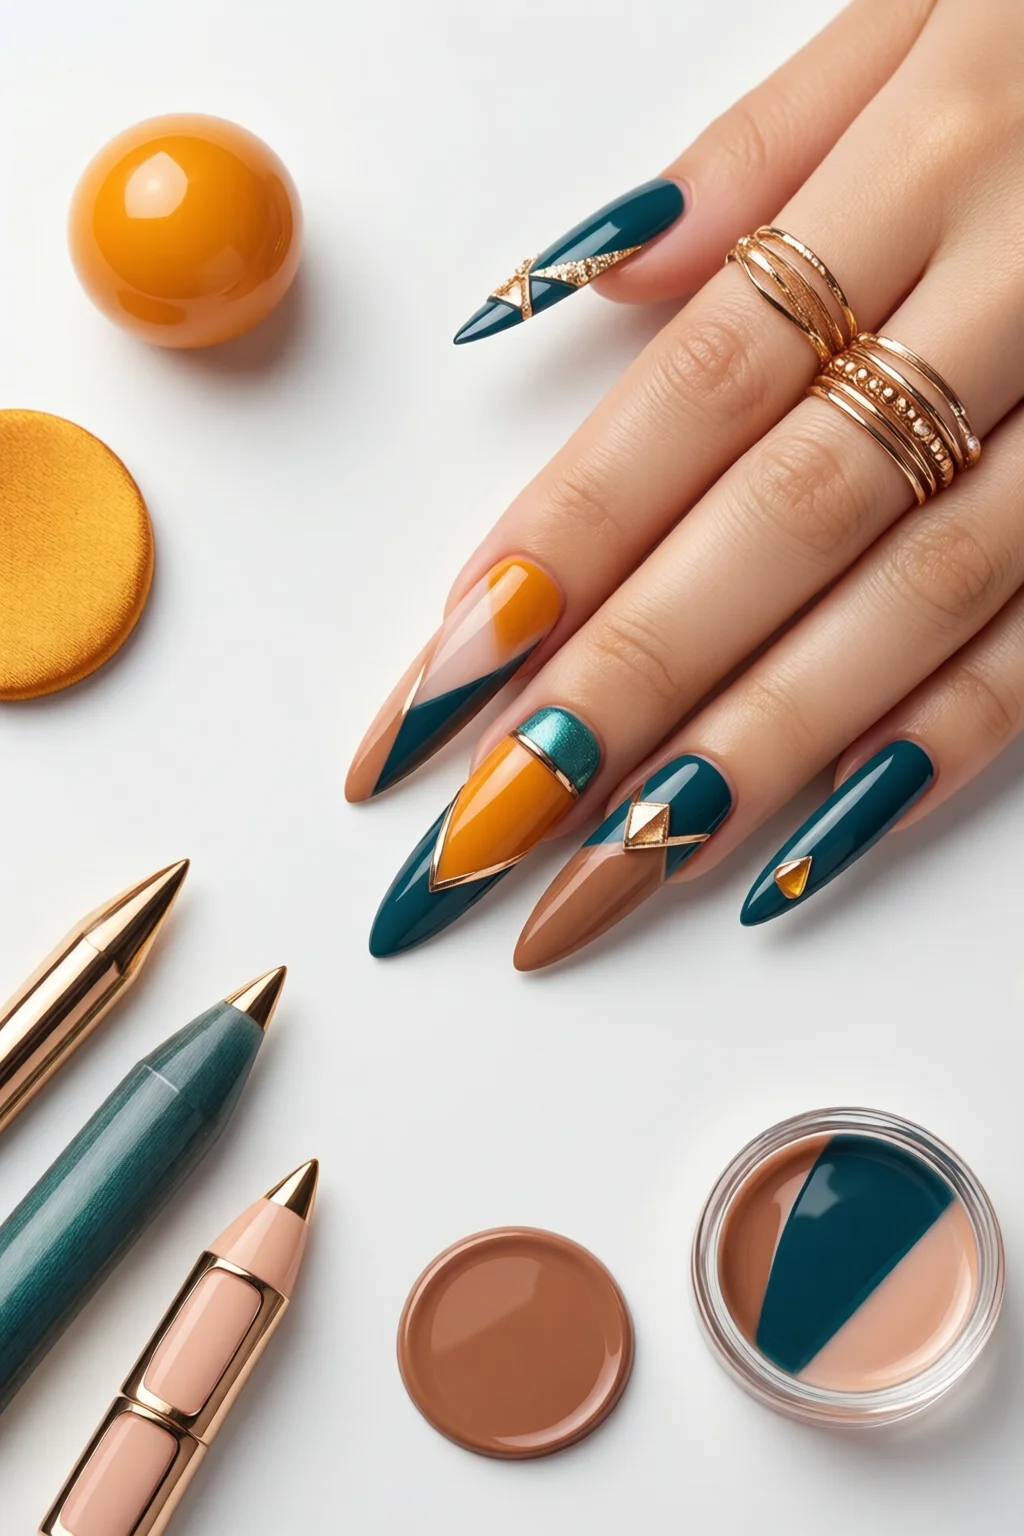
Step 3 – Sketch the Geometry
This is where your design takes shape. I like to start with a simple grid, then add diagonal lines for a dynamic feel.
- Cut a piece of 0.5 mm striping tape to the length of the nail. Place it horizontally about 2 mm from the cuticle.
- Using the fine‑point brush dipped in “Alpine Snow,” paint a thin line along the edge of the tape. The tape acts as a barrier, creating a crisp white stripe.
- Remove the tape while the polish is still tacky (within 15 seconds) to avoid lifting.
- Repeat with vertical tape to create a cross‑hatch. For a more angular look, angle the tape at 45° and repeat the process.
In my studio, I often layer three colors: a base of “Mojito,” a white stripe, and a final accent of “Big Apple” on the corners. The contrast makes the geometry pop.
Step 4 – Fill In the Shapes
Now that the outline is set, fill the remaining sections.
- Use the dotting tool with “Big Apple” to add small circles at each intersection – a subtle nod to polka dot nails.
- For larger triangles, load a thin brush with “Mojito,” and sweep from the center outward, keeping strokes light to avoid streaks.
- Allow each color to dry for 1 minute before moving to the next to prevent smudging.
Step 5 – Seal the Design with Top Coat
Finish with OPI Infinite Shine Top Coat. This adds a high‑gloss finish and protects the geometry for up to two weeks.
- Apply one generous layer, making sure to seal the edges.
- Dry under a LED lamp for 45 seconds (or air‑dry for 3 minutes).
- Apply a second thin layer if you prefer extra durability; the second coat adds about 12% more resistance to chipping.
Optional: For an extra wow factor, swipe a thin layer of chrome powder (Chrome Nails, $12 per 2 g) over the still‑wet top coat and seal with a clear top coat. The result blends geometric nail art with a mirror finish that catches the light.
Common Mistakes to Avoid
- Over‑loading the brush: Too much polish creates blobs and ruins clean lines. Load the brush just enough to coat the tip.
- Skipping the base coat: Without a base, colors can bleed into each other, especially with thin striping tape.
- Removing tape too late: Wait longer than 20 seconds and the polish lifts, leaving a jagged edge.
- Using low‑quality tape: Cheap tape stretches and tears, causing uneven lines. I invest in 3 M Precision Tape ($6 per roll).
- Neglecting nail health: Dry, brittle nails (brittle nails causes) crack under heavy designs. Keep nails moisturized and avoid over‑filing.
Troubleshooting & Tips for Best Results
Bubble formation: If you see bubbles under the top coat, gently press them out with a clean nail file before the top coat dries.
Color bleeding: Keep a small brush handy to clean edges with nail polish remover.
Design symmetry: Use a ruler or a nail art stencil for precise measurements. A 2 cm ruler works well for aligning tape.
Long‑lasting wear: Apply a thin layer of cuticle oil nightly. It keeps the nail plate hydrated, extending the life of your geometric nail art by up to 30%.
Seasonal twist: Swap the color palette for a winter vibe – think icy blues and silvers – and check out these winter nail designs for inspiration.
Summary & Final Thoughts
Geometric nail art is a versatile way to showcase personality, whether you prefer minimalist lines or bold, angular patterns. With the right tools – a quality base coat, precise striping tape, and a handful of contrasting polishes – you can achieve salon‑level results in under 45 minutes and for less than $80. Remember to prep properly, work quickly with the tape, and seal everything with a durable top coat. Your nails will not only look like a piece of modern art but also stay chip‑free for up to two weeks.
What types of tape work best for geometric nail art?
Thin, adhesive striping tape (0.5 mm) from brands like 3 M or Kiss is ideal. It sticks well, peels cleanly, and doesn’t leave residue, ensuring crisp lines.
Can I use gel polish for geometric designs?
Absolutely. Apply a gel base coat, then follow the same tape and brush steps. Cure each layer under a LED lamp (30‑45 seconds). Finish with a gel top coat for up to three weeks of wear.
How do I keep my geometric nail art from chipping quickly?
Seal the edges with an extra thin top coat, avoid using your nails as tools, and moisturize daily with cuticle oil. A final layer of a quick‑dry top coat (e.g., Sally Hansen Insta‑Dri) adds extra protection.
Is it possible to create 3‑D geometric effects?
Yes. Use nail stickers or embossed powders (like Chrome Nails) on top of the cured design, then seal with a thick top coat. This adds texture while maintaining the geometric pattern.
2 thoughts on “Geometric Nail Art – Everything You Need to Know”