
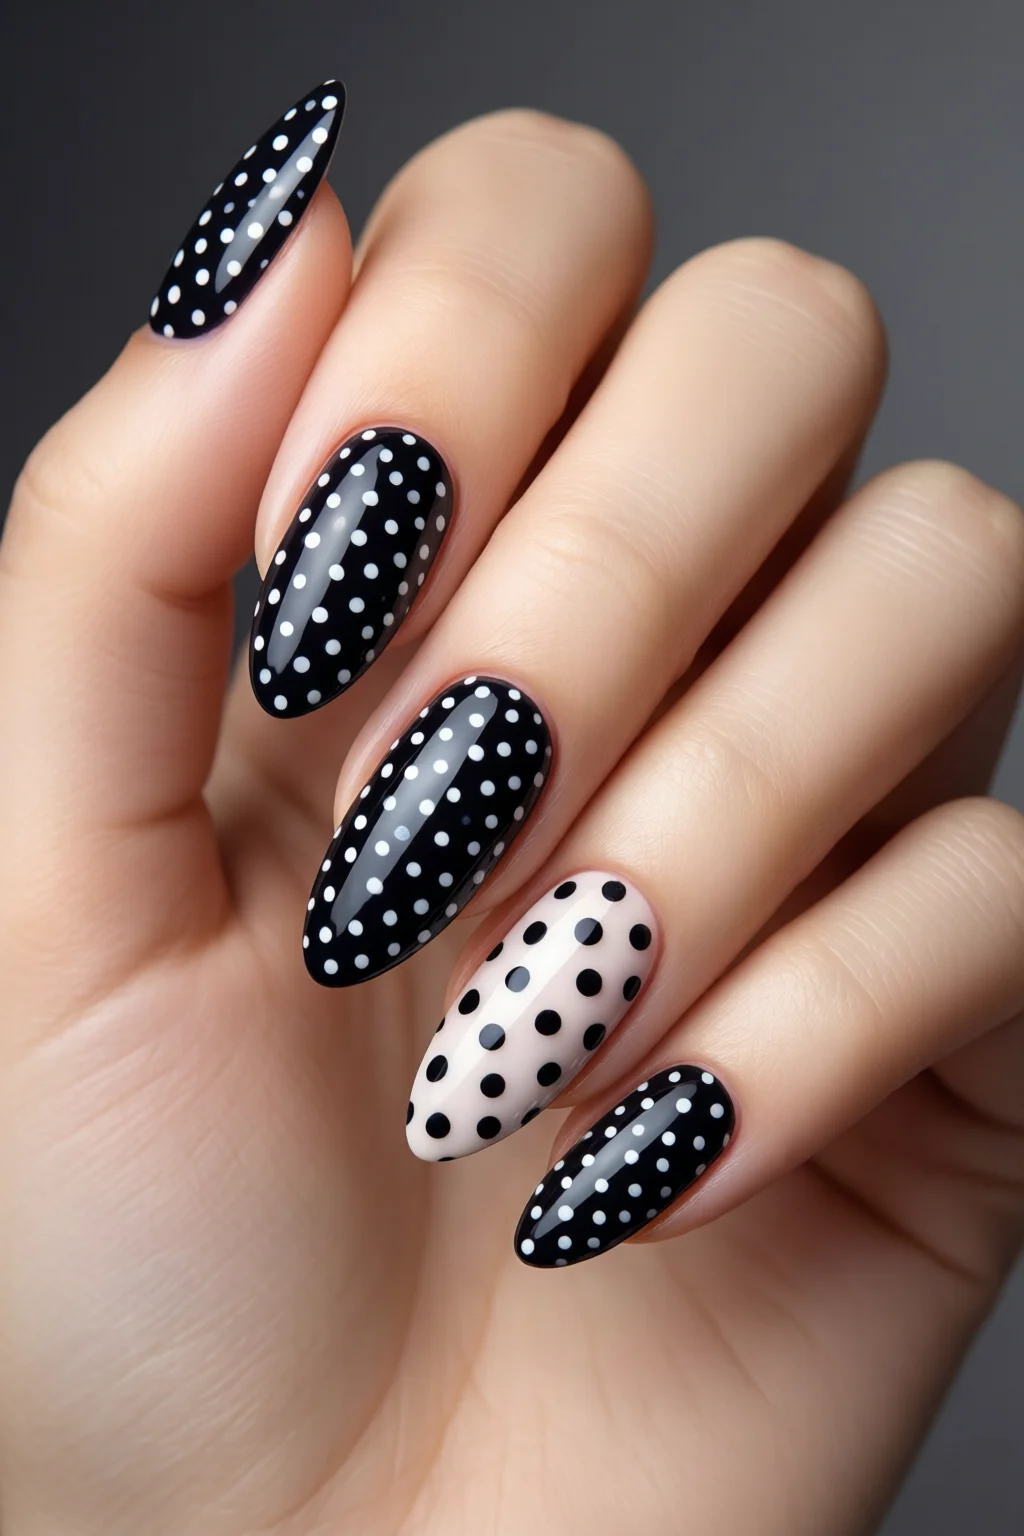
Polka dot nails are the playful, timeless nail art that can turn any manicure from basic to instantly eye‑catching. In this guide you’ll learn exactly how to create flawless polka dot nails at home, what tools and products make the process smoother, and how to avoid the common slip‑ups that leave dots crooked or smudged. By the end you’ll have a step‑by‑step blueprint that takes less than 30 minutes and costs under $25, so you can rock the look for festivals, birthdays, or even a casual brunch.
In This Article
- What You Will Need (Before You Start)
- Step 1: Clean, Shape, and Prep Your Nails
- Step 2: Apply the Base and Background Color
- Step 3: Create the Polka Dots
- Step 4: Seal the Design with Top Coat
- Step 5: Clean Up and Moisturize
- Common Mistakes to Avoid
- Tips for Best Results (Troubleshooting)
- FAQ
- Summary
What You Will Need (Before You Start)
- Base coat – OPI Professional Nail Base, $12.99, 15 ml.
- Top coat – Seche Vita Nail Polish Top Coat, $13.49, 15 ml.
- Polish for the background – Essie “Ballet Slippers” (a soft nude) or any color you love; $9.99 per bottle.
- Polish for the dots – Contrasting shades such as Sally Hansen “Stiletto” in “Red Bottom” ($8.95) or “Gold Rush” ($8.95).
- Dotting tool – Kiss Dotting Tool (single‑head) $6.99, or a fine‑pointed bobby pin for a budget option.
- Fine‑tip brush – China Glaze “Mini Brush” $7.50, useful for correcting stray dots.
- Cuticle oil – CND “SolarOil” $15.00, 5 ml.
- Quick‑dry spray – Nailene “Speedy Dry” $4.99, 30 ml (optional, saves 3‑5 minutes).
- Clean‑up sticks – Beautyblender “Nail Wipes” $3.49, pack of 30.
- Hand moisturizer – Eucerin “Advanced Repair” $9.99, 200 ml.
Having these items on hand means you won’t need to pause midway to hunt for a missing tool, which is the number‑one cause of uneven dots.
Step 1: Clean, Shape, and Prep Your Nails
Start with clean, dry nails. Remove any old polish with acetone‑free remover to avoid drying out the nail plate. File each nail to your desired shape—my go‑to is a soft almond at a 12 mm length because it gives enough surface for the dots without looking too short. Push back cuticles with a wooden stick, then massage cuticle oil for 30 seconds per nail. This step not only nourishes the nail but also creates a smooth canvas, reducing the chance of bubbles under the polish.
Step 2: Apply the Base and Background Color
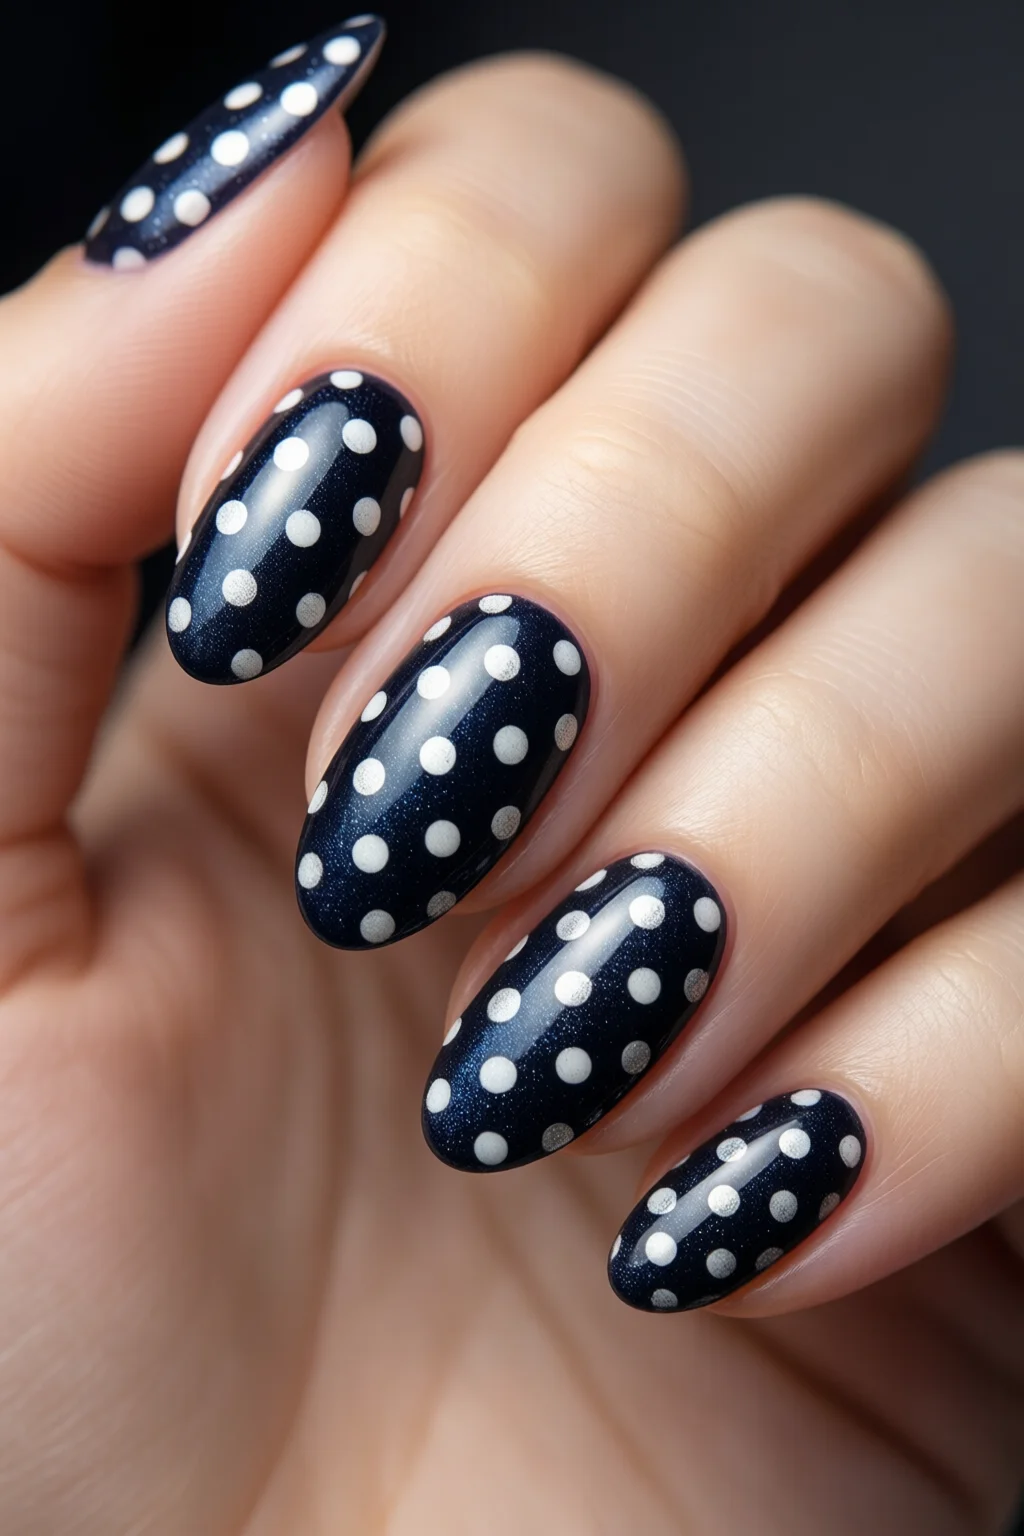
Apply one thin layer of OPI Professional Nail Base; let it dry for about 60 seconds (or use the quick‑dry spray). Then paint two coats of your chosen background polish—Essie “Ballet Slippers” works beautifully for a classic look, but feel free to experiment with pastel blues or deep navy for a modern vibe. Each coat should be no thicker than 0.2 mm; thicker layers cause the dotting tool to sink and create uneven circles. Allow 2‑3 minutes of drying time between coats, or 30 seconds if you’re using the quick‑dry spray.
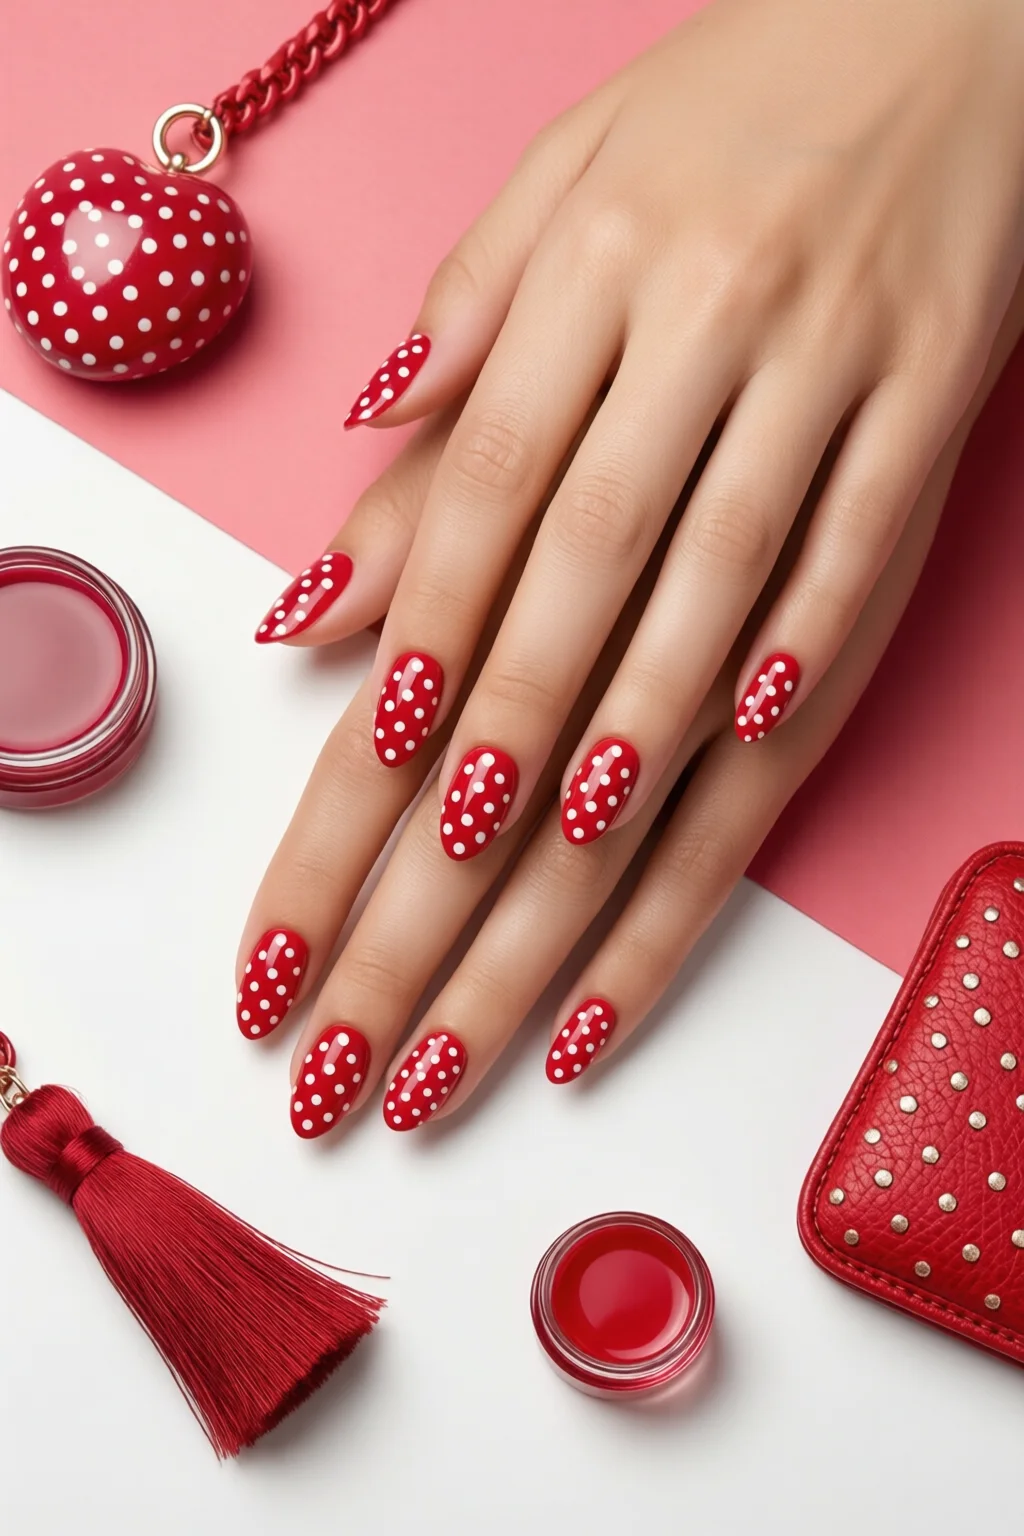
Step 3: Create the Polka Dots
Here’s where the magic happens. Load the Kiss Dotting Tool with a small amount of the contrasting polish. A good rule of thumb is to dip the tip just enough to see a tiny bead—overloading creates smears.
- Position the tool at a slight angle (about 30°) against the nail surface.
- Press gently and release; the tip should leave a perfect circle. If the dot is too large, lift the tip a fraction earlier.
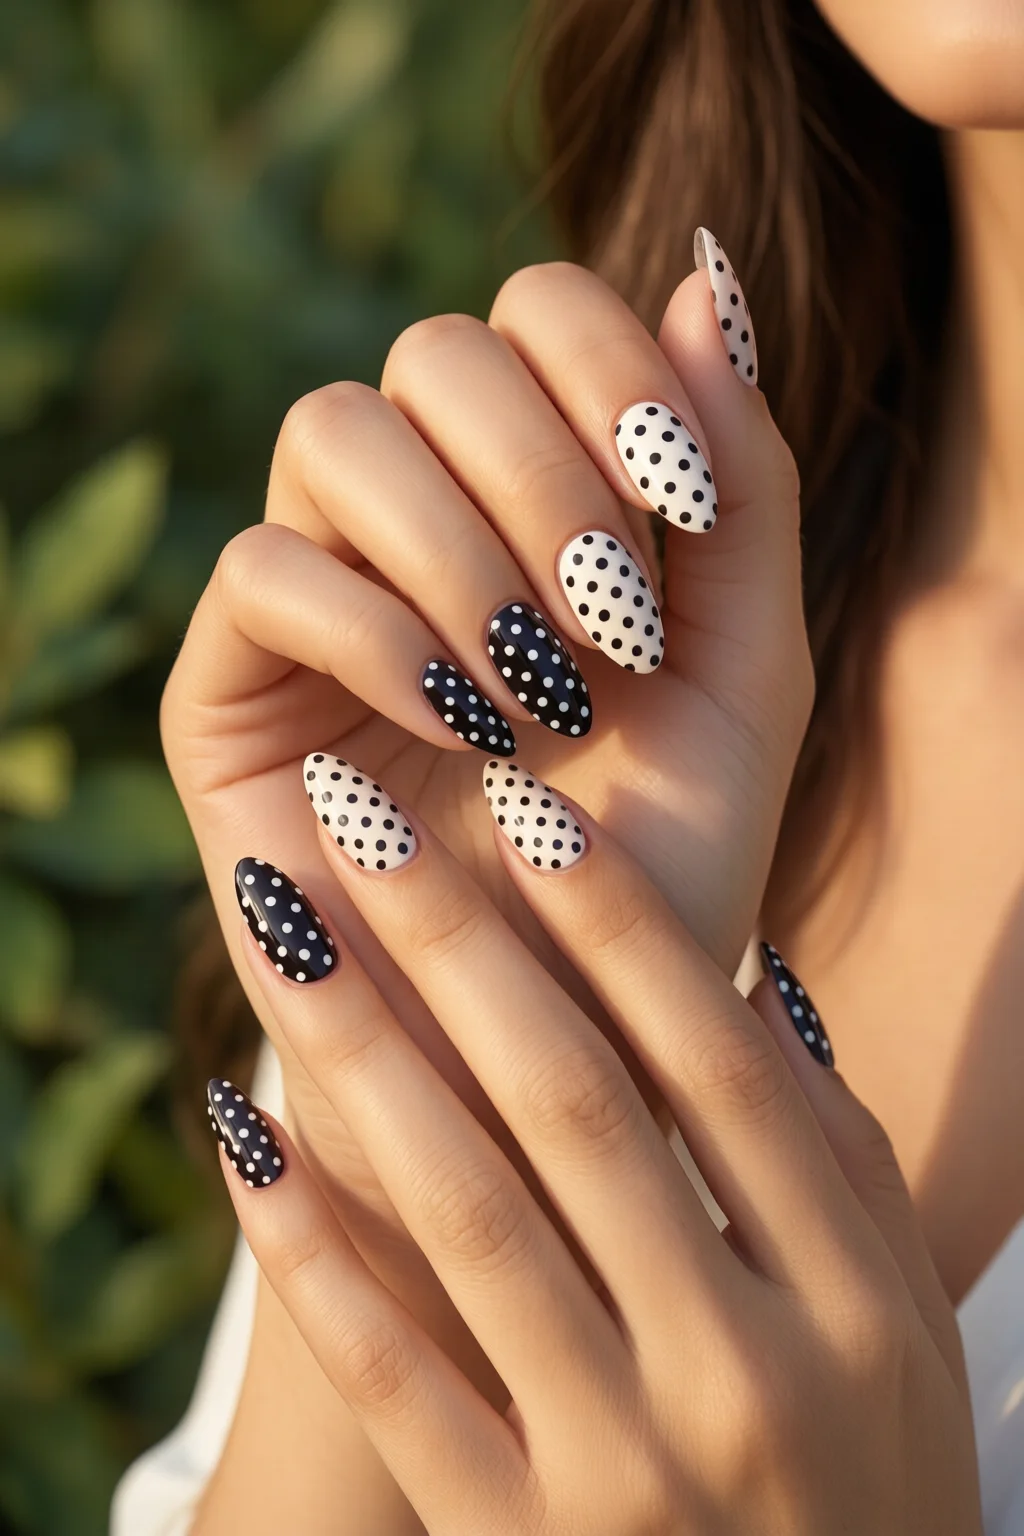
- Repeat across the nail. For a classic polka‑dot pattern, place dots 5 mm apart in a staggered grid. Use a ruler or the edge of a credit card for consistent spacing.
- Vary sizes for a whimsical look—mix 2 mm “mini” dots with 4 mm “big” ones. In my studio, I find a 3‑dot triangle in the corner adds a subtle focal point without overwhelming the design.
If a dot lands off‑center, quickly dip a fine‑tip brush in nail polish remover and dab the stray spot—don’t wipe, just lift the excess.
Step 4: Seal the Design with Top Coat
Once you’re satisfied with the dot placement, let the polish dry for at least 5 minutes. Then apply a generous layer of Seche Vita Top Coat. This not only adds shine but also locks the dots in place, preventing them from lifting when you wash your hands. For extra durability, especially if you’ll be typing or doing chores, add a second thin top coat after the first cures (about 2 minutes).
Step 5: Clean Up and Moisturize
Use the clean‑up sticks to erase any polish on the skin around the nail. A quick swipe with a cotton swab dipped in remover does the trick. Finish with a dab of cuticle oil and a light hand massage of Eucerin Advanced Repair. This step restores moisture lost during the polish process and keeps your nails flexible for the next manicure.
Common Mistakes to Avoid
- Overloading the dotting tool – leads to smudged, irregular circles. Keep the bead tiny.
- Applying thick base or background layers – causes the dot to sink and appear flattened.
- Skipping the top coat – makes the dots prone to chipping within 24 hours.
- Using old polish – dried pigments won’t flow smoothly, resulting in jagged edges.
- Rushing the drying time – touching the nails before the polish sets creates fingerprints on the dots.
Tips for Best Results (Troubleshooting)
Tip 1: Use a light hand when pressing the dotting tool. Too much pressure squeezes the polish out, making the dot look like a blot.
Tip 2: Practice on a nail tip or a piece of cardboard. A quick 2‑minute rehearsal helps you gauge the right pressure and spacing before working on your actual nails.
Tip 3: If you want a gradient of dot sizes, thin the larger‑dot polish slightly with a nail polish thinner (1 drop per 10 ml bottle). This keeps the flow consistent.
Tip 4: For a metallic twist, replace the dot polish with a gold or silver foil strip cut into tiny circles using a precision cutter. This works especially well with the mirror nail powder technique.
Tip 5: When working on longer nails, support the fingertip with your other hand to prevent wobbling. A steady hand is the secret behind perfectly round polka dots.
FAQ
How long do polka dot nails last?
With a proper base, top coat, and minimal exposure to harsh chemicals, the design can last 7‑10 days. Re‑applying a fresh top coat after 48 hours extends durability.
Can I use gel polish for polka dot nails?
Absolutely. Use a gel base and cure each layer as per the manufacturer’s instructions. A gel dotting tool works the same way, but the polish sets faster, so work quickly.
What’s the best way to remove polka dot nails without damaging the natural nail?
Soak a cotton pad in acetone‑free remover, place it on the nail, and wrap with foil for 5‑7 minutes. The polish will lift, and you can gently push it off with a wooden stick.
Can I combine polka dot nails with other nail art trends?
Yes! Pair them with geometric nail art for a modern look, or add a tiny accent glitter dot for a birthday‑themed manicure (birthday nails).
Is there a budget-friendly alternative to a dotting tool?
A fine‑pointed bobby pin or a thin straw cut at an angle works well. Just make sure the tip is smooth to avoid snagging the polish.
Summary
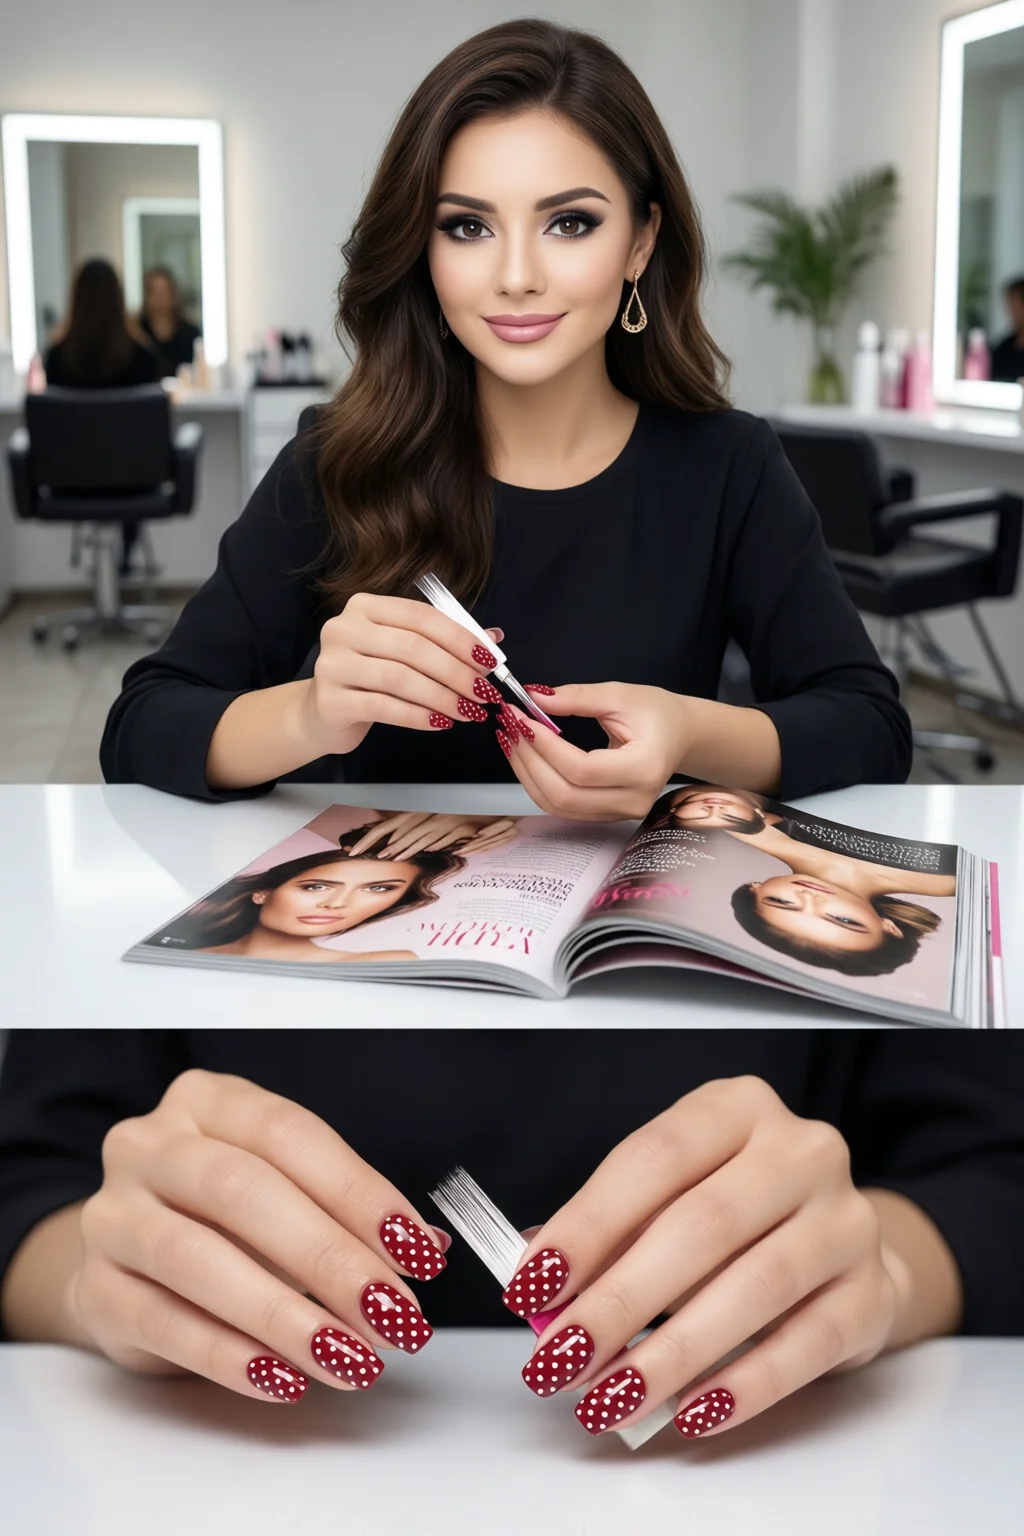
Polka dot nails are a versatile, low‑cost way to inject personality into any manicure. By gathering the right tools, following the five‑step process, and keeping an eye on common pitfalls, you can achieve salon‑quality dots in under half an hour. Remember: thin layers, proper drying time, and a solid top coat are the pillars of a long‑lasting design. Now, grab your favorite colors, practice a few dots on a tip, and let your nails do the talking.