
Turn your fingertips into the ultimate Halloween runway with nail art that screams spooky chic and party‑ready sparkle.
In This Article
What You Will Need (or Before You Start)
- Base coat – I swear by the best peel off base coat from OPI, $12.99, 15 ml.
- Two to three nail polish colors – a matte black (Essie “Gothic Black”, $9.99, 15 ml), a glittery orange (Sally Hansen “Pumpkin Spice”, $8.49, 10 ml), and a crisp white (Zoya “Pure White”, $11.95, 15 ml).
- Fine‑tip nail art brush (0.25 mm) – a Sigma brush set costs $6.99 for 5 pieces.
- Dotting tool (2 mm) – available from China Glaze for $4.50.
- Thin‑line striping tape – KISS “Nail Art Tape”, $3.99 per roll (10 cm × 5 m).
- Top coat – Seche Vitamins “Vitamins Top Coat”, $13.99, 15 ml, 24‑hour cure.
- Cuticle oil – CND “SolarOil”, $14.95, 30 ml.
- Optional embellishments: tiny rhinestones, foil sheets, and a small pack of Halloween‑themed stickers (e.g., “Spooky Stickers” by Nail Art Supply, $5.99).
Set aside about 45 minutes for a full set, plus 10 minutes for cleanup. A well‑ventilated space and a cotton pad soaked in acetone will keep the process tidy.

Step‑by‑Step Halloween Nail Art Tutorial
Step 1 – Clean, Shape, and Protect
Start by removing any old polish with acetone. Trim your nails to your preferred length (I usually keep them at 8 mm for a classic look) and file them into a soft almond shape – this gives enough surface for detailed work without chipping.
Push back cuticles with a wooden pusher, then massage cuticle oil. Apply the peel‑off base coat in a thin, even layer; it dries to the touch in 60 seconds and prevents staining from dark pigments.
Step 2 – Lay Down the Base Colors
Paint every nail with the matte black polish. Two coats are essential; each dries in roughly 2 minutes under a fan. For a gradient effect on the ring finger, mix a 10 % white polish into the black (use a small palette). This subtle fade mimics moonlit shadows.
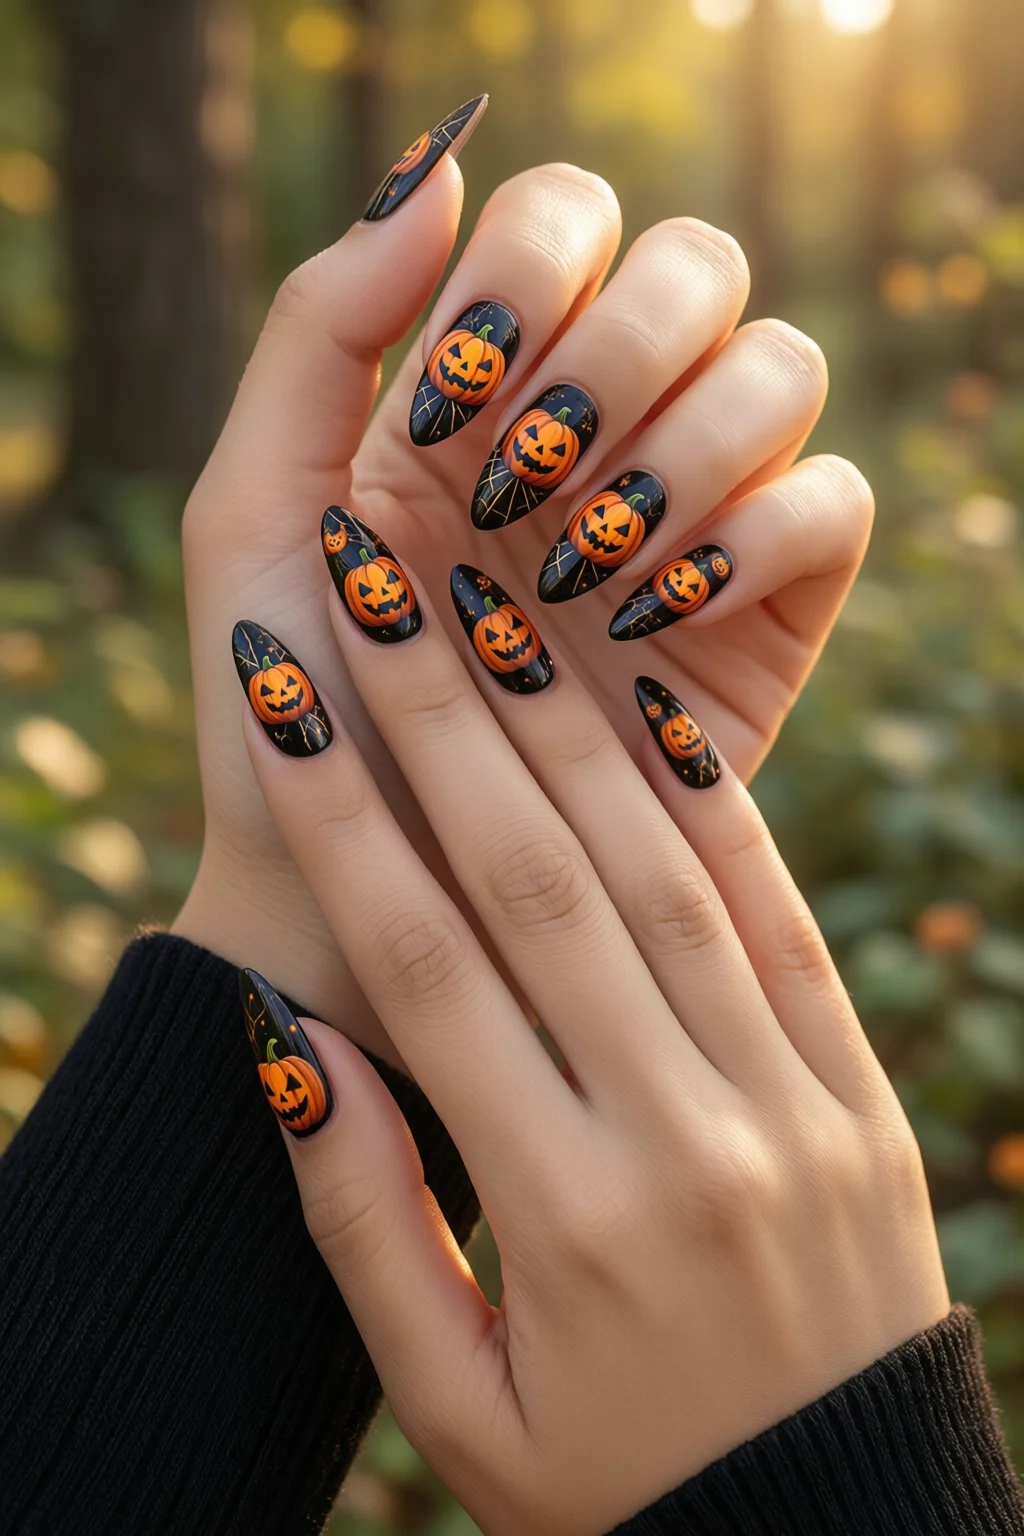
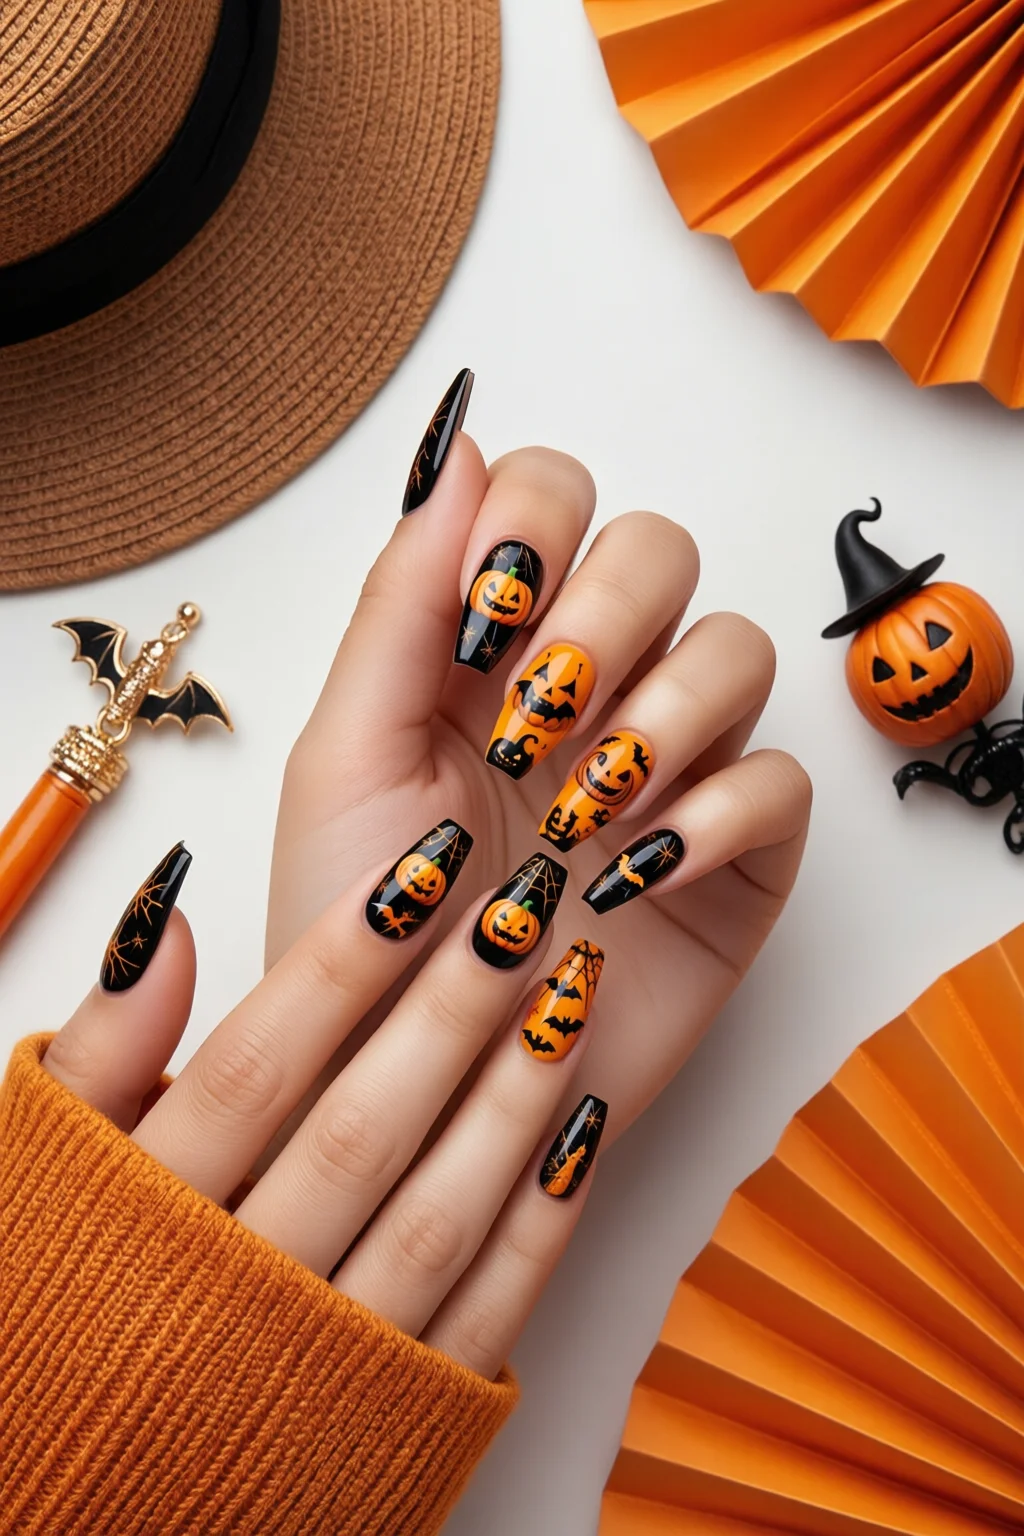
While the black dries, coat the thumbnail with the glittery orange. This will become the “pumpkin” focal point. Use a quick‑dry top coat on the orange for a glossy finish that won’t smudge when you add details.
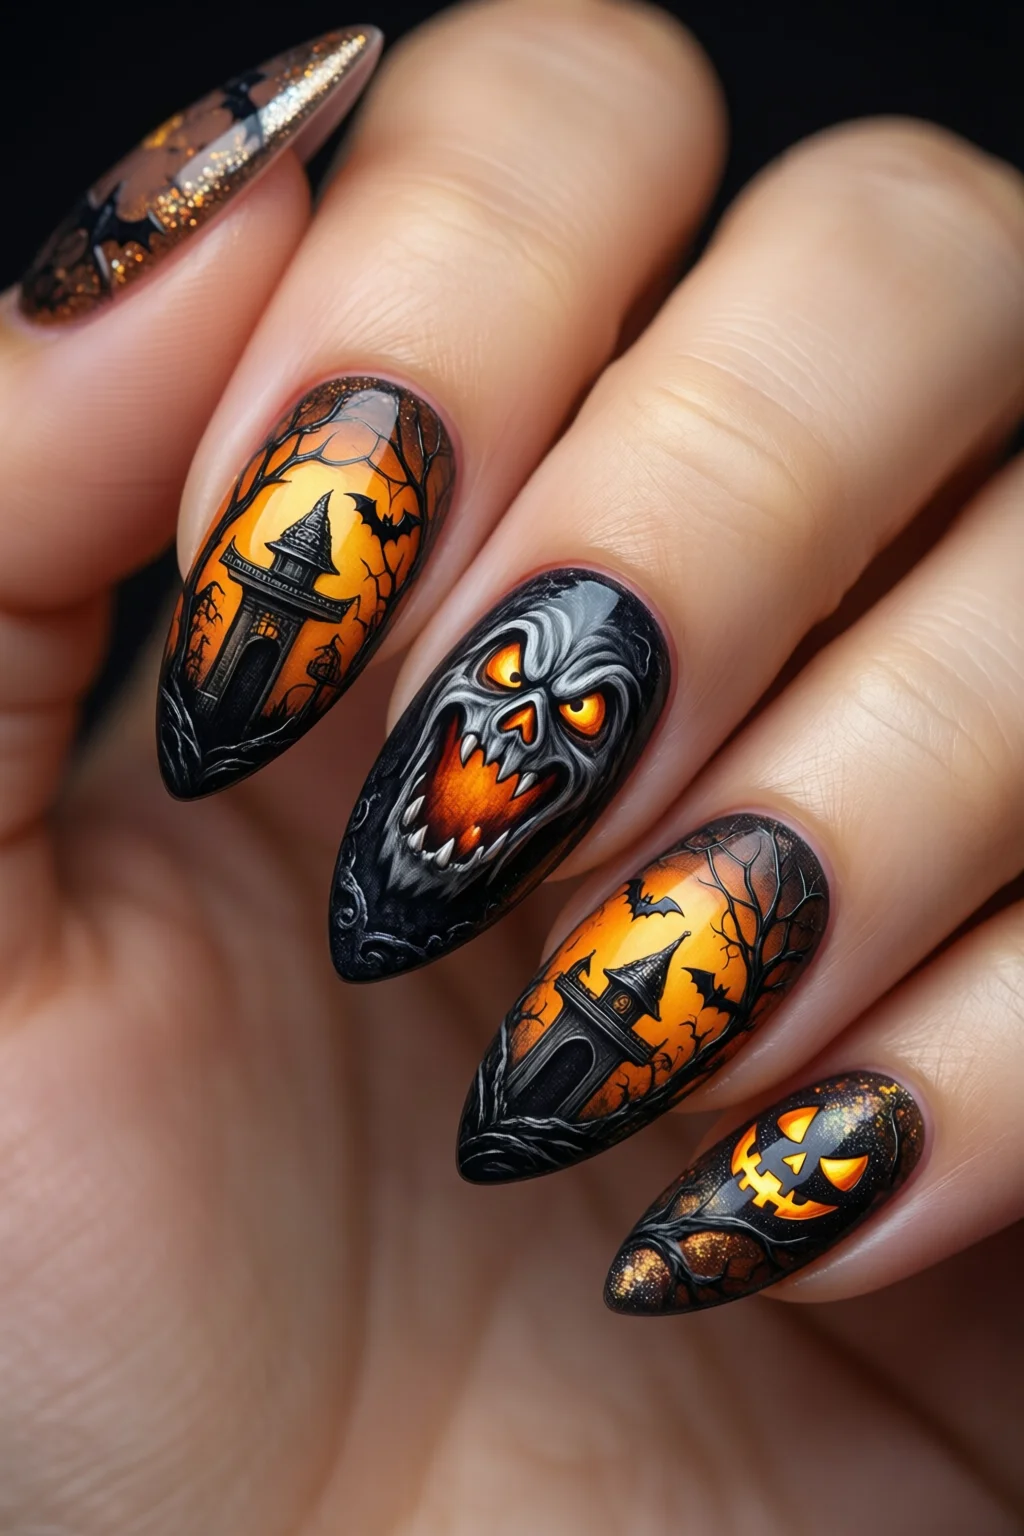
Step 3 – Sketch the Spooky Silhouettes
Using the fine‑tip brush dipped in white, draw tiny bat silhouettes on the black nails. Keep the strokes under 2 mm; a single bat takes about 3 seconds. If you’re nervous about free‑handing, place a piece of striping tape across the nail first, paint over it, and peel it off to reveal a perfect line for cobwebs.
For the orange pumpkin nail, dab the dotting tool with black polish to create triangular “carved” eyes and a jagged mouth. Add a thin white outline around each feature for contrast – this technique makes the design pop under party lights.
Step 4 – Add Texture and Sparkle
Lightly press a piece of metallic foil (silver or gold) onto the black nails using a soft brayer. The foil adheres to the polish’s tacky surface, giving a haunted‑mirror effect. Place a few 1‑mm rhinestones on the orange nail’s “stem” for a 3‑D surprise.
If you prefer a gooey “blood” drip, mix a drop of red gel polish (Gelish “Blood Red”, $14.99) with a dab of clear top coat. Use the dotting tool to pull the mixture down the nail edge; it will set in 30 seconds, creating a realistic dribble.
Step 5 – Seal the Magic
Finish with two coats of the Seche Vitamins top coat. The first coat locks in the design; the second adds high‑gloss and UV protection. Cure each layer under a LED lamp for 45 seconds. Your Halloween nail art will now resist chips for up to 10 days, even after a night of dancing.
Finally, wipe the nail surface with a lint‑free pad soaked in a little rubbing alcohol to remove any sticky residue, then massage cuticle oil again for a salon‑finished look.
Common Mistakes to Avoid
- Skipping the base coat. Dark colors seep into natural nail beds, leaving stubborn stains that can take weeks to fade.
- Using thick brush strokes. Over‑loading the brush creates blobs that ruin delicate bat wings. Dip the tip lightly.
- Applying polish on wet nails. Moisture stops adhesion; wait at least 2 minutes after cleaning before you start.
- Rushing the drying time. Even fast‑dry formulas need 2–3 minutes between coats; otherwise the layers lift.
- Neglecting the top coat. Without sealing, glitter flakes and foil will fall off within a day.

Troubleshooting and Tips for Best Results
Smudged designs? Keep a small bottle of hand sanitizer nearby. If a line smudges, dip a clean brush in nail polish remover and gently swipe the edge before it dries.
Uneven foil? Warm the foil a few seconds under the lamp; it adheres more smoothly. Press with a silicone spatula, not your fingers, to avoid fingerprints.
Stubborn rhinestones? Apply a dab of clear gel on the stone, then use a fine‑point brush to push it into place. The gel cures instantly, locking the stone.
Long‑lasting sparkle? Mix a drop of clear top coat with glitter polish before applying; the mixture reduces flaking by up to 30 %.
One mistake I see often is using regular nail polish for the “blood drip” effect. Gel polish stays tacky longer and creates a realistic flow. If you only have regular polish, thin it with a 1:1 ratio of clear top coat and apply quickly.
For a quick party fix, you can print a Halloween nail stencil (many free PDFs exist) and use a sponge to dab color through the cut‑outs. This method cuts design time by half.
Summary
With the right tools, a clear workflow, and a dash of creativity, you can transform ordinary nails into show‑stopping Halloween nail art that lasts through trick‑or‑treat and midnight parties alike. Remember: prep the nail, layer colors thoughtfully, add spooky details with precision, and always seal with a quality top coat. Follow the steps above, avoid the common pitfalls, and you’ll be the most hauntingly beautiful guest on the dance floor.
How long does Halloween nail art typically last?
When sealed with a professional top coat and cured under an LED lamp, the design can stay intact for 7‑10 days, even with regular hand washing.
Can I do this tutorial with regular polish instead of gel?
Yes, but expect a shorter wear time (3‑4 days). Use a quick‑dry top coat and avoid water exposure for the first 2 hours.
What is the easiest way to create a spider‑web design?
Apply a thin layer of white polish on a black nail, lay a piece of striping tape diagonally, paint over with black polish, and peel the tape away while the polish is still wet.