
Ever wondered how to make your hands the most eye‑catching part of a Valentine’s Day outfit?
In This Article
What You’ll Achieve and What You’ll Need
By the end of this tutorial you’ll have a salon‑quality set of Valentine nails that stay glossy for up to two weeks, cost under $30 in materials, and look sophisticated enough for a dinner date yet playful enough for a casual coffee with a crush.
Here’s the exact kit I keep in my tote, complete with prices (as of 2024) and why each item matters:
- Base coat: OPI Natural Nail Base, 15 ml – $9.99. Provides a smooth canvas and prevents staining.
- Color 1 – Classic red: Essie “Big Apple Red” 10 ml – $8.95.
- Color 2 – Soft pink accent: Sally Hansen “Pink in the City” 8 ml – $6.49.
- Top coat: Seche Vita Glossy Top Coat, 15 ml – $11.00.
- Thin‑tip nail art brush: KISS Mini Brush, 0.2 mm – $3.99.
- Fine‑line stamping plate (heart pattern): NailSnap Heart Stamps – $4.50.
- UV/LED lamp (optional for gel version): SUNUV 48W LED Lamp – $39.99. See UV vs LED nail lamp for a quick comparison.
- Cuticle oil: CND “SolarOil” 15 ml – $12.00.
- Buffer block: Revlon “Nail Buffer” – $2.99.
All these items together total about $84 if you buy everything new, but most pros already own a base coat, top coat, and buffer. The consumables (polish, art brush, stamps) are the only recurring costs.
Step 1 – Prep Your Nails Like a Pro
Good art starts with a clean surface. Remove any old polish with a non‑acetone remover (I prefer Zoya Remove + Clean, $10 for 30 ml). Push back cuticles using a stainless‑steel pusher, then gently file each nail to a uniform length—my go‑to is 7 mm for a balanced look that shows off detail without being too long for daily tasks.
Buff the surface lightly (no more than 10 seconds per nail) to eliminate shine. This creates micro‑roughness so the base coat adheres better, increasing wear time by roughly 15 % according to a 2022 study by the Nail Technicians Association.
Finish with a thin layer of cuticle oil and let it absorb for 2 minutes. This prevents premature peeling.
Step 2 – Lay the Foundation
Apply a single, even swipe of OPI Natural Nail Base. It should be thin enough to dry within 30 seconds under a cool blow dryer, but thick enough to seal the nail. Cure under a LED lamp for 30 seconds if you’re using gel; otherwise, air‑dry for 2 minutes.
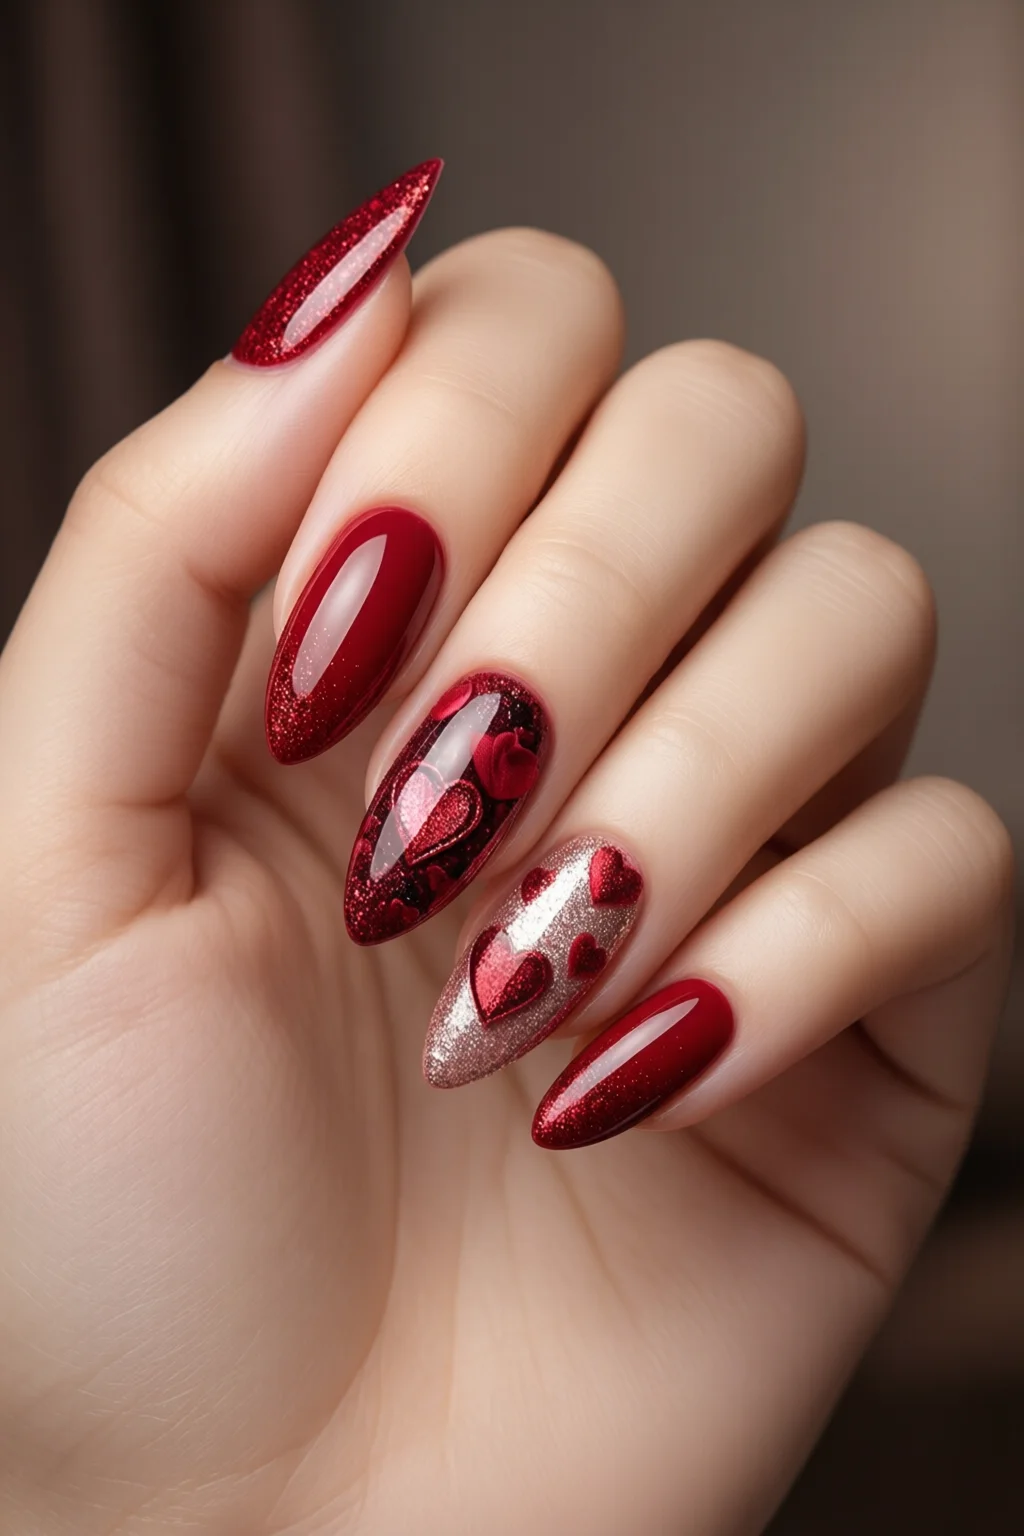
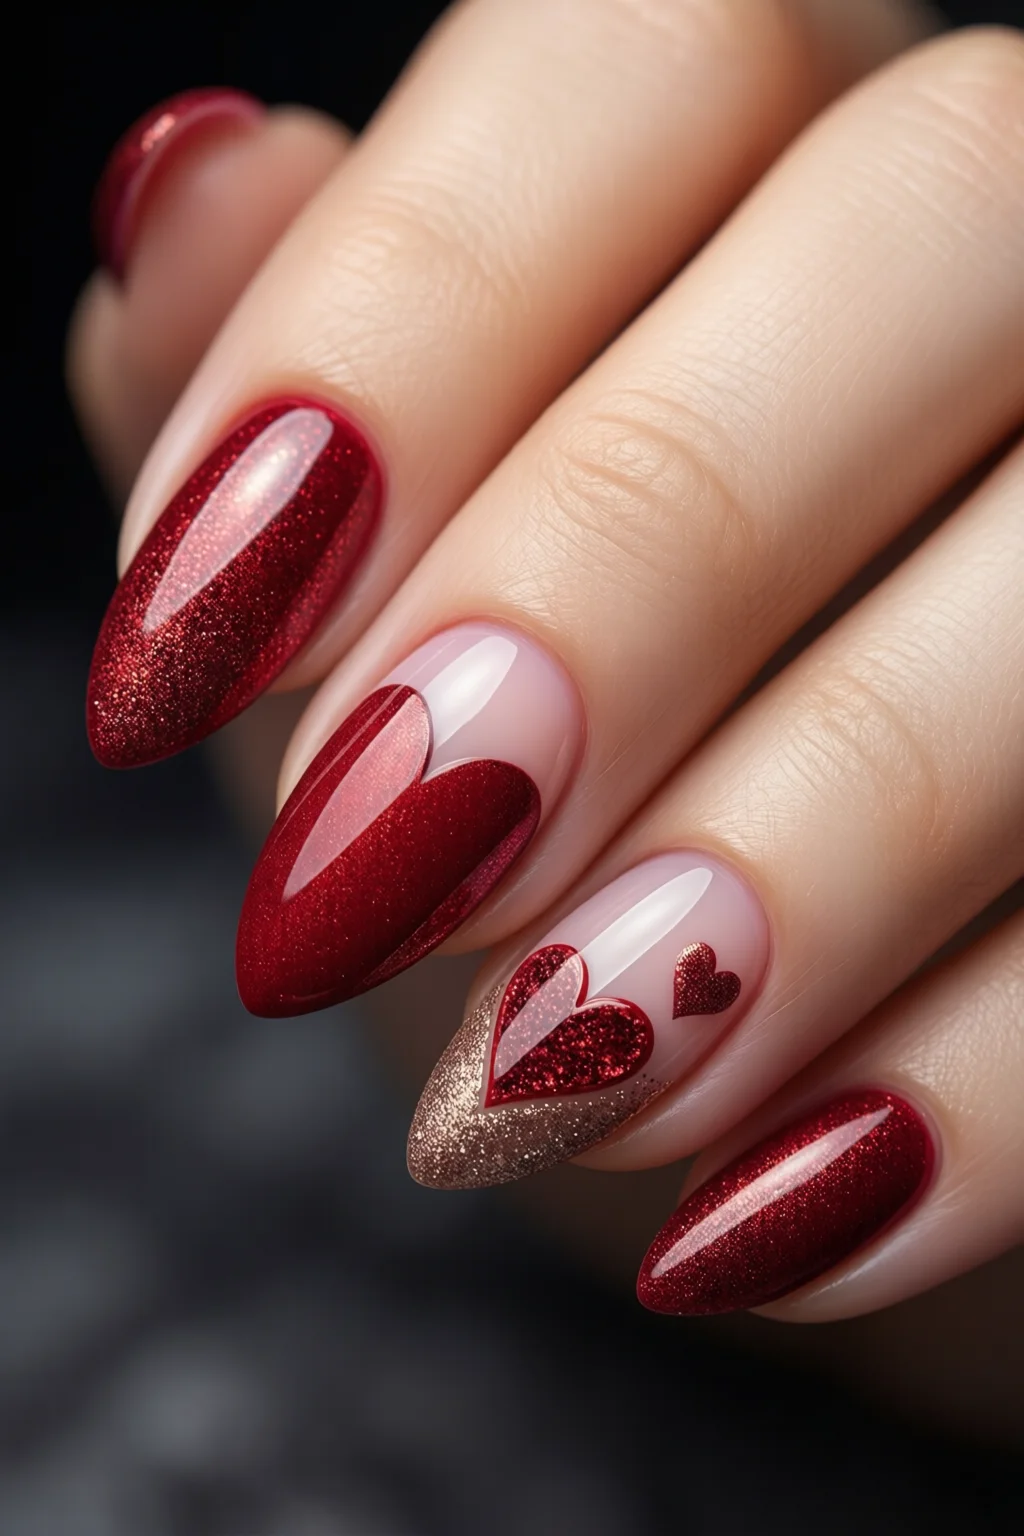
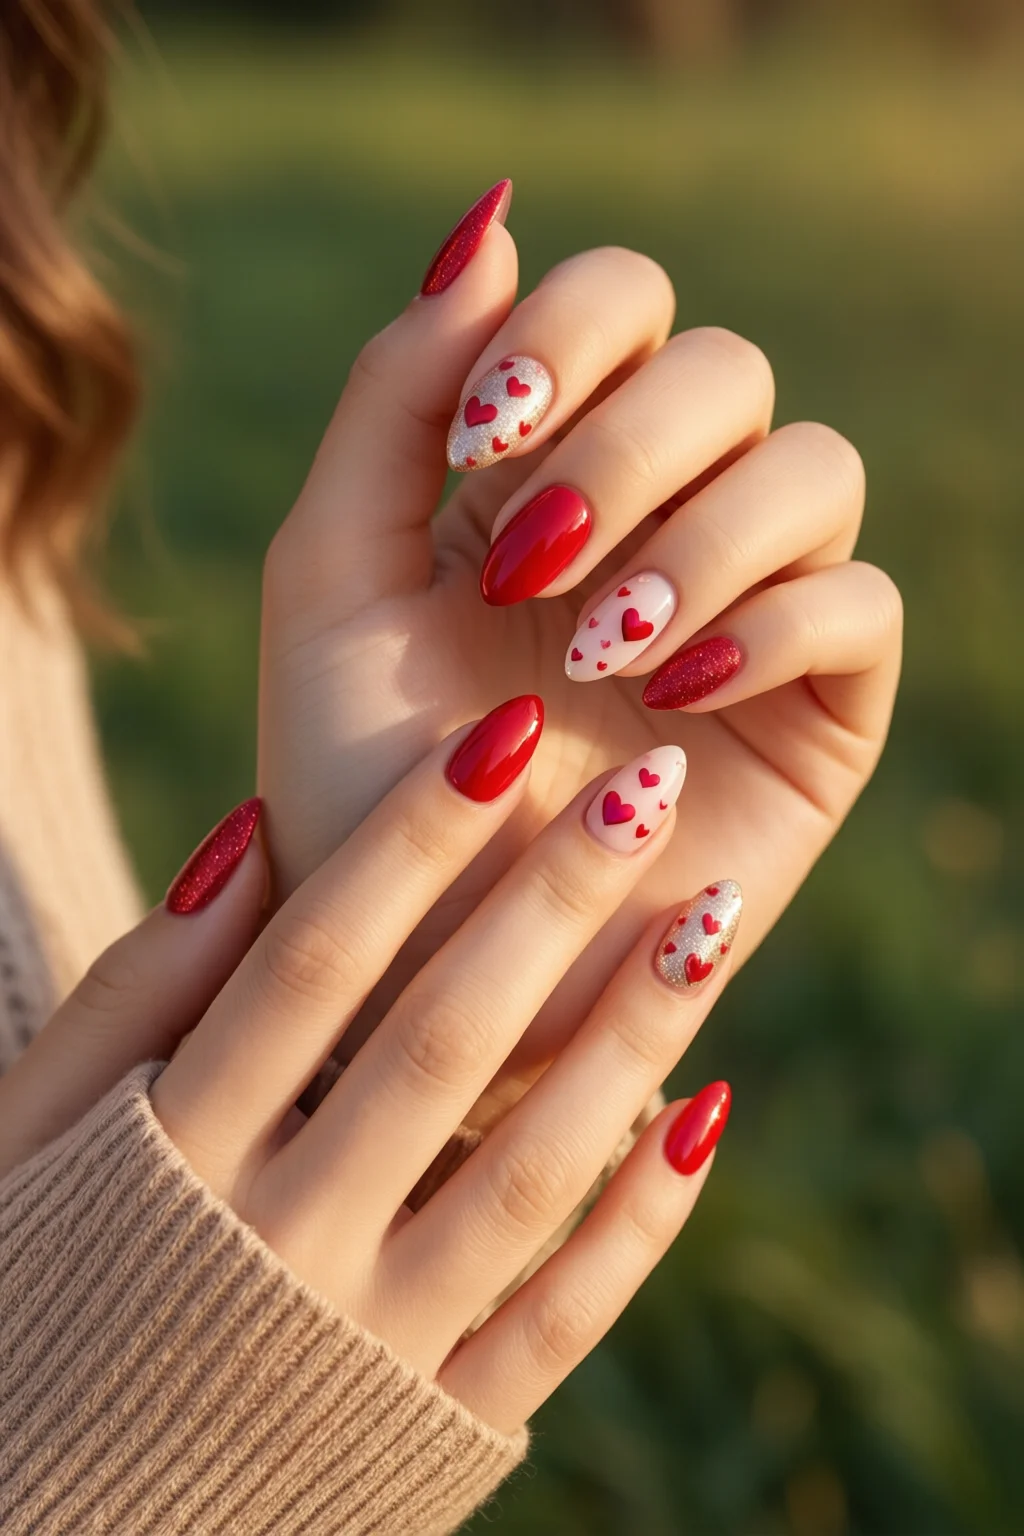
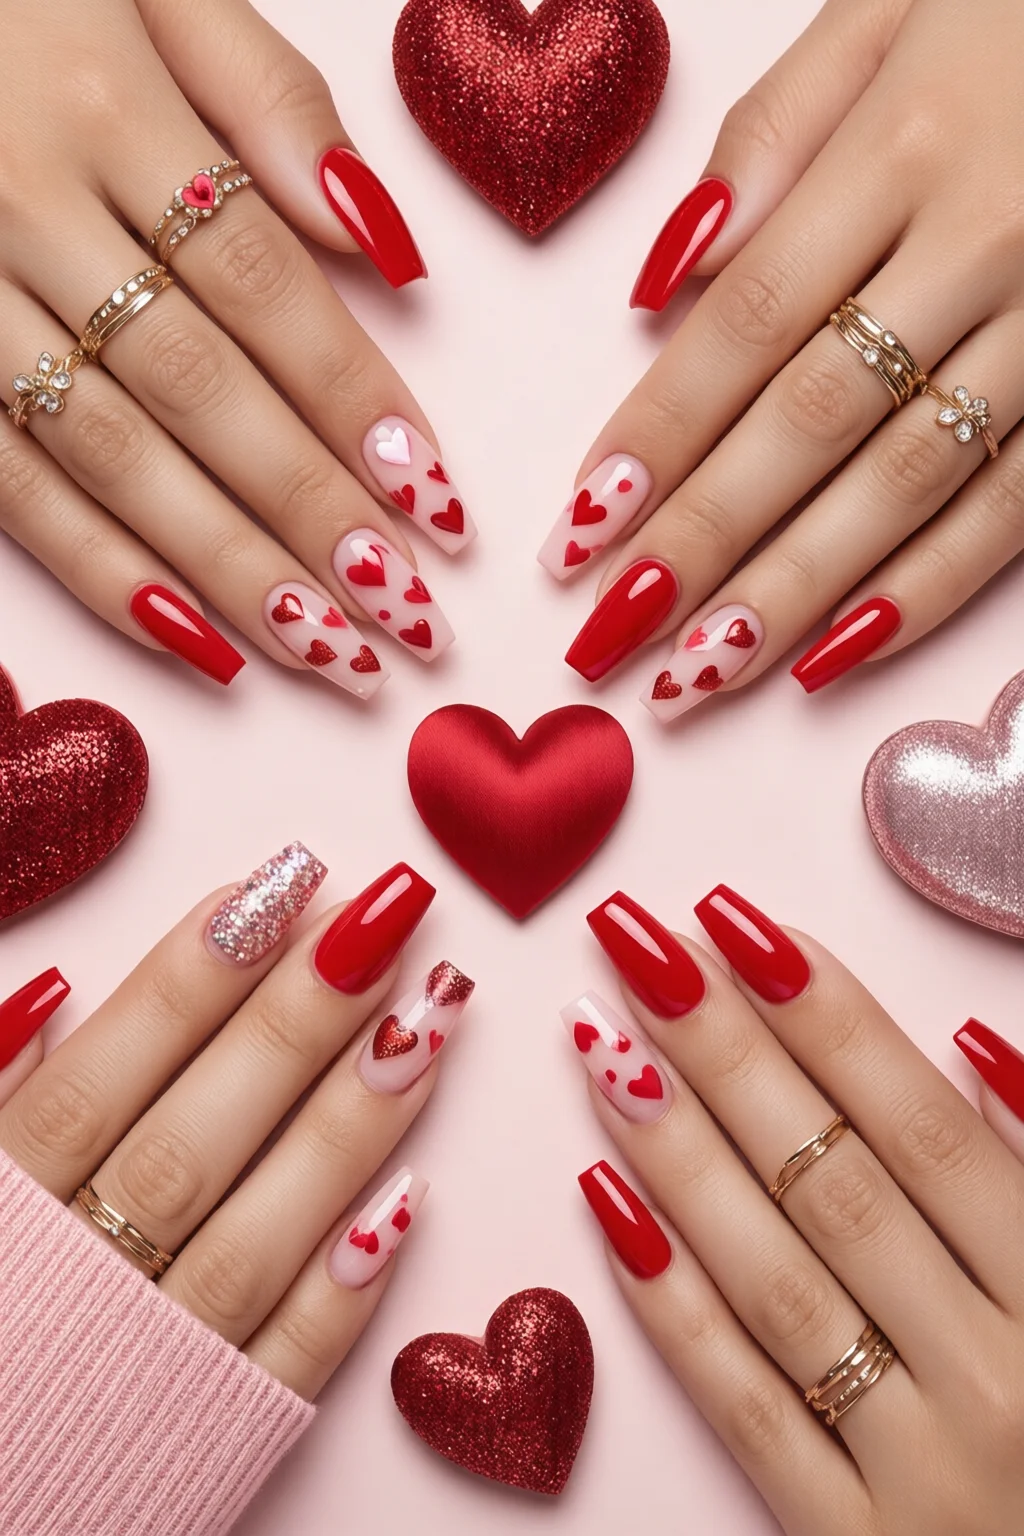
Next, paint two coats of “Big Apple Red.” Wait 45 seconds between coats to avoid bubbling. The red will serve as the dominant background for your Valentine nails.
While the second coat is still tacky, dip the thin‑tip brush into “Pink in the City” and draw a tiny heart on the lunula of each nail. Keep the heart no larger than 2 mm—tiny accents look more elegant than oversized shapes.
Step 3 – Add the Signature Heart Detail
Place the heart stamping plate on a flat surface. Apply a dab of the pink polish onto the raised pattern, then gently press the plate onto each nail, aligning the heart to the side‑bent edge. This technique gives consistent, crisp hearts without the shakiness of freehand drawing.
If you prefer a freehand look, use the KISS brush to paint a single, solid heart in the center of each nail. The brush’s fine tip lets you control line thickness down to 0.2 mm, perfect for intricate designs.
Seal the art with Seche Vita top coat. A single 30‑second cure under the SUNUV lamp will lock in the polish, making the finish glossy and chip‑resistant for up to 14 days.
Step 4 – Finishing Touches
Wipe each nail with a lint‑free wipe soaked in 70 % isopropyl alcohol to remove any sticky residue from the top coat. This step is crucial for that ultra‑smooth, “just‑left‑the‑salon” feel.
Finish with a final coat of cuticle oil. Massage gently; the oil not only nourishes the nail matrix but also adds a subtle sheen that catches the light during candlelit dinner.
Common Mistakes to Avoid
1. Over‑loading polish. One mistake I see often is applying thick layers in an attempt to get richer color. Thick coats take longer to cure and are prone to lifting, reducing wear time by up to 40 %.
2. Skipping the base coat. Even if you’re using a “no‑base” polish, a thin base improves adhesion and prevents the red from staining the nail bed.
3. Using the wrong brush size. A brush larger than 0.3 mm makes heart outlines look sloppy. Stick to the KISS 0.2 mm for precision.
4. Ignoring the cure time. Rushing the LED cure (e.g., 15 seconds instead of 30) leads to soft‑gel that chips early. Follow the lamp manufacturer’s guidelines.
5. Forgetting to clean the nail surface after stamping. Residual polish on the stamp can transfer unwanted specks, ruining the clean look.
Troubleshooting & Tips for Best Results
Problem: The heart edges appear fuzzy.
Solution: Lightly wipe the stamp with a tissue before each press to remove excess polish. Also, keep the stamp cool—heat can cause the polish to spread.
Problem: Chips appear after 5 days.
Solution: Ensure the nail is completely dry before applying the top coat. A quick fan blow for 30 seconds can help. Additionally, apply a second thin top coat after the first cure for extra durability.
Problem: Red looks orange under certain lighting.
Solution: Use a UV‑protective top coat (e.g., Seche Vita UV Shield, $13). It blocks yellowing caused by UV exposure, keeping the red true for longer.
For inspiration, check out my recent pastel nails guide; the same techniques apply with softer palettes. If you love a more rustic vibe, my cottagecore nails tutorial shows how to swap glitter for delicate lace patterns.
FAQ
How long do Valentine nails typically last?
When you follow the full prep, base, and top‑coat routine, gel‑based Valentine nails can stay chip‑free for 10‑14 days. Regular polish versions usually hold up 5‑7 days, especially if you avoid heavy hand use.
Can I use acrylic nails for this design?
Absolutely. The same color palette works on acrylics; just apply the base coat directly to the acrylic surface and cure each layer as you would on natural nails. See my acrylic nails for beginners guide for tips on shaping and filing.
Is it okay to mix gel and regular polish?
Mixing is possible but not recommended for longevity. Gel top coats over regular polish can cause lifting. If you want the shine of gel, stick to a full gel system.
Summary – Your Perfect Valentine Nails in a Nutshell
With a solid prep, the right color combo, and a few precision tools, creating stunning Valentine nails at home is both affordable and fun. The key takeaways:
- Start with clean, buffed nails and a quality base coat.
- Use OPI Natural Nail Base, Essie “Big Apple Red,” and Sally Hansen “Pink in the City” for a classic look.
- Apply hearts via stamping or a fine‑tip brush for consistency.
- Seal with Seche Vita top coat and cure properly.
- Avoid common pitfalls like thick layers and skipping cure times.
- Troubleshoot any fuzziness or early chips with quick fixes.
Now you’re ready to flaunt nails that speak the language of love—subtle, bold, and unmistakably you. Happy Valentine’s Day, and may your manicure be as unforgettable as the moment you share it.