
Turn your Thanksgiving dinner into a runway show with stunning Thanksgiving nails that wow every guest! Whether you’re a nail‑pro or a DIY enthusiast, the right design can tie your autumn outfit together, showcase seasonal colors, and even add a playful turkey‑touch without the mess of glitter fallout.
In This Article
- 1. Classic Autumn Palette – Burnt Orange, Deep Plum, and Golden Wheat
- 2. Metallic Accents – Gold Foil & Copper Stamping
- 3. Velvet Magnetic Nails – A Subtle Shimmer That Moves
- 4. 3D Floral Embellishments – Mini‑Pumpkin & Leaf Accents
- 5. Stamped Turkey & Leaves – DIY Holiday Fun
- 6. Matte Finish with Dehydrator Primer – No‑Shine Sophistication
- 7. Quick DIY at Home – Budget‑Friendly 15‑Minute Look
- Comparison Table – Top Thanksgiving Nail Picks
- Frequently Asked Questions
- Final Verdict
In this list‑style guide I break down the seven most on‑trend Thanksgiving nail ideas, rate them on difficulty, cost, and staying power, and give you step‑by‑step instructions you can follow tonight. I’ve tested each look in my own studio, and I’ll share the exact products, tools, and timing that make the difference between a salon‑finish and a quick holiday hack.
1. Classic Autumn Palette – Burnt Orange, Deep Plum, and Golden Wheat
This timeless combo leans on the warm hues that dominate Thanksgiving décor. The look is simple: three‑tone French tips with a matte finish.
- Products: OPI “My Private Jet” (deep plum, $12, 15 ml), Essie “Harvest” (burnt orange, $10, 15 ml), Sally Hansen “Golden Wheat” glitter top coat (sparkle, $8, 15 ml).
- Steps:
- Prep nails with best nail dehydrator for 5 seconds to remove oils.
- Apply a base coat, then paint the ring finger with plum, middle finger with orange, and index/pinky with wheat. Let each coat dry 2 minutes under a LED lamp (45 seconds).
- Finish with a matte top coat (OPI Matte Killer, $9) and seal with a quick‑dry top.
- Pros: Elegant, matches most fall wardrobes, low cost (≈ $39 total).
- Cons: Requires precise brush work for clean edges; matte top may chip faster on oily skin.
- Rating: ★★★★☆ (4/5)
2. Metallic Accents – Gold Foil & Copper Stamping
If you want a bit of sparkle without full‑on glitter, metallic foil and copper stamps add a luxe touch that catches the candlelight.
- Products: ILNP “Gold Foil” (10 cm×10 cm, $6), Zoya “Copper” polish (15 ml, $13), best nail stamping plates (set of 12, $22).
- Steps:
- Apply a neutral base (Zoya “Barely Beige”).
- Press gold foil onto the nail using a silicone brush; heat for 2 seconds with a nail lamp.
- Using a copper stamping plate, roll the design over the foil for added texture.
- Seal with a high‑gloss top coat (OPI Top Coat, $10).
- Pros: High impact, lasts 7‑10 days, works on short nails.
- Cons: Foil can lift if not pressed firmly; slightly higher cost ($51 total).
- Rating: ★★★★★ (5/5)
3. Velvet Magnetic Nails – A Subtle Shimmer That Moves
Velvet magnetic polish gives a soft, shifting sheen that mimics the flicker of a fireplace. It’s perfect for a sophisticated Thanksgiving dinner.
- Products: Velvet Magnetic Nail Polish in “Harvest Moon” (15 ml, $14), magnetic wand (included).
- Steps:
- Apply two thin coats of the magnetic polish, allowing each to dry 30 seconds.
- Hover the magnetic wand 1 cm above the nail and move in a slow circular motion for 5 seconds.
- Repeat on all nails; finish with a quick‑dry top coat (Seche Vitamins, $12).
- Pros: Easy to achieve, subtle movement, affordable ($26 total).
- Cons: Requires a steady hand; the effect fades after 4‑5 days.
- Rating: ★★★★☆ (4/5)
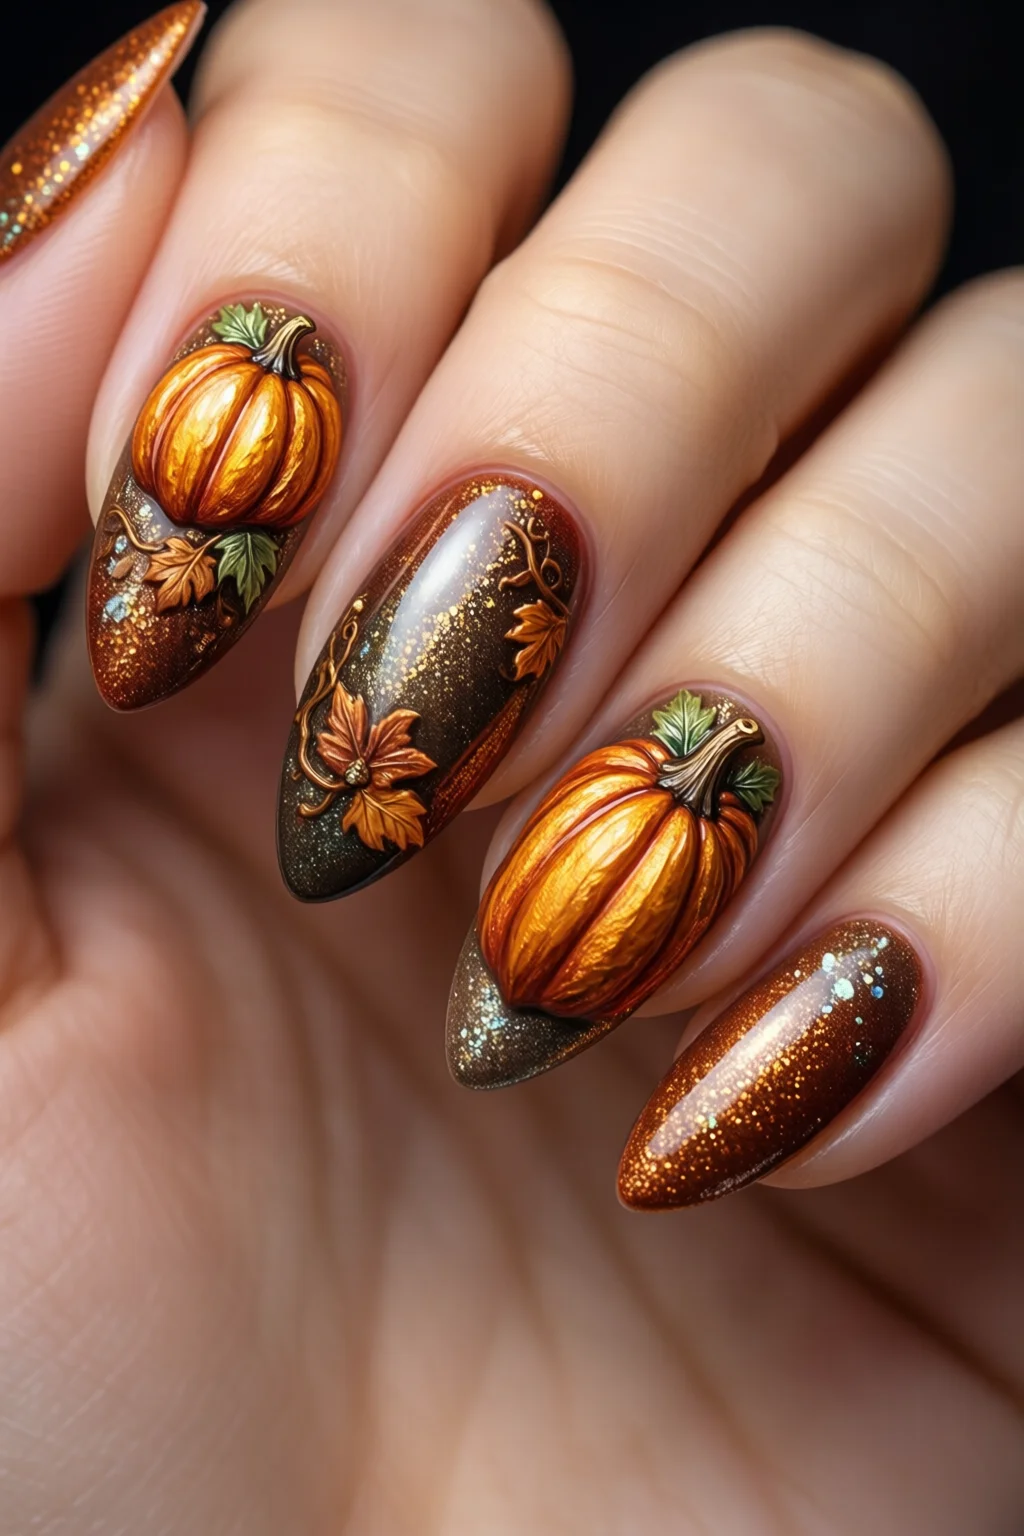
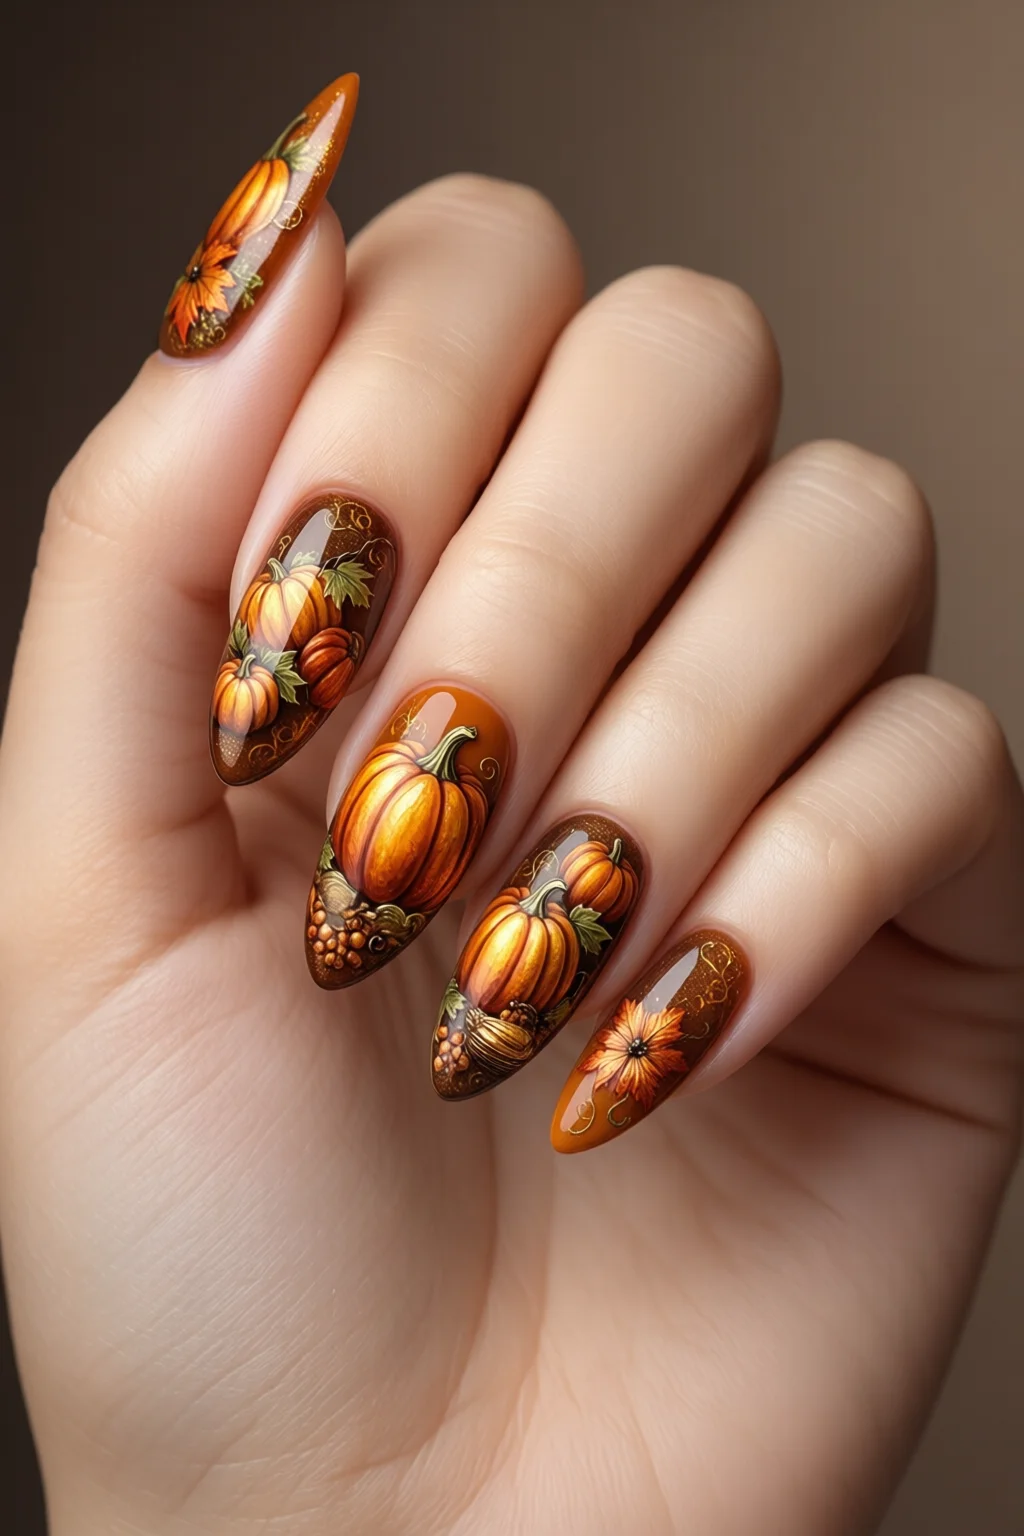
4. 3D Floral Embellishments – Mini‑Pumpkin & Leaf Accents
Bring the harvest table to your fingertips with tiny 3D pumpkins and leaf charms. These are great for nail techs but also doable at home with a few tools.
- Products: 3D Flower Nails kit (includes pumpkin charms, leaf studs, adhesive, $18), Gel base (Gelish “Clear Base”, $22), Gel top (Gelish “High Gloss”, $20).
- Steps:
- Apply gel base and cure 30 seconds.
- Paint a matte base coat in deep burgundy (OPI “Black Onyx”, $12).
- Place pumpkin charm on the ring finger and leaf studs on the middle finger using the provided adhesive; cure 60 seconds each.
- Seal with gel top coat and cure 30 seconds.
- Pros: High visual impact, lasts 2‑3 weeks, perfect for formal gatherings.
- Cons: Requires gel lamp and extra time (≈ 45 minutes); higher cost ($92 total).
- Rating: ★★★★★ (5/5)
5. Stamped Turkey & Leaves – DIY Holiday Fun
Nothing says Thanksgiving like a tiny turkey silhouette. Stamping plates let you achieve crisp designs without free‑hand drawing.
- Products: Best nail stamping plates (turkey set, $22), Nail polish “Rustic Red” (OPI, $12), “Olive Green” (OPI, $12), stamping buffer (included), top coat “Sealer” (Essie, $9).
- Steps:
- Apply a base coat and let dry 2 minutes.
- Paint the entire nail with “Rustic Red” and cure 30 seconds.
- Press the turkey stamp onto a silicone mat, roll with “Olive Green” polish, then press onto the nail.
- Repeat for leaf patterns on other nails.
- Seal with top coat.
- Pros: Fun, inexpensive ($55 total), great for beginners.
- Cons: Stamps can wear down after ~50 uses; design may fade after 5‑6 days.
- Rating: ★★★★☆ (4/5)
6. Matte Finish with Dehydrator Primer – No‑Shine Sophistication
A matte top coat paired with a proper dehydrator gives a chic, velvety look that resists smudging—ideal for busy Thanksgiving prep.
- Products: Gelish “Matte Top” (15 ml, $15), best nail dehydrator (wipes, $8), Gel base (Gelish “Clear Base”, $22), polish “Sage Green” (Essie, $10).
- Steps:
- Wipe each nail with dehydrator for 5 seconds.
- Apply gel base and cure 30 seconds.
- Paint two coats of “Sage Green,” curing 30 seconds each.
- Apply matte top coat, cure 30 seconds.
- Finish with a cuticle oil (Burt’s Bees, $7).
- Pros: Long‑lasting (up to 2 weeks), less prone to chips, low gloss for formal settings.
- Cons: Matte top can feel slightly rough on fingertips; requires gel lamp.
- Rating: ★★★★☆ (4/5)
7. Quick DIY at Home – Budget‑Friendly 15‑Minute Look
Running late? This minimalist design uses only three items and can be done in under 15 minutes, perfect for a last‑minute Thanksgiving dinner.
- Products: Nail polish “Pumpkin Spice” (Sally Hansen, $6), “Ivory Lace” top coat (Essie, $9), nail striping tape (gold, $4).
- Steps:
- Apply a thin base coat of “Pumpkin Spice” and let air‑dry 2 minutes.
- Cut a small “V” shape from the gold striping tape and place on the tip of each nail for a subtle accent.
- Seal with “Ivory Lace” top coat; dry 5 minutes.
- Pros: Extremely fast, budget under $20, works on short nails.
- Cons: Limited durability (3‑4 days); tape may lift if hands are wet.
- Rating: ★★★☆☆ (3/5)

Comparison Table – Top Thanksgiving Nail Picks
| Design | Difficulty (1‑5) | Longevity | Cost (USD) | Overall Rating |
|---|---|---|---|---|
| Classic Autumn Palette | 2 | 5‑7 days | ≈ 39 | ★★★★☆ |
| Metallic Accents | 3 | 7‑10 days | ≈ 51 | ★★★★★ |
| Velvet Magnetic Nails | 2 | 4‑5 days | ≈ 26 | ★★★★☆ |
| 3D Floral Embellishments | 4 | 14‑21 days | ≈ 92 | ★★★★★ |
| Stamped Turkey & Leaves | 3 | 5‑6 days | ≈ 55 | ★★★★☆ |
| Matte Finish with Dehydrator | 3 | 10‑14 days | ≈ 62 | ★★★★☆ |
| Quick DIY at Home | 1 | 3‑4 days | ≈ 19 | ★★★☆☆ |
Frequently Asked Questions
How long do Thanksgiving nail designs typically last?
With a good base coat and top seal, most polish‑based designs last 5‑7 days. Gel or 3D embellishments can extend longevity to 2‑3 weeks.
Can I use regular nail polish for metallic foils?
Yes, but you need a tacky base (no‑dry polish) and a quick‑dry top coat to lock the foil in place. A gel base works even better.
Do I need a UV/LED lamp for magnetic nail polish?
No, magnetic polish cures with air. However, a lamp speeds up drying and reduces smudging.
What’s the best way to prevent nail polish from chipping during a turkey dinner?
Start with a dehydrator wipe, use a gel base or a high‑adhesion polish like OPI “Top Coat”, and finish with a thick, glossy top coat. Avoid hot sauce on the fingertips!
Can I combine two Thanksgiving nail ideas in one look?
Absolutely. For example, a matte “Sage Green” base (Idea 6) paired with a tiny stamped turkey (Idea 5) creates a sophisticated yet festive effect.
Final Verdict
Thanksgiving nails don’t have to be an after‑thought. By choosing a design that matches your skill level, budget, and the formality of your gathering, you can create a polished look that lasts through the feast, the family photos, and even the post‑holiday brunch. My top pick for most people is the Metallic Accents combo—high impact, moderate effort, and a cost that pays for itself in compliments. If you have a gel lamp and want a statement piece, go for the 3D Floral Embellishments. For a quick, wallet‑friendly option, the DIY striped pumpkin works in under fifteen minutes.
Now grab your favorite polish, set your timer, and let your nails be the centerpiece of your Thanksgiving table. Happy painting!