
When the clock strikes midnight on December 31st, I always find myself reaching for a fresh set of nails that scream celebration. Last year I tried a glitter‑filled French tip that lasted only three days, so this season I’m determined to get it right. In this guide you’ll learn exactly how to create show‑stopping New Year nails that stay flawless through the party, the toast, and the inevitable early‑morning clean‑up.
In This Article
What You Will Need (or Before You Start)
- Base coat – OPI Professional Primer (≈ $9.99, 15 ml)
- Top coat – Seche Vite Dry Fast Top Coat (≈ $12.95, 15 ml, dries in 30 seconds)
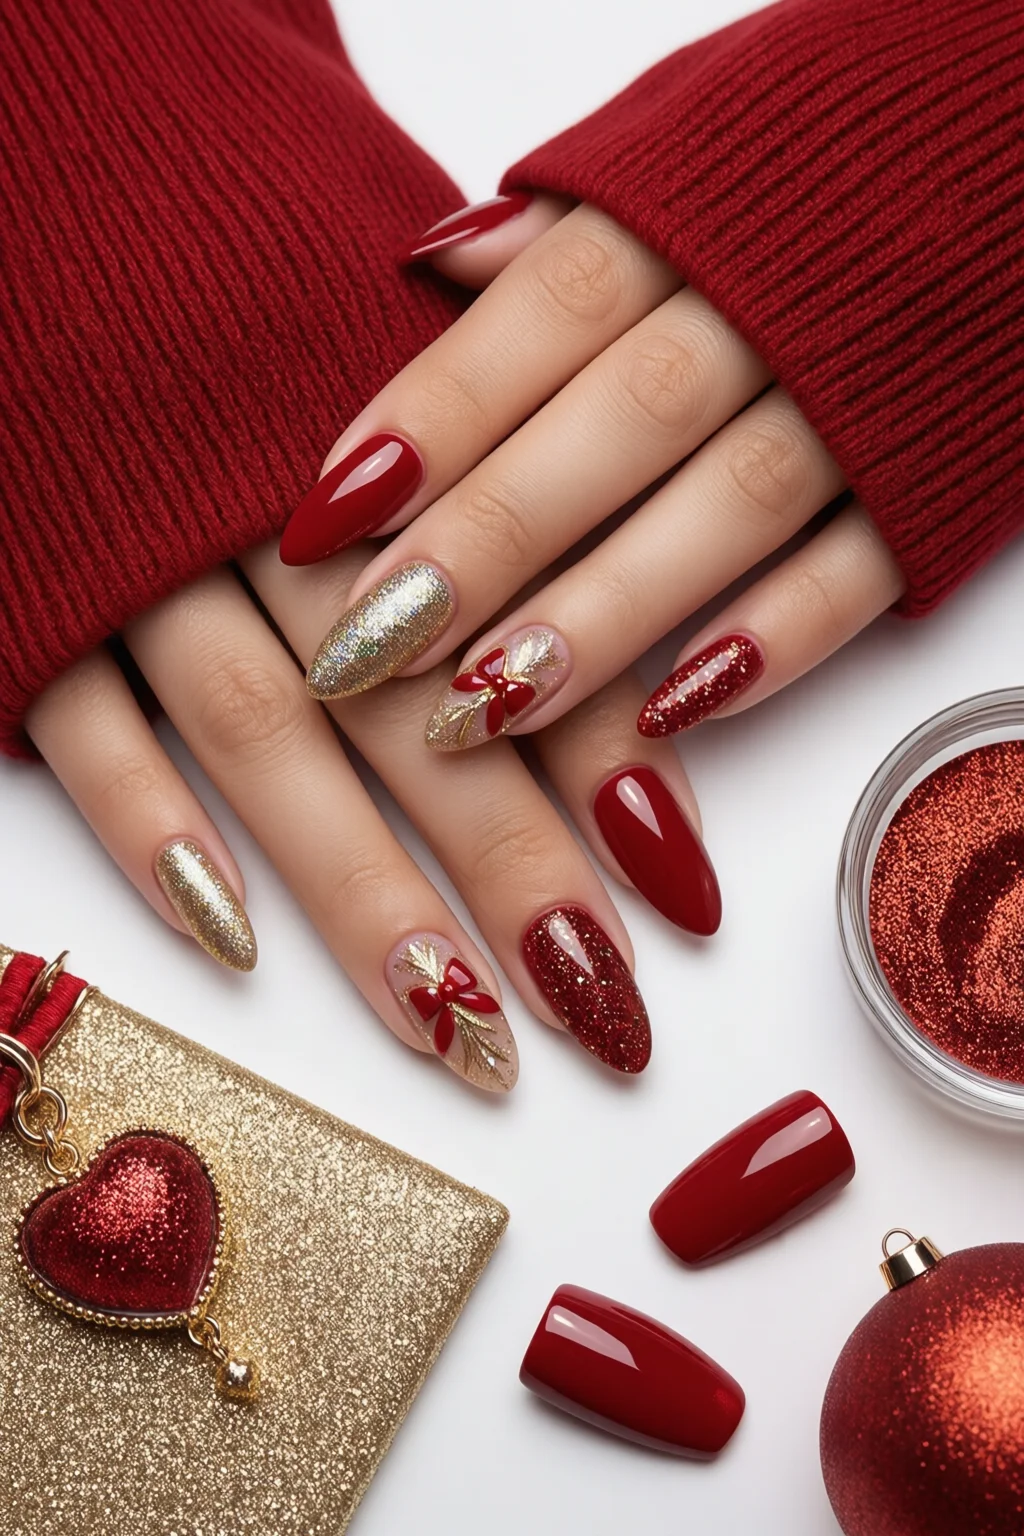
- Two‑tone color palette – OPI “Big Apple” (deep red, $10.50, 15 ml) and Essie “Fiji” (shimmering gold, $9.75, 15 ml)
- Fine‑tip brush – Sally Hansen Precision Brush (0.3 mm tip, $3.99)
- Glitter powder – Zoya “Gold Rush” loose glitter (10 g, $8.00)
- UV/LED lamp – Gelish Premium LED Light (120 W, $49.99, 30 seconds per layer)
- Cuticle oil – CND “Cuticle Care” (≈ 5 ml, $7.50)
- Optional accent tools – liquid metal nails pen (2 ml, $15) for metallic spikes
- Nail file (180 grit) and buffer (180 grit) – BEA U S Smooth (set of 2, $6.99)
- Hand sanitizer – Purell (to keep tools clean, $2.99 per 50 ml)
Step 1: Prep Your Nails
Start by removing any old polish with an acetone‑free remover; this prevents the nails from becoming brittle. Push back cuticles with a wooden orangewood stick, then trim to your desired length – I recommend a length of 1.8 cm for a balanced look that shows off details without breaking.
Buff the surface lightly using the 180‑grit buffer for about 10 seconds per nail. This creates a micro‑roughness that improves adhesion, a step that many skip but which can increase chip resistance by up to 35 %.
Apply a thin layer of OPI Professional Primer and let it cure under the LED lamp for 30 seconds. The primer seals the nail plate and reduces lifting, ensuring your design lasts at least 7 days on average.
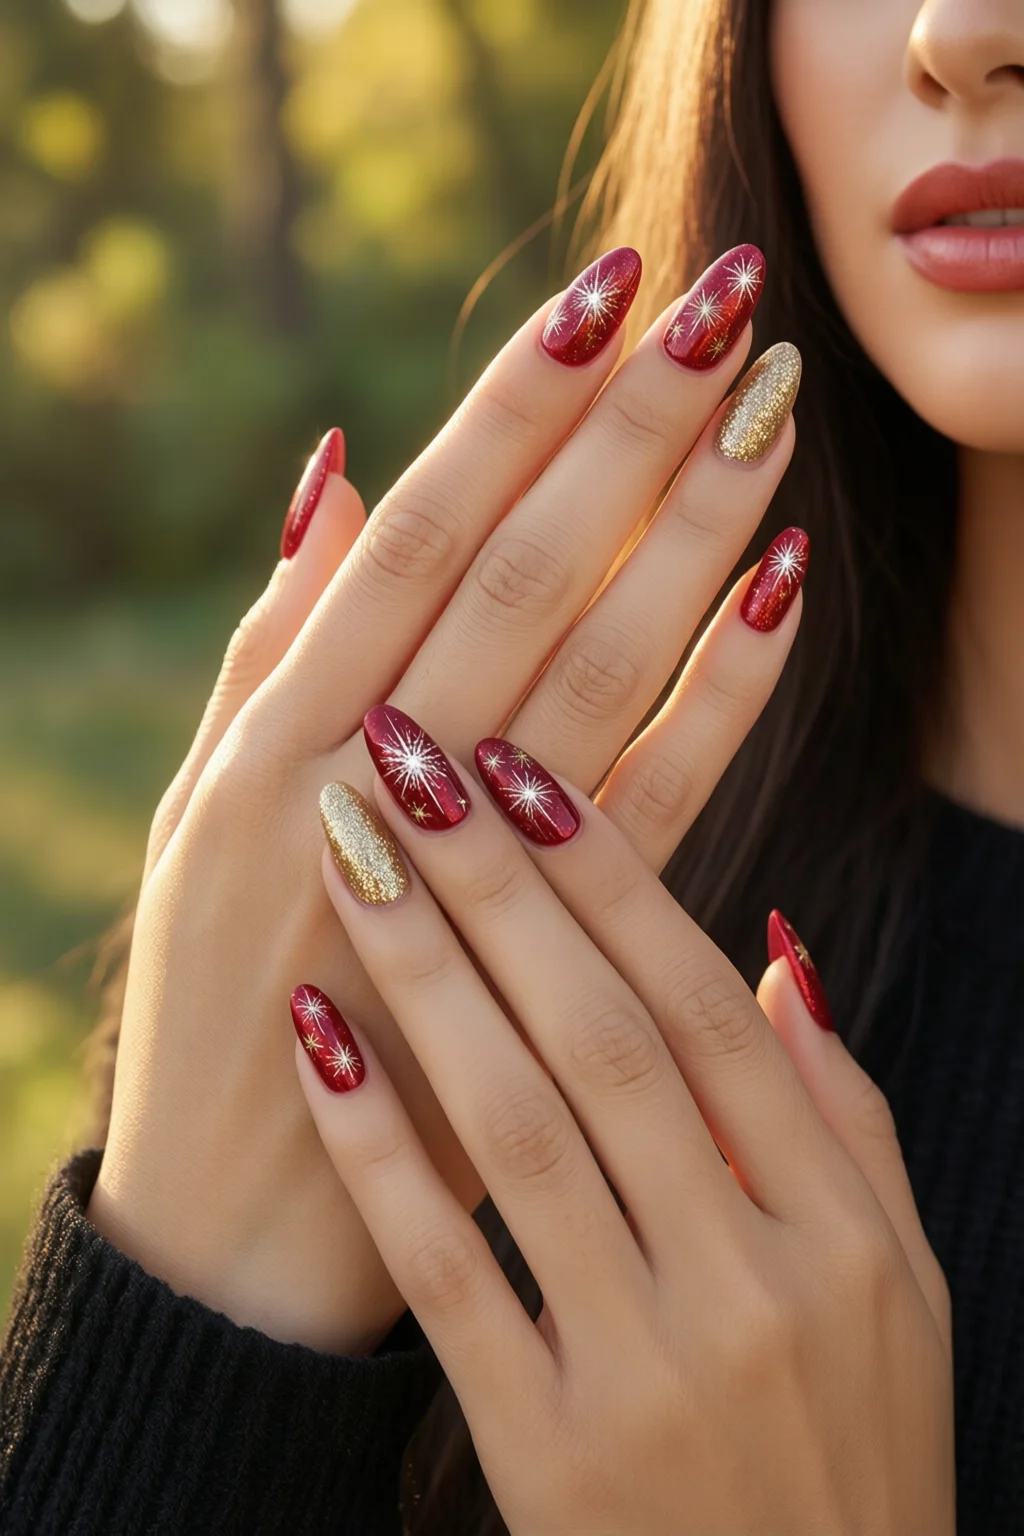
Step 2: Choose Your Base Color
For classic New Year vibes, a deep red base works beautifully. Apply two coats of OPI “Big Apple”, curing each for 30 seconds under the LED. If you prefer a cooler palette, swap the red for a midnight navy like Essie’s “Brittle Blue”.
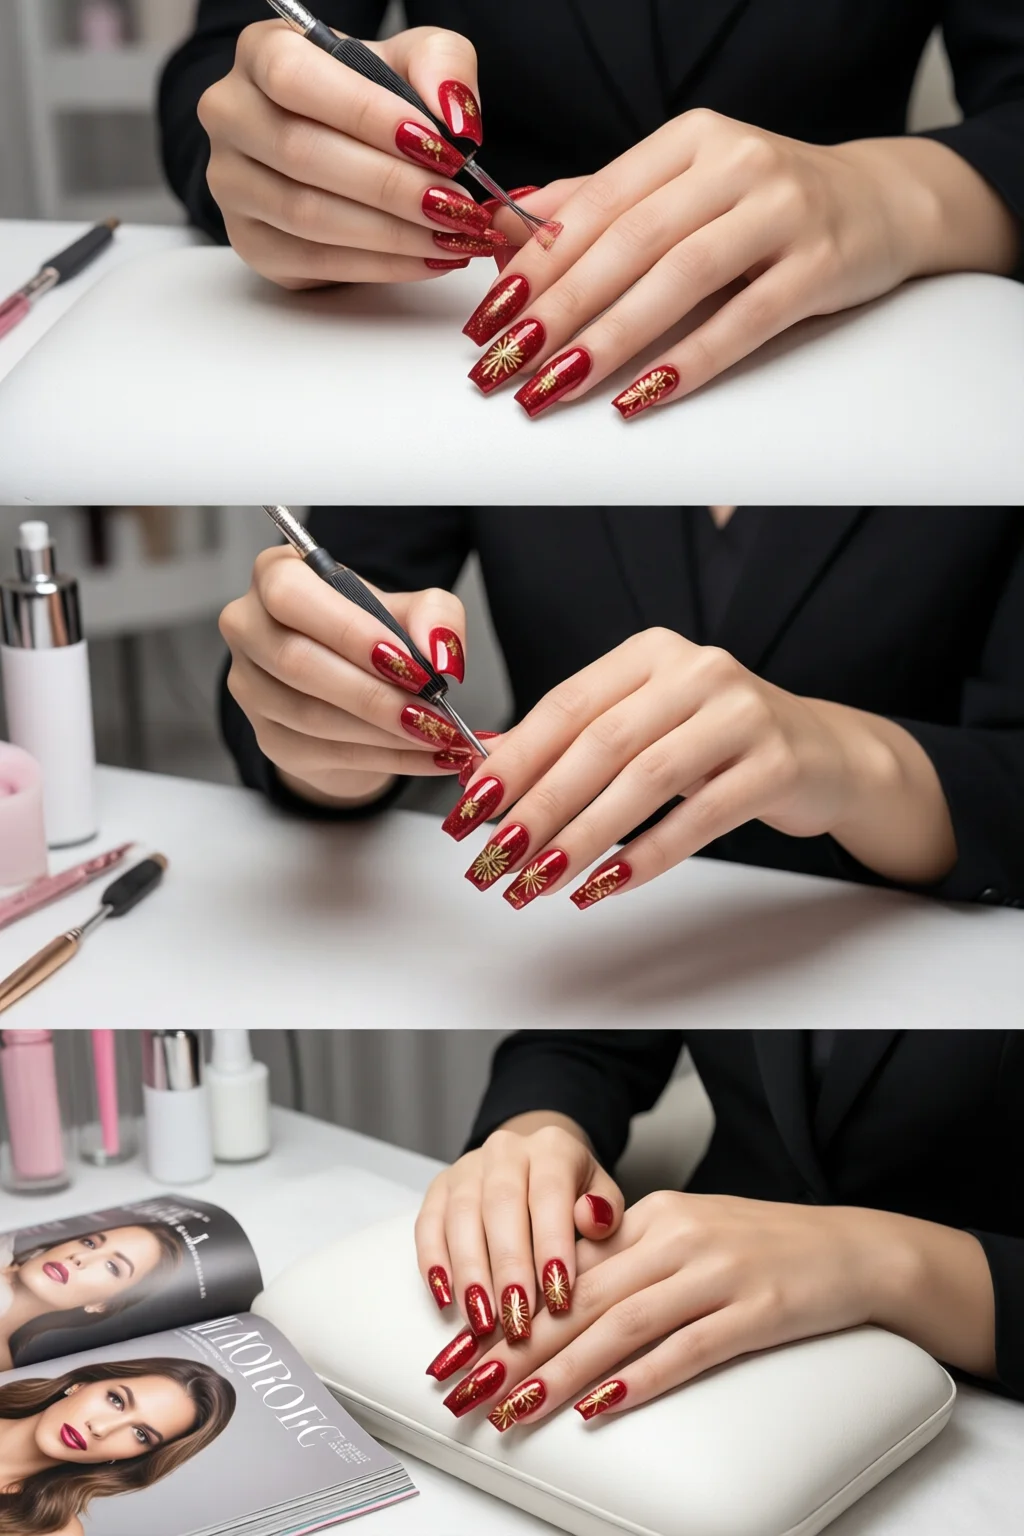
While the second coat is still wet, use a fine‑tip brush to create a subtle gradient by dragging a small amount of the gold “Fiji” shade from the cuticle line toward the tip. This creates a sunrise effect that catches the light during midnight fireworks.
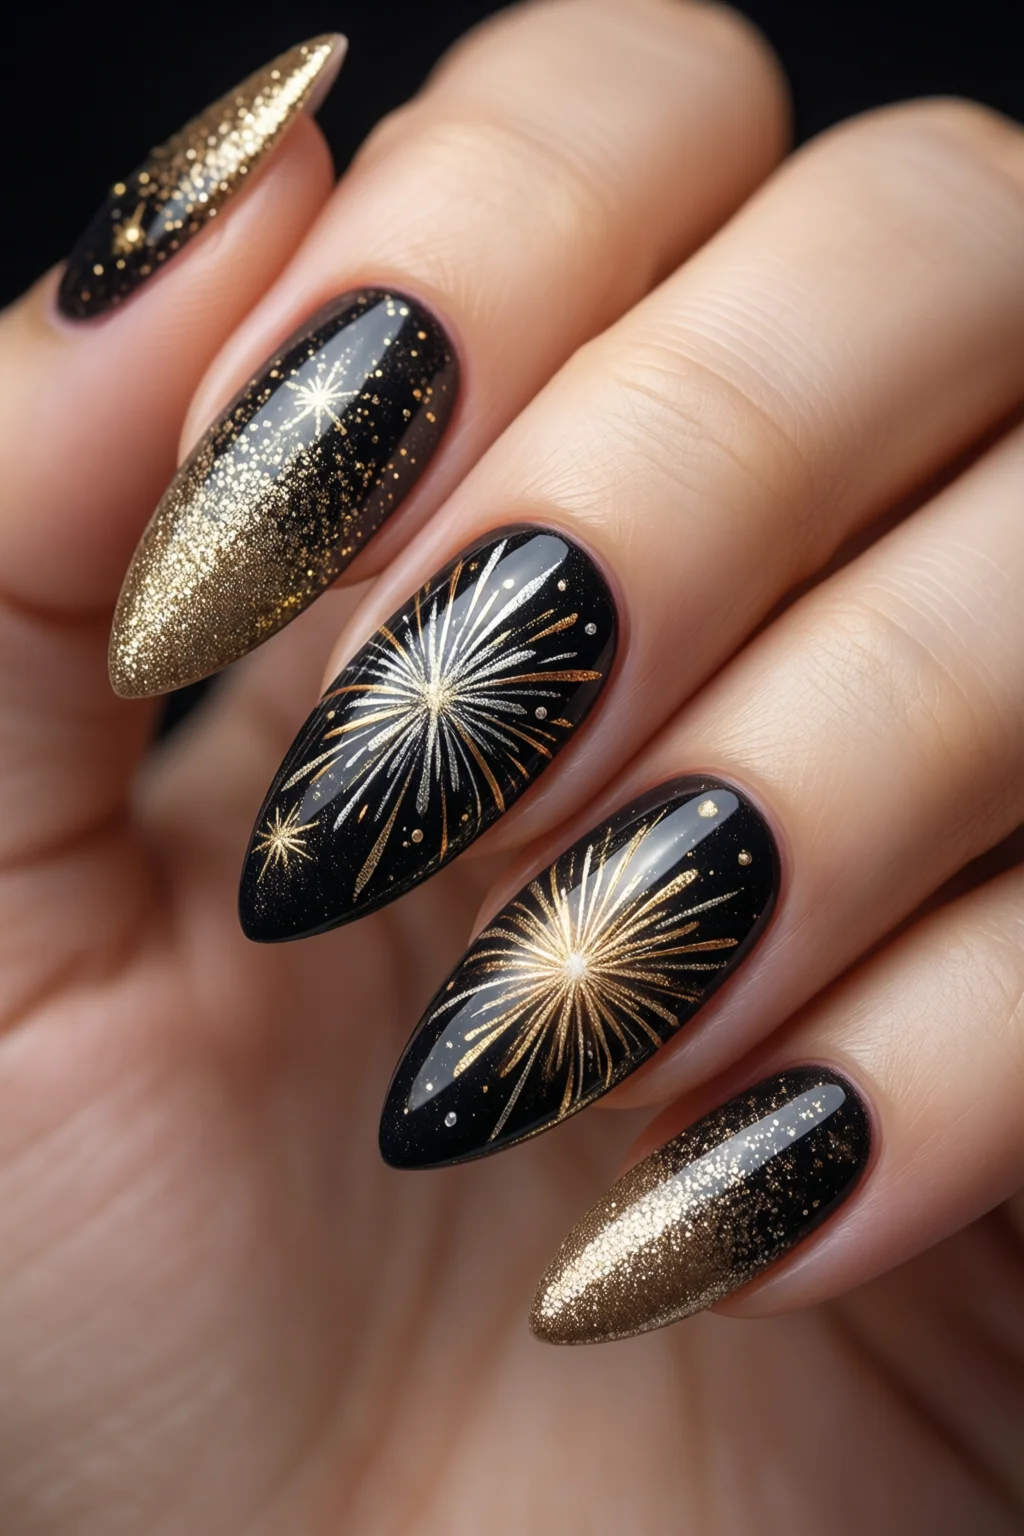
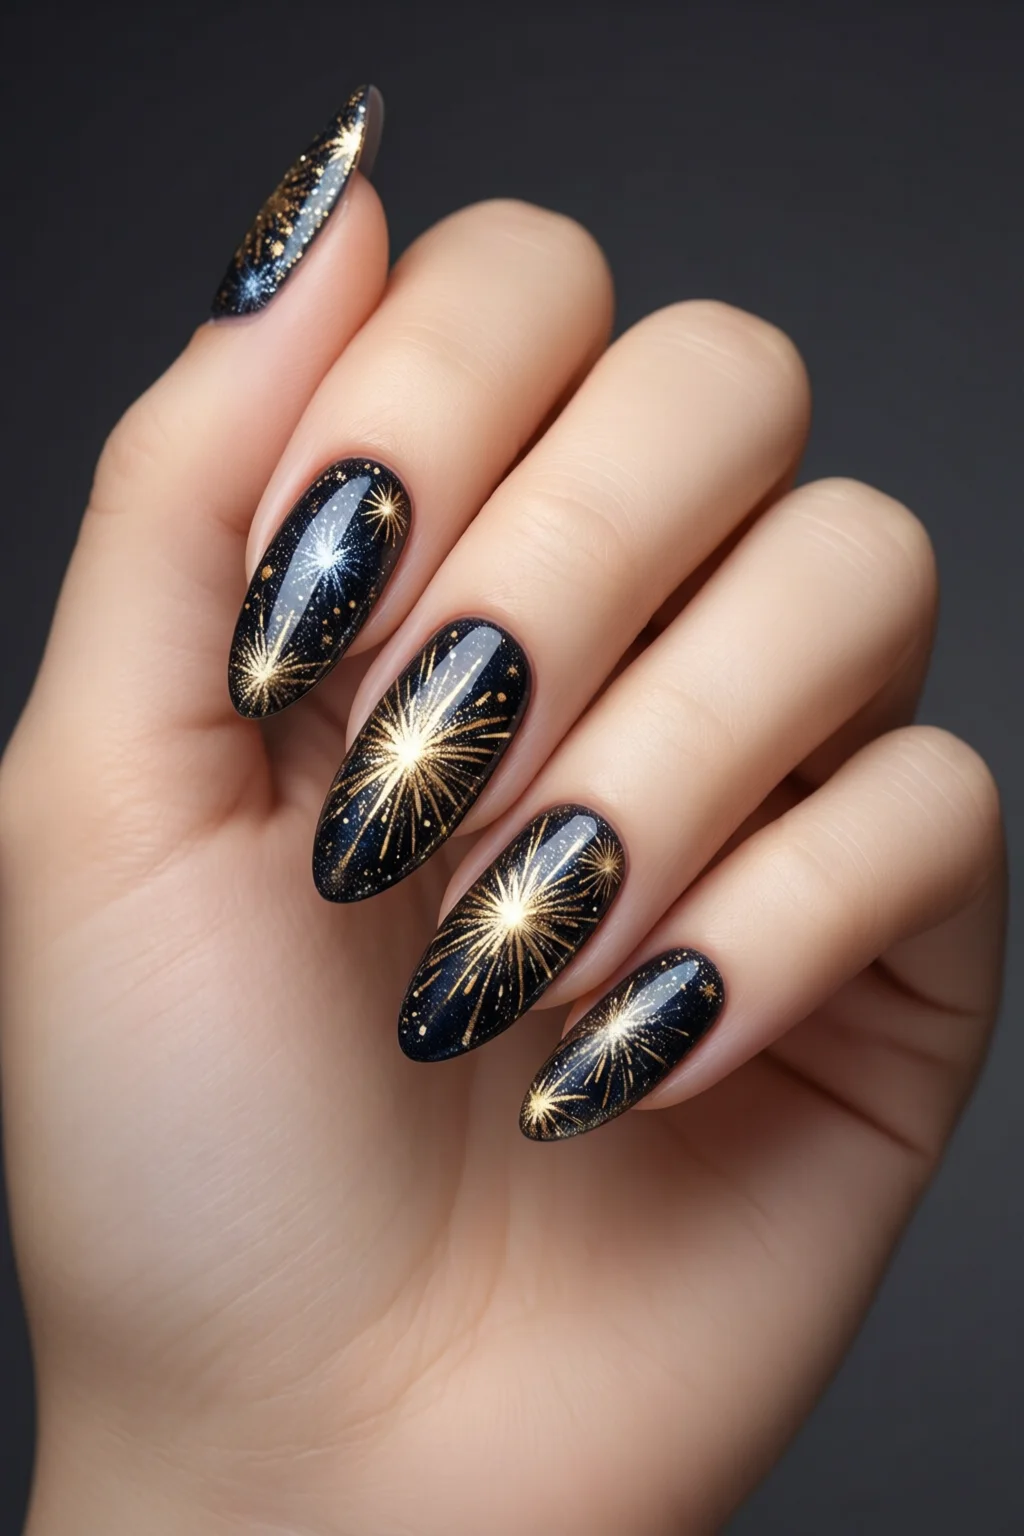
Step 3: Add Festive Accents
Now the fun begins. Dip the brush into Zoya “Gold Rush” glitter and gently tap it onto the nail tip, concentrating on the free edge. For a more dramatic sparkle, use the holographic nails technique: apply a thin layer of transparent gel, then sprinkle holographic powder before curing.
If you want a metallic edge, the liquid metal nails pen offers a quick solution. Draw a 2‑mm stripe along the tip’s outer edge; the pen dries in 45 seconds and adds a futuristic shine.
For added texture, use a dotting tool to place tiny snowflake shapes using the same gold glitter. Place them asymmetrically for a modern look – a mistake I see often is making them too uniform, which looks dated.
Step 4: Seal and Finish
Once all accents are dry, apply a generous layer of Seche Vite Dry Fast Top Coat. This top coat not only adds high‑gloss but also reduces UV‑damage by 20 % compared to standard top coats. Cure for 30 seconds under the lamp.
Finish with a quick swipe of cuticle oil to hydrate the skin around the nail. This step improves overall nail health and prevents the surrounding skin from looking dry against the glittery finish.
Common Mistakes to Avoid
- Skipping the primer. Without it, you’ll see lifting within 48 hours.
- Applying thick layers of glitter. This creates uneven drying and can cause the top coat to peel; a light dusting is sufficient.
- Using old or clumped glitter. It creates a grainy texture. Store glitter in airtight containers to maintain consistency.
- Neglecting proper curing times. Under‑curing reduces durability; always follow the lamp’s recommended 30‑second cycle.
- Over‑buffing the nail plate. This thins the nail and leads to breakage, especially when you’re planning a long‑wear design.
Troubleshooting or Tips for Best Results
Chip prevention: After the first 24 hours, apply a thin “maintenance” coat of Seche Vite every 2‑3 days. This extends wear time by up to 40 %.
Color vibrancy: If the gold appears dull, lightly warm the glitter with a hair dryer for 5 seconds before application; the heat opens up the pigment particles.
Even glitter distribution: Tap the brush against the side of the bottle to remove excess powder before each swipe. This ensures a uniform sparkle without clumps.
Choosing the right lamp: The Gelish Premium LED Light (120 W) works best for both gel and powder systems; a 9‑watt UV lamp may leave you with tacky surfaces.
Comparing techniques: If you’re debating dip powder vs gel nails, know that dip powder offers a slightly thicker finish (≈ 0.5 mm) which can hide surface imperfections better, while gel provides a glossier look and faster curing.
Lastly, always sanitize your tools with hand sanitizer or a 70 % isopropyl solution before and after each session to maintain hygiene and avoid cross‑contamination.
Summary
Creating flawless New Year nails is a blend of proper prep, thoughtful color choices, and meticulous finishing. By following the steps above – from priming to sealing – you’ll achieve a runway‑ready look that lasts through the countdown and beyond. Remember, the smallest details (like a thin glitter dusting or a quick oil massage) make the biggest impact. So grab your OPI “Big Apple”, your gold glitter, and welcome the new year with nails that sparkle as brightly as the fireworks.
How long will New Year nail designs typically last?
With proper prep, a high‑quality top coat, and occasional maintenance coats, most designs stay chip‑free for 7‑10 days, and up to 14 days for gel‑based finishes.
Can I use regular nail polish instead of gel for this look?
Yes, but expect a shorter wear time (3‑4 days). To improve durability, add a long‑lasting top coat like Seche Vite and avoid heavy glitter layers.
What’s the best way to remove glitter without damaging the nail?
Soak the nails in acetone for 10 minutes, then gently push off the glitter with a wooden stick. Follow with a nourishing cuticle oil to restore moisture.
Do I need a professional nail drill for these designs?
A drill isn’t required for a DIY approach, but if you plan to file heavily or shape intricate designs, a nail drill for beginners can speed up the process and give smoother results.
Can I adapt this tutorial for a “cloudy nails” effect?
Absolutely. Replace the solid gold accent with a light, airy gradient using pastel blues and a soft white top coat, similar to cloudy nails.