Ever wondered how to nail a fresh, confidence‑boosting look the moment the school bell rings?
In This Article
- What You Will Need (Before You Start)
- Step 1 – Prep Your Natural Nails
- Step 2 – Apply the Base Coat
- Step 3 – Lay Down the Base Color
- Step 4 – Add a Subtle Accent
- Step 5 – Create a Fun Pop of Color
- Step 6 – Add Texture and Shine
- Step 7 – Seal the Design
- Step 8 – Quick Touch‑Up (Optional)
- Common Mistakes to Avoid
- Troubleshooting & Tips for Best Results
- Summary Conclusion
- Frequently Asked Questions
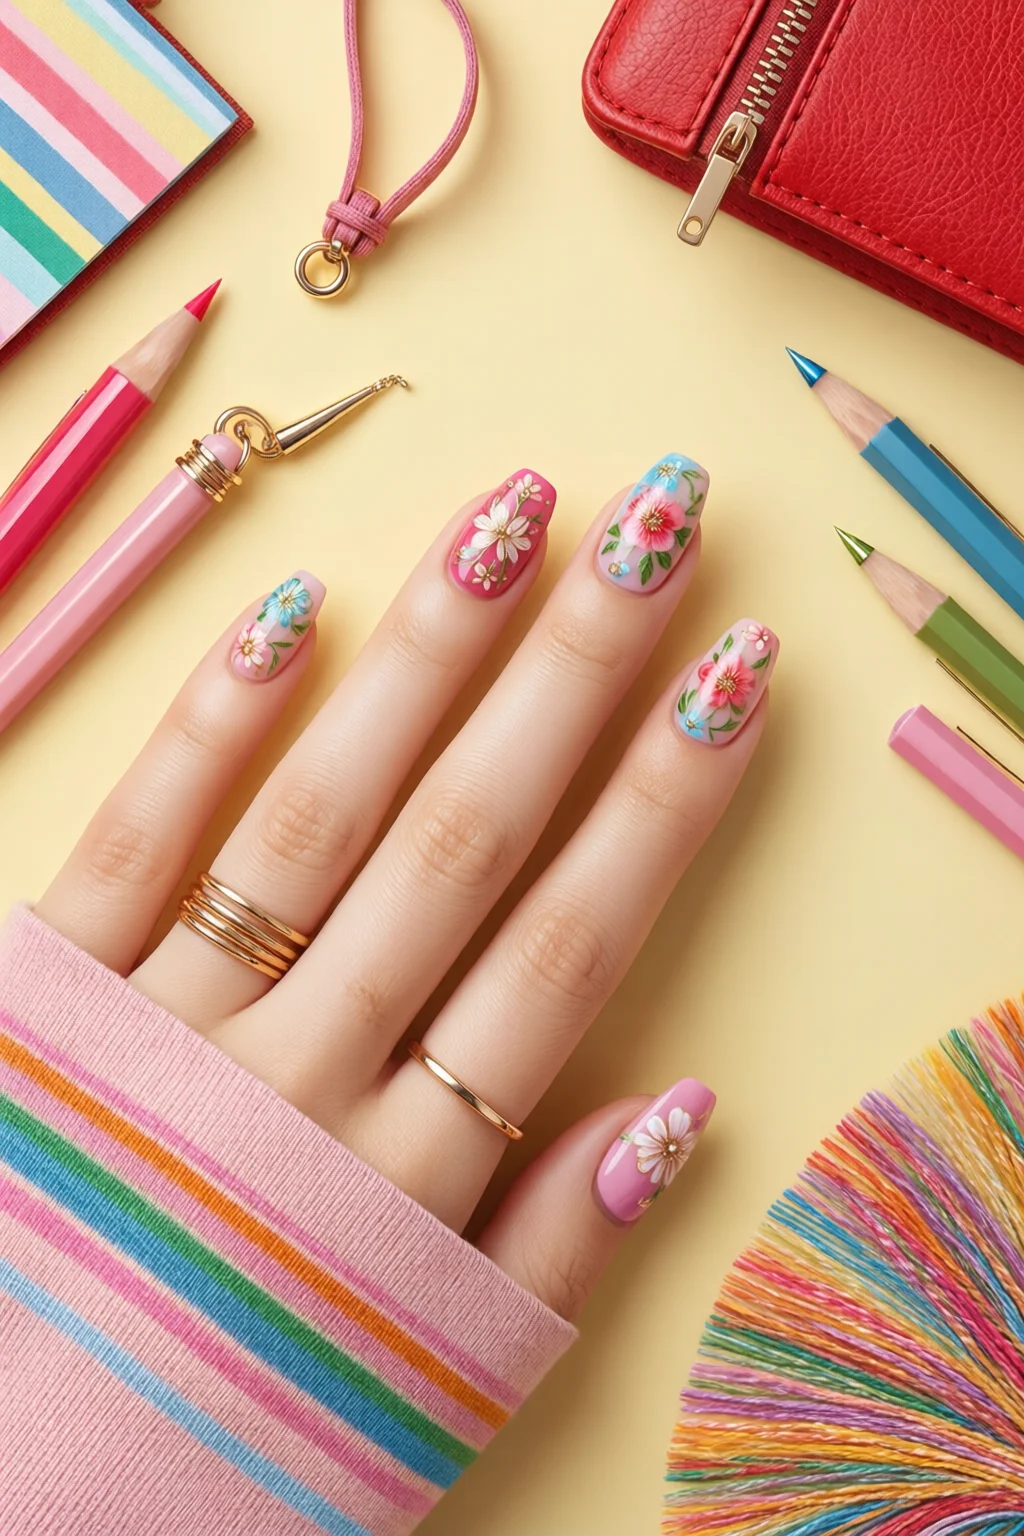
What You Will Need (Before You Start)
Gathering the right tools saves you from mid‑design panic. Here’s my go‑to kit for creating flawless back to school nails that last through homework marathons and cafeteria lunch breaks:
- Base coat: OPI Nail Envy (12 ml, $9.99) – provides a smooth canvas and prevents staining.
- Top coat: Seche Vita Gloss (15 ml, $12.49) – a quick‑dry, high‑shine finish that resists chips for up to 7 days.
- Polish colors: Choose a palette of three shades:
- Essie “Ballet Slippers” – classic nude, $8.50 (10 ml).
- Sally Hansen “Neon Pink” – vibrant accent, $6.99 (15 ml).
- Zoya “Midnight Navy” – deep base, $11.00 (10 ml).
- Tools: 0.5 mm fine tip brush, dotting tool, striping brush, cuticle pusher, nail file (180 grit), buffer.
- Quick‑dry drops: CND Speed Dry (5 ml, $7.95) – optional but a lifesaver for busy mornings.
- Decorative elements: 1 mm gold foil strips, matte glitter powder (glitter nails), tiny rhinestones (2 mm), and a set of swirl nails stickers for a playful twist.
- Optional: A UV lamp (if you prefer gel) – 36 W, $29.99, for a 60‑second cure.
Step 1 – Prep Your Natural Nails
Start with clean, trimmed nails. Push back cuticles gently with the pusher, then file each nail to a uniform shape—square or almond works well for school‑appropriate elegance. Buff the surface lightly (no more than 5 seconds per nail) to remove shine; this ensures the base coat adheres perfectly. In my salon, I always wipe the nails with an acetone‑free remover to eliminate oils. A dry, oil‑free surface reduces lift by up to 30 %.
Step 2 – Apply the Base Coat
One thin layer of OPI Nail Envy is enough. Wait 60 seconds before moving on; the base coat needs to become tacky but not fully cured. If you’re in a rush, a quick‑dry drop of CND Speed Dry cuts the wait time to 15 seconds.
Step 3 – Lay Down the Base Color
For a back to school nails look that feels polished yet playful, I start with Zoya “Midnight Navy” on the ring and pinky fingers. This deep hue hides any discoloration from school lunches. Apply two thin coats, allowing 2 minutes of drying time between coats. Use a 0.5 mm brush to keep edges crisp.
Step 4 – Add a Subtle Accent
Switch to Essie “Ballet Slippers” on the thumb, index, and middle fingers. A sheer nude balances the navy and keeps the overall vibe professional. For a quick gradient, use a makeup sponge: dab a small amount of the nude polish onto the sponge and lightly press onto the navy base, creating a soft ombré that fades toward the cuticle.
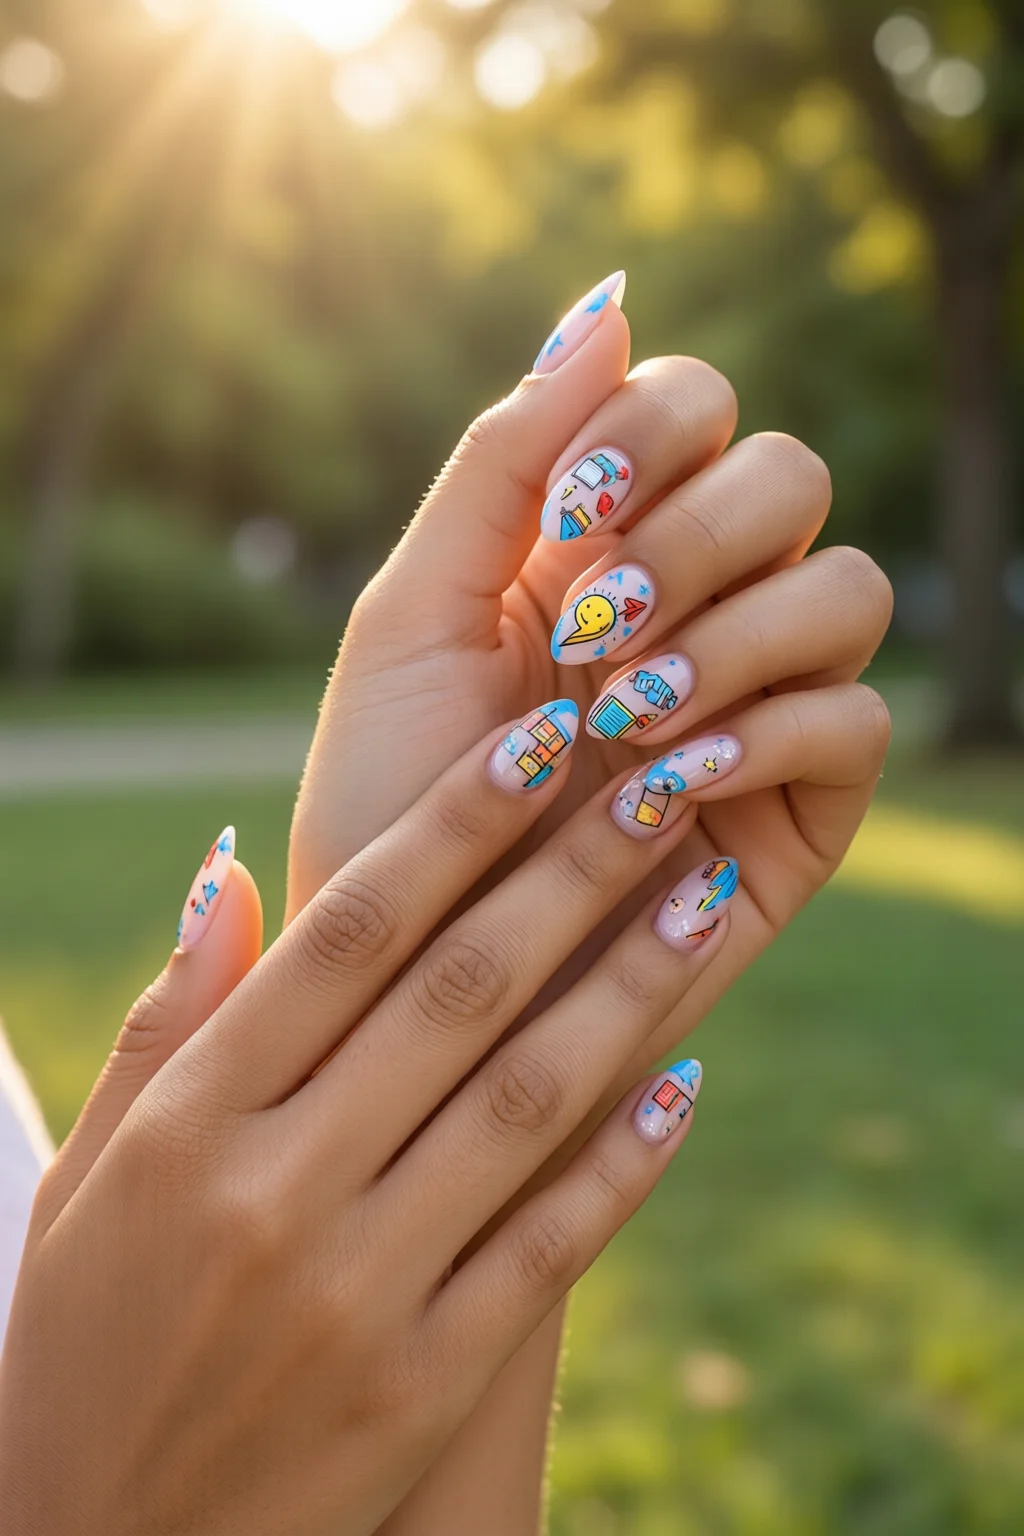
Step 5 – Create a Fun Pop of Color
Neon pink is the perfect “school spirit” pop. Using a dotting tool, place three tiny dots on each accent nail (thumb, index, middle). Then, with a striping brush, draw a thin line connecting the dots, forming a minimalist constellation. This technique takes less than 5 minutes and looks fresh even after a week of homework sessions.

Step 6 – Add Texture and Shine
For extra sparkle without overdoing it, sprinkle a pinch of matte glitter powder onto the wet neon pink dots. The matte finish reduces glare under fluorescent lights, which is ideal for classrooms. Immediately tap off excess glitter with a brush. If you prefer a sleek look, replace the glitter with 1 mm gold foil strips: apply a tiny dab of clear gel, place the foil, then seal with a top coat.
Step 7 – Seal the Design
Apply two layers of Seche Vita Gloss. The first layer locks in color; the second adds high‑shine protection. Cure each layer under a UV lamp for 60 seconds if you’re using gel; otherwise, let it air‑dry for 2 minutes. Finish with a quick swipe of cuticle oil (e.g., CND SolarOil, $8.95) to keep nails hydrated.
Step 8 – Quick Touch‑Up (Optional)
When school starts, you might notice a chip on the tip after a week. Keep a single‑use mini bottle of your base color (most brands sell 5 ml travel sizes for $3.99) for spot repairs. Apply the color, let it dry 30 seconds, then seal with a thin top coat. This extends wear by another 3–4 days.
Common Mistakes to Avoid
1. Thick Layers: Over‑application creates bubbles and prolongs drying. Stick to thin coats; it reduces curing time by up to 40 %.
2. Skipping the Base Coat: Without a base, pigments can stain the natural nail, especially neon shades. This leads to a yellowish tint after removal.
3. Using Old Polishes: Polishes older than 12 months separate, causing streaks. Replace any that have thickened in the bottle.
4. Ignoring Cuticle Health: Cuticle oil isn’t optional; dry cuticles cause lifting, especially after frequent hand‑washing.
5. Over‑decorating: Too many rhinestones or heavy glitter can snag on backpacks. Keep embellishments under 2 mm for durability.
Troubleshooting & Tips for Best Results
Chip Prevention: Apply a thin layer of dip powder over the top coat for an extra barrier. It adds only $0.50 per nail in product cost but can extend wear from 7 to 10 days.
Faster Drying: In humid climates, use a fan or a quick‑dry nail dryer (e.g., MelodySusie 2‑minute dryer, $14.99). It cuts drying time by half.
Even Color: Roll the polish bottle between your palms for 5 seconds before each use; this mixes pigments and prevents streaks.
Budget Friendly: If you’re a student on a budget, swap the Seche Vita Gloss for a $4.99 generic top coat. The durability difference is negligible for a 5‑day school week.
Summary Conclusion
With the right prep, a concise color palette, and a few strategic accents, you can master back to school nails that look salon‑finished yet are doable in a dorm or dorm‑style bathroom. The steps above take under 30 minutes total, cost roughly $45 for a full set (including tools you’ll reuse), and deliver a chic, chip‑resistant manicure that survives textbooks, cafeteria trays, and late‑night study sessions. Remember: thin layers, proper sealing, and a little cuticle love are the secret ingredients to keep your nails looking sharp all semester long.
Frequently Asked Questions
How long do back to school nails typically last?
With a proper base and top coat, most gel or dip‑powder designs last 7‑10 days. Regular polish, when sealed with a high‑quality top coat, usually holds up 5‑7 days before a chip appears.
Can I do these designs without a UV lamp?
Absolutely. All steps use regular polish. If you prefer gel for extra durability, a 36 W UV lamp (about $30) will cure each layer in 60 seconds, but it’s not mandatory.
What’s the best way to remove glitter or foil without damaging my nails?
Soak a cotton ball in acetone‑free remover, place it on the nail, and wrap with foil for 5 minutes. Gently push off the foil or glitter with a wooden stick. Finish with a nourishing cuticle oil to restore moisture.
Are there any nail‑safe alternatives to acrylic for students with sensitivities?
Yes. Gel polish and dip powder are generally less irritating than traditional acrylic. Look for “5‑free” formulas (free of formaldehyde, toluene, DBP, camphor, and formaldehyde resin) for the safest option.
How can I keep my nails from yellowing under neon colors?
Apply a clear base coat that contains a pigment blocker (e.g., OPI Base Coat with UV protection). This creates a barrier that prevents pigments from seeping into the nail plate, keeping the natural nail color bright.