
When the debate acrylic vs gel nails pops up in any salon chat, you can feel the tension rise as quickly as a UV lamp. Both promise a flawless finish, but they’re built on entirely different chemistry, and the right choice can save you time, money, and a lot of nail drama. In my decade of shaping, filing, and perfecting extensions for clients ranging from busy nurses to runway models, I’ve learned that the decision isn’t about “which is better” – it’s about which fits your lifestyle, budget, and nail health goals.
In This Article
Below you’ll find a no‑fluff, expert‑level guide that breaks down every factor you need to weigh. From the exact ingredients that give acrylic its rock‑hard bite to the UV‑cured shine of gel, we’ll compare durability, cost, removal, and even the environmental impact. By the end, you’ll be able to answer the question “acrylic vs gel nails” with confidence and walk out of the salon (or your home nail station) knowing you made the smartest choice.
What Are Acrylic Nails?
Composition and Chemistry
Acrylic nails are a blend of liquid monomer (ethyl methacrylate, or EMA) and powder polymer (usually a methyl methacrylate, MMA‑free, blend). When the two meet, they polymerize into a hard, plastic‑like shell that can be shaped within seconds. The typical powder weighs between 15 g and 30 g per kit, and a professional-grade brand like IBD 5‑Minute Acrylic Powder costs about $22 for a 50 g container.
Application Process
1. Prep the natural nail (clean, dehydrate, and lightly buff).
2. Apply a thin layer of bonding primer (≈ $12 for a 30 ml bottle).
3. Dip the brush into monomer, then into powder to form a bead.
4. Place the bead on the nail and sculpt. Each bead cures instantly; the full set takes 5–7 minutes.
In my experience, a single acrylic extension can add 1.0 mm to nail thickness, which is ideal for clients with brittle natural nails.
Pros & Cons
Pros: Extremely durable (up to 3 weeks without chips), inexpensive (average salon price $35–$45), easy to repair on the spot.
Cons: Strong odor from monomer, can feel heavy, requires a strong filing to shape, and improper removal may thin the natural plate.
What Are Gel Nails?
Types of Gel
There are three main categories:
- Soft gel (gel polish) – similar to regular polish but cured under a UV/LED lamp (e.g., CND Shellac, $18 per 15 ml bottle).
- Hard gel (builder gel) – thicker, no brush‑off base, used for extensions (e.g., Gelish Hard Gel, $30 for a 15 ml bottle).
- Hybrid gel – a mix of soft and hard, marketed as “gel‑enhanced acrylic” (e.g., Modelones Hybrid, $25 per kit).
Application Process
1. Prep the nail (clean, dehydrate, buff).
2. Apply a thin base coat (OPI GelBase, $16 for 15 ml).
3. Brush on gel in 0.3 mm layers; each layer cures for 30–60 seconds under a 36‑watt LED lamp.
4. Finish with a top coat (best top coat, $14 for 15 ml) and cure again.
Typical total cure time for a full set is 3–4 minutes, and the finished thickness is usually 0.8–1.2 mm.
Pros & Cons
Pros: Natural-looking flex, less odor, glossy finish that lasts 2–3 weeks, lighter on the nail plate.
Cons: Higher upfront cost (kit $80–$150), need for a UV/LED lamp ($70–$120), removal involves soaking in acetone for 10–15 minutes, which can dry out the nail bed.
Direct Comparison: Acrylic vs Gel Nails
| Feature | Acrylic | Gel |
|---|---|---|
| Typical Cost (per set) | $35–$45 (salon) / $22 for powder kit | $70–$120 (salon) / $90 for full kit |
| Curing Time | Instant (5–7 min sculpt) | 30–60 sec per layer (total 3–4 min) |
| Thickness | 1.0–1.5 mm | 0.8–1.2 mm |
| Durability | 3–4 weeks (high impact) | 2–3 weeks (flexible) |
| Removal Method | Soak off with acetone 10 min + filing | Soak off 10–15 min, no filing |
| Odor | Strong, chemical | Minimal |
| Health Impact | Potential thinning if over‑filed | UV exposure (LED ~0.5 J/cm²) |
The table above condenses the most common decision points. If you prioritize raw strength for a physically demanding job, acrylic wins. If you crave a lightweight, glossy finish for a summer wedding, gel takes the lead.

Cost & Longevity Breakdown
Initial Investment
Acrylic kits start at $20 for a basic powder set, while a professional gel starter kit (lamp + gel bottles) averages $150. For occasional users, the per‑visit cost is the real metric: a salon acrylic fill is $25, a gel fill $45.
Repair and Fill Frequency
Because acrylic adheres to the nail tip, you can fill every 2–3 weeks, extending the life of the original material. Gel fills require an entire polish removal and re‑application, which can add $10–$15 per session. Over a six‑month period, acrylic typically costs $180–$210, whereas gel can climb to $300–$350.
Hidden Expenses
Acetone for removal (a 500 ml bottle $12) and a high‑quality nail buffer ($8) are essential for acrylic. Gel users need a UV/LED lamp ($70–$120) and occasional replacement bulbs (LED models rarely need them). Factor these into your budget.
Maintenance & Removal Techniques
Daily Care
Both types benefit from a nourishing top coat every 2–3 days. I recommend the best hand cream with 5% shea butter to keep the cuticle moisturized. For acrylic, a light buff every week prevents lift. For gel, avoid harsh scrubbing; a soft cotton pad with non‑acnegenic oil works best.
Safe Removal
Acrylic: Soak a cotton ball in 100% acetone, place on the nail, wrap with foil, wait 10 minutes, then gently push off the softened acrylic with a wooden cuticle pusher. Finish with a light buff and a strengthening base coat.
Gel: Soak the nail in acetone for 10–15 minutes (no filing needed). If the gel resists, repeat for another 5 minutes. After removal, apply a nail strengthener—my go‑to is the best nail strengthener (about $19 for a 15 ml bottle).
Common Mistakes
One mistake I see often is over‑filing after acrylic removal, which can thin the natural nail by up to 0.2 mm. Another is neglecting UV protection; a simple broad‑spectrum sunscreen on the fingertips before curing gel reduces UV exposure by 95%.
Choosing the Right Option for You
Lifestyle Considerations
- Active hands (construction, healthcare): Acrylic’s hardness withstands impact better.
- Frequent hand washing: Gel’s flexible finish resists chips caused by water.
- Allergies: Those sensitive to EMA monomer should avoid acrylic.
Desired Aesthetic
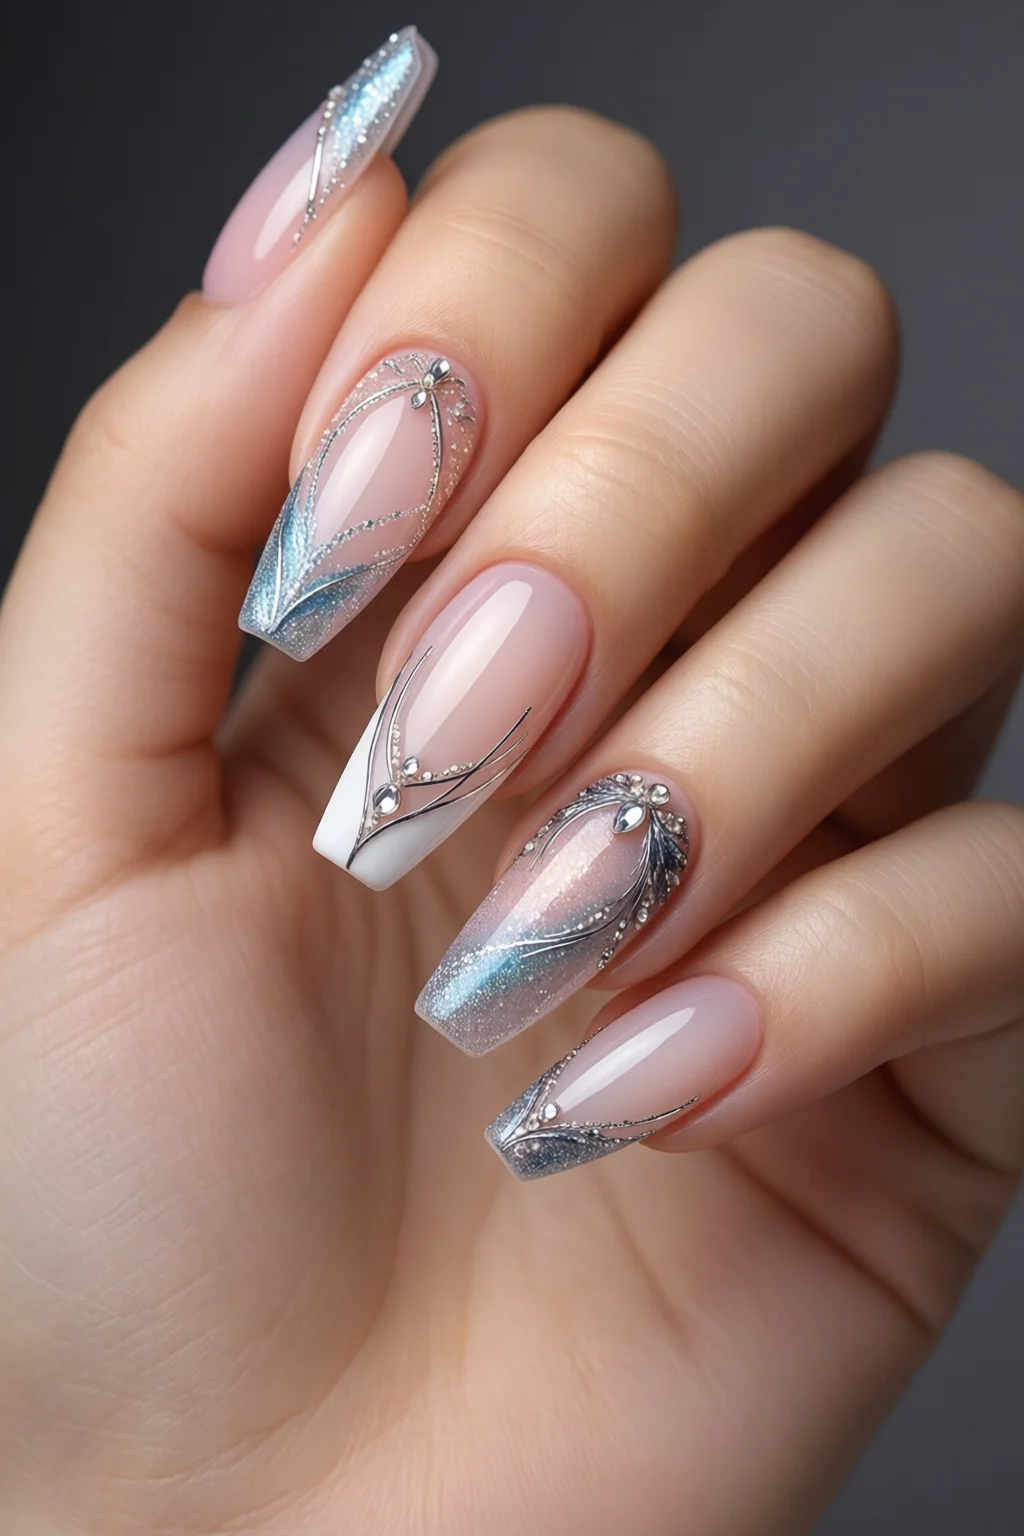
If you love a glass‑like shine and want to incorporate intricate art (think geometric nail art), gel provides a smoother canvas. Acrylic is better for dramatic length and sculpted shapes like stilettos or coffin tips.
Budget & Time
For a tight budget and quick DIY fixes, acrylic wins. For those willing to invest in a lamp and premium products, gel offers a salon‑level finish at home.
Pro Tips from Our Experience
- Always cap the monomer bottle tightly; exposure to air degrades its effectiveness after 6 months.
- When using gel, clean the lamp’s quartz window weekly with isopropyl alcohol to maintain consistent cure times.
- Mix a drop of vitamin E oil into your acrylic powder for added flexibility and reduced brittleness.
- After any removal, give your natural nails a 48‑hour break before re‑applying any product to let the plate recover.
- Combine a thin layer of CND SolarOil (≈ $22) under gel for extra UV protection and extra shine.
Frequently Asked Questions
Can I switch between acrylic and gel on the same nail?
Yes, but you must fully remove the existing product, give the natural nail a short break (24‑48 hours), and apply a strengthener before starting the new system.
Which option is safer for pregnant clients?
Gel is generally safer because it contains no volatile monomer fumes. However, limit UV exposure by using a sunscreen on the fingertips or a UV‑blocking glove.
How often should I get a fill?
Acrylic fills every 2‑3 weeks; gel fills every 3‑4 weeks. Over‑filling can cause lifting and may damage the natural nail.
Conclusion: Your Actionable Takeaway
To decide acrylic vs gel nails, match the material’s strengths to your routine: choose acrylic for maximum durability and budget‑friendliness, or pick gel for a lighter feel, high‑gloss finish, and easier removal. Start by testing a single nail with each system, track how it feels over a week, and then commit to the one that aligns with your lifestyle and aesthetic goals. Armed with the right products, a reliable lamp (if you go gel), and the maintenance tips above, you’ll enjoy salon‑quality nails without the guesswork.