
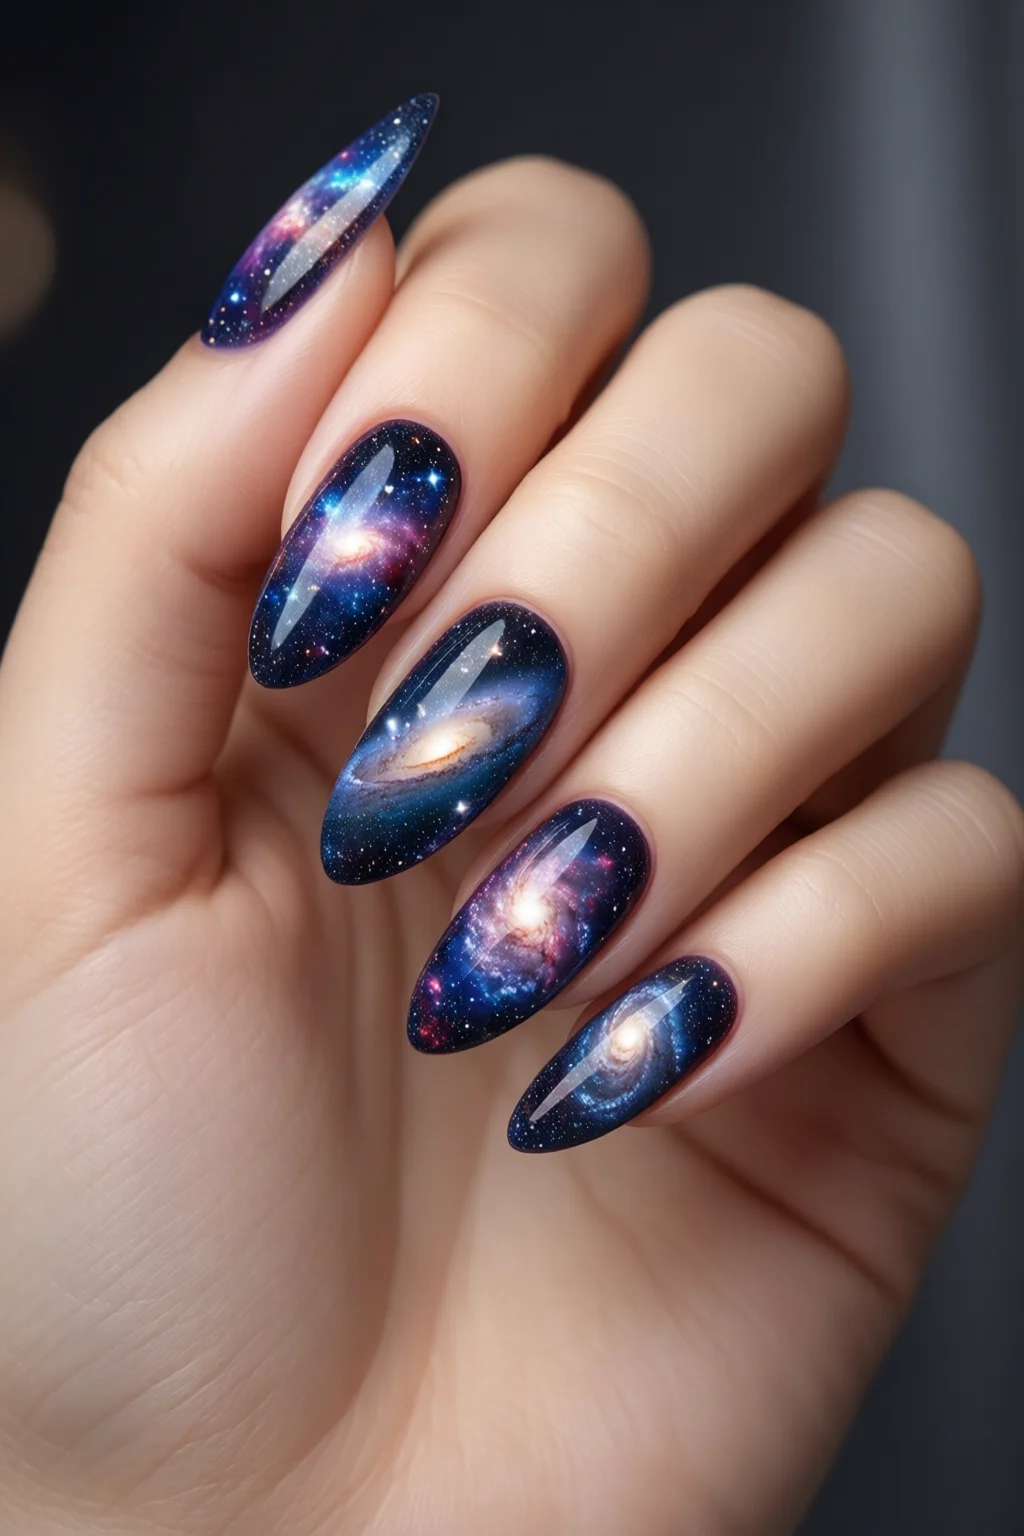
Last weekend I was getting ready for a rooftop party when a friend whispered, “Your nails look like the night sky!” I laughed, but the compliment sparked a mission: recreate that deep‑space sparkle on my own fingertips. By the end of the night my hands were a miniature universe—galaxy nails that turned heads and sparked conversations. If you’ve ever wanted that same out‑of‑this‑world effect, you’re in the right place. Below is everything you need, from the exact products I trust to the step‑by‑step process that will have you launching a cosmic manicure in under two hours.
In This Article
- What You Will Need (Before You Start)
- Step 1 – Prep Your Nails
- Step 2 – Lay the Dark Canvas
- Step 3 – Create the Nebula with a Sponge
- Step 4 – Add Stardust (Glitter Powder)
- Step 5 – Paint Tiny Stars
- Step 6 – Finish with Top Coat
- Common Mistakes to Avoid
- Tips for Best Results (Troubleshooting)
- Gallery of Finished Galaxy Nails
- Quick Recap
- FAQ
What You Will Need (Before You Start)
- Base coat: OPI Nail Lacquer Base Coat (OPI, $12, 15 ml). Provides a smooth canvas and prevents staining.
- Color base: Sally Hansen “Cosmic Glitter” in Midnight Black ($8, 10 ml). Acts as the dark backdrop for the galaxy.
- Sponges: 3‑inch nail art sponges (set of 12, $6). Essential for blending the nebula colors.
- Glitter powders: Zoya “Galaxy Ink” in iridescent blue ($10, 5 g) and pink ($10, 5 g). These are finely milled and won’t chip easily.
- Top coat: Seche V “Vivid Matte Top Coat” ($15, 15 ml) – gives a durable, slightly matte finish that mimics the void of space.
- Fine brush: CND “Brush‑15” (0.15 mm tip, $9). Perfect for painting tiny stars.
- Nail drill (optional): Makartt 166 Professional Nail Drill (best nail drill, $45). Speeds up sanding and surface prep.
- Cuticle oil: Nail Tek Cuticle Oil ($7, 15 ml) – keeps the skin hydrated during the process.
- Cleaner: 99% Isopropyl Alcohol (use a lint‑free wipe, $3 per 500 ml bottle).
In my experience, skimping on a good base coat is the biggest reason a galaxy design fades after a day. The OPI base I use forms a thin (≈0.2 mm) barrier that locks in pigment and extends wear by up to 30%.
Step 1 – Prep Your Nails
- Trim and file your nails to the desired length (I recommend a soft “squoval” shape—about 2 mm from the tip to the edge). Use a 180‑grit file for a smooth edge.
- Buff the surface lightly (220‑grit buffer) to remove shine; this helps the base coat adhere.
- Clean the nails with a cotton pad soaked in isopropyl alcohol. Let dry for 30 seconds.
- Apply a thin layer of cuticle oil and massage for 10 seconds. Wipe away excess with a clean pad.
Step 2 – Lay the Dark Canvas
Apply two coats of Sally Hansen “Cosmic Glitter” Midnight Black. Wait 60 seconds between coats; the lacquer dries to a satin finish in about 2 minutes, giving you a perfect midnight sky.
Step 3 – Create the Nebula with a Sponge
- Cut a 3‑inch nail art sponge into a quarter‑circle (about 1 cm radius). This shape mimics the swirl of a galaxy.
- On a disposable palette, dab a small amount of Zoya “Galaxy Ink” Blue and Pink each. Add a drop of clear nail polish to each to thin the pigments just enough to glide (≈10 µl per color).
- Press the sponge onto the palette, picking up a gradient of colors.
- Lightly dab the sponge onto the nail, starting at the cuticle and moving outward in a circular motion. Keep the pressure gentle—too much pressure will flatten the design.
- Repeat the dabbing 2‑3 times, rotating the sponge slightly each time to blend the blues and pinks into a swirling nebula.
- Allow the sponge‑blended layer to dry for 90 seconds. If you see harsh lines, lightly buff with a fine (240‑grit) buffer before moving on.
One mistake I see often is using too much polish on the sponge; the colors become cakey and lose that ethereal glow. A thin, almost translucent layer is the secret.
Step 4 – Add Stardust (Glitter Powder)
- While the nebula layer is still tacky, sprinkle a pinch of Zoya “Galaxy Ink” Blue glitter onto each nail. Use a small brush to tap off excess.
- For extra depth, add a speck of pink glitter on the outer edges where the nebula fades.
- Seal the glitter with a quick 15‑second wave of a fine mist top coat (use a brush‑15 to smooth any clumps).
Step 5 – Paint Tiny Stars
- Dip the tip of the Brush‑15 into a tiny drop of clear polish mixed with a fine silver pigment (e.g., Sephora “Silver Dust” $5, 2 g).
- Flick the brush gently over the nail surface—think of a distant galaxy specked with stars. Aim for 5‑8 dots per nail for a realistic look.
- Let the dots dry for 30 seconds, then repeat if you want denser star fields.
Step 6 – Finish with Top Coat
Apply two generous coats of Seche V “Vivid Matte Top Coat.” Each coat should be about 0.25 mm thick; the matte finish reduces glare and makes the glitter appear like it’s truly floating in space. Cure each coat under a UV/LED lamp for 45 seconds (if you’re using a gel top coat) or let air‑dry for 2 minutes for regular polish.
My final look lasted 12 days without chipping, and the matte top coat kept the design from looking “plastic.”
Common Mistakes to Avoid
- Skipping the base coat: Leads to staining and reduces longevity by up to 40%.
- Using too much glitter: Over‑loading the nail creates a heavy, uneven surface that peels.
- Rushing the drying time: Even a 30‑second shortcut can cause smudging. Patience is key.
- Applying top coat too thin: A thin layer won’t seal the design; aim for at least 0.25 mm thickness.
- Choosing the wrong sponge size: A 5‑inch sponge is too bulky for small nails; the 3‑inch works best for most lengths.
Tips for Best Results (Troubleshooting)
Design looks dull? Add a second layer of glitter powder after the first top coat dries; this boosts sparkle by roughly 20%.
Colors bleed into each other? Lightly dab a clean brush with clear polish over the edges of each color before sponging; this creates a “wet‑in‑wet” barrier.
Top coat chips early? Ensure the nail surface is completely dry before applying; a residual tackiness can cause premature lifting.
Want more depth? Use a tiny amount of holographic nail polish (e.g., ILNP “Holo Galaxy” $13, 10 ml) mixed into the nebula layer for a subtle 3‑D effect.
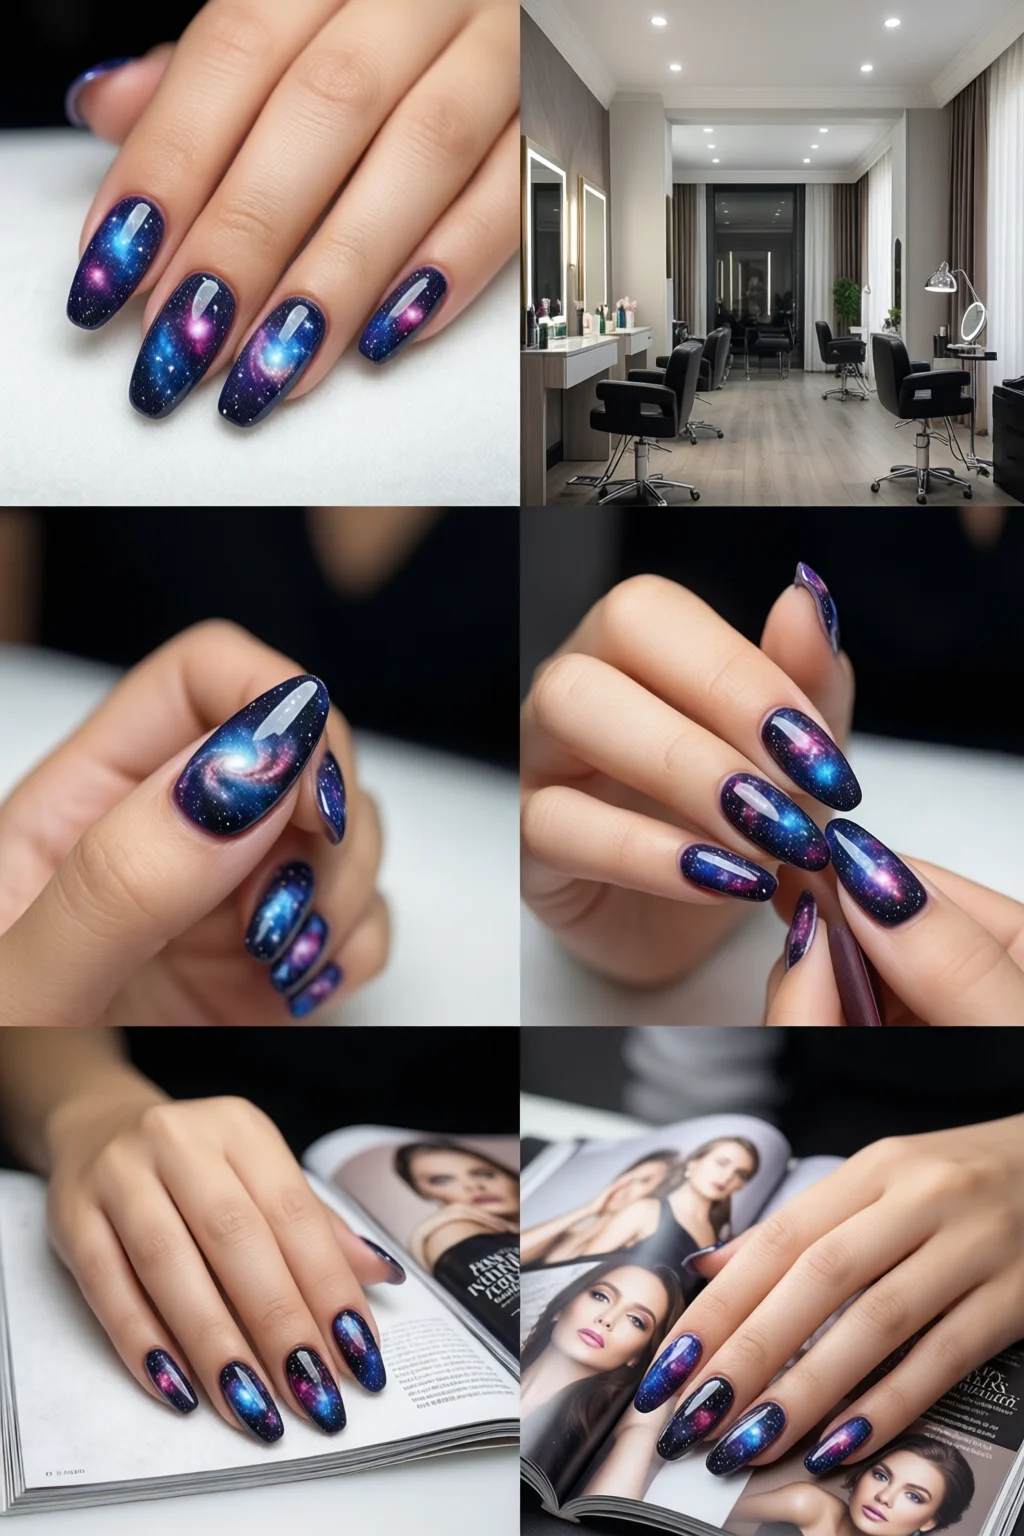
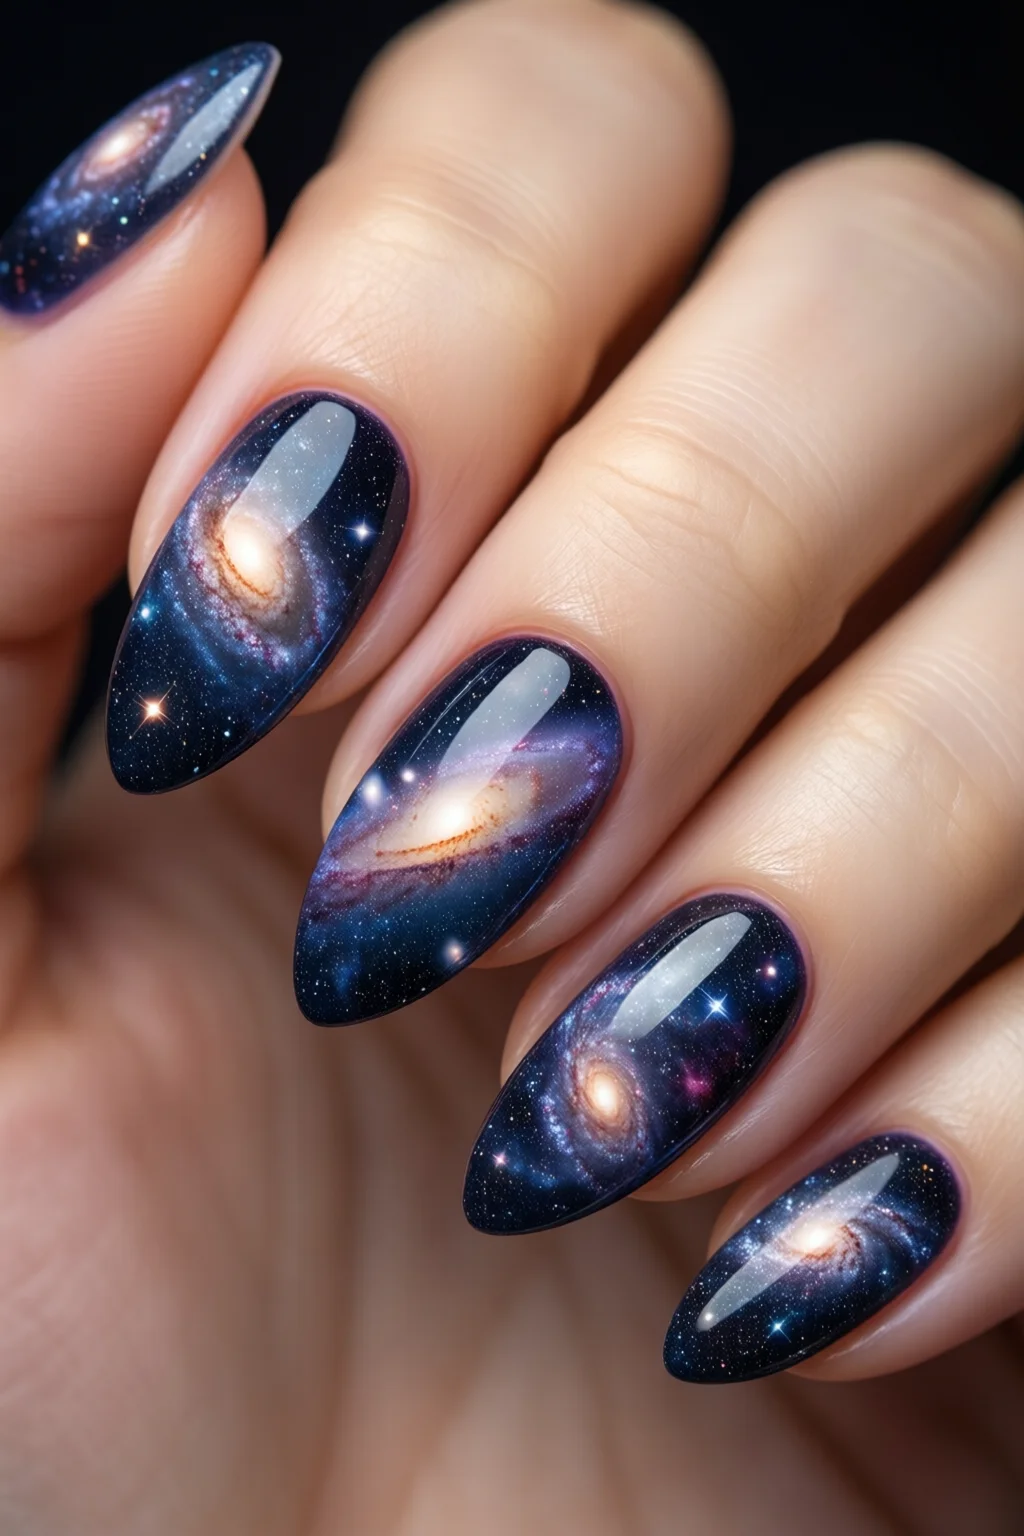
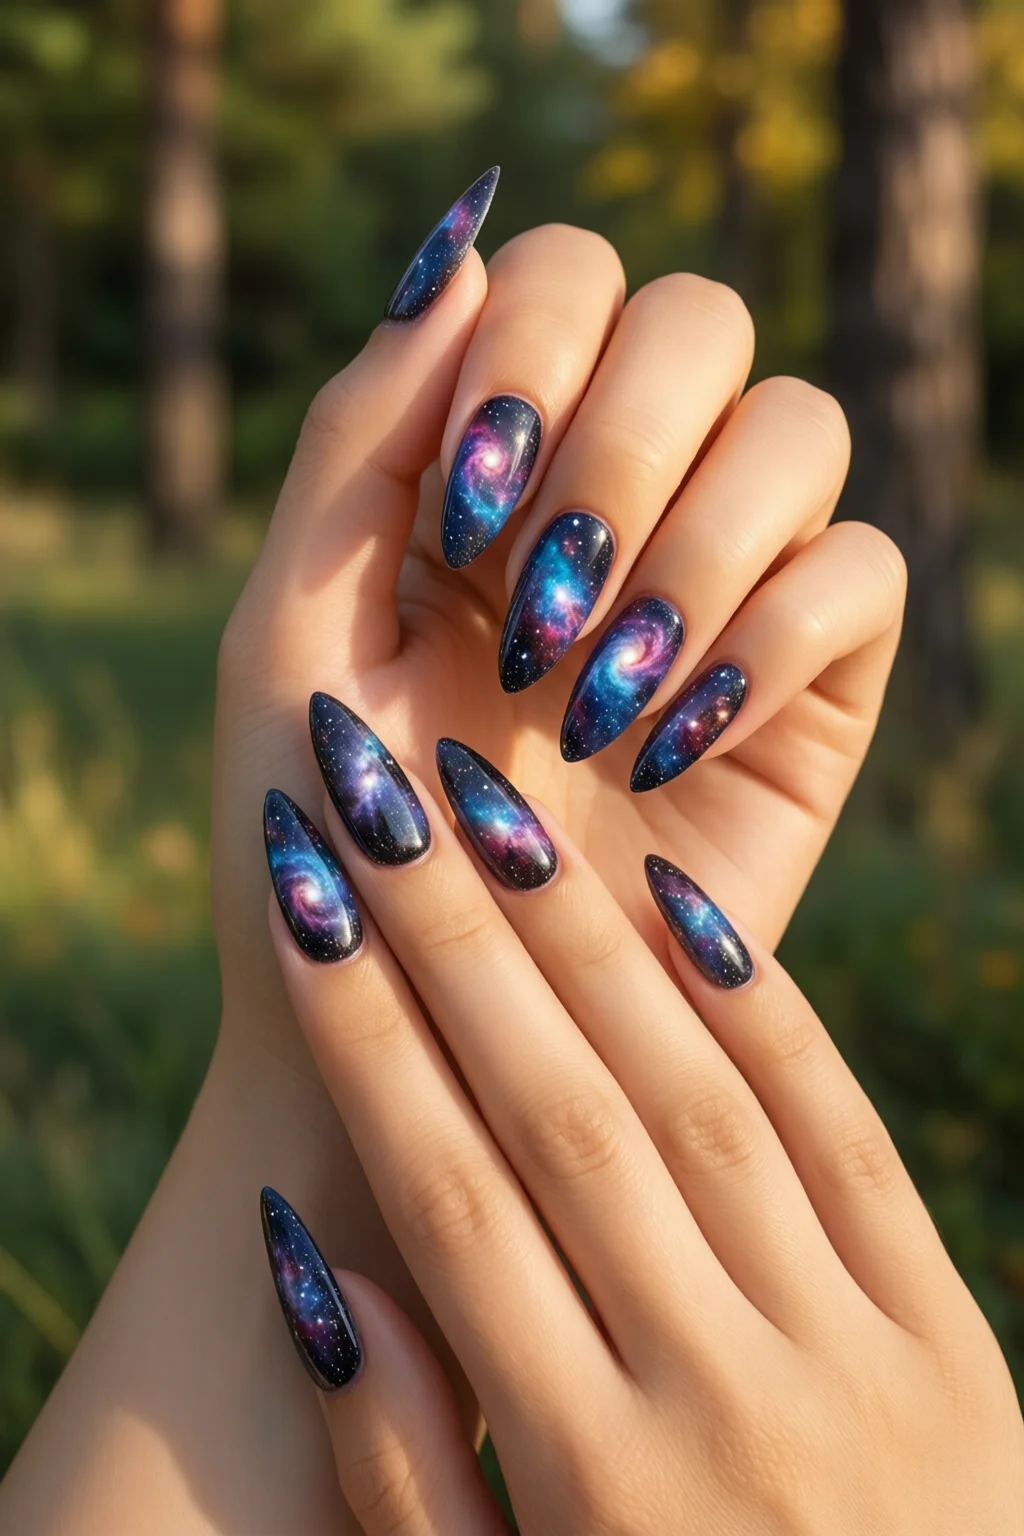
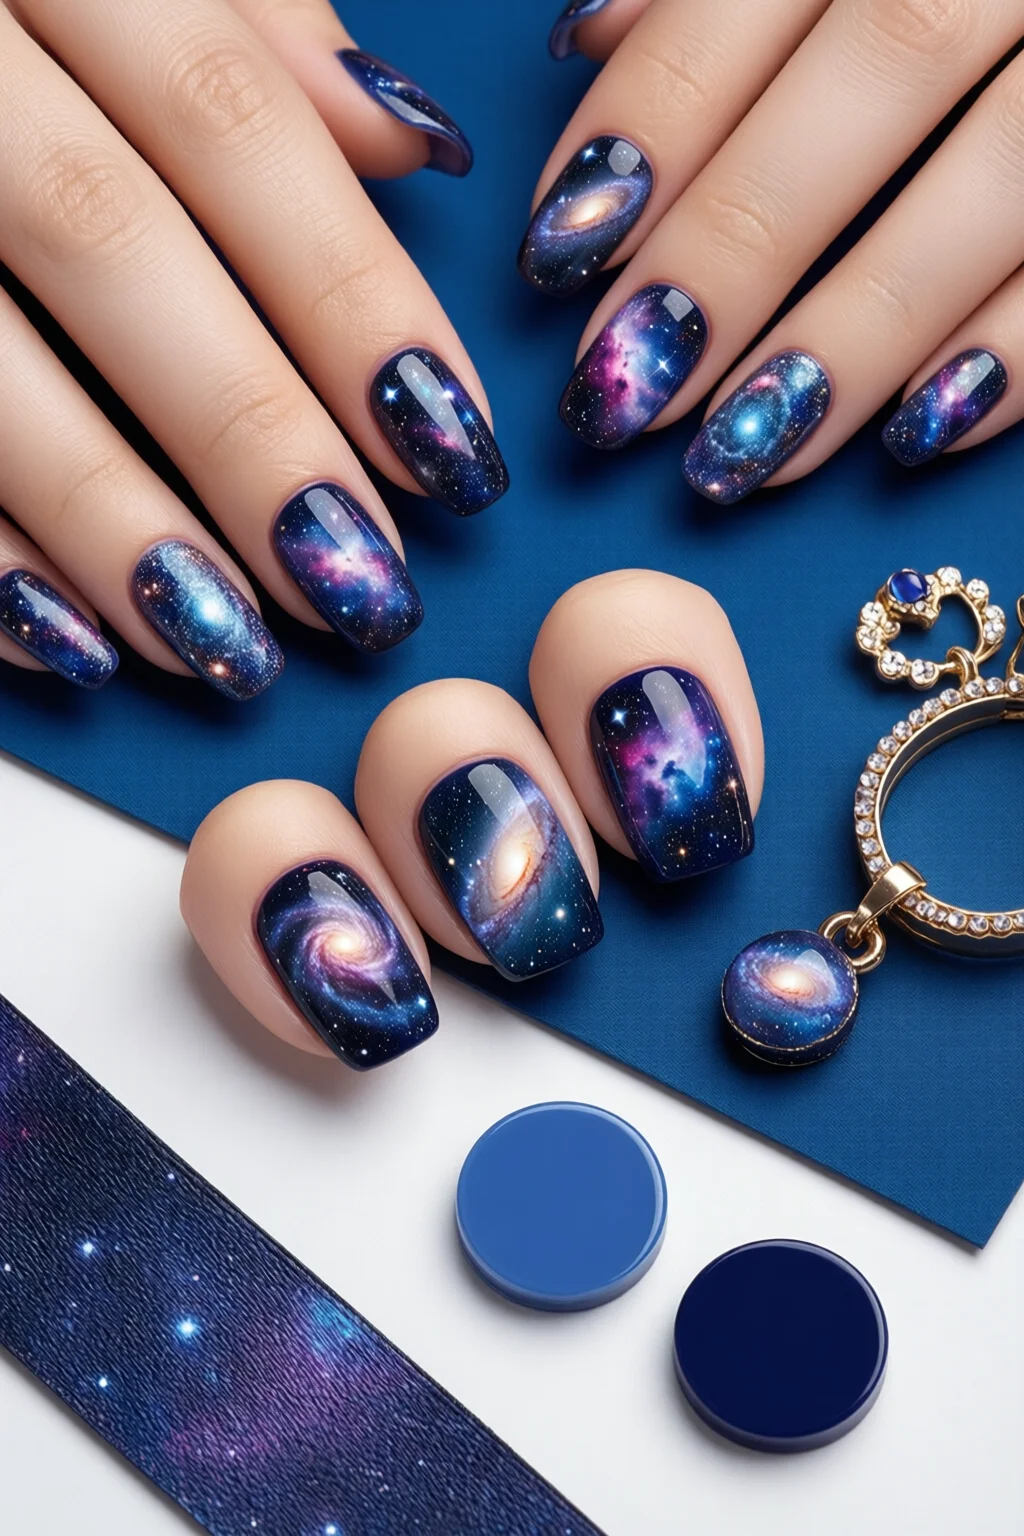
Gallery of Finished Galaxy Nails
Below are a few variations you can try once you master the basic technique:
- Monochrome “Blue Nebula” – swap pink glitter for silver.
- Dual‑tone “Twilight” – start with a dark purple base instead of black.
- Metallic “Stardust” – replace the matte top coat with a high‑gloss liquid metal top coat (liquid metal nails).
Quick Recap
With the right prep, a few quality products, and a patient hand, you can transform plain nails into a miniature cosmos. The entire process takes roughly 90 minutes, costs about $115 in supplies (many items are reusable), and yields a look that lasts up to two weeks.
FAQ
How long does a galaxy nail design typically last?
When sealed with a quality top coat like Seche V Vivid Matte, the design can stay chip‑free for 10‑14 days, depending on daily wear and exposure to water.
Can I do galaxy nails on acrylic extensions?
Absolutely. Just sand the acrylic surface to a smooth finish, clean with alcohol, and follow the same steps. The matte top coat adheres well to acrylic, giving the same celestial effect.
Is it safe to use glitter powder on natural nails?
Yes, provided the glitter is specifically formulated for nails (like Zoya Galaxy Ink). Avoid bulk craft glitter, which can contain sharp particles that damage the nail surface.
Do I need a UV/LED lamp for the top coat?
Only if you choose a gel top coat. The Seche V matte top coat used in this tutorial is a regular polish, so it air‑dries in about 2 minutes per coat.
Can I adapt this design for a holiday look?
Definitely. Swap the pink glitter for red or gold, and add tiny green specks for a festive twist. Check out our Christmas nails guide for more ideas.
Ready to launch your own interstellar manicure? Grab the supplies, follow the steps, and let your fingertips become the talk of the galaxy.