
Did you know that 73% of nail‑tech professionals say clients who learn to do gel nails at home end up spending 40% less on salon visits over a year? That’s the power of mastering a solid home gel manicure – you get salon‑level shine without the recurring price tag.
In This Article
What You Will Need (Before You Start)
Gathering the right tools is half the battle. Here’s my go‑to kit, broken down by category, with price ranges you’ll actually find at major retailers:
- UV/LED lamp: I swear by the SUNUV 48W LED Light – $32.99, 30 seconds per layer, fits both UV and LED gels.
- Base & top coat gels: Gelish Foundation Base Gel (30 ml, $18) and Gelish Top It Off (30 ml, $16) are reliable, low‑odor options.
- Color gel polish: Choose a set like OPI GelColor 10‑Shade Pack – $24 for ten colors, each 12 ml.
- Nail prep: A fine‑grit 180‑220 grit buffer, a cuticle pusher, and OPI Nail Prep cleanser (30 ml, $9).
- De‑bonding solution: IBD 99% Pure Isopropyl Alcohol, 16 oz, $7 – essential for removal without damaging the natural plate.
- Accessories: Disposable lint‑free wipes, a small silicone brush (for cleaning), and a nail file set (e.g., Revlon Nail File Pack, 5 pieces, $5).
All items together cost roughly $130, but you’ll recoup that in under six salon appointments (average $30 each).
Step‑by‑Step Guide to Gel Nails at Home
Step 1 – Prep Your Natural Nails
Start with clean, dry nails. Remove any existing polish with acetone, then wash hands with a gentle soap. Push back cuticles using a wooden pusher; avoid cutting them to prevent infection. Lightly buff the surface with a 180‑grit buffer to eliminate shine – this creates a “tooth” for the gel to adhere. Finish by wiping each nail with an alcohol‑saturated lint‑free pad; you’ll see a faint foggy look – that’s the perfect sign of a clean surface.
Step 2 – Apply the Base Coat
Dispense a thin line of base gel at the cuticle, then sweep it to the tip. Less is more; a thick layer will cause bubbling. Cure under the LED lamp for 30 seconds (or 60 seconds if you’re using a UV lamp). The gel should turn from clear to a slightly tacky “white‑film” stage – that’s the curing point.
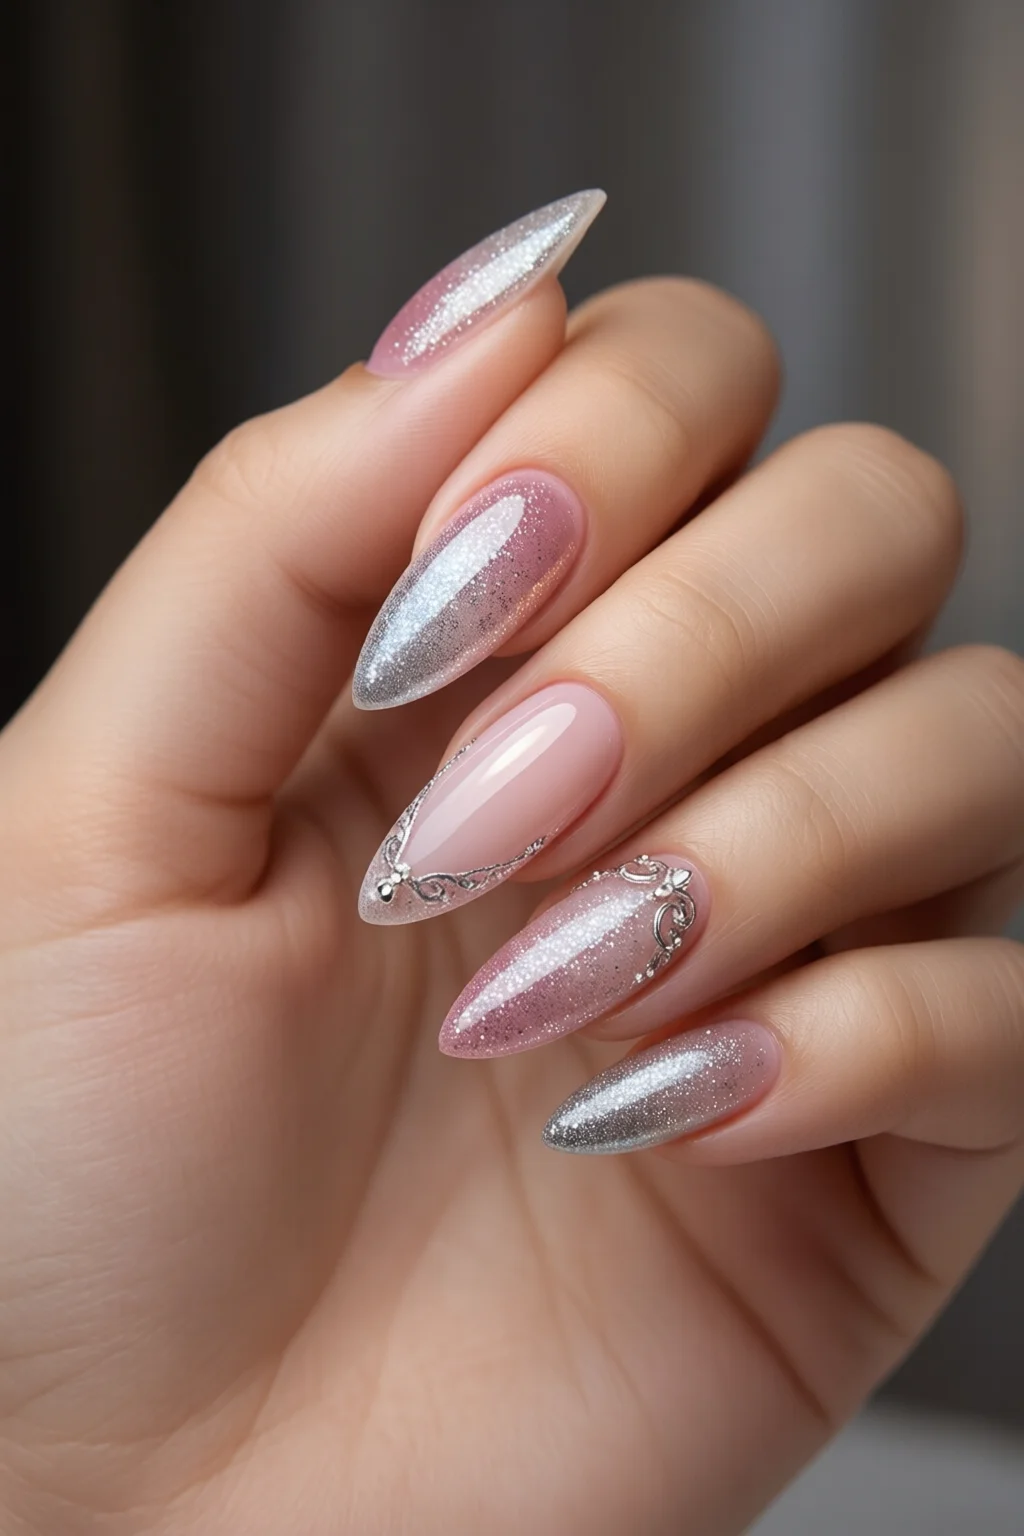
Step 3 – Shape and File (Optional)
If you want a specific shape, now’s the time. I recommend a soft square for everyday wear or a daring stiletto if you’re feeling bold – check out our stiletto nail shape guide for detailed tips. File lightly, then buff the edges to smooth any roughness.
Step 4 – Apply Color Gel
Shake the gel bottle for 10 seconds – it prevents pigment settling. Using the brush, paint a thin, even coat from the base to the tip, avoiding the skin. Cure for 30 seconds. If you want opacity, repeat the color layer once more and cure again. Most colors achieve full coverage after two layers.
Step 5 – Seal with Top Coat
Apply a thin line of top gel, ensuring the edges are sealed (this prevents chipping). Cure for 60 seconds – the extra time guarantees a high‑gloss finish. After curing, you’ll notice a slight tackiness; wipe it off with a fresh alcohol pad to reveal a true salon shine.
Step 6 – Clean Up the Cuticle Edge
Use a small brush dipped in alcohol to remove any gel that escaped onto the skin. This step makes the manicure look polished and professional.
Step 7 – Moisturize and Protect
Finish with a rich hand and nail cream like Sally Hansen Vitamin E Nail & Cuticle Cream (30 ml, $9). Massage it into cuticles to restore moisture lost during the prep stage. Your nails will feel soft, and the cream forms a protective barrier that prolongs wear.
Common Mistakes to Avoid
Even seasoned DIYers slip up sometimes. Here are the pitfalls I see most often and how to dodge them:
- Skipping the nail prep: Skipping the buffer or alcohol wipe leads to premature lifting – expect 20‑30% reduction in longevity.
- Applying thick gel layers: Thick coats trap air, causing bubbles and uneven curing. Keep each layer under 0.2 mm thickness.
- Under‑curing: Every lamp has a specific wattage; if you use a 36 W UV lamp, extend cure time to 45 seconds for base and top coats.
- Neglecting cuticle sealing: The “edge seal” is crucial. Miss it and chips appear within 2‑3 days.
- Reusing lint pads: Reused pads can re‑deposit dust onto fresh gel, leading to rough texture. Use a fresh pad each step.
Tips for the Best Results (Troubleshooting)
Even if you follow the steps perfectly, you might encounter occasional issues. Here’s how to troubleshoot:
Issue: Gel Lifts After 3‑4 Days
Check for oil on the nail surface – even a tiny amount can break adhesion. Clean the nail with IBD Alcohol before each application. Also, ensure the lamp’s bulbs are not dim; replace them if you notice a drop in intensity.
Issue: Bubbles Form During Curing
Gently tap the nail with a wooden stick right after applying the gel but before curing. This releases trapped air. If bubbles persist, thin the gel slightly with a few drops of gel thinner (about 5% of the bottle volume).
Issue: Color Looks Dull
Some gels need a “wet‑polish” finish. After the final top coat cure, apply a quick 5‑second “gloss boost” using a clear polish over the cured top coat, then cure again. This adds an extra layer of shine without compromising durability.
Issue: Removal Leaves Stubborn Residue
Soak a cotton ball in 99% isopropyl alcohol, place it on the nail, and wrap with foil for 10 minutes. The gel will lift off easily. Use a wooden stick to scrape gently – never use metal tools, as they can damage the nail plate.
Frequently Asked Questions
How long do gel nails at home typically last?
When applied correctly, a home gel manicure can last 2‑3 weeks without chipping. Proper edge sealing and avoiding excessive water exposure extend durability.
Do I need a UV lamp or can an LED lamp work?
Both work, but LED lamps cure gel faster (30 seconds per layer) and are more energy‑efficient. Just ensure the gel brand specifies LED compatibility.
Can I combine gel nails with nail stickers or decals?
Absolutely. Apply the base coat, cure, then place a DIY nail sticker. Seal with a thin layer of clear gel and cure. The sticker adheres better because the gel acts as an adhesive.
Is it safe to do gel nails at home every week?
Yes, as long as you give your natural nails a break every 2‑3 weeks to breathe, and you use a gentle nail buffer rather than a metal file. Hydrating with a hand and nail cream helps maintain nail health.
Summary
Mastering gel nails at home transforms a routine beauty habit into a cost‑saving, confidence‑boosting skill. With the right kit – a reliable LED lamp, quality base/top coats, and proper prep tools – you can achieve a salon‑grade finish in under 45 minutes for roughly $130 in initial investment. Avoid common pitfalls like skipping the alcohol wipe or applying thick layers, and you’ll enjoy 2‑3 weeks of chip‑free shine. Remember to hydrate, protect, and give your nails occasional breaks. Now, go ahead and treat yourself to a flawless gel manicure without stepping foot in a salon.
1 thought on “Best Gel Nails At Home Ideas That Actually Work”