
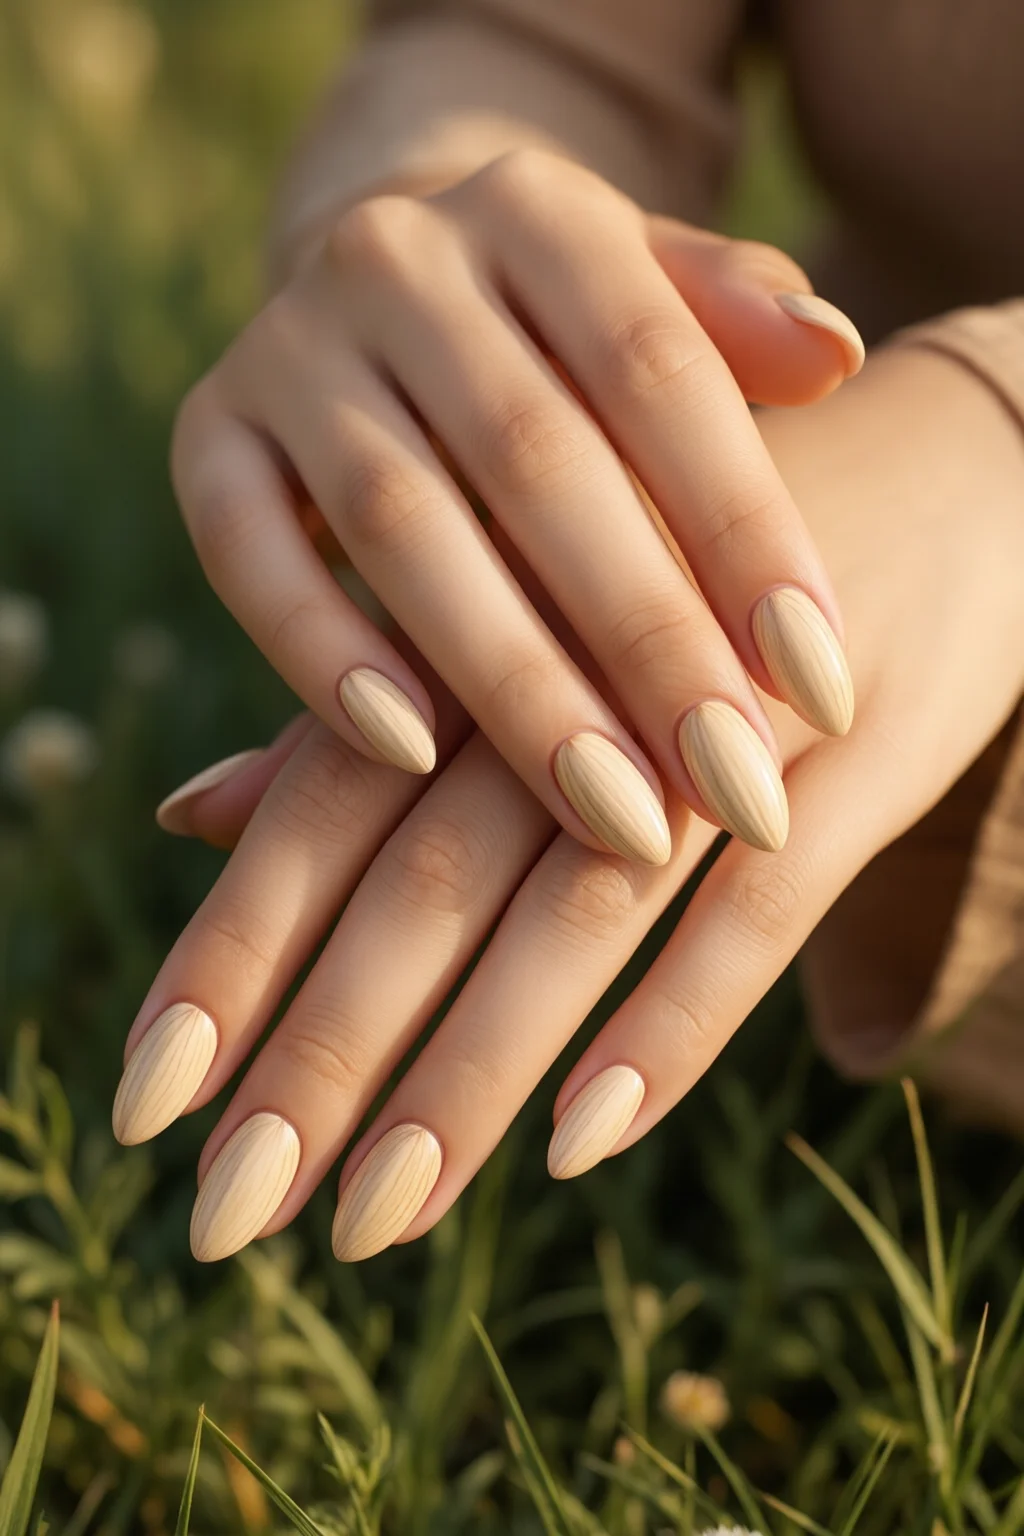
Last summer I was getting ready for a seaside wedding, and the only nail shape that survived the salty breeze, the endless selfies, and a late‑night dance party was the almond. Its elegant taper makes fingers look longer, and it’s surprisingly forgiving for both beginners and seasoned nail techs. If you’ve ever typed “almond nail shape how to” into Google, you’re probably wondering exactly how to achieve that sleek silhouette without ending up with a pointy nightmare. Below is the step‑by‑step list that turned my shaky first attempts into salon‑quality results, plus the tools I swear by, a quick comparison table, and answers to the most common follow‑up questions.
In This Article
- 1. Choose the Right Base Length and Width
- 2. Gather Essential Shaping Tools
- 3. Prep the Nail Surface
- 4. Sketch the Almond Outline (If Not Using a Stencil)
- 5. File the Bulk with Coarse Grit
- 6. Refine the Curve with Medium Grit
- 7. Polish the Edge with Fine Grit
- 8. Apply Your Desired Finish
- 9. Seal the Shape with a Top Coat
- 10. Maintain Your Almonds
- Top 5 Tools for Perfect Almond Nails (Rated)
- Bonus: Incorporating Nail Stamping on Almonds
- Common Mistakes and How to Avoid Them
- Quick Reference Checklist
- Final Verdict

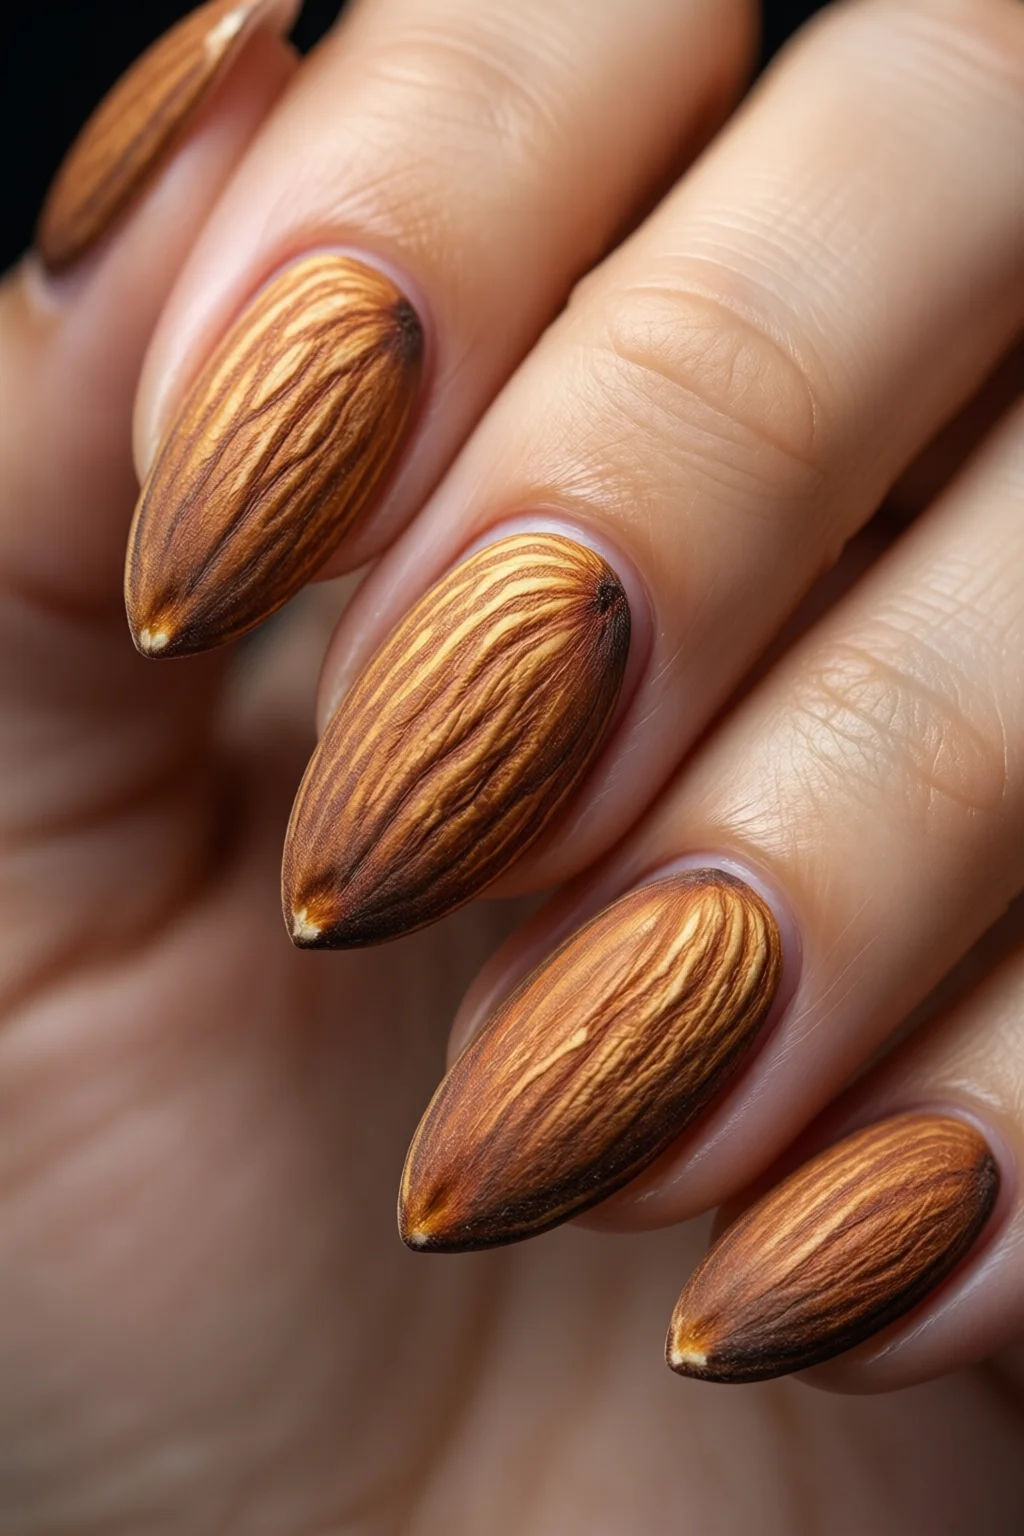
1. Choose the Right Base Length and Width
The almond shape is essentially a tapered oval that narrows at the tip. Start by measuring the natural nail’s length from cuticle to free edge. For a classic almond, aim for a length that is 1.5 – 2 times the width of the nail at its widest point. If your natural nail is 8 mm wide, a target almond length of 12–16 mm works beautifully. Too short and the shape looks more like a squoval; too long and the tip becomes fragile.
Pro tip: Use a digital caliper (e.g., Neiko 01407A, $9.99 on Amazon) for precise measurements. In my experience, a 0.5 mm variance can mean the difference between a graceful taper and a jagged point.
Why Length Matters
- Longer almonds create a finger‑elongating illusion.
- Proper length ensures the tip has enough surface area for polish adhesion, reducing chipping.
- Balanced width prevents the nail from feeling too thin, which can cause breakage.
2. Gather Essential Shaping Tools
Investing in quality tools saves time and reduces nail trauma. Here’s my go‑to kit:
- Coarse grit buffer (180 – 240 grit): Removes bulk quickly. I use the OPI Pro Nail File, $3.49 for a pack of 12.
- Medium grit buffer (320 – 400 grit): Refines the curve. The Sephora Nail Buffer is $6.99.
- Fine grit buffer (600 – 800 grit): Smooths the final edge; a 2‑piece set from Sally Hansen costs $5.79.
- Almond nail guide stencil: Plastic template with pre‑cut almond outlines. I’ve tried the Melody Nail Stencil ($4.95) and it reduces shaping time by roughly 30%.
- Cuticle pusher and oil: For a clean base. The CND Cuticle Remover Kit is $12.99.
Pros & Cons of Stencil vs. Freehand
| Method | Pros | Cons | Cost |
|---|---|---|---|
| Stencil (e.g., Melody) | Consistent shape; faster for beginners | Limited customization; may feel restrictive | $4.95 (one‑time) |
| Freehand filing | Full creative control; adaptable to nail variations | Steeper learning curve; higher risk of uneven tips | Varies – just the buffers ($15 total) |
3. Prep the Nail Surface
Before you even think about filing, the nail must be clean, dry, and slightly dehydrated. Follow these steps:
- Remove any old polish with acetone (I use Zoya Remove Plus, $8.99 for 100 ml).
- Gently push back cuticles using the CND pusher.
- Buff the surface lightly with a fine grit buffer to eliminate shine – this creates a “rough” surface for better adhesion.
- Apply a thin layer of nail strengthening treatment (e.g., OPI Nail Envy, $14.99) and let it dry for 2 minutes.
Skipping this prep can lead to premature chipping, especially on the tapered tip where the polish is thinnest.
4. Sketch the Almond Outline (If Not Using a Stencil)
Grab a non‑permanent skin marker (like the Ketchum Beauty Tattoo Pen, $3.50) and lightly draw the almond curve on the nail. Start at the cuticle, sweep outward to the widest point, then taper down to a soft point. This visual guide helps maintain symmetry across all ten nails.
One mistake I see often is drawing a straight line from cuticle to tip, which results in a pointy “spike” rather than the signature almond curve.
5. File the Bulk with Coarse Grit
Place the nail against the edge of the stencil (if using) and begin filing in one direction—from the cuticle toward the tip. Avoid a back‑and‑forth motion; it creates micro‑splits. For a standard adult nail, 10‑12 strokes on each side are enough to achieve the basic shape.
Maintain a 45‑degree angle between the file and the nail surface. This angle is crucial for that smooth, elongated look.
6. Refine the Curve with Medium Grit
Switch to the medium grit buffer. At this stage, you’re fine‑tuning the taper. Use gentle, short strokes—about 2 seconds each—to smooth any rough edges left by the coarse file. Check the symmetry by comparing each nail to its counterpart on the opposite hand.
For a flawless almond, the tip’s width should be roughly 30 % of the nail’s widest point. If your nail measures 8 mm at the base, the tip should be around 2.4 mm wide.
7. Polish the Edge with Fine Grit
The final polish step is all about shine and durability. Run the fine grit buffer along the tip in a single, fluid motion. This removes any lingering scratches and prepares the surface for polish or gel.
After polishing, wipe the nail with a lint‑free pad soaked in isopropyl alcohol (70 % concentration) to eliminate dust. This step is essential before applying any polish, especially if you plan to use how to cure gel nails for a longer‑lasting finish.
8. Apply Your Desired Finish
Now the almond is ready for color. Here are three popular options and why they work well with the almond shape:
- Classic lacquer: Choose a high‑quality top coat like Essie Gel‑Like Shine ($13.99, 15 ml) for extra durability.
- Gel polish: I recommend the Gelish Color Gel (starting at $12.99 per bottle). The thicker consistency adheres better to the tapered tip.
- Nail wraps: For quick, mess‑free designs, try nail wraps. The Kiss Mini Wraps set (12 pieces, $9.95) fits the almond curve perfectly without bubbling.
9. Seal the Shape with a Top Coat
Finish with a high‑gloss top coat to protect the shape. I use the Seche Vite Dry Fast Top Coat ($10.99, 15 ml). Apply a thin layer, ensuring you coat the very tip—this prevents the almond from chipping off during daily activities.
10. Maintain Your Almonds
Even the strongest almond can become brittle if neglected. Follow these maintenance tips:
- Reapply cuticle oil nightly (e.g., OPI Pro Spa Nail & Cuticle Oil, $8.49).
- Schedule a gentle filing session every 10–14 days to smooth out any micro‑chips.
- Avoid using the nails as tools (opening packages, prying) – the almond’s slender tip is more vulnerable than a square shape.
Top 5 Tools for Perfect Almond Nails (Rated)
| Tool | Rating (out of 5) | Price | Best For |
|---|---|---|---|
| Neiko 01407A Digital Caliper | 4.8 | $9.99 | Precise measurements |
| OPI Pro Nail File (Pack of 12) | 4.6 | $3.49 | Coarse to medium filing |
| Melody Nail Stencil | 4.5 | $4.95 | Beginners needing consistency |
| Sally Hansen Fine Grit Buffer | 4.7 | $5.79 | Finishing smooth edges |
| Kiss Mini Nail Wraps (12 pcs) | 4.4 | $9.95 | Quick designs on almond shape |
Bonus: Incorporating Nail Stamping on Almonds
If you love intricate designs, the almond’s elongated surface is a canvas for stamping. Use a small, flexible stamping plate (like the KISS Mini Stamping Plate, $7.99) to fit the taper. Apply a thin layer of stamping polish, scrape off excess, and press the plate gently. Finish with a top coat to lock the pattern in place.
Common Mistakes and How to Avoid Them
- Over‑filing the tip: Leads to breakage. Stop filing once the tip reaches the desired 30 % width.
- Using a back‑and‑forth motion: Creates micro‑splits. Stick to one‑direction strokes.
- Skipping the fine grit polish: Results in a dull, snag‑prone edge.
- Neglecting cuticle care: Dry cuticles cause lifting at the base of the almond.
Quick Reference Checklist
- Measure nail length & width.
- Gather tools (coarse, medium, fine buffers; stencil optional).
- Prep nails (clean, cuticle push, buff, strengthener).
- Sketch outline if freehand.
- File bulk with coarse grit.
- Refine with medium grit.
- Polish edge with fine grit.
- Apply polish, wraps, or gel.
- Seal with top coat.
- Maintain with oil & regular filing.

Final Verdict
Mastering the almond nail shape isn’t about expensive salons—it’s about precision, the right tools, and a bit of patience. By following this step‑by‑step guide, you’ll consistently achieve a sleek, elongated look that stands up to everyday wear and special occasions alike. Remember, the key is measured filing, consistent tapering, and sealing the tip with a quality top coat. With the tools and tips above, you’re ready to turn every manicure into a runway‑ready statement.
How long does it take to shape almond nails?
For a first‑time attempt, budget 15‑20 minutes per hand. With practice, you can reduce it to 8‑10 minutes.
Can I use regular nail polish on almond nails?
Yes, but a high‑quality top coat is essential to protect the tapered tip from chipping.
Is a stencil necessary for beginners?
A stencil speeds up the learning curve and reduces errors, though freehand filing offers more customization once you’re comfortable.
How often should I file my almond nails?
Every 10–14 days, or whenever you notice micro‑chips or the tip feels uneven.
Can almond nails be done with gel extensions?
Absolutely. Use a gel builder (e.g., Gelish Builder, $14.99) and shape the extension to the almond silhouette before curing.
2 thoughts on “Almond Nail Shape How To – Tips, Ideas and Inspiration”