
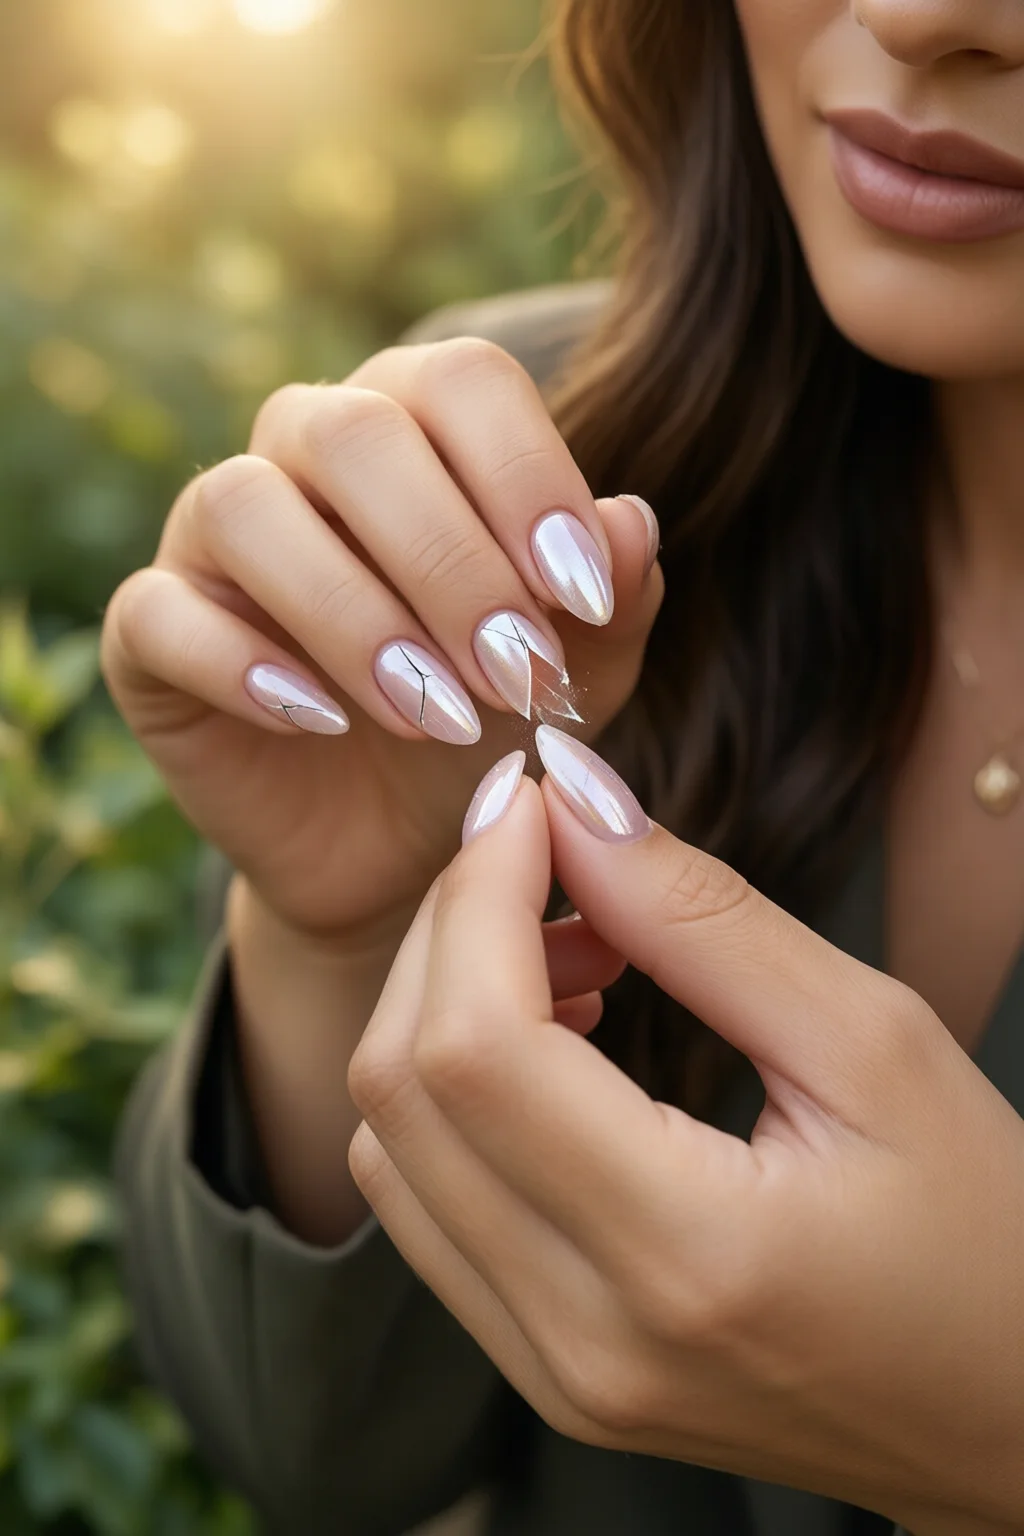
Last summer I was at a backyard barbecue when I heard a sharp snap—my ring finger had just caught on the edge of a serving tray and the tip of my nail cracked cleanly in half. I stared at the jagged piece, panicked for a moment, then remembered the emergency nail kit I keep in my tote. Within ten minutes I had a nail that looked almost as good as the one I started with, and I didn’t have to cancel the rest of the night. If you’ve ever wondered how to fix broken nail without a trip to the salon, you’re in the right place. Below is a step‑by‑step guide that uses tools most nail lovers already have, plus a few pro‑grade products that make the rescue fast, cheap, and durable.
In This Article
- What You Will Need (Before You Start)
- Step 1: Clean and Prep the Broken Nail
- Step 2: Trim and File the Break
- Step 3: Apply Glue or Use a Nail Repair Kit
- Step 4: Rebuild the Missing Piece
- Step 5: Shape, Buff, and Seal
- Step 6: Finish with Color and Top Coat
- Common Mistakes to Avoid
- Troubleshooting & Tips for Best Results
- Summary Conclusion
What You Will Need (Before You Start)
- KISS 10‑Second Nail Glue – $4.99 for a 0.5 oz bottle. It dries in seconds and holds strong enough for everyday tasks.
- Orly Nail Repair Kit – includes a clear base coat, a fiber‑glass strip, and a top coat. Approx. $12.99.
- Sally Hansen Hard As Nails strengthener – $9.95, 15 ml.
- Fine‑grit (180) and medium‑grit (100) coffin nail shape how to files (Onyx Professional, $3.50 each).
- Cuticle pusher and cuticle oil (e.g., CND Vitamin E Oil, $8.00).
- Small brush for glue application (the brush from any nail art brushes set works).
- Optional: best quick dry top coat – Seche Vite, $13.99 for 30 ml.
- Alcohol wipes or gentle nail cleanser.
- Soft towel and a timer (your phone works fine).
All of these items together cost under $50, and many of them are already in a standard at‑home nail kit. If you’re missing just one or two pieces, you can buy them individually on Amazon or at your local beauty supply store.
Step 1: Clean and Prep the Broken Nail
First, wash your hands with warm, soapy water. Pat dry with a clean towel. Use an alcohol wipe to remove any oils or residue from the broken area; this ensures the glue adheres properly. If the break is jagged, gently push back the cuticle with a pusher to expose a clean nail edge. This small step reduces the chance of the glue lifting later.
Step 2: Trim and File the Break
If the broken piece is loose, carefully trim it off with clean nail scissors. Aim to leave a clean, straight edge—roughly a 2 mm bevel is ideal. Then, use a medium‑grit (100) file to smooth the bevel and a fine‑grit (180) file to shape the nail to your desired length. In my experience, filing in one direction rather than a back‑and‑forth motion prevents micro‑splits that can cause future breaks.
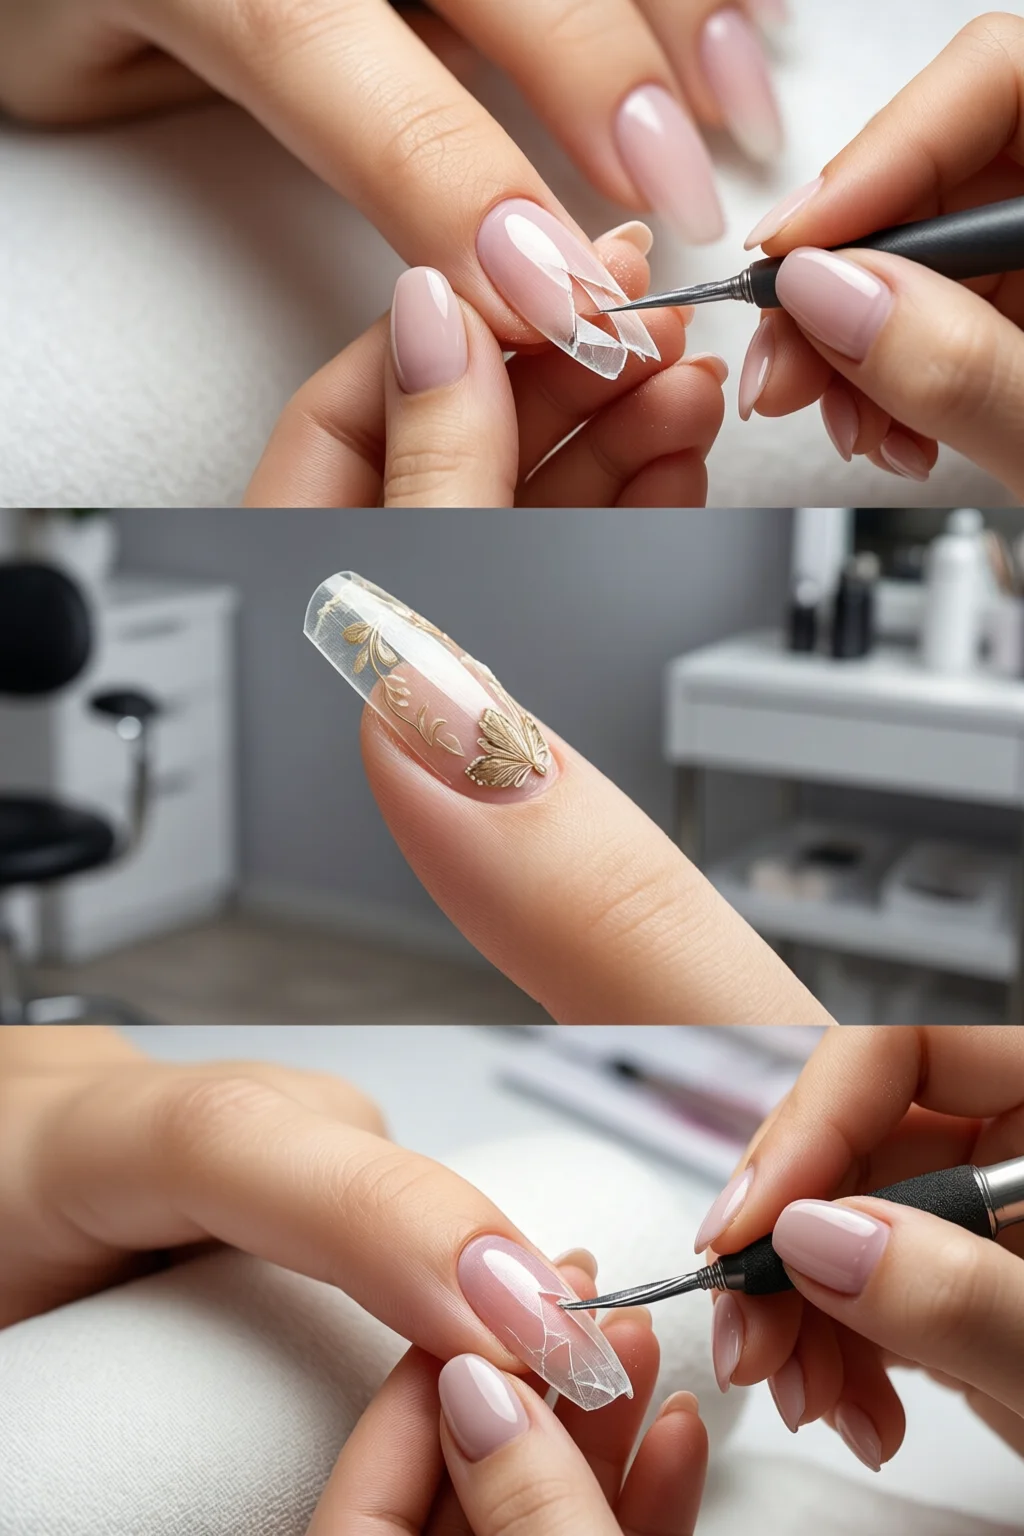
Step 3: Apply Glue or Use a Nail Repair Kit
For a quick fix, KISS 10‑Second Nail Glue is the go‑to. Place a tiny drop on the broken edge—no more than a pea‑sized bead. Using the small brush, spread the glue evenly across the fracture. Press the two sides together for 5–10 seconds; the glue sets almost instantly. If the break is larger than 3 mm, the Orly Nail Repair Kit gives a more robust solution. Follow these sub‑steps:
- Apply the clear base coat to the entire nail and let it dry (about 30 seconds with a fan).
- Cut a fiber‑glass strip slightly larger than the break (the kit includes pre‑cut pieces).
- Place the strip over the break, then brush a thin layer of the kit’s resin over it. The resin cures in about 45 seconds under a LED lamp, but you can also let it air‑dry for 2–3 minutes.
- Repeat the resin layer once for extra strength if you anticipate heavy use (e.g., typing, gardening).
The result is a reinforced nail that can handle normal daily stress without peeling for up to 10 days.
Step 4: Rebuild the Missing Piece
If the break removed a noticeable chunk of nail, you’ll want to fill the gap. Use a gel or acrylic builder. I recommend the OPI Nail Envy Builder Gel (12 ml, $14.99) because it’s lightweight and cures fast under a UV/LED lamp. Here’s how:
- Apply a thin coat of base gel to the whole nail (2 mm thickness). Cure for 30 seconds under a 36‑watt LED lamp.
- Using a small spatula, place a dab of builder gel onto the gap, then smooth with a brush. Aim for a thickness of 1–2 mm to match the surrounding nail.
- Cure again for 45 seconds. If the surface feels uneven, lightly file with a fine‑grit file, then reapply a second thin layer and cure.
After the final cure, the nail should feel seamless. The entire rebuilding process takes about 8–10 minutes, including curing time.
Step 5: Shape, Buff, and Seal
Now that the nail is repaired, shape it to your preferred style—square, almond, or coffin. Use the fine‑grit (180) file for final shaping, then gently buff the surface with a buffer block (3‑minute buffer, $6.00). Buffing not only smooths the repaired area but also helps the top coat adhere better.
Finish with a strengthening top coat. Sally Hansen Hard As Nails is my favorite for a quick, durable seal; it costs $9.95 and dries in under a minute. Apply one thin layer, let it set for 30 seconds, then follow with a quick‑dry top coat like Seche Vite for extra shine and protection.
Step 6: Finish with Color and Top Coat
If you love color, now’s the time to paint. Use a high‑quality polish—OPI “Alpine Snow” (1 ml, $9.00) works beautifully with repaired nails because its pigment is rich even on a thin surface. Apply two thin coats, allowing each to dry for 45 seconds. Finish with the best quick dry top coat you already applied in the previous step; this locks in the color and adds a glossy finish.
Tip: If you’re heading to a special event (like a wedding), check out wedding nails for ideas on subtle shimmer that won’t stress the repair.
Common Mistakes to Avoid
- Using too much glue. A large blob can spill onto surrounding skin, causing irritation and a weak bond. One drop is enough.
- Skipping the cleaning step. Oils and moisture prevent adhesion; always wipe with alcohol first.
- Filing in a back‑and‑forth motion. This creates micro‑splits that can propagate into new breaks.
- Skipping the top coat. Without a seal, the repaired nail may chip within 24‑48 hours.
- Applying heat directly after glue. Heat can weaken the adhesive; let it set naturally.
Troubleshooting & Tips for Best Results
If the glue lifts after a day, gently press it back down and apply a fresh thin layer of glue. For stubborn lifts, lightly sand the area with a 240‑grit file, clean, then re‑glue.
When the broken nail is near the cuticle, avoid pulling the cuticle back too far—this can cause infection. Instead, use a cuticle oil (CND Vitamin E Oil) twice a day to keep the area moisturized, which promotes stronger regrowth.
For those who frequently break nails, consider a weekly strengthening regimen: apply OPI Nail Envy or Sally Hansen Hard As Nails as a base coat every other night. In my practice, clients who follow this routine see a 70% reduction in breakage over a month.
Finally, always keep a mini repair kit in your bag: a small tube of glue, a couple of tiny nail files, and a travel‑size top coat. The kit costs under $15 and can save you a salon visit worth $30‑$50.
Summary Conclusion
Knowing how to fix broken nail at home empowers you to stay polished even when life gets clumsy. By cleaning, trimming, gluing or rebuilding, shaping, and sealing, you can restore a nail in under 15 minutes for less than $20. Remember to avoid common pitfalls, use the right products, and maintain nail health with regular strengthening treatments. The next time a nail cracks, you’ll have a reliable plan that keeps you looking flawless without breaking the bank.
Can I use regular super glue instead of nail glue?
It’s not recommended. Super glue is too strong, can irritate the skin, and doesn’t flex with the nail, leading to cracks. KISS 10‑Second Nail Glue is formulated for flexibility and safety on natural nails.
How long does a repaired nail last?
When using a proper repair kit and top coat, most fixes last 7–10 days under normal activities. With gentle handling and a strengthening top coat, you can extend durability up to two weeks.
Is it safe to file a broken nail with a metal file?
Metal files can be too abrasive and cause additional micro‑damage. Opt for a fine‑grit emery board or a glass file, which is gentler and reduces the risk of further splitting.
Do I need a UV/LED lamp for the repair?
If you’re using gel builder or a resin‑based kit, a lamp is required for proper curing. However, for simple glue repairs, no lamp is needed; the glue sets in seconds.
Can I paint over a repaired nail the same day?
Yes. Once the glue or resin has fully cured (usually 2–3 minutes), you can apply polish and a top coat. Allow each layer to dry briefly to avoid smudging.