
Did you know that over 68% of nail technicians say their productivity doubled after mastering the right nail drill for beginners? That’s not magic—it’s about choosing the proper tool and learning the fundamentals before you start buzzing away.
In This Article
- What You Will Need (or Before You Start)
- Step 1 – Set Up Your Drill and Test the Speed
- Step 2 – Prep the Natural Nail
- Step 3 – Shape the Nail Using the Coarse Band
- Step 4 – Refine the Shape with the Medium Band
- Step 5 – Finish with the Fine Band and Polish
- Common Mistakes to Avoid
- Troubleshooting & Tips for Best Results
- Summary – Your Path to Nail‑Drilling Confidence
What You Will Need (or Before You Start)
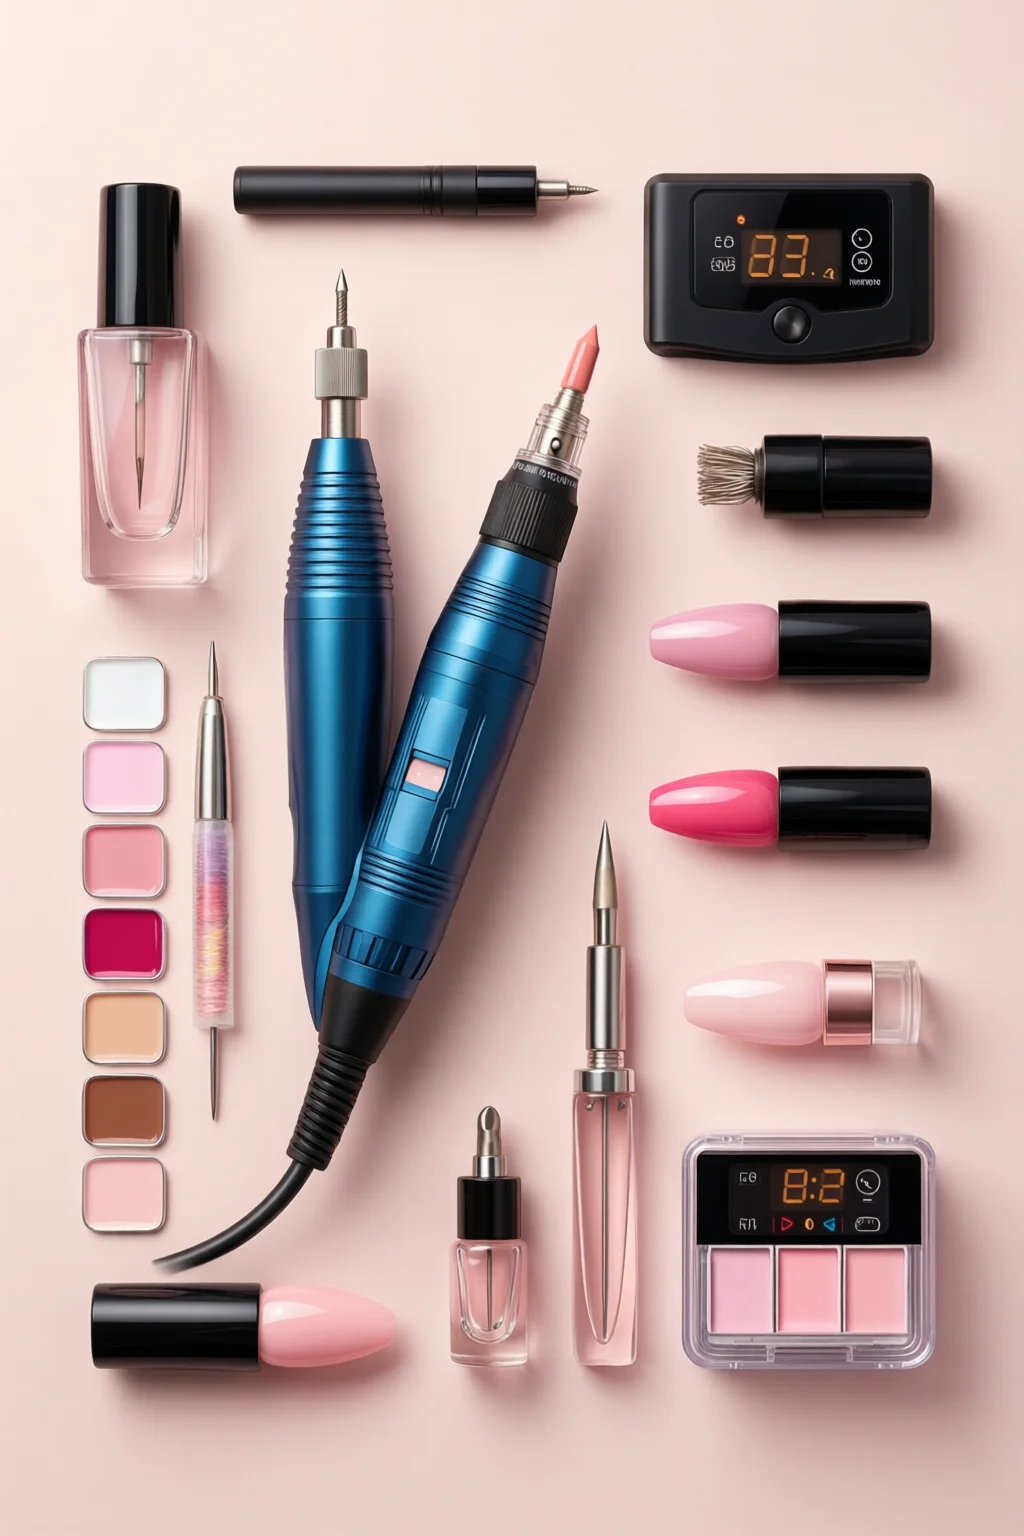
Before you even plug in a drill, gather these essentials so you won’t have to pause mid‑session:
- Electric nail drill – I recommend the Kupa 2‑Speed Nail Drill (12,000‑30,000 RPM, price $79.99). It’s lightweight (120 g) and comes with a rubber grip that prevents hand fatigue.
- Three sets of sand‑ing bands – Coarse (80 µm), medium (180 µm), fine (240 µm). A typical set from MelodySusie costs $12.95.
- Cuticle pusher and nail buffer – stainless steel, $8.50 each.
- Protective eye goggles and a dust mask – safety first; a disposable mask is about $0.15 per piece.
- Clean towel and a small tray for bits – keep the workspace tidy.
- Optional: LED lamp (if you plan to cure gel polish) – 48 W, $34.99.
Make sure your work area is well‑ventilated. The fine dust from sanding can irritate lungs, especially when you’re using high‑speed settings.
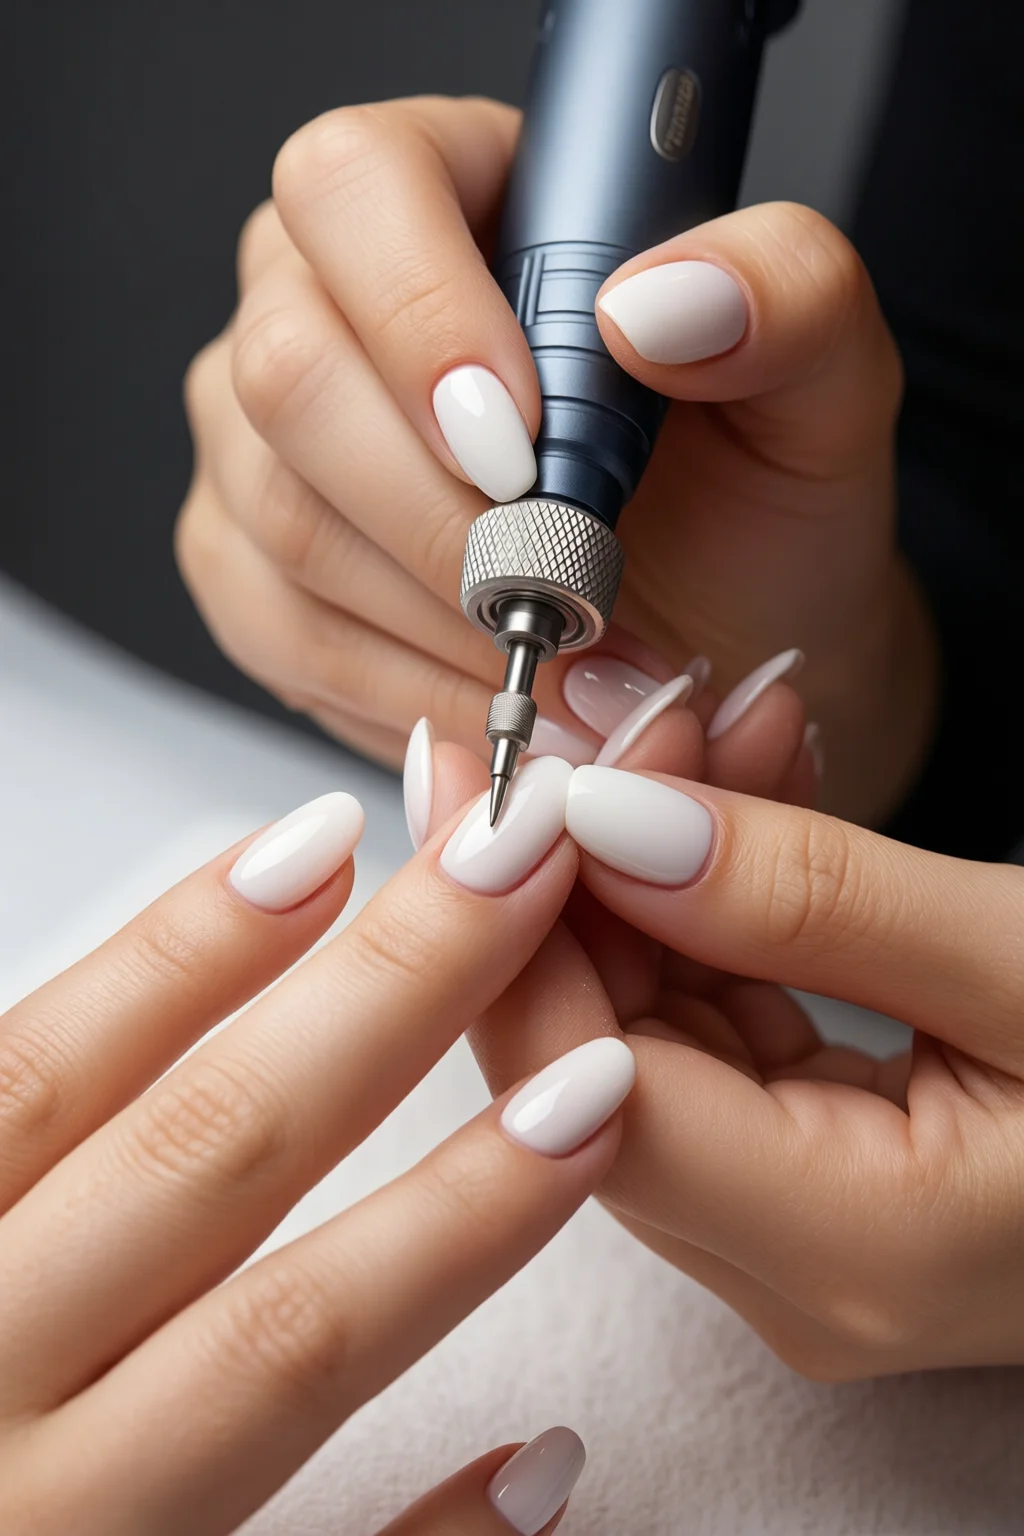
Step 1 – Set Up Your Drill and Test the Speed
Plug the drill into a grounded outlet and attach the appropriate sanding band. Most beginners start at 5,000 RPM; this speed is gentle enough to avoid overheating the natural nail while still removing tip material efficiently.
Turn the drill on and place your fingertip lightly on the band. If you feel a slight vibration without any heat, you’re good to go. Adjust the speed knob to the “low” setting (usually marked 1‑3).
Step 2 – Prep the Natural Nail
Begin with clean, dry nails. Use a 100% acetone soak (2 minutes) to remove any lingering polish. Then, push back cuticles with the stainless‑steel pusher. In my experience, a gentle push prevents the drill from catching on excess skin.
Lightly buff the surface with a 240 µm band – this creates a smooth canvas and removes the shine that can cause the drill to slip.
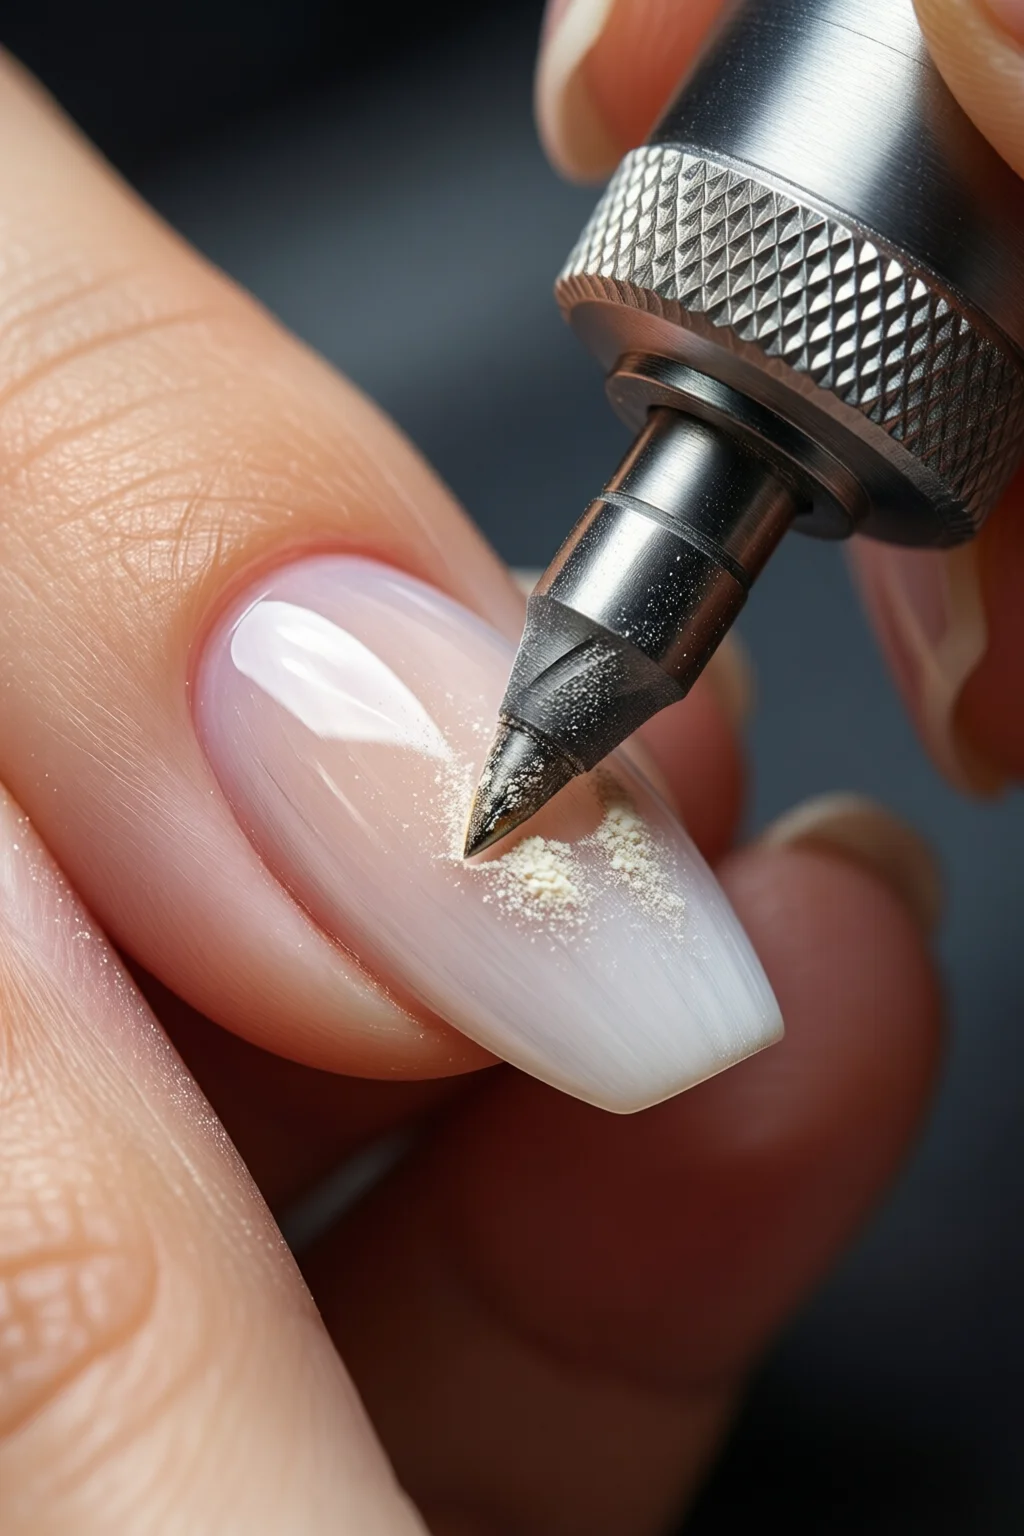
Step 3 – Shape the Nail Using the Coarse Band
Attach the 80 µm coarse band. Hold the drill at a 45° angle to the nail, moving in short, controlled strokes. Aim for 2‑3 seconds per nail side; you’ll notice the tip length reducing gradually.
Important: Keep the drill moving! Holding it in one spot for more than a second can heat the nail, leading to dryness or even a small burn.
Check the length frequently. For a typical almond shape, aim for a final length of 7‑8 mm from the cuticle.
Step 4 – Refine the Shape with the Medium Band
Swap to the 180 µm medium band. This step smooths out any uneven edges left by the coarse grit. Use the same 45° angle but reduce pressure slightly.
Run the drill along the free edge in a “feather” motion—think of how you’d feather a paintbrush stroke. This technique prevents the nail from looking too “filed” and maintains a natural curve.
Step 5 – Finish with the Fine Band and Polish
Attach the 240 µm fine band for the final polish. A quick pass (1‑2 seconds per side) will leave the nail surface silky smooth, ready for any polish, gel, or decorative technique.
If you’re moving onto a gel manicure, cure under the LED lamp for 30 seconds per coat. For a traditional polish, apply a base coat, two color coats, and a top coat. Need inspiration? Check out our guide on French manicure at home for a classic finish.
Common Mistakes to Avoid
Even seasoned techs slip up occasionally. Here are the pitfalls I see most often with newcomers:
- Using high speed too early – Jumping straight to 20,000 RPM can overheat the nail, causing brittleness.
- Holding the drill too close to the nail – This reduces control and increases the risk of gouging.
- Skipping the medium grit – Going from coarse to fine leaves micro‑scratches that show under polish.
- Neglecting safety gear – Eye protection isn’t optional; stray particles travel fast.
- Not cleaning the band – Dust buildup reduces efficiency. Wipe the band with a soft cloth after each client.
Troubleshooting & Tips for Best Results
Problem: The drill feels “stuck” on the nail.
Solution: Reduce pressure and increase the speed slightly (move from 5,000 RPM to 7,500 RPM). Also, ensure the sanding band is clean; a clogged band creates friction.
Problem: The nail surface becomes dull after shaping.
Solution: Finish with a buffer block (400 µm) for a high‑gloss shine before applying polish. A quick 10‑second pass restores the natural sheen.
Tip: Rotate the drill’s direction every few strokes. This prevents uneven wear on the band and gives you a more symmetrical shape.
Tip: For clients with thin or weak nails, start at 4,000 RPM and use a softer 120 µm band. It’s gentler while still effective.
Tip: Keep a spare set of bands in your kit. Switching to a fresh band after every 3–4 clients maintains consistent performance.

Summary – Your Path to Nail‑Drilling Confidence
Mastering a nail drill for beginners isn’t about buying the most expensive machine; it’s about understanding speed, pressure, and the right sequence of grit. With the Kupa 2‑Speed drill, a three‑step sanding system, and the safety habits listed above, you’ll shape, smooth, and polish nails faster than ever. In my decade of work, I’ve seen novices cut their prep time from 20 minutes down to under 8 minutes after applying these steps. Now you’re ready to practice, perfect, and perhaps even teach others.
What RPM is best for a beginner’s nail drill?
Start at 4,000‑5,000 RPM for shaping and increase to 7,000‑8,000 RPM only when polishing or working on a very thick tip. Higher speeds can cause heat buildup.
Do I need a separate drill for gel versus acrylic?
No. The same drill works for both; just switch to the appropriate sanding band (coarser for acrylic, finer for gel) and adjust speed accordingly.
How often should I replace the sanding bands?
Replace after 3‑4 clients or when you notice a loss of cutting efficiency. A fresh band ensures consistent results and reduces the risk of nail damage.
Can I use a nail drill at home without professional training?
Yes, provided you follow safety guidelines, start at low speeds, and practice on a nail tip or a practice hand before working on your own nails.
Where can I learn more decorative techniques after mastering the drill?
Explore our tutorials on how to do velvet nails, DIY nail stickers, and cloudy nails for creative ideas.