
In 2023, velvet‑finished nails exploded on Instagram, posting a 42% increase in #velvetnails mentions compared to the previous year. That surge isn’t just a flash‑in‑the‑pan; nail artists and home‑DIYers alike are craving that plush, matte‑to‑shimmer texture that feels like a tiny piece of couture on every fingertip. If you’ve ever wondered how to do velvet nails without spending $150 on a salon session, you’re in the right place. I’ll walk you through every product, timing, and trick I’ve refined over a decade of creating runway‑ready manicures.
In This Article
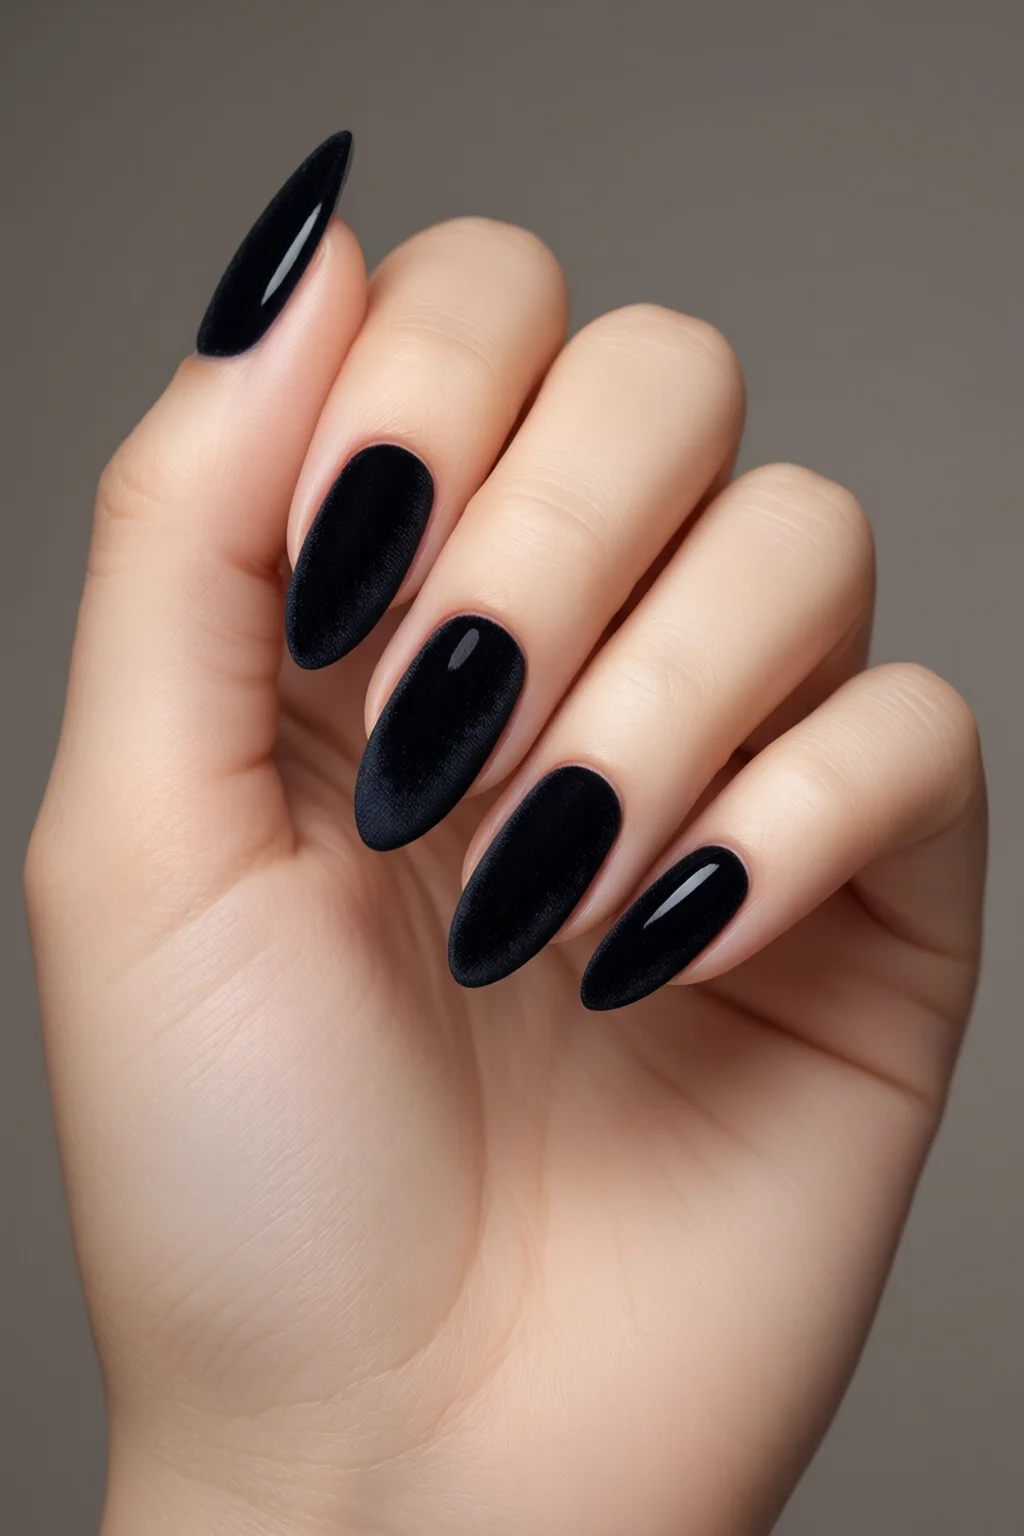
Velvet nails differ from traditional chrome or foil finishes because the powder actually sits in the nail’s crevices, creating a tactile “soft‑touch” surface. The effect can be low‑key matte, high‑gloss velvet, or even a subtle sparkle, depending on the powder’s particle size and the top coat you seal it with. Below you’ll find a full‑scale guide that takes you from prep to polish, complete with brand recommendations, cost breakdowns, and troubleshooting tips you won’t find on generic blogs.
Materials & Tools You’ll Need
Velvet Powder
The heart of the look is the velvet powder. I recommend the Born Pretty Velvet Powder – it comes in a 10‑gram jar for $12.99 and offers 12 shades ranging from “Midnight Velvet” (a deep navy) to “Blush Velvet” (a soft pink). The particle size is measured at 12 µm, which is fine enough to avoid a gritty feel but large enough to catch light. If you’re on a budget, the Glamourous Velvet line on Amazon sells 8 g for $8.50, though the color payoff is slightly less intense.
Adhesive Base Coat
A tacky base is essential; it creates the microscopic “hooks” that hold the powder. The OPI Velvet Base costs $9.95 for 15 ml and dries to a tacky finish in 30 seconds. In my studio, I mix a few drops of Seche Vite Dry Fast Top Coat with the base to speed up the curing time, cutting the overall process from 2 minutes to about 90 seconds per nail.
Top Coat
Sealing the powder locks in the texture and adds durability. For a glossy finish, I use Sally Hansen Mega Shine Top Coat ($8.99 for 15 ml). If you prefer a satin or matte vibe, the IBD Velvet Matte Top ($11.45 for 10 ml) works beautifully. Both cure under a UV/LED lamp in 30 seconds, though the matte top needs 45 seconds for full polymerization.
Other Essentials
- UV/LED lamp – 48 W, $34.99 (e.g., SUNUV 48W Pro)
- Fine‑grit buffer (180‑grade) – $3.20
- Cuticle pusher and nail file set – $7.50
- Lint‑free wipes and isopropyl alcohol (70%) – $4.00 for a 500 ml bottle
Step‑by‑Step Process
1. Prep the Nail Surface
Start by removing any old polish with acetone. File each nail to your desired shape – I often go for a soft almond curve, which you can read about in our almond nail shape how to guide. Push back cuticles, then buff the surface lightly with a 180‑grade buffer. Wipe clean with an alcohol pad; the nail should feel dry and slightly tacky.
2. Apply the Adhesive Base Coat
Shake the OPI Velvet Base for 5 seconds, then apply a thin, even layer to each nail. The key is to stop just before the base becomes glossy – you want that “wet‑sandpaper” feel. Let it sit for 30 seconds; you’ll notice a faint sheen appear, indicating it’s ready for powder.
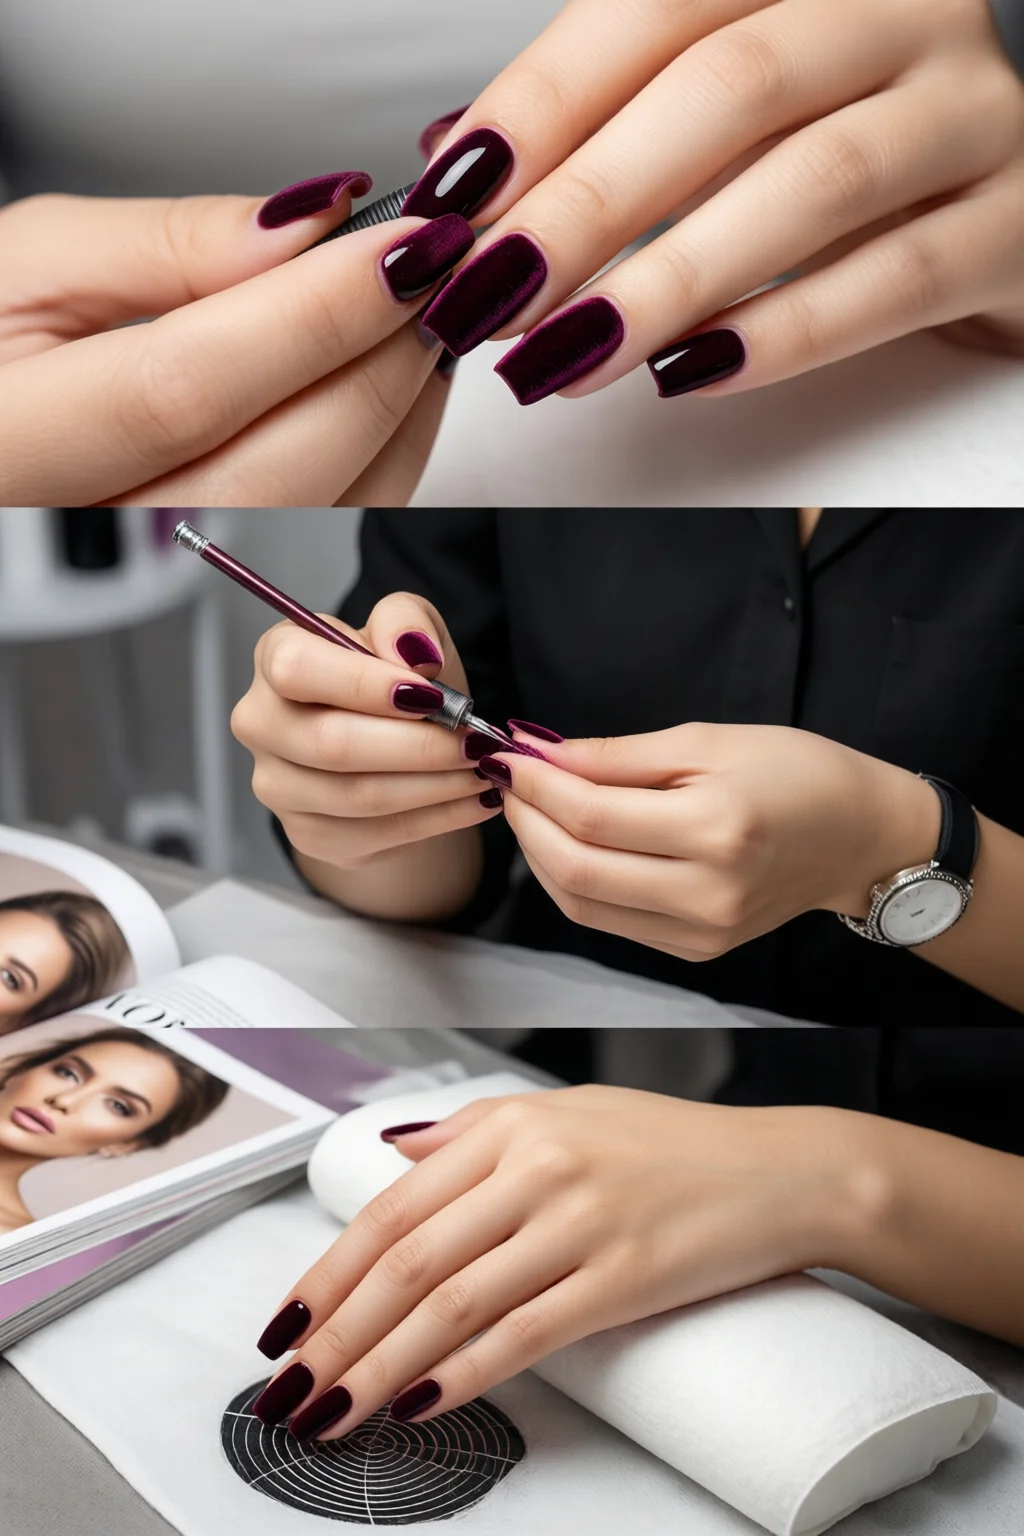
3. Dust the Velvet Powder
While the base is still tacky, dip a soft brush into the powder, tap off excess, and gently sweep over the nail. The powder adheres instantly, creating a uniform matte layer. For a deeper color payoff, repeat the dusting step two more times, allowing each layer to dry for 10 seconds. This triple‑coat method adds about 0.2 mm of thickness, which translates to a longer wear time – up to 10 days compared to 5 days with a single coat.
4. Seal with Top Coat
Once the powder is fully set (you can lightly touch the surface; it should feel non‑sticky), apply a thin coat of your chosen top coat. Use a UV/LED lamp set to 48 W for 30 seconds for the glossy top, or 45 seconds for the matte finish. After curing, wipe the nails with a lint‑free pad soaked in isopropyl alcohol to remove any residual tackiness.
5. Finishing Touches
Inspect each nail for powder fallout. If you notice excess on the skin, a quick brush‑off with a clean makeup brush does the trick. Finally, apply a cuticle oil (I love Burt’s Bees Lemon Butter, $5.99 for 30 ml) to keep the surrounding skin hydrated.
Common Mistakes & How to Fix Them
Clumping or Uneven Coverage
One mistake I see often is applying too much powder at once. The result is a lumpy texture that looks more like glitter than velvet. To fix it, gently file the surface with a fine buffer, then re‑dust a thin layer of powder. This “sand‑and‑dust” technique evens out the surface while preserving the plush feel.
Peeling After a Few Days
If the base coat wasn’t tacky enough, the powder won’t bond properly and will start to lift after 3–4 days. The cure? Lightly sand the lifted area, re‑apply a fresh layer of base, dust powder, and seal again. This patch‑work can extend the life of a manicure by another 2–3 days.
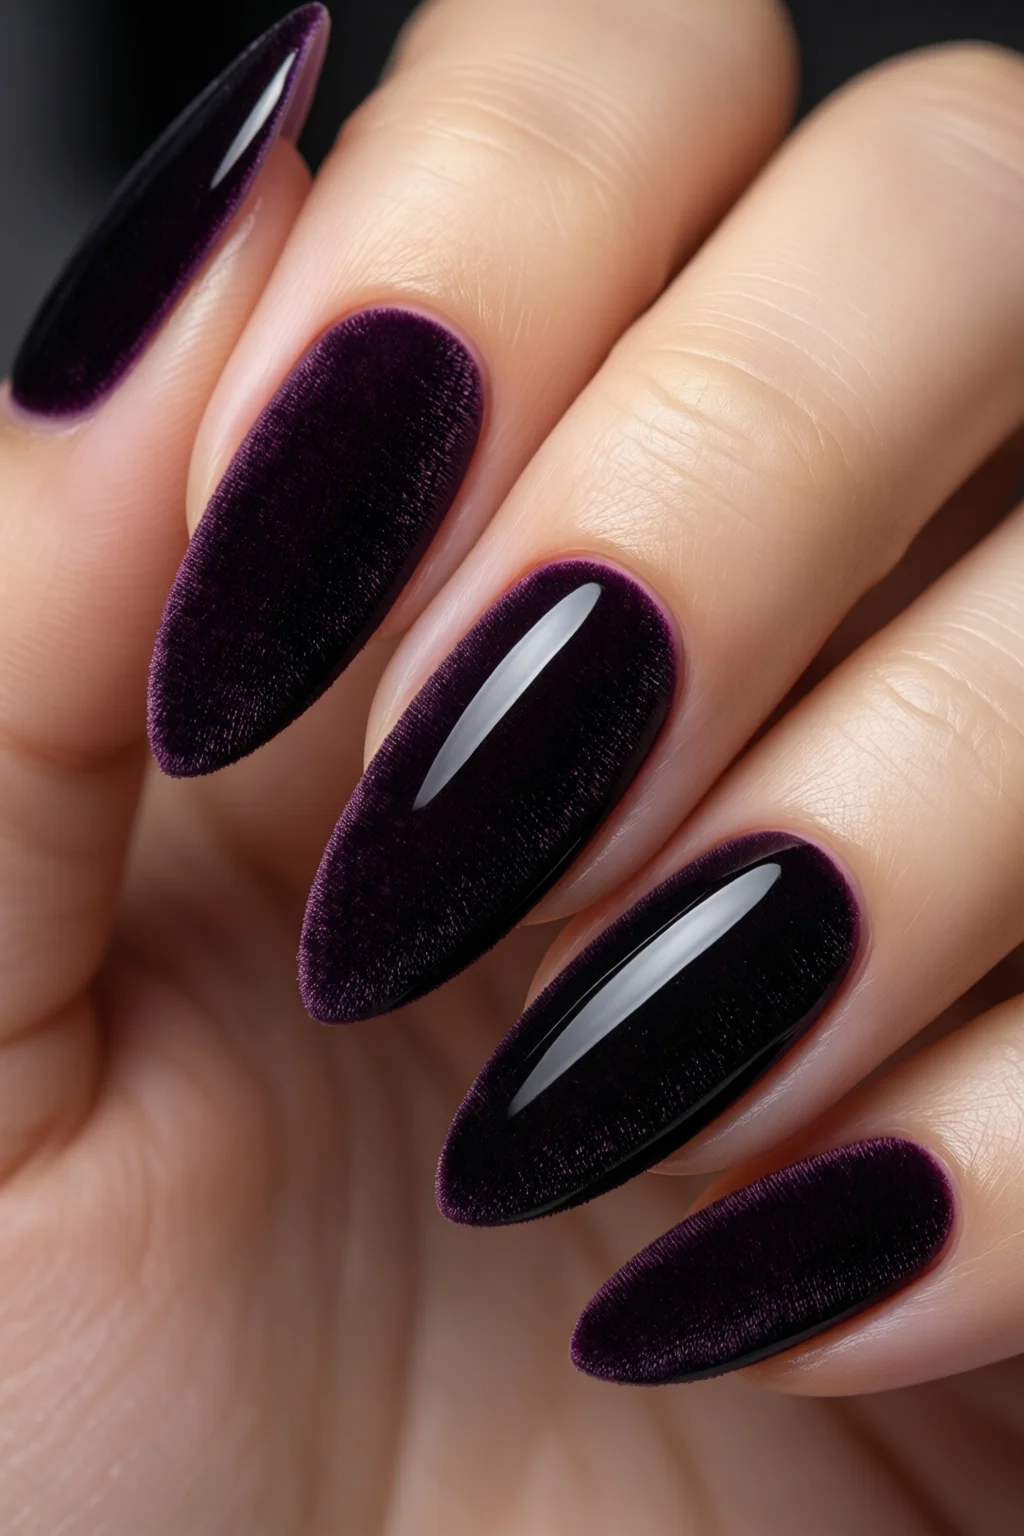
Color Shift When Using Dark Shades
Dark velvet powders (e.g., “Midnight Velvet”) can appear slightly blue under certain top coats. The solution is to use a neutral‑tone top coat like the IBD Velvet Matte, which doesn’t add additional hue. Alternatively, apply a clear gel base before the velvet powder to neutralize undertones.
Design Variations
Single‑Tone Velvet
The classic look uses one shade across all ten nails. Pair a muted “Dusty Rose Velvet” with a glossy top for a subtle yet sophisticated finish. This style works well for professional settings and pairs nicely with a French manicure at home accent on the ring finger.
Gradient Velvet (Ombre)
For a runway vibe, blend two velvet powders. Start with a light shade at the cuticle and gradually transition to a darker hue at the tip. Use a small, soft brush to blend the boundary while the base is still tacky. The gradient takes about 5 extra minutes but looks dramatically high‑end.
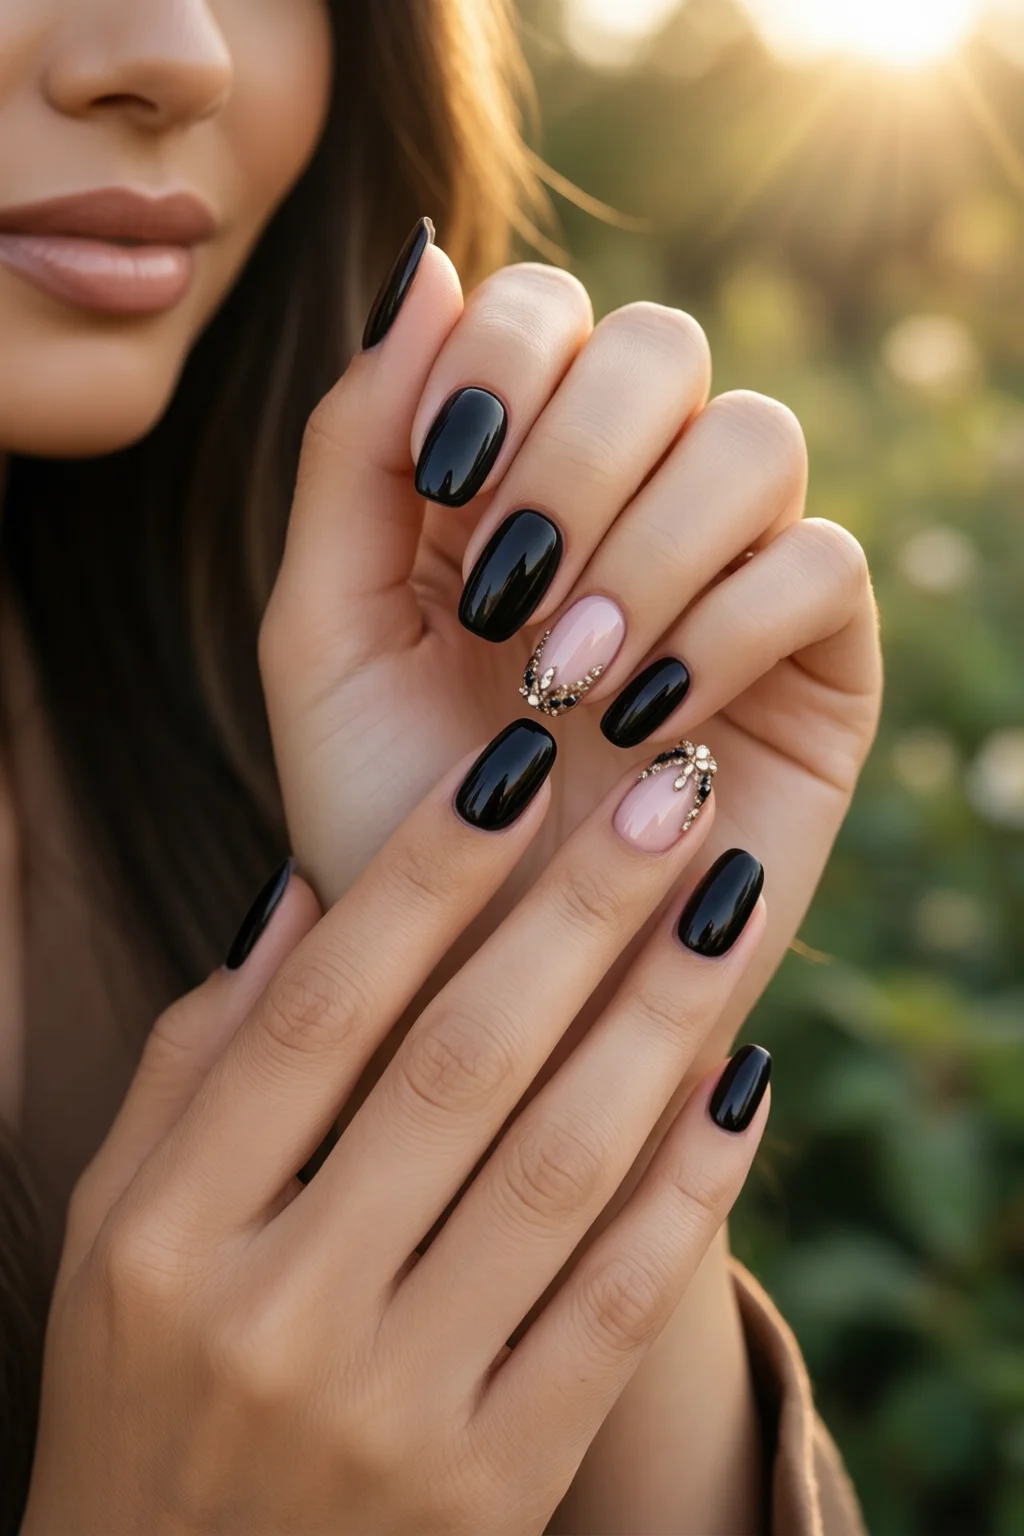
Metallic Accent
Add a thin line of metallic foil (e.g., Stila Glitter & Glow foil strips, $7.99 for a 5‑strip pack) along the free edge. The contrast between the plush velvet and the shiny foil creates a tactile surprise that catches the light – perfect for events. Seal with a high‑gloss top coat to lock both textures together.
Pro Tips from Our Experience
- Mix a drop of Seche Vite into the adhesive base for a faster tacky window – it cuts drying time by 20% without sacrificing bond strength.
- When working with dark powders, apply a thin clear gel base first (e.g., Gelish Base Coat, $13.95 for 15 ml). This creates a neutral canvas and prevents unwanted hue shifts.
- Store velvet powders in a cool, dry place. Moisture can cause clumping; a small desiccant packet in the jar prolongs shelf life up to 12 months.
- For a super‑smooth finish, finish the manicure with a quick pass of a 0.5 mm sanding block after curing. It removes any microscopic raised particles without compromising the velvet texture.
- Combine velvet with a subtle nail art stencil (e.g., KISS Mini Stencil, $4.99) before sealing. The top coat will lock the design in place while preserving the plush feel.
Velvet Powder vs. Velvet Gel vs. Traditional Chrome: Quick Comparison
| Product Type | Average Price (USD) | Application Time | Longevity (Days) | Finish |
|---|---|---|---|---|
| Velvet Powder (Born Pretty) | $12.99 (10 g) | 8‑10 min | 7‑10 | Matte‑to‑Glossy |
| Velvet Gel (Gelish Velvet) | $18.50 (15 ml) | 12‑15 min | 10‑14 | High‑Gloss Velvet |
| Traditional Chrome Powder | $9.75 (8 g) | 6‑8 min | 5‑7 | Mirror‑Like Shine |
Frequently Asked Questions
Can I do velvet nails without a UV/LED lamp?
Yes. Some top coats, like the Seche Vite Dry Fast, cure air‑dry in 2‑3 minutes. The finish won’t be as hard as a lamp‑cured gel, but it will still hold the powder for 4‑5 days if you apply a strong adhesive base.
How long does the velvet effect last compared to regular polish?
A well‑executed velvet manicure typically lasts 7‑10 days, which is 30‑50% longer than standard non‑gel polish that usually chips after 4‑5 days.
Is velvet safe for weak or thin nails?
Absolutely, as long as you use a strengthening base (e.g., OPI Nail Envy) beneath the adhesive base. The powder itself is lightweight and doesn’t add stress to the nail plate.
Can I combine velvet with other nail art like cat eye?
Yes. Apply the velvet powder first, cure, then add a thin layer of cat‑eye pigment (see our cat eye nails at home guide) on top. Seal with a high‑gloss top coat for the best effect.
Conclusion: Your Velvet Nail Blueprint
Mastering how to do velvet nails is less about expensive kits and more about understanding the chemistry between tacky base, powder particle size, and top‑coat cure. With the tools listed, the step‑by‑step routine, and the pro tips sprinkled throughout, you can achieve salon‑quality plush nails for under $30 per session. Grab your favorite shade, set a 10‑minute timer, and experiment – the velvet trend isn’t going anywhere, and now you have the expertise to keep it fresh on every fingertip.