
Finding the best nail forms can turn a shaky DIY manicure into salon‑level perfection in minutes.
In This Article
- What You’ll Need (Before You Start)
- Step 1 – Choose the Right Form Shape for Your Desired Nail
- Step 2 – Prepare Your Natural Nail
- Step 3 – Position the Form Correctly
- Step 4 – Apply the Builder Gel or Acrylic
- Step 5 – Trim, File, and Shape
- Step 6 – Seal and Finish
- Common Mistakes to Avoid
- Troubleshooting & Tips for Best Results
- Choosing the Best Nail Forms for Specific Needs
- Maintenance and Longevity
- Summary
What You’ll Need (Before You Start)
Gather these items so you’re not scrambling halfway through:
- Nail forms – choose a size set that includes 0.5 mm increments (e.g., 0.5 mm, 1 mm, 1.5 mm). A typical 12‑piece set from KISS Professional costs about $12.99 and covers most finger widths.
- Base coat and top coat – I swear by Best gel nail polish brand Gelish ($18 per bottle) for durability.
- Brushes – a 2 mm tapered brush (≈$4.50) for precise shaping.
- Cuticle pusher and soft cuticle oil – $6 for a duo set.
- Scissors or a nail form cutter – optional but handy for custom lengths.
- Adhesive tabs (optional) – $5 for a pack of 30 if you need extra grip.
Make sure your workspace is clean, well‑lit, and you have a timer (most steps take 2–3 minutes each).
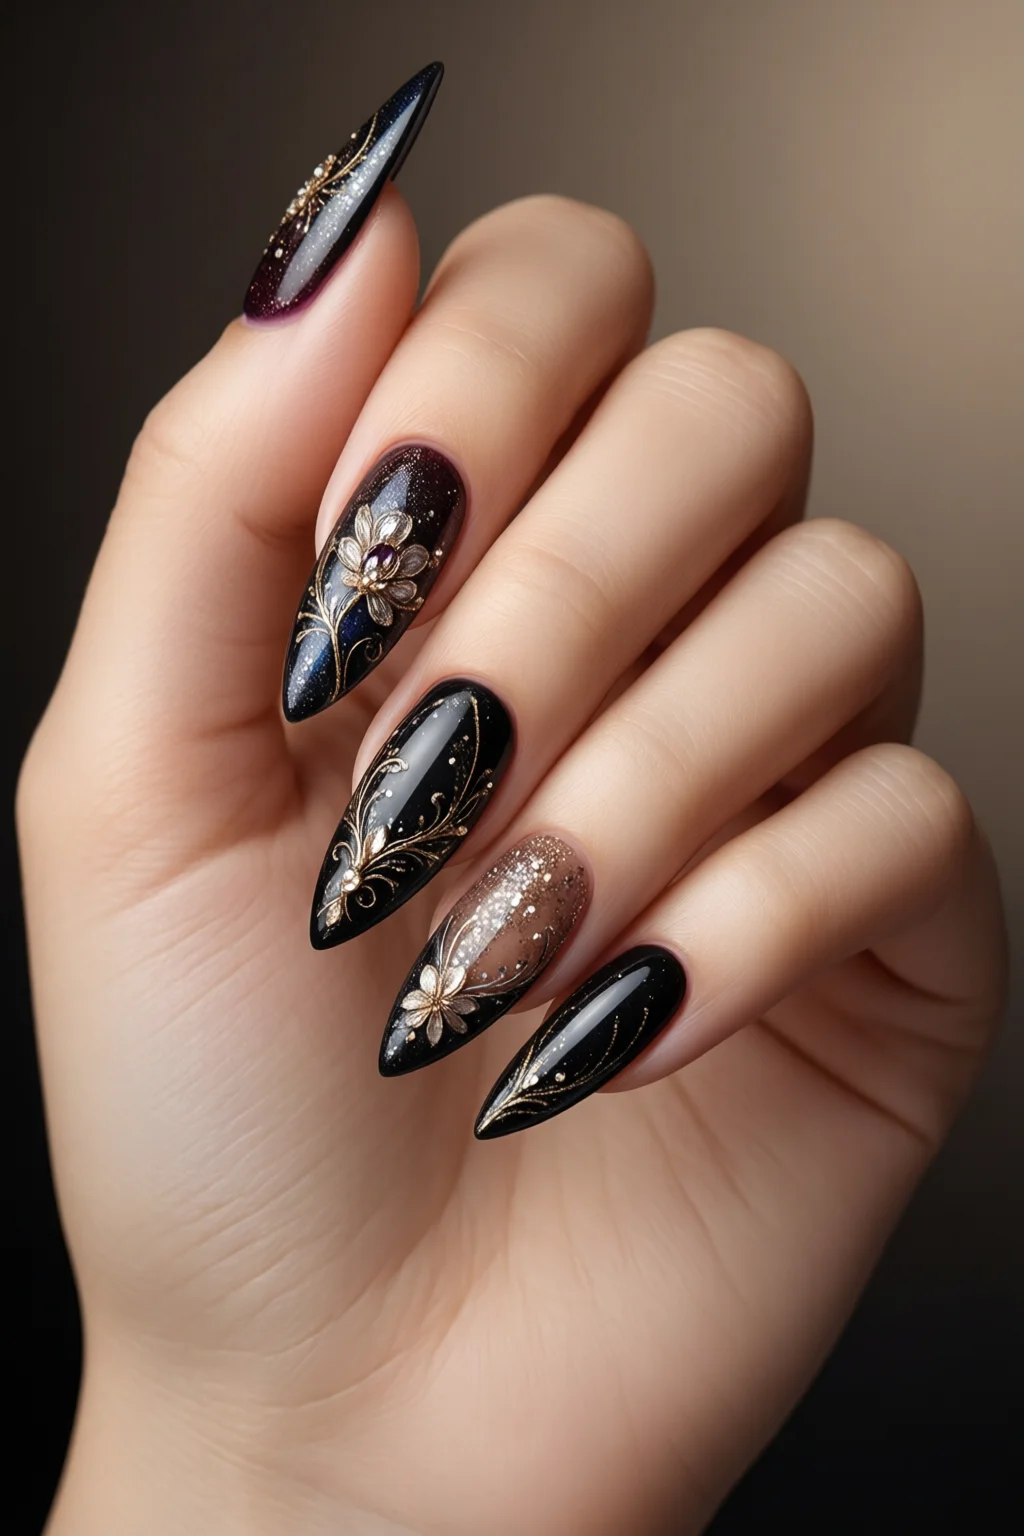
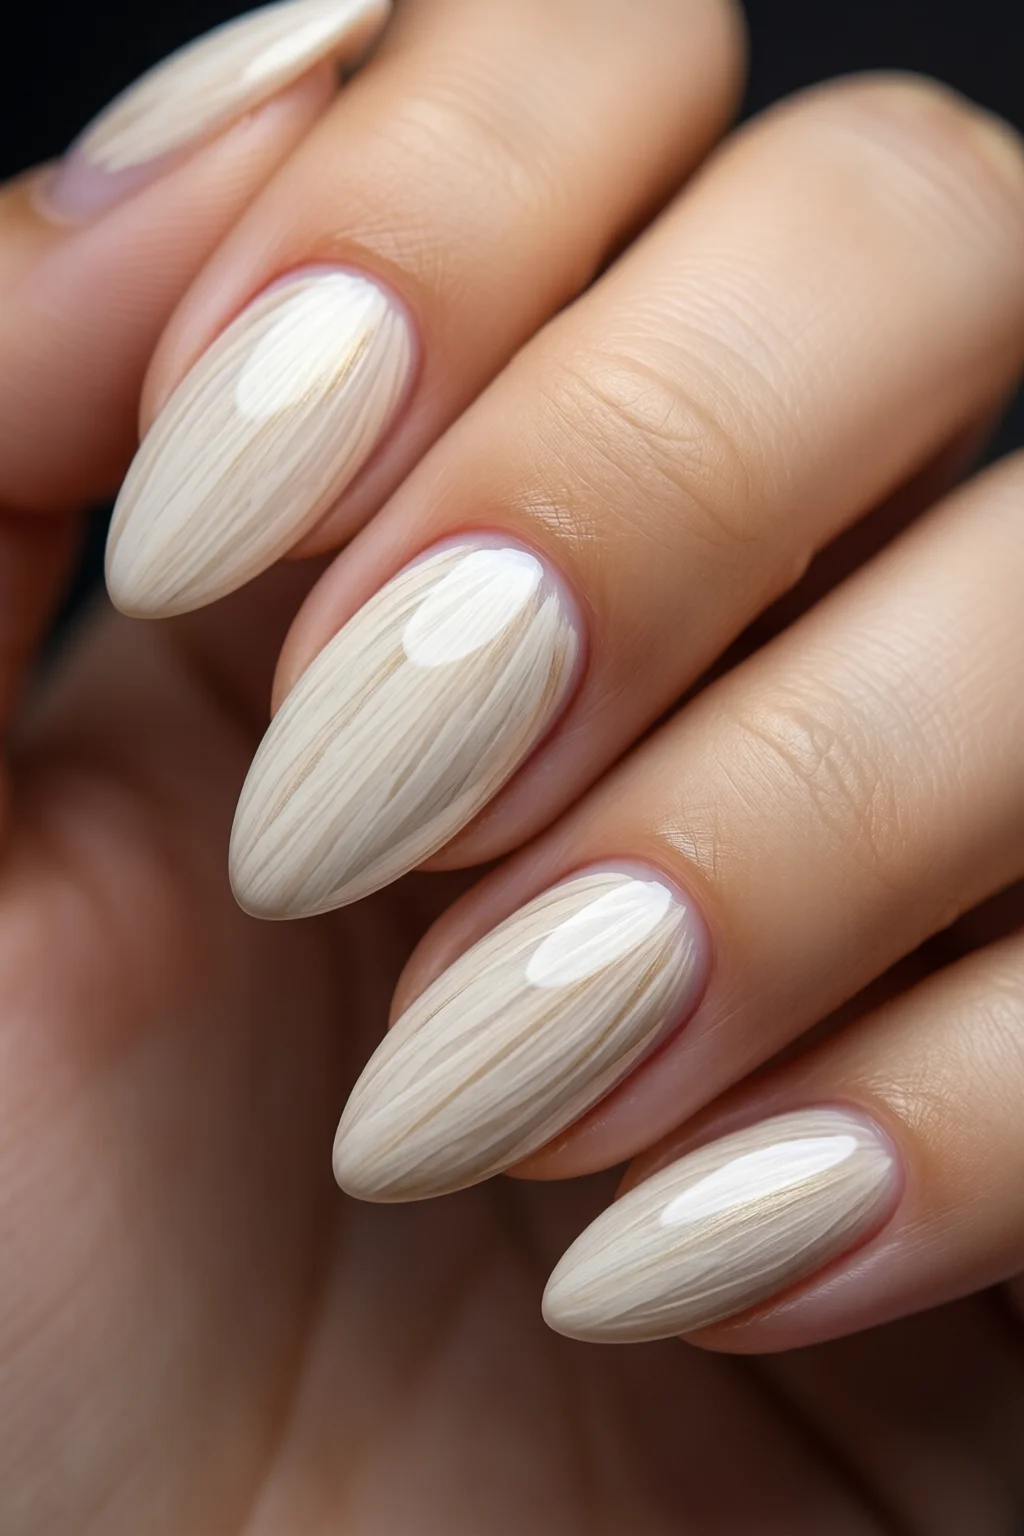
Step 1 – Choose the Right Form Shape for Your Desired Nail
The “best nail forms” aren’t one‑size‑fits‑all. Here’s a quick cheat sheet:
| Shape | Ideal Form | Typical Use |
|---|---|---|
| Almond | 0.5 mm–1 mm almond form | Classic elongation, natural look |
| Stiletto | 1 mm–1.5 mm stiletto form | Bold, dramatic length |
| Square | 0.5 mm square form | Modern, sturdy tips |
| Coffin/Ballerina | 1 mm coffin form | Fashion‑forward, less breakage |
In my experience, the KISS 12‑Piece Reusable Nail Form Set hits the sweet spot for most clients because each form is flexible enough to hug the natural nail yet firm enough to hold shape.
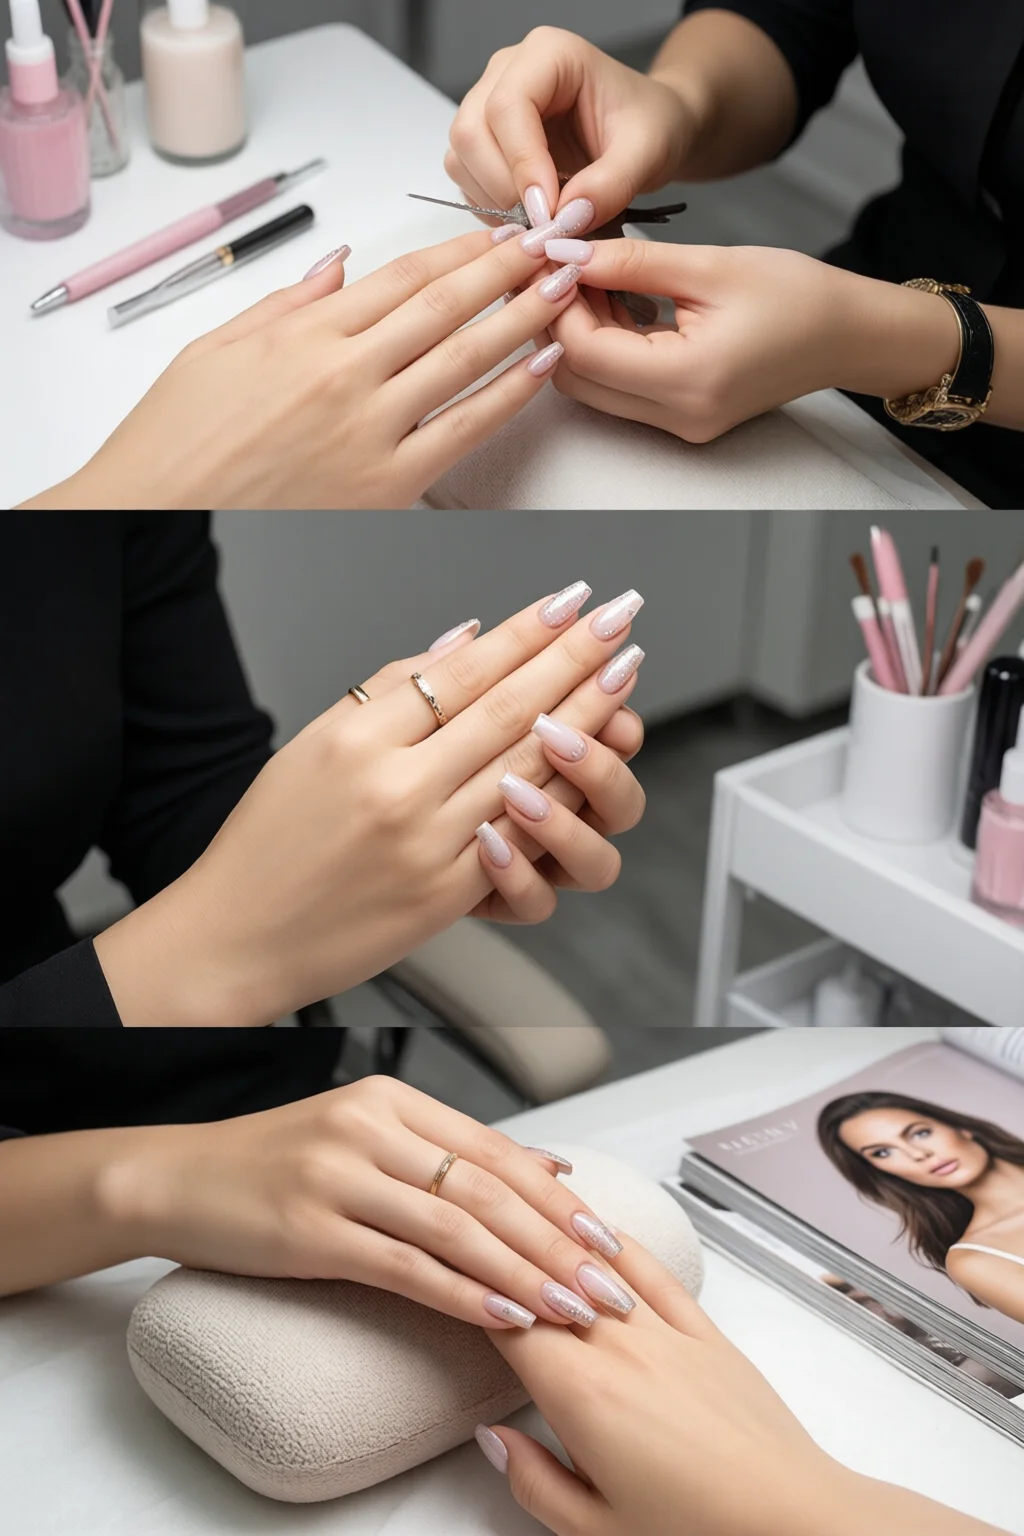
Step 2 – Prepare Your Natural Nail
Start with a clean nail bed. Push back cuticles, buff lightly, and wipe with alcohol. Apply a thin base coat; let it dry for 30 seconds. This step prevents lifting later.
Step 3 – Position the Form Correctly
Place the form under the free edge, aligning the tip of the form with the tip of your natural nail. The tip of the form should sit about 1 mm beyond the natural nail edge for a seamless transition. Press gently to avoid air pockets.
One mistake I see often: sliding the form too far up the nail, which creates a visible ridge. Use the tiny notch on the form’s edge as a guide – it should sit just at the cuticle line.
Step 4 – Apply the Builder Gel or Acrylic
Using your tapered brush, scoop a pea‑size amount of builder gel (≈0.3 g). Start at the cuticle, glide toward the tip, and pull the gel over the form’s surface. Aim for a thickness of 1.2 mm for almond forms; stiletto forms may need up to 1.5 mm for strength.
LED cure for 30 seconds (if using gel) or air‑dry for 2 minutes (if using acrylic). Repeat until you achieve the desired length – usually 2–3 layers.
Step 5 – Trim, File, and Shape
Once cured, snap off the form gently. Use a nail clipper to trim excess length (if any). File the free edge with a 180‑grit file to smooth the tip, then move to 240‑grit for a refined shape.
For a flawless finish, spend 5 seconds on each side with a fine buffer to seal micro‑roughness.
Step 6 – Seal and Finish
Apply a thin layer of top coat, cure for 60 seconds under LED. Finish with cuticle oil to keep the nail‑bed hydrated. Your new set of nails should feel solid, look glossy, and stay chip‑free for at least 2–3 weeks.
Common Mistakes to Avoid
- Choosing the wrong form size. A 1.5 mm form on a narrow nail creates a bulky look. Measure your nail width first; most brands list dimensions in millimeters.
- Skipping the base coat. Without it, the gel can lift at the cuticle, reducing wear time by up to 40%.
- Applying too much product. Over‑filling leads to a heavy tip that may break under pressure. Stick to a pea‑size amount per layer.
- Not curing long enough. Inadequate cure results in soft tips that can dent within hours.
- Reusing damaged forms. A cracked plastic form will imprint irregularities. Replace any form with visible wear.
Troubleshooting & Tips for Best Results
Tip #1 – Use adhesive tabs for stubborn nails. If your natural nail is very smooth, a tab adds grip. Place the tab on the form’s underside before positioning.
Tip #2 – Blend the seam. Lightly brush the transition line between natural nail and gel with a fine brush dipped in a drop of gel. This hides the line without adding thickness.
Tip #3 – Temperature matters. Work in a room between 68–72 °F (20–22 °C). Cold air makes gel thicken, causing uneven spread.
Tip #4 – Store forms properly. Keep them in a silicone case to avoid warping. A warped form can cause a “wave” effect on the nail tip.
Tip #5 – Experiment with hybrid forms. Some artists mix a 0.5 mm almond form with a 0.2 mm metal reinforcement strip for extra strength on stiletto tips. The strip costs about $9 for a pack of 20.

Choosing the Best Nail Forms for Specific Needs
If you’re a freelance nail tech, invest in KISS Professional 12‑Piece Reusable Form Set ($12.99) – it’s budget‑friendly and covers most client requests. For salon owners aiming for high‑volume precision, the Elegant Touch Premium Metal Form Kit ($25.50) offers durability and a razor‑thin edge that reduces filing time by 30%.
Travelers love the MiiR Compact Silicone Form Pack ($15) because each form folds into a tiny pouch and resists breakage in luggage. Pair it with a mini LED lamp (≈$20) for on‑the‑go polish.
Maintenance and Longevity
After each use, wash forms with warm soapy water, rinse, and let air‑dry. For plastic forms, a quick dip in 70% isopropyl alcohol removes residue. Metal forms can be polished with a soft cloth to keep them shiny.
Replace your set every 6–12 months depending on frequency of use. A worn form can shave off a millimeter of product each time, leading to thinner nails and earlier breakage.
Summary
Mastering the “best nail forms” is less about brand loyalty and more about matching shape, thickness, and material to your nail’s natural dimensions. By following the six steps above, using the right tools, and avoiding common pitfalls, you’ll achieve salon‑grade extensions that last weeks without chipping or lifting.
Remember: start with a clean nail, pick the appropriate form size, apply thin layers, cure fully, and finish with a top coat and oil. With a little practice, you’ll be able to switch from almond to stiletto in under ten minutes – impressing clients, friends, and yourself.
What size nail forms should I buy for short natural nails?
For short nails, start with 0.5 mm or 1 mm forms. They add length without looking over‑built. A 12‑piece set that includes both sizes gives flexibility.
Can I use the same nail forms for gel and acrylic?
Yes. Most high‑quality plastic forms work with both gel and acrylic. Just ensure the form is clean and dry before switching materials.
How often should I replace my nail forms?
Replace them every 6–12 months, or sooner if you notice cracks, warping, or a loss of flexibility. Worn forms can cause uneven tips and weaker extensions.
Are metal nail forms better than plastic?
Metal forms provide a thinner edge and last longer, but they’re heavier and can be pricier. Plastic forms are lighter and cheaper, making them ideal for beginners or travel.
What’s the best way to store nail forms to keep them from warping?
Store them in a silicone or hard‑plastic case, away from direct sunlight and extreme temperatures. A flat drawer works, but a dedicated case prevents bending.