
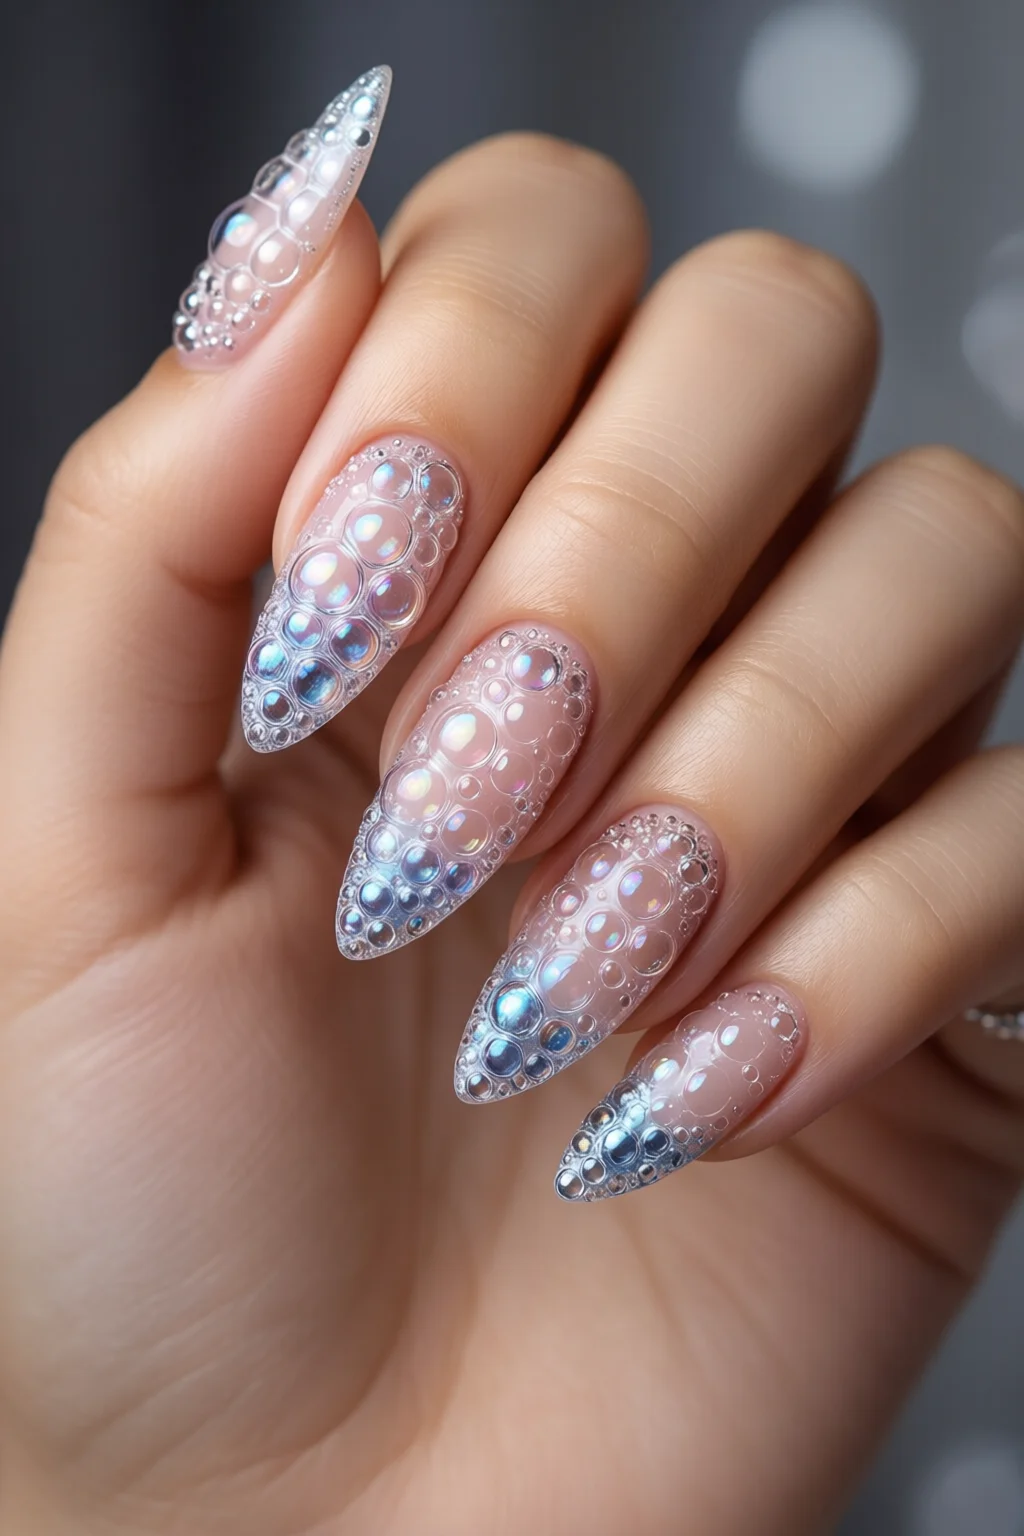
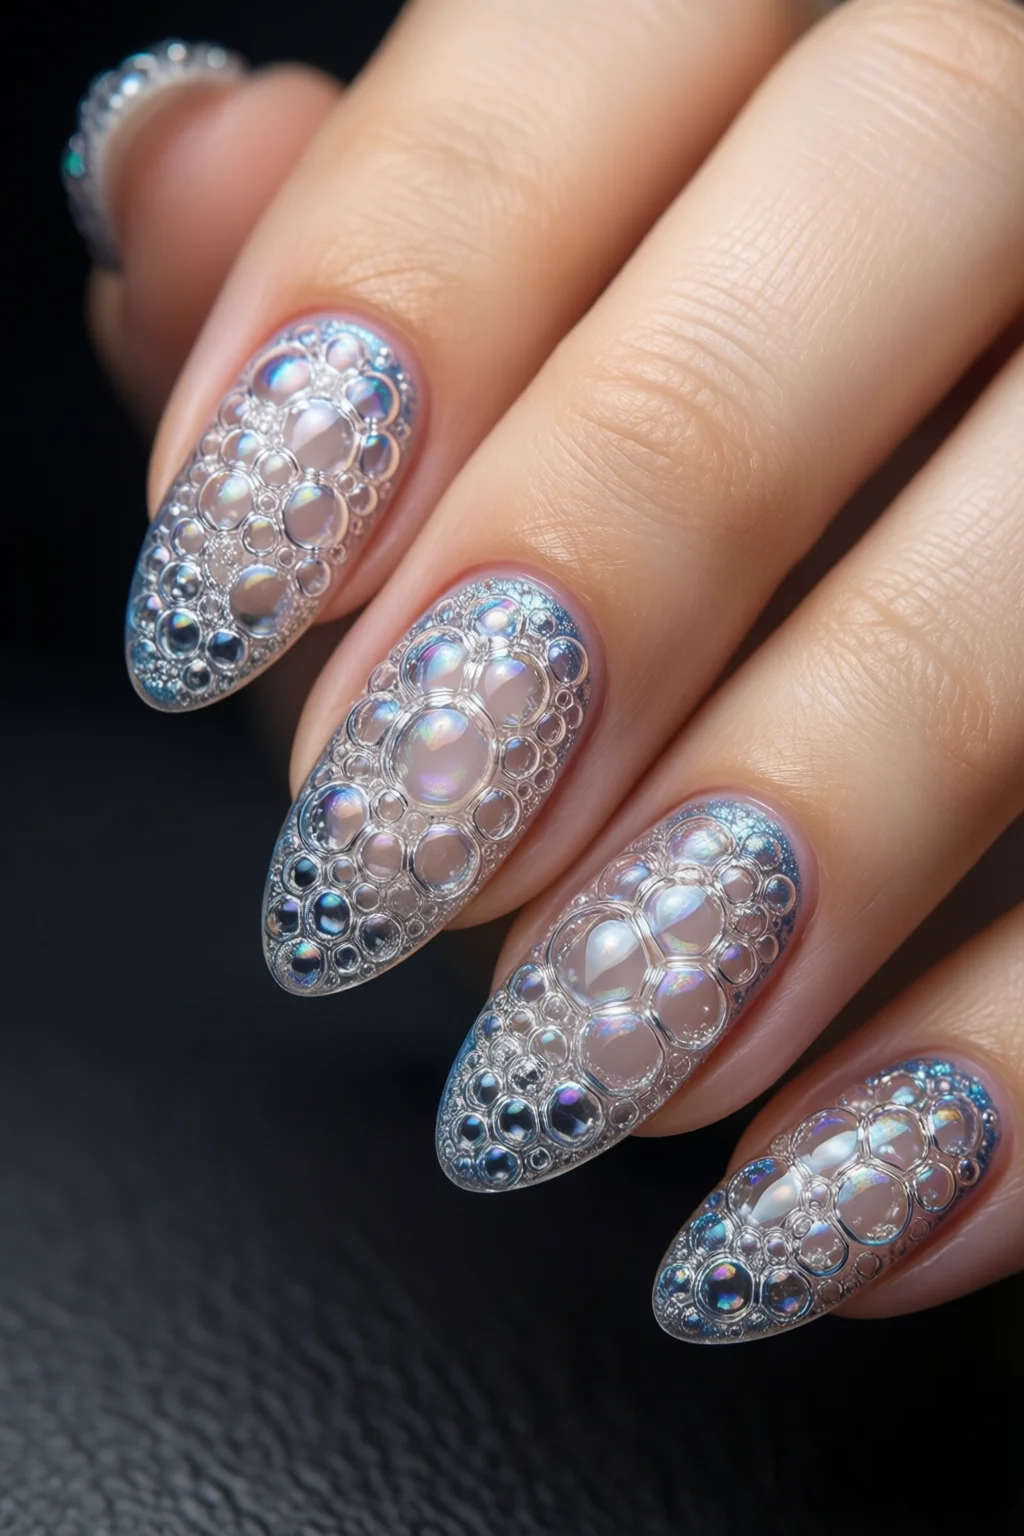
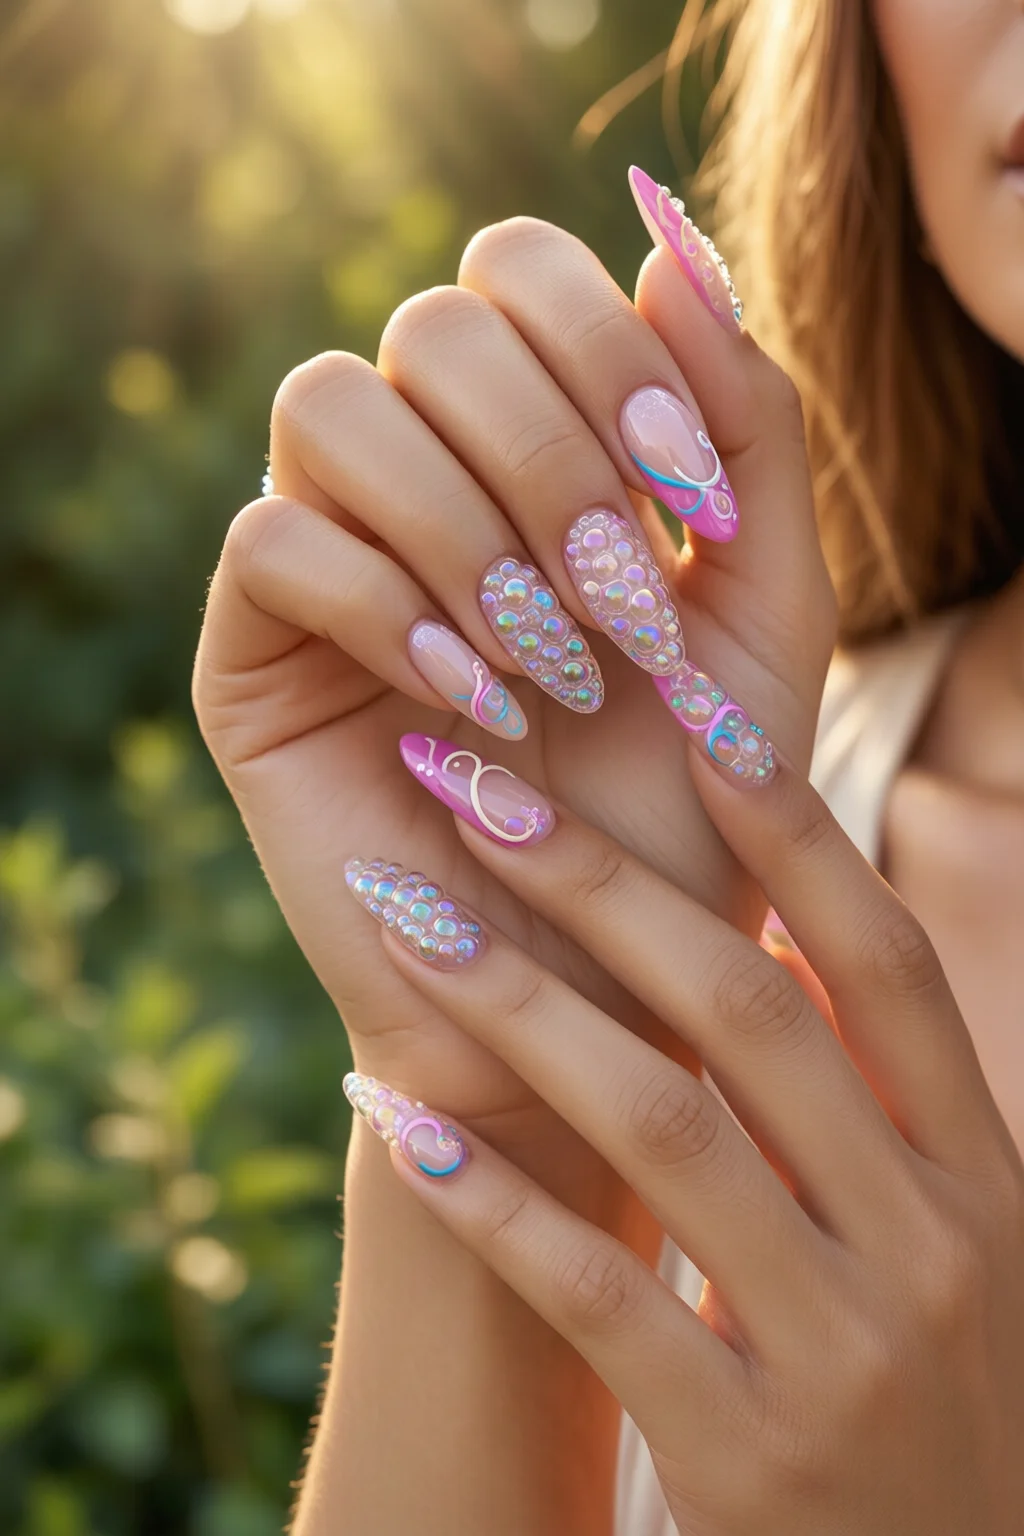
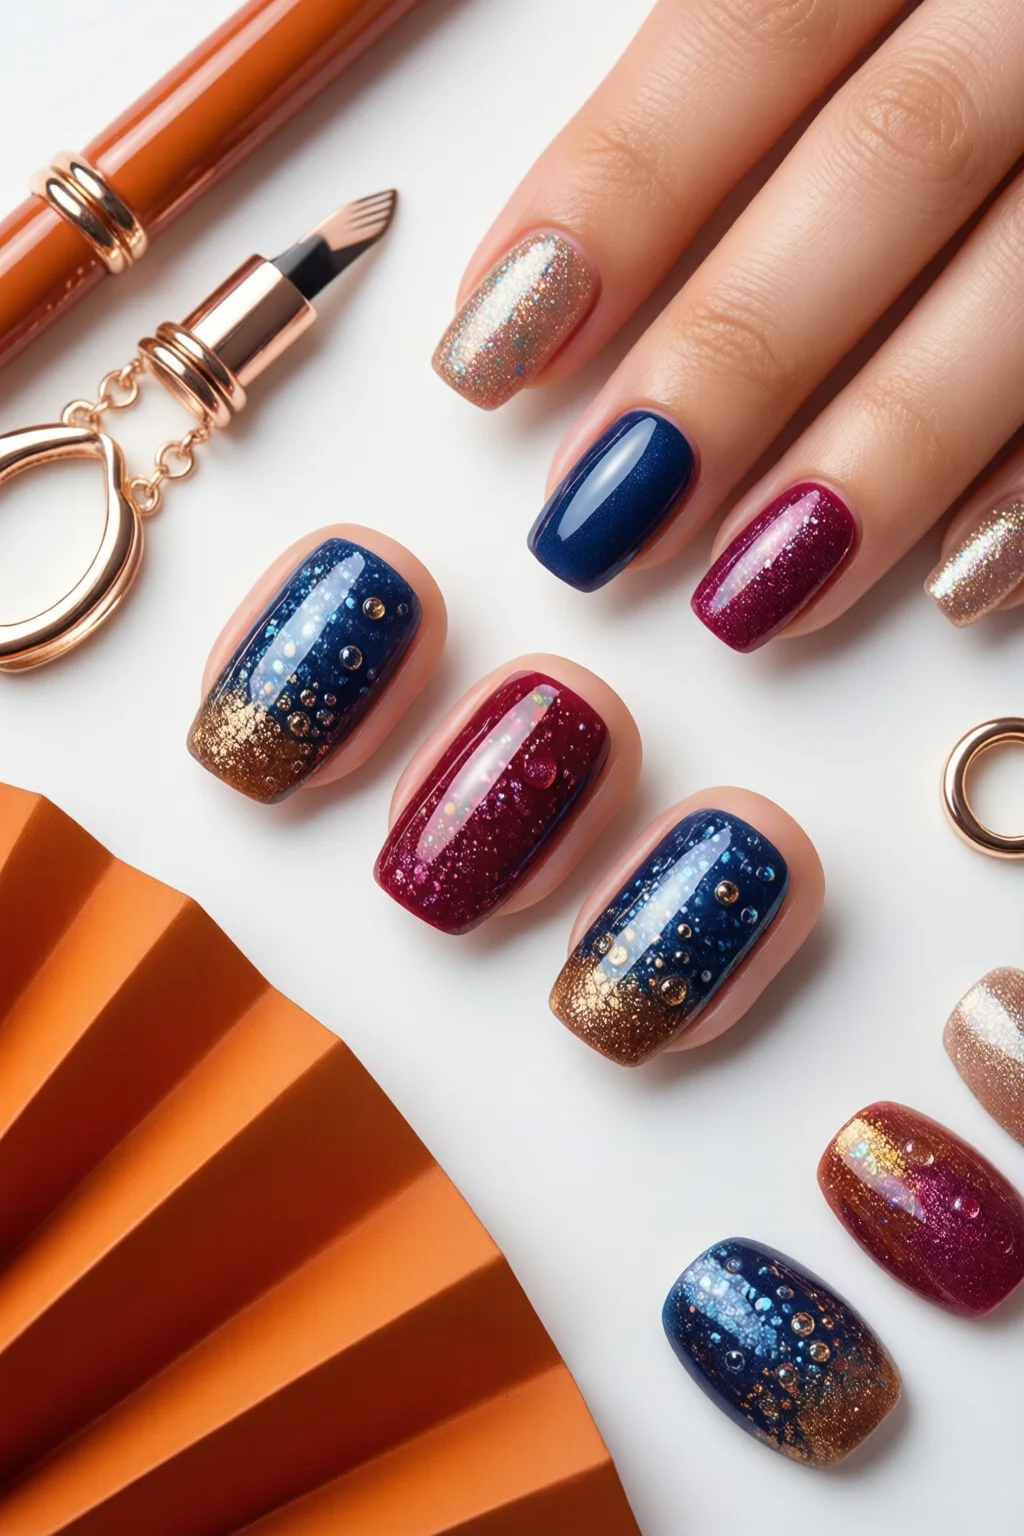
Last summer I was at a rooftop brunch when a friend’s hands caught everyone’s eye. She was rocking a fresh set of bubble nails that looked like tiny, glossy pearls trapped in a clear dome. I asked her where she got them, and she swore by a DIY bubble nail kit she’d bought online. That moment sparked my obsession with the trend—because bubble nails aren’t just a flash; they’re a versatile, eye‑catching technique that can be done at home or in a salon, and they work on every nail shape from almond to stiletto.
In This Article
- 1. Gellen Bubble Gel Kit – The All‑Rounder for Beginners
- 2. Natalie Gel Bubble Polish Set – Best for Colorful Variations
- 3. Kiss Bubble Nail Powder – Ideal for Quick Salon‑Level Results
- 4. Sally Hansen Bubble Pop Gel – Most Affordable Entry Point
- 5. OPI Bubble Nail Collection – Premium Choice for Long‑Lasting Shine
- Comparison Table: Top Bubble Nail Kits
- FAQ
- Final Verdict
If you’ve typed “bubble nails” into Google, you’re probably after one of three things: a step‑by‑step tutorial, the best products to achieve that three‑dimensional look, or troubleshooting tips for common hiccups like air bubbles or premature chipping. This list cuts through the noise by highlighting the five top bubble nail kits on the market, breaking down their strengths, weaknesses, and real‑world performance. Armed with this guide, you can decide which kit fits your budget, skill level, and aesthetic, then dive straight into creating those glossy, bubble‑wrapped masterpieces.
1. Gellen Bubble Gel Kit – The All‑Rounder for Beginners
The Gellen Bubble Gel Kit is the most widely recommended starter set on Instagram and TikTok. It includes a 15 ml bottle of clear bubble gel, a UV/LED lamp (36 W, 30 seconds cure time), a silicone bubble mold, and a pair of fine‑tip brushes.
How to use
- Prep nails with a light buffer and clean any oils.
- Apply a thin base coat of Gellen’s Clear Base Gel (2 ml, $8.99).
- Place the silicone mold on the nail, pour a pea‑sized amount of bubble gel, then gently shake to spread.
- Slide the mold off and cure under the LED lamp for 30 seconds.
- Seal with the Gellen Top Coat (2 ml, $9.49) and cure again.
Pros
- Easy mold release – no tearing.
- Clear gel stays glossy for up to 21 days without dulling.
- UV/LED lamp included, so you’re not forced to buy an extra device.
- Price‑point friendly: entire kit $39.99 (includes extra gel refills).
Cons
- Gel can be a bit sticky after the first cure; a quick wipe with isopropyl alcohol is needed.
- Only one mold size (ideal for almond, square, or round shapes).
In my experience, the Gellen kit delivers the most consistent bubble formation, especially for first‑timers who tend to over‑fill the mold. One mistake I see often is pressing the mold too hard, which squeezes out the gel and leaves a flat spot.
2. Natalie Gel Bubble Polish Set – Best for Colorful Variations
If you’re looking to add a pop of color while still getting that bubble effect, Natalie’s Gel Bubble Polish Set is a game‑changer. It comes with three tinted bubble gels (soft pink, pastel lavender, and ocean teal), a reusable silicone dome, and a portable 24 W USB lamp.
How to use
The process mirrors the Gellen kit, but you can layer two colors for a gradient bubble (apply pink, cure, then add teal on top before the second cure). The set also includes a “bubble‑lock” top coat that prevents yellowing.
Pros
- Vibrant, true‑to‑color pigments that don’t fade.
- USB lamp makes it travel‑friendly – perfect for nail‑art parties.
- Mixed‑color technique yields Instagram‑ready looks.
- Cost: $49.95 for the whole set (includes extra top coat).
Cons
- USB lamp’s cure time is longer (45 seconds) compared to a 36 W LED.
- Tinted gels can be slightly thinner, requiring a more careful pour.
One tip I’ve discovered: shake the tinted gel gently before pouring to avoid air bubbles that can become visible after curing.
3. Kiss Bubble Nail Powder – Ideal for Quick Salon‑Level Results
Kiss is a household name for nail polish, and their Bubble Nail Powder brings the powder‑dip technique into the bubble realm. The kit includes a clear bubble base powder, a set of three metallic powders (gold, silver, rose gold), a silicone bubble mold, and a dip brush.
How to use
- Apply Kiss’s Clear Base Coat (gel‑like, 2 ml, $7.99) and cure for 30 seconds.
- Press the silicone mold onto the nail, then dip the brush into the metallic powder and swirl gently inside the mold.
- Remove the mold, tap off excess powder, and seal with Kiss’s Top Coat ($9.49).
Pros
- Metallic powders give a high‑shine, mirror‑ball effect without extra glitter.
- Fast drying – you can finish a full set in under an hour.
- Less mess than liquid gel – powders stay contained in the mold.
- Price: $44.99 for the complete kit.
Cons
- Powder can clump if the humidity is high (>65%).
- Requires a separate UV/LED lamp (not included).
In my salon, I reserve this kit for “last‑minute glam” appointments because the finish looks professional yet is achieved in record time.
4. Sally Hansen Bubble Pop Gel – Most Affordable Entry Point
Sally Hansen’s Bubble Pop Gel is a drugstore staple that promises “bubble nails in 5 minutes.” The kit contains a single‑use bubble gel pen (5 ml) and a compact silicone dome that fits any nail shape.
How to use
Simply press the pen tip onto the nail, slide the dome over, and press gently. The gel spreads automatically, and a quick 20‑second cure under any LED lamp finishes the look.
Pros
- Budget‑friendly: $19.99 for the entire kit.
- Pen design eliminates over‑filling.
- No separate lamp needed if you already own a basic LED.
- Great for travel – fits in a purse.
Cons
- Durability is lower – lasts about 10 days before chipping.
- Limited to clear bubbles; no color options.
One mistake I see newbies make with this pen is pressing too hard, which flattens the bubble. A light touch gives the most pronounced dome.
5. OPI Bubble Nail Collection – Premium Choice for Long‑Lasting Shine
OPI’s reputation for salon‑grade polish extends to their Bubble Nail Collection, which includes a high‑visibility “Bubble Base” (12 ml), a “Bubble Top” (12 ml), and a reusable silicone bubble cup. The formulas are enriched with vitamin E to prevent cracking.
How to use
- Apply OPI Bubble Base in a thin layer; cure 30 seconds.
- Place the silicone cup, add a droplet of Bubble Base, and gently swirl.
- Remove cup, cure again, then seal with Bubble Top.
Pros
- Longest wear – up to 28 days without dulling.
- Vitamin E infusion reduces nail‑bed irritation.
- Professional finish that rivals high‑end salon services.
- Price: $69.95 for the full set (includes extra base/top refills).
Cons
- Higher upfront cost.
- Requires a high‑power LED lamp (at least 36 W) for proper curing.
In my professional studio, OPI’s bubble nails consistently outlast other brands, making them worth the investment for clients who need durability (e.g., bridal parties).
Comparison Table: Top Bubble Nail Kits
| Kit | Price | Included Lamp? | Color Options | Wear Time | Best For |
|---|---|---|---|---|---|
| Gellen Bubble Gel Kit | $39.99 | Yes (36 W LED) | Clear only | ≈21 days | Beginners, all‑round use |
| Natalie Gel Bubble Polish Set | $49.95 | Yes (USB 24 W) | 3 tinted gels | ≈18 days | Colorful designs, travel |
| Kiss Bubble Nail Powder | $44.99 | No (requires own lamp) | Metallic powders | ≈22 days | Quick salon‑level finish |
| Sally Hansen Bubble Pop Gel | $19.99 | No (uses existing LED) | Clear only | ≈10 days | Budget‑friendly, on‑the‑go |
| OPI Bubble Nail Collection | $69.95 | No (requires high‑power LED) | Clear only (base/top) | ≈28 days | Premium durability, professional use |
FAQ
How long does it take to apply bubble nails at home?
For most kits, the entire process—prepping, molding, curing, and sealing—takes about 20‑30 minutes for a full set. Beginners may need an extra 5‑10 minutes for practice.
Can bubble nails be done on short nails?
Absolutely. Use a smaller silicone dome or trim the mold to fit the length. The bubble effect is more pronounced on longer nails, but short nails still look glossy and dimensional.
Do I need a UV lamp for every bubble nail kit?
Only gel‑based kits require a UV/LED lamp. Powder‑based kits like Kiss’s version use a dip method and need only a standard LED for the top coat. Some kits, such as Gellen and Natalie, include a lamp for convenience.
How can I prevent air bubbles from forming inside the dome?
Shake the gel or powder gently before pouring, apply a thin layer first, and avoid over‑filling the mold. If a bubble does appear, pop it with a fine needle before curing.
Final Verdict
Bubble nails are more than a fleeting Instagram fad; they’re a versatile technique that can be tailored to any budget, skill level, or style preference. The Gellen Bubble Gel Kit stands out as the most reliable starter for clear bubbles, while Natalie’s tinted set adds a splash of color for the creative soul. If speed and portability matter, Sally Hansen’s pen‑style kit is unbeatable, whereas OPI’s premium collection guarantees the longest wear for high‑stakes events. Choose the kit that aligns with your priorities, follow the step‑by‑step guide, and you’ll be turning heads with that glossy, three‑dimensional finish in no time.
Ready to dive in? Check out our 3D gummy nails guide for another fun 3‑D technique, or explore y2k nails for a retro twist that pairs perfectly with bubble textures.