
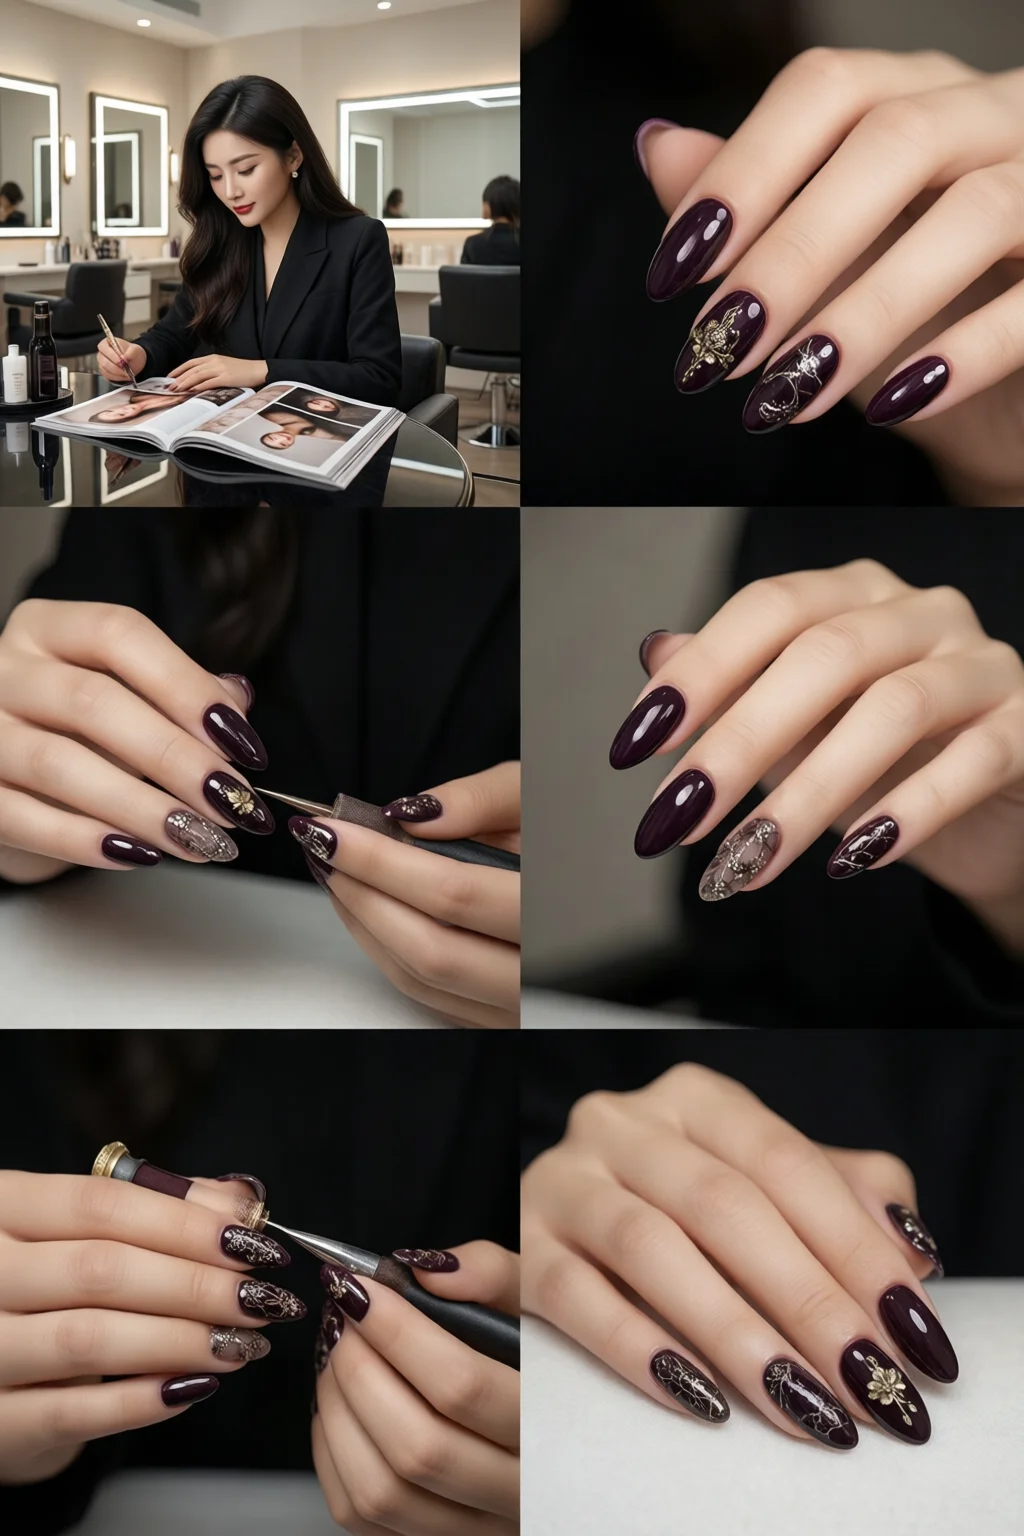
Imagine walking into a dimly lit library, the scent of old leather books mingling with the faint rustle of pages. You settle at a mahogany table, pull out a notebook, and notice your nails—perfectly polished in muted browns, deep greens, and a hint of antique gold. That’s the magic of dark academia nails: a manicure that captures the brooding, scholarly vibe of the aesthetic while staying runway‑ready.
In This Article
What You Will Need
- Base coat – OPI Nail Envy (USD $12, 15 ml)
- Primary polish colors:
- Essie “Mink” (deep taupe, $10, 10 ml)
- Zoya “Mauve” (dusty violet, $13, 10 ml)
- Sally Hansen “Twilight” (rich navy, $8, 15 ml)
- Accent shades:
- China Glaze “Bronze Age” metallic gold (USD $9, 15 ml)
- OPI “Ink Black” for fine detailing (USD $12, 10 ml)
- Texture tools – matte top coat (Seche Vite Dry Fast Top Coat, $11, 15 ml) and a fine‑grain sanding block (1 mm grit, $4)
- Detailing brushes – Kiss Precision Nail Art Brush Set (3‑brush pack, $6)
- Gold leaf sheets (12 × 12 cm, $7 per pack of 5)
- Cuticle oil (Burt’s Bees, $5, 15 ml) and hand moisturizer
- UV/LED lamp (if using gel base, e.g., SUNUV 48W, $49)
- Optional: magnetic nail polish (best magnetic nail polish for a subtle shimmer effect)
All items can be sourced from Sephora, Ulta, or reputable online boutiques. Total investment for a professional‑grade kit runs around $120, but many of these products are reusable for multiple manicures.
Step 1: Prep the Canvas
Begin by removing any old polish with an acetone‑free remover to protect the nail plate. Trim your nails to a length that feels comfortable—typically 1.5 mm beyond the fingertip. File each nail into a soft square shape (a gentle 0.5 mm curve) to echo the classic academic silhouette.
Push back cuticles with a cuticle pusher, then soak a cotton ball in cuticle oil and massage for 30 seconds. This step adds hydration and creates a smooth surface for the base coat, reducing the risk of lifting later on.
Step 2: Base Coat & Color Selection
Apply a thin layer of OPI Nail Envy as your base coat. Cure under a UV lamp for 30 seconds if you’re using a gel base, or let air‑dry for 2 minutes with a regular base. The base not only protects the natural nail but also enhances the opacity of darker pigments.
For the main shade, choose a color that mirrors the moody palette of dark academia. My go‑to is a two‑tone blend: a 70% layer of Essie “Mink” followed by a 30% overlay of Zoya “Mauve”. This creates depth reminiscent of aged parchment. Apply the first coat, let it tack slightly (about 45 seconds), then add the second coat for a seamless gradient.
Tip: Use a high‑gloss top coat after the color if you prefer a polished look, but for a more scholarly matte finish, swap the gloss for Seche Vite’s matte top coat in the next step.
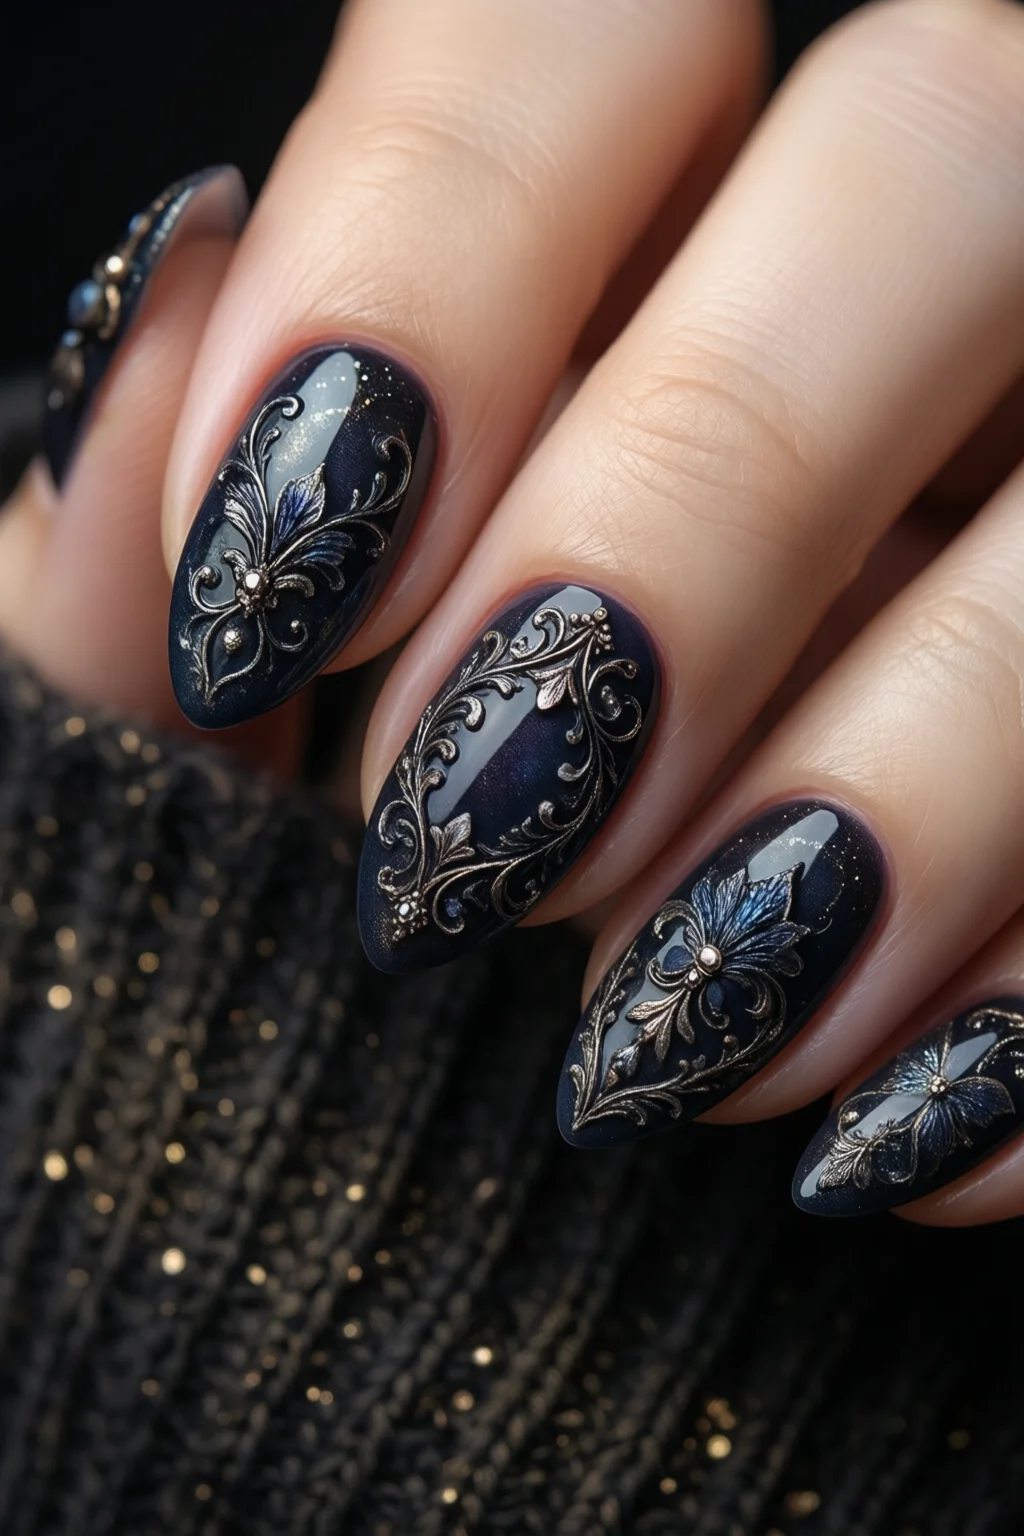
Step 3: Create the Academic Texture
Now we introduce the texture that defines the dark academia vibe. Lightly dust a fine‑grain sanding block over the dried polish to mute the shine; this mimics the look of old book covers. Be gentle—just a quick 2‑second swipe per nail.
Next, dab a small amount of “Twilight” navy polish onto a damp sponge and press it onto the nail in a random, feathered pattern. This technique, called “sponging”, adds a subtle, mottled effect similar to ink stains on parchment. Allow it to dry completely (approximately 3 minutes).
If you’re feeling adventurous, swirl a thin line of “Ink Black” using a Kiss Precision Brush. Draw faint, vertical lines reminiscent of column margins or the faint ruling on a notebook page. Keep the lines spaced about 2 mm apart for authenticity.
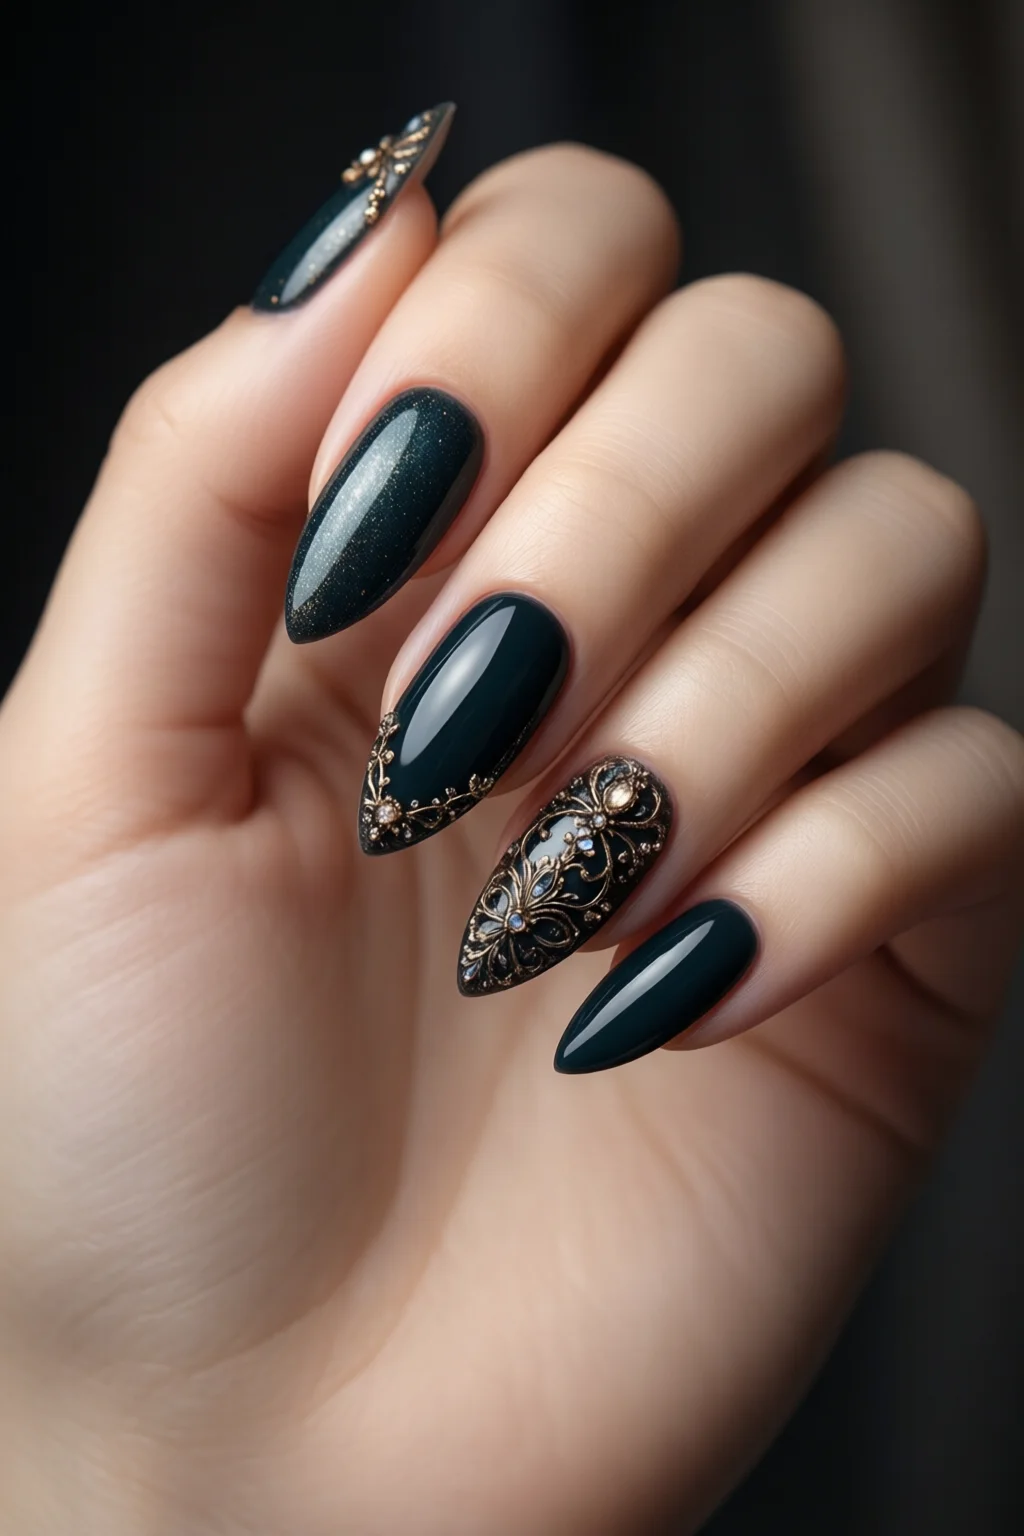
Step 4: Add Details – Gold Foil, Ink Strokes, and Accents
Gold leaf is the signature of the dark academia aesthetic, echoing the gilded edges of vintage tomes. Cut a 2 cm square of gold leaf and apply a tiny dab of adhesive (use a clear acrylic gel like Modelones Nail Glue, $5 for 10 ml). Place the leaf gently with tweezers, then press out air bubbles with a soft brush.
For a scholarly touch, write a single word—like “MUSE” or “NIGHT”—in a delicate script using the “Ink Black” brush on one accent nail. This mimics a handwritten marginal note.
Finish the decorative layer with a thin sweep of metallic “Bronze Age” across the tip of each nail, creating a subtle highlight that catches light like a candle flame.
Step 5: Seal and Finish
Seal your artwork with a generous coat of Seche Vite Dry Fast Top Coat. Cure under a UV lamp for 60 seconds if using gel; otherwise, allow a 5‑minute air dry. This top coat locks in the texture, prevents foil lifting, and adds a protective barrier that extends wear up to two weeks.
Finish with a dab of cuticle oil on each nail edge and massage in a circular motion. This final moisturizing step not only nurtures the nail bed but also adds a subtle sheen that ties the look together.
Common Mistakes to Avoid
- Skipping the base coat. Without it, the dark pigments can stain the natural nail, leading to discoloration that takes weeks to fade.
- Over‑loading the sponge. Too much polish creates clumpy patches rather than the desired feathered effect.
- Applying foil on wet polish. The adhesive won’t bond properly, causing the gold leaf to peel off after a day.
- Using a high‑gloss top coat with matte textures. This defeats the purpose of the subdued, vintage look.
- Neglecting cuticle care. Dry cuticles can cause the polish to lift at the nail base, shortening the manicure’s lifespan.
Troubleshooting & Tips for Best Results
Lift at the tip? Lightly sand the lifted area with a 0.5 mm block, clean with alcohol, then reapply a thin top coat. This restores adhesion without compromising the design.
Gold leaf bubbling? Ensure the adhesive is fully tacky before placement—usually 15 seconds after application. If bubbles appear, use a soft brush to smooth them out immediately.
Color appears too dark? Mix a small amount of clear base coat into the pigment to lighten the shade without losing depth. A 5% dilution is usually enough.
Want more shimmer? Incorporate a thin layer of magnetic nail polish before the final top coat; a quick pass with a magnet will create a subtle, star‑dust effect that complements the academic vibe.
Time constraints? The entire process can be completed in about 90 minutes if you prep all tools beforehand and work in a well‑ventilated space.
Summary
Dark academia nails blend moody, scholarly tones with vintage textures, delivering a look that’s both intellectual and effortlessly chic. By following the five‑step tutorial—prepping the nail, layering nuanced colors, adding texture, detailing with gold leaf and ink, and sealing with a matte top coat—you’ll achieve a manicure that feels like a page from a beloved classic. Remember to avoid common pitfalls, keep your tools clean, and hydrate your cuticles for lasting wear.
How long do dark academia nails typically last?
When sealed with a high‑quality top coat and proper cuticle care, the manicure can last 10‑14 days without chipping. Touch‑up the tips with a thin layer of top coat to extend wear.
Can I achieve the look with regular nail polish instead of gel?
Absolutely. The steps remain the same; just allow extra drying time between layers. Using a quick‑dry top coat like Seche Vite helps maintain durability.
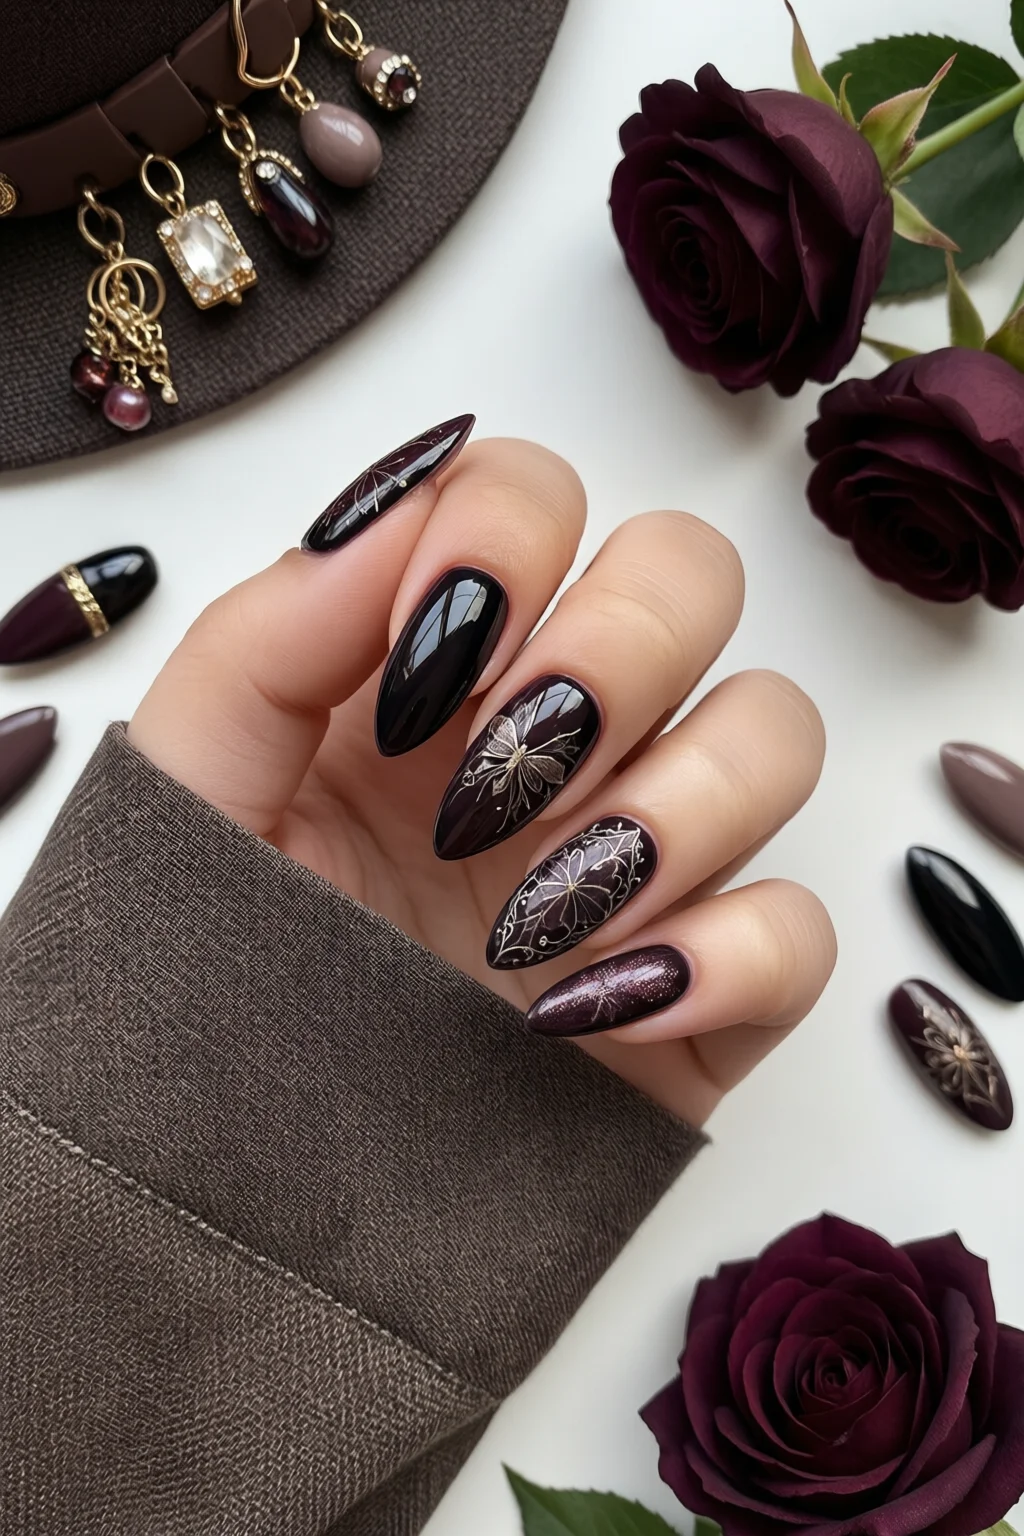
What are the best colors for a dark academia palette?
Rich browns, muted taupes, deep forest greens, navy blues, and dusty mauves work beautifully. Pair them with metallic gold or bronze accents for that scholarly sparkle.
Is gold leaf safe for nails?
Yes, when applied with a nail‑grade adhesive and sealed with a top coat, gold leaf is non‑toxic and won’t damage the nail plate.
Can I combine this look with other trends like magnetic polish?
Definitely. Adding a thin magnetic layer before the final seal adds a subtle shimmer that enhances the vintage feel without overpowering the design.