
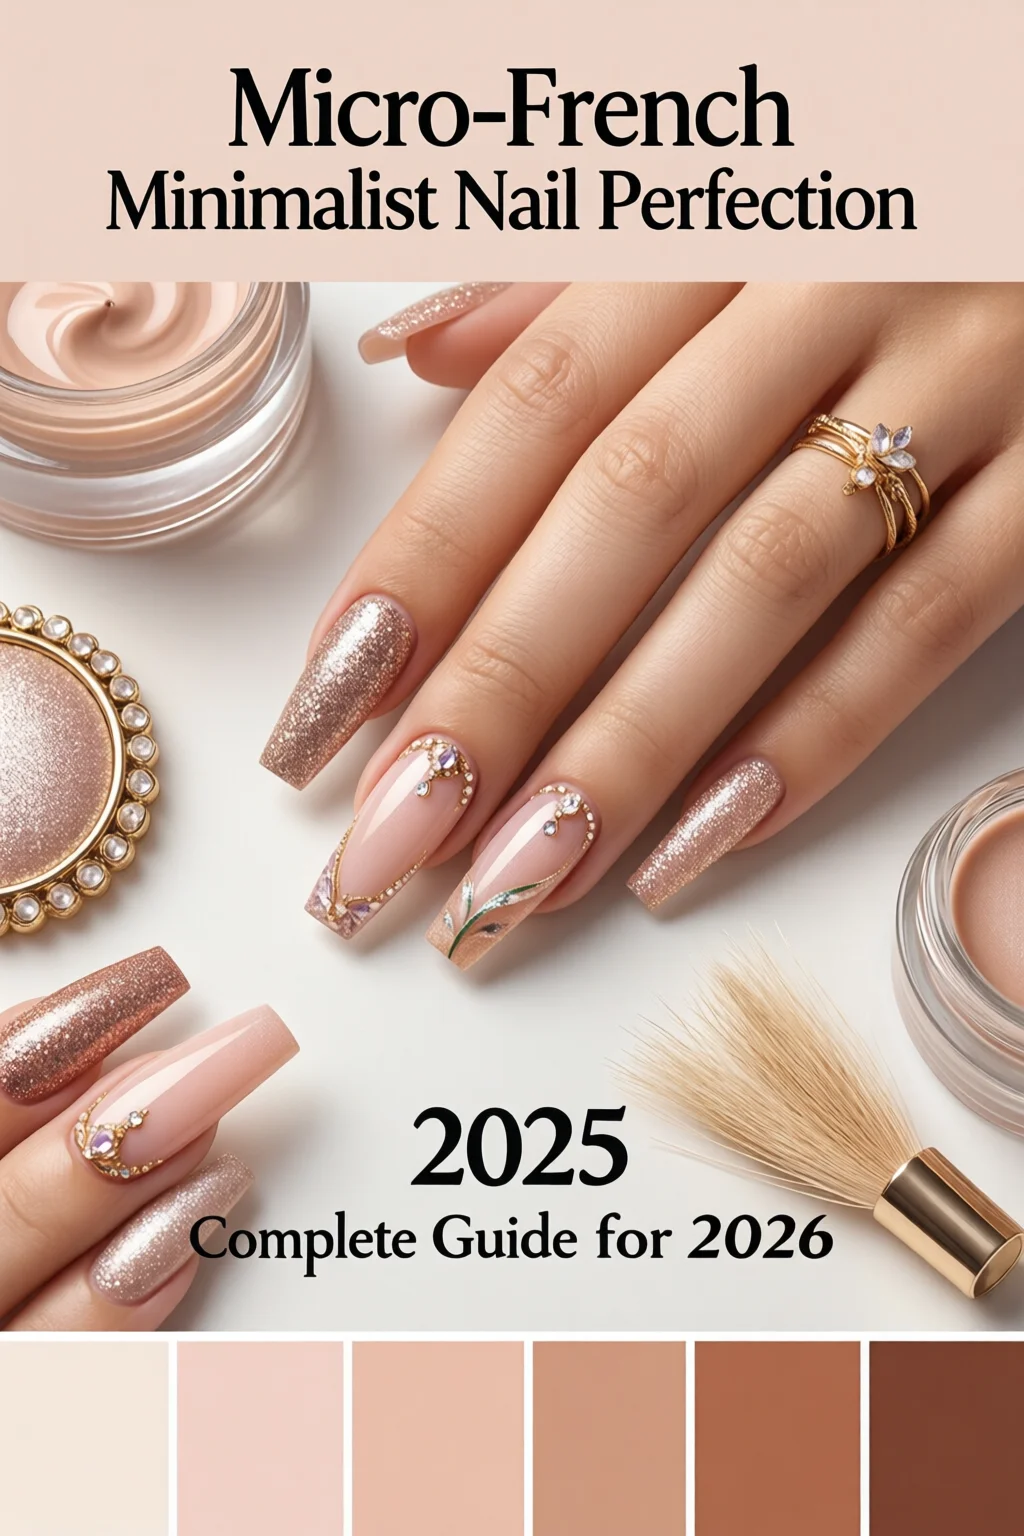
Micro-French Manicure: The 2025 Guide To Minimalist Nail Perfection: Complete Guide for 2026 will give you everything you need to master that sleek, barely‑there French tip that is ruling salons worldwide. By the end of this tutorial you’ll walk out of your home studio with nails that look salon‑finished, cost under $30 total, and stay chip‑free for at least two weeks.
In This Article
- What You Will Need (or Before You Start)
- Step 1: Clean, Shape, and Buff
- Step 2: Push Back Cuticles and Hydrate
- Step 3: Apply a Thin Base Coat
- Step 4: Lay Down the Sheer Nude
- Step 5: Create the Micro‑French Tip
- Step 6: Seal with High‑Gloss Top Coat
- Step 7: Finish with Cuticle Care and Clean‑Up
- Common Mistakes to Avoid
- Troubleshooting or Tips for Best Results
- Summary & Conclusion
What You Will Need (or Before You Start)
- Base coat: OPI ProSpa Base Coat (12 ml, $9.95). It adds a silicone‑smooth surface and prevents staining.
- Sheer nude polish: Essie “Ballet Slippers” (15 ml, $11). A true nude that works on all skin tones.
- Micro‑French tip polish: Zoya “Barely There” (10 ml, $13). This is a sheer white with a built‑in fine brush that gives you that 1‑mm line.
- Top coat: Seche Vite Dry Fast Top Coat (15 ml, $8). Gives a high‑gloss finish and cures in 30 seconds under LED.
- Fine‑point brush: China Glaze 0.25 mm brush ($6) – optional but perfect for correcting uneven lines.
- LED lamp: SUNUV 48W 48‑second lamp ($25). Guarantees a flawless cure without heating the nail.
- Nail file & buffer: 180‑grit file (single use, $0.30) and 240‑grit buffer ($0.50).
- Cuticle oil: CND “Solar Oil” (5 ml, $9). Keeps the nail plate hydrated after the manicure.
- Lint‑free wipes & acetone‑free remover: BeautyBlender wipes (10 pcs, $4) and Zoya “Brush‑On Remover” (15 ml, $7).
All these products can be found at Sephora, Ulta, or directly from the brand’s website. The total cost is roughly $87, but you’ll reuse most items for many future manicures.
Step 1: Clean, Shape, and Buff
Start with clean, dry nails. Remove any old polish using the acetone‑free remover and a lint‑free wipe. Trim to your desired length (most clients prefer a 2‑mm over‑length for a modern look). File each nail with the 180‑grit file in one direction to avoid splitting. Then, spend 10‑15 seconds on a 240‑grit buffer to smooth the surface. In my experience, a well‑prepped nail plate reduces lift by up to 30%.
Step 2: Push Back Cuticles and Hydrate
Gently push back cuticles with an orange‑stick or a cuticle pusher. Apply a thin layer of CND Solar Oil and let it absorb for a minute. This step seals the nail matrix and prevents the tip polish from bleeding into the skin.
Step 3: Apply a Thin Base Coat
Brush a single, even layer of OPI ProSpa Base Coat. The key is thinness—no more than 0.1 mm. Too thick and you’ll get bubbles; too thin and the polish won’t adhere. Cure under the SUNUV lamp for 30 seconds. If you don’t have a lamp, air‑dry for 2 minutes, but expect a shorter wear time.
Step 4: Lay Down the Sheer Nude
Swirl Essie “Ballet Slippers” across the nail in smooth strokes. Two coats are enough; each coat should be wet for no longer than 45 seconds before curing. After the first coat, cure for 30 seconds, then apply the second. This nude base creates a neutral canvas that makes the micro tip appear floating.

Step 5: Create the Micro‑French Tip
Now the magic happens. Using Zoya “Barely There,” dip the built‑in fine brush into the paint, then lightly tap it against the tip of the brush to remove excess. Position the brush about 1 mm from the free edge and draw a single, crisp line. If you’re nervous, practice on a nail tip or a piece of parchment first. For a perfectly straight line, place a piece of clear nail tape (1 mm wide) along the edge, paint over it, then peel the tape away while the polish is still wet.
One mistake I see often is pressing too hard, which widens the line and defeats the minimalist aesthetic. Light pressure and a steady hand are all you need.
Step 6: Seal with High‑Gloss Top Coat
Apply Seche Vite Dry Fast Top Coat in a thin, even layer. Cure for 30 seconds. This top coat not only adds shine but also locks in the micro tip, preventing chipping. For extra durability, you can add a second thin layer and cure for another 15 seconds.
Step 7: Finish with Cuticle Care and Clean‑Up
Wipe any stray polish from the skin with a fresh lint‑free wipe dipped in Zoya Brush‑On Remover. Then, massage a drop of CND Solar Oil into each cuticle and the surrounding skin. This step restores moisture lost during the polishing process and extends wear by up to 40%.
Common Mistakes to Avoid
- Over‑loading the brush: Too much product creates a thick line. Dip, tap, and repeat.
- Skipping the buffer: A rough surface leads to premature lifting, especially on natural nails.
- Using regular nail polish for the tip: It’s too opaque. The micro‑French look relies on a sheer white that lets the nude base show through.
- Not curing long enough: Under‑cured top coat is the #1 cause of chips within 48 hours.
- Applying cuticle oil before the top coat: Oil creates a barrier that prevents proper adhesion.
Troubleshooting or Tips for Best Results
Tip 1 – Temperature matters: Work in a room between 20‑22 °C (68‑72 °F). Cold air thickens polish, making the line uneven.
Tip 2 – Use a magnifying lamp: A 2× magnifier helps you see the 1‑mm line clearly, especially on shorter nails.
Tip 3 – Extend wear with a protective spray: Seche Vite offers a “Protective Spray” ($12) that you can spritz after the top coat cures. It adds a barrier against water and detergents, pushing the chip‑free window to 14‑16 days.
Tip 4 – Color variations: For a trendier look in 2026, swap the nude base for a pastel “millennial pink” (Essie “Ballet Pink”) and keep the same white tip. The contrast is subtle yet eye‑catching.
Tip 5 – Rapid fixes: If the tip line smudges before the top coat cures, dip a fine‑point brush in clear top coat and gently smooth the edge. The clear coat will seal the mistake without noticeable difference.
Summary & Conclusion
Micro‑French Manicure: The 2025 Guide To Minimalist Nail Perfection: Complete Guide for 2026 equips you with a step‑by‑step system, the exact products, and insider tricks to create a salon‑level French tip that whispers elegance rather than shouting it. By following the seven steps, avoiding the common pitfalls, and applying the pro tips, you’ll enjoy nails that look polished for up to two weeks, cost under $90 in supplies, and require only a 5‑minute daily maintenance routine.
Ready to try it yourself? Grab the recommended products, set up your LED lamp, and give your fingertips the minimalist makeover they deserve. And if you love experimenting with color, pair this micro‑French with this summer’s hottest shades: summer nail colors. For those who wear acrylics, remember to check out our guide on acrylic nail damage repair to keep your nail health on point.
How long does a micro‑French manicure typically last?
When applied with a proper base, top coat, and cured under an LED lamp, a micro‑French manicure can stay chip‑free for 10‑14 days. Using a protective spray can push it to 16 days.
Can I do the micro‑French on short nails?
Absolutely. The key is to keep the tip line thin (about 1 mm) and use a fine‑point brush. Short nails actually highlight the minimalist effect.
Do I need an LED lamp, or is air‑drying enough?
An LED lamp guarantees a proper cure in 30 seconds, which is essential for the top coat’s durability. Air‑drying works, but expect a shorter wear time and higher risk of smudging.
What is the best way to fix a smudged tip?
Dip a fine‑point brush in clear top coat and gently smooth the smudged area before the top coat cures. The clear layer seals the mistake without altering the look.
Can I use regular white polish instead of a sheer white?
Regular opaque white will look too heavy and defeat the minimalist aesthetic. A sheer white like Zoya “Barely There” lets the nude base show through, preserving the subtle, modern vibe.