
Did you know that over 68% of nail‑tech professionals say tape‑based designs cut their prep time in half while delivering salon‑level precision? If you’ve ever wanted that crisp, geometric look without a stencil, this guide to nail art with tape will walk you through everything you need to know, from tools to troubleshooting.
In This Article
What You Will Need (Before You Start)
- Base coat – I swear by OPI’s “Professional Nail Base Coat” ($12, 15 ml) for a smooth canvas.
- Top coat – Seche Vita’s “Hard‑Gel Top Coat” ($22, 15 ml) gives a high‑gloss finish that lasts up to three weeks.
- Striping or masking tape – 0.5 cm wide “Mighty Tape” (pack of 50, $8) works best; regular Scotch Tape can leave residue.
- Nail polish – Choose a brand you love; I often pair a pastel Essie “Ballet Slippers” ($10, 13 ml) with a bold OPI “Lincoln Park After Dark” ($12, 13 ml).
- Fine‑tip brush or dotting tool – For clean edges; the “Kiss Precision Brush” ($5, 6 mm tip) is a favorite.
- Cuticle pusher, nail file, and buffer – Essential for prepping the nail surface.
- Rubbing alcohol (70%) – To wipe away dust before you start.
Having these items on hand will keep you from pausing mid‑design to hunt for a missing tool.
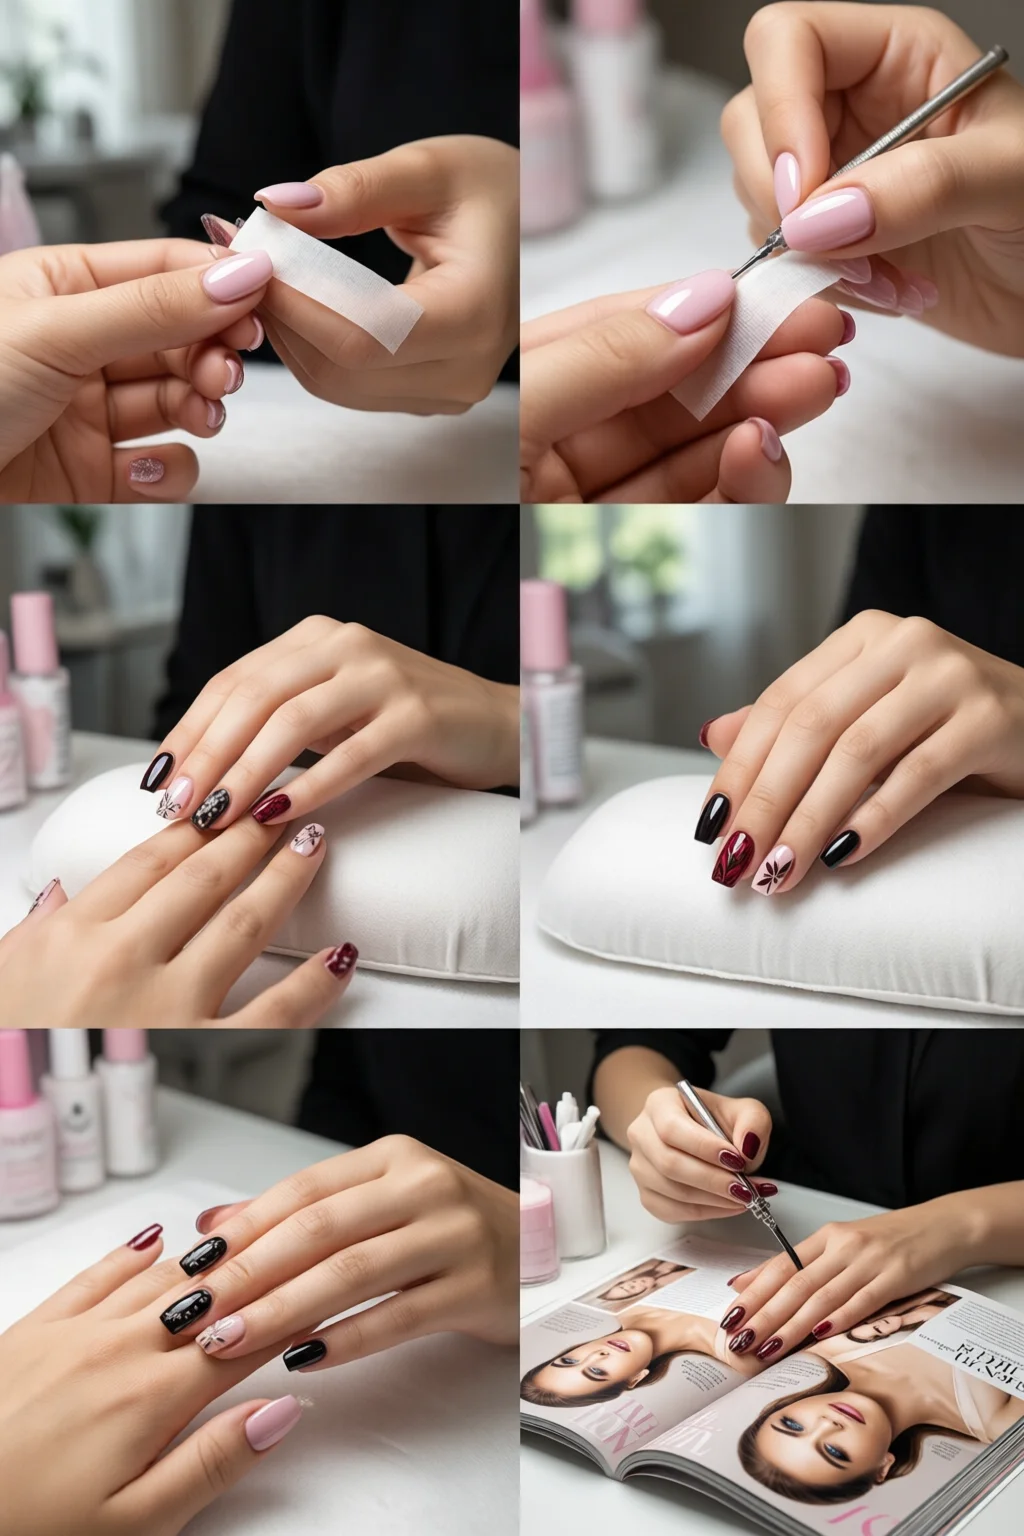
Step‑by‑Step Tutorial for Nail Art with Tape
Step 1 – Prepare Your Nails
- Trim and shape your nails to your desired length; I recommend a soft‑square shape for most geometric patterns.
- Push back cuticles gently with a wooden pusher, then buff the surface to remove shine.
- Clean each nail with a cotton pad soaked in rubbing alcohol to eliminate oils.
- Apply a thin layer of base coat and let it cure under a UV lamp for 30 seconds (if using gel) or air‑dry for 2 minutes (regular polish).
Step 2 – Cut and Position the Tape
- Measure the length of tape needed. For a classic diagonal stripe on a 2.5 cm nail, you’ll need about 3 cm of tape (cut with nail scissors).
- Place the tape at the edge of the nail, using a pair of tweezers for precision. Press gently to avoid bubbles.
- If you want multiple lines, repeat the process, overlapping slightly for a seamless look.
Tip: For ultra‑clean lines, press the tape with a flat edge (like a credit card) to ensure full contact.
Step 3 – Paint Over the Tape
- Using the polish of your choice, paint over the entire nail in smooth strokes. I recommend two thin coats; each coat should dry for about 2 minutes before applying the next.
- For a gradient effect, mix a tiny drop of clear polish into the color and swipe it lightly with a brush.
- Allow the polish to dry completely (30 minutes for regular polish, 60 seconds under LED for gel).
Step 4 – Remove the Tape
- Gently peel the tape off at a 45° angle. If any polish lifts, use a fine‑tip brush dipped in acetone to clean the edge.
- Inspect the design; if you see tiny gaps, a quick touch‑up with a brush will seal them.
Step 5 – Seal the Design
- Apply a generous layer of top coat. For gel lovers, cure under UV/LED for 60 seconds.
- Wipe away any tacky residue with a lint‑free pad soaked in isopropyl alcohol.
- Finish with a drop of cuticle oil to keep the surrounding skin hydrated.
Congratulations—you now have a professional‑grade nail art with tape design that will hold up to daily wear for up to 10 days without chipping.
Common Mistakes to Avoid
- Using low‑quality tape. Thin or porous tape absorbs polish, leaving fuzzy edges. Stick to 0.5 cm wide masking tape designed for cosmetics.
- Applying tape on wet or oily nails. This causes bubbling. Always clean with alcohol first.
- Skipping the base coat. Without it, polish can lift at the tape line, creating cracks.
- Peeling the tape too early. Wait until the polish is tack‑free; otherwise, the design will smear.
- Overloading the brush. Too much polish creates drips and uneven lines. Thin coats are key.
One mistake I see often is using regular scotch tape for intricate designs. It may look cheap, but it leaves a sticky residue that can ruin the finish.
Tips for Best Results (Troubleshooting)
- For ultra‑thin lines, cut the tape with a precision cutter or tiny scissors. A 0.3 cm width can create runway‑style accents.
- Layering colors: Paint a base color, let it cure, then apply tape and a second color for a two‑tone effect. This works beautifully with the cat eye nails at home technique.
- Preventing smudges: After removing the tape, lightly dab the edge with a dry brush to absorb excess pigment.
- Long‑lasting designs: Replace regular top coat with a gel top coat like Seche Vita; it adds up to 30% more durability.
- Working with glitter polish: Apply a clear base coat first, then tape, and finish with glitter. The clear base prevents glitter from clumping under the tape.
If you notice a faint white line after peeling, it’s likely residue from low‑quality tape. A quick swipe with a cotton swab dipped in nail polish remover will erase it without damaging the design.
Summary
Mastering nail art with tape is less about expensive tools and more about precision, patience, and the right supplies. With a proper base coat, high‑quality masking tape, and a systematic approach, you can create salon‑grade geometric patterns in under 15 minutes. Remember to prep, cure, and seal each layer, and you’ll enjoy crisp lines that last up to two weeks.
Can I use regular scotch tape for nail art?
It’s possible, but regular scotch tape often leaves adhesive residue and can absorb polish, resulting in fuzzy edges. For clean, professional results, invest in a thin, non‑porous masking tape like Mighty Tape.
How long does nail art with tape last?
When sealed with a quality top coat, the design typically lasts 7‑10 days without chipping. Using a gel top coat can extend durability to 14 days or more.
Do I need a UV lamp for this technique?
A UV/LED lamp is only required if you’re using gel polish. For regular polish, simply allow each coat to air‑dry fully before removing the tape.
Can I combine tape designs with other nail art methods?
Absolutely! Tape works well with how to paint nails perfectly techniques, dotting tools, and even with polygel nails at home. Layering colors or adding glitter on top creates multidimensional effects.