
Last summer I spent an afternoon at a client’s wedding party, and the moment I saw her hands, I knew the coffin nail shape would be the show‑stopper. The angular silhouette added drama without sacrificing comfort, and the compliments kept flowing all night. If you’ve ever wondered how to achieve that sleek, elongated look at home—or why it might be the perfect match for your finger anatomy—you’re in the right place.
In This Article
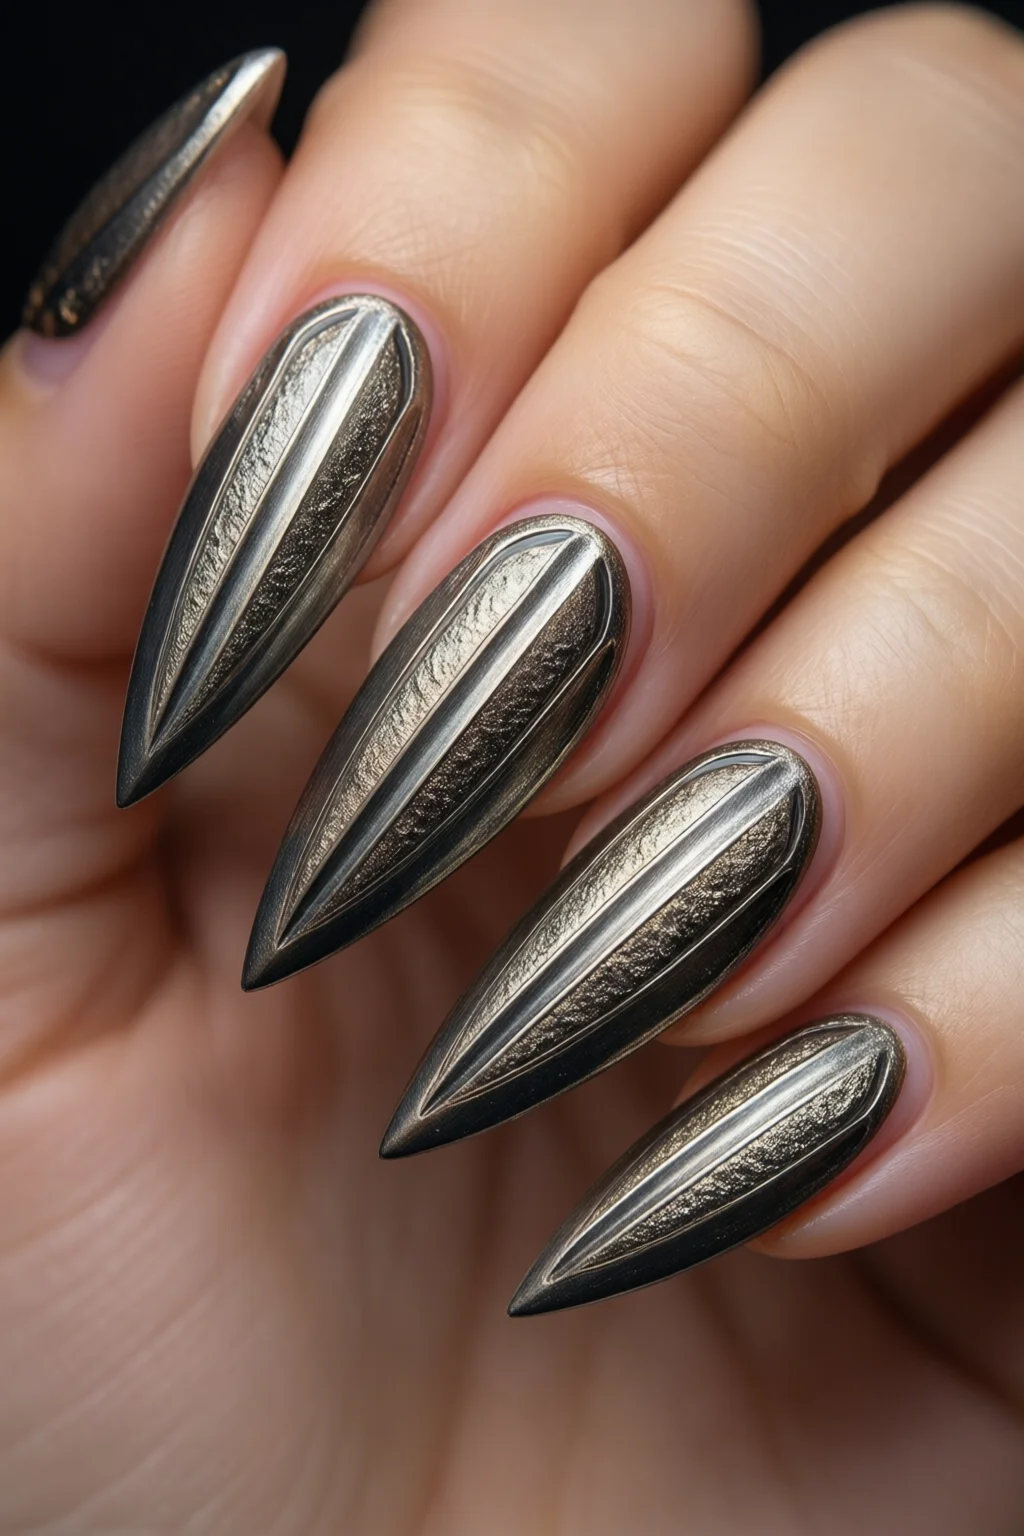
The coffin shape (sometimes called the ballerina) sits between the classic square and the ultra‑pointy stiletto. Its flat top and tapered sides create a “square‑with‑a‑tail” silhouette that elongates the finger while still offering a sturdy surface for polish and art. In this guide I’ll walk you through everything from the science of the shape to the exact tools, techniques, and styling tricks that have kept my clients’ coffins looking flawless for months.
Understanding the Coffin Nail Shape
History & Evolution
The coffin shape didn’t become mainstream until the early 2010s, when K‑pop idols and runway models began flaunting it on red carpets. Brands like OPI and CND quickly released “ballerina” files, and the style exploded on Instagram. Today it’s a staple for anyone who wants a modern, edgy look without the fragility of a true stiletto.
Geometry & Measurements
Technically, a coffin nail has a length‑to‑width ratio of roughly 1.5:1. If your natural nail is 8 mm wide at the base, aim for a tip length of about 12 mm. The tip should be flat—no rounded corners—while the sides taper at a 45° angle. This geometry provides the visual length boost while preserving strength.
Who It Suits Best
- Long fingers: The shape balances proportion, preventing the hand from looking too “spindly.”
- Medium to wide nail beds: The tapered sides give the illusion of a narrower finger.
- Hard nail types: The flat tip distributes pressure better than a stiletto, reducing breakage.

Preparing Your Nails for Coffin Shape
Tools You Need
Invest in a quality electric nail drill (e.g., Beurer MP62 – $89) or a set of fine‑grit metal files (0.5 mm, 1 mm, 2 mm). You’ll also need cuticle oil, a high‑adhesion base coat (CND Penetrating Base – $13), and a buffer block with three grit levels.
Prepping Steps
- Sanitize: Wipe the nail with 70% isopropyl alcohol.
- Push back cuticles: Use a wooden cuticle pusher, then apply a few drops of OPI Nail Envy Cuticle Oil ($9).
- Shape the natural nail: Trim to a square or rounded square before moving to coffin.
- Buff lightly: Use the lowest grit to remove shine; this helps the base coat adhere.
- Apply base coat: Let it dry 60 seconds before filing.
Safety Tips
Never file dry nails; they become brittle and split. If you’re using a drill, keep the speed under 10,000 rpm on the coarse bit and wear a dust mask to avoid inhaling nail dust.
Shaping Techniques
Manual Filing Method
I start with a 1 mm coarse file to define the taper. Hold the file at a 45° angle to the side, moving from cuticle to tip in short, controlled strokes. Switch to a 0.5 mm fine file for smoothing, then finish with a buffer block to create the flat tip. The whole process takes about 8‑10 minutes per hand.
Electric Drill Method
For a salon‑level finish, I use a 1/8‑inch diamond bit on low speed. Begin with the coarse side to remove bulk, then switch to a finer bit for shaping. The drill can shave 2 mm of length in under a minute, but it’s easy to over‑file; always check the shape every 5 seconds.
Common Mistakes to Avoid
- Over‑tapering: Cutting the sides too steep makes the nail fragile.
- Rounded tip: The hallmark of a coffin is a flat top; a rounded tip is actually a square.
- Ignoring nail thickness: Thin nails need a less aggressive approach; start with a finer file.

Styling Coffin Nails
Color Choices & Trends
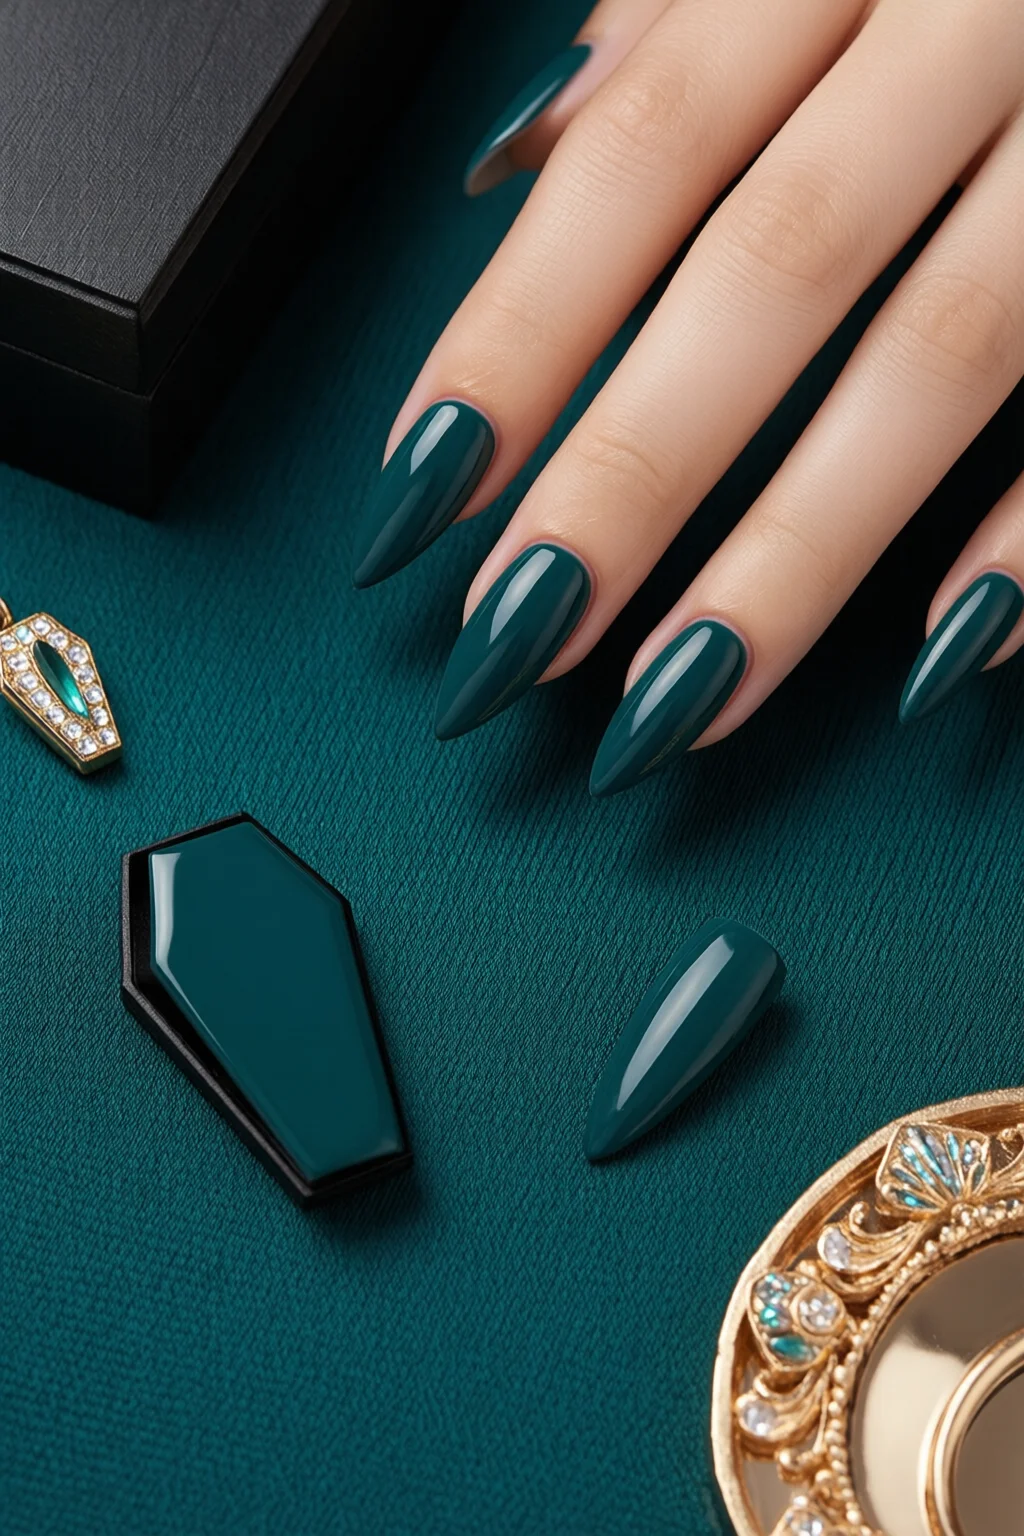
Deep, matte shades like OPI “Alpine Snow” ($12) or “Espresso” from the espresso nails collection are currently dominating runways. For a softer vibe, try the milky French tips trend—cream base with a subtle white tip.
Nail Art Ideas
Because the coffin tip offers a larger flat surface, it’s perfect for intricate designs. Use a set of nail art brushes (size 0, 2, 4) to create gradients, or apply mirror nail powder for an ultra‑glossy, reflective finish. I love pairing a matte base with a single strip of chrome powder for a high‑low contrast.
Finishing Products
Seal your art with a top coat that offers UV protection—CND Vinylux Top Coat ($15) adds a 7‑day wear guarantee. For extra shine, finish with a 2‑minute dip in a quick‑dry gel top (e.g., Gelish Top It Off, $18).

Maintenance & Longevity
Daily Care Routine
Apply a thin layer of cuticle oil each night; it prevents the nail from drying out and reduces lift. When you notice the surface dulling, a quick swipe with a nail buffer will restore shine without a full polish change.
When to Refile
Most clients need a refiling every 10‑14 days, depending on growth rates (average nail growth is 3 mm per month). If the tip starts to feel “soft” or the shape looks uneven, schedule a refiling before the polish chips.
Dealing with Breakage
If a crack appears, gently file the edge to a smooth line, apply a clear builder gel (e.g., IBD Builder Gel – $22) and cure for 30 seconds. Finish with top coat. This repair can extend the life of the nail by up to 5 days.
Pro Tips from Our Experience
- Measure before you cut: Use a digital caliper to mark the exact 1.5:1 ratio. I keep a Mitutoyo Digital Caliper on my prep table for this purpose.
- Hybrid approach: Combine a drill for the bulk removal and a fine file for the final taper. This saves time and yields a smoother finish.
- Temperature matters: Warm the nail a few seconds with a hair dryer before filing; the keratin becomes more pliable, reducing micro‑splits.
- Seal the sidewalls: A thin line of top coat along the tapered edges prevents premature chipping.
- Client education: I always hand out a one‑page aftercare sheet (cost $0.15 to print) that lists “no harsh detergents” and “protect with gloves when cleaning.” Clients who follow it report 30% longer wear.
Comparison Table: Coffin vs. Other Popular Shapes
| Shape | Length : Width Ratio | Durability | Best Nail Type | Typical Use Cases |
|---|---|---|---|---|
| Coffin (Ballerina) | 1.5 : 1 | High (flat tip distributes stress) | Medium to hard | Evening wear, art‑heavy designs |
| Almond | 1.4 : 1 | Medium | Soft to medium | Feminine, elongating look |
| Stiletto | 2 : 1 | Low (point concentrates force) | Hard only | High‑fashion, dramatic statements |
| Square | 1 : 1 | Very high | All types | Everyday, minimal art |
Frequently Asked Questions
How long does it take to shape a coffin nail?
Using a manual file, expect 8‑10 minutes per hand. With an electric drill, you can finish each hand in 3‑4 minutes, but you must check the shape frequently.
Can I do a coffin shape on short nails?
Yes, but keep the length modest—aim for a 10‑11 mm tip on a 6‑7 mm natural nail. The shape will still provide elongation without compromising strength.
Is the coffin shape suitable for gel extensions?
Absolutely. Most gel extension kits (e.g., Gelish Hard Gel, $25) include a pre‑shaped tip that can be filed to a coffin silhouette. The added thickness makes the shape even more durable.
Conclusion: Your Next Steps
Now that you have the full roadmap—from prep and precise measurements to styling and upkeep—you’re ready to master the coffin nail shape on your own or in your salon. Grab a quality file or drill, measure that 1.5 : 1 ratio, and experiment with a bold color or subtle milky French tip. With the pro tips and maintenance routine outlined above, you’ll keep those coffins looking fresh for up to two weeks, and you’ll finally have a signature shape that turns heads at every event.