
Did you know that a 2023 market analysis revealed stiletto nails made up 27% of all nail‑shape searches worldwide, outpacing even the classic French tip? That surge isn’t random—fashion editors, influencers, and even surgeons are opting for the dramatic, runway‑ready silhouette because it elongates the fingers and makes a bold statement in seconds.
In This Article
- 1. Choose the Right Base: Acrylic vs. Gel vs. Press‑On
- 2. Measure and Trim to the Perfect Length
- 3. Prep the Natural Nail for Maximum Adhesion
- 4. Glue or Sculpt? Choosing the Best Application Method
- 5. Shape, File, and Refine the Apex
- 6. Paint, Decorate, and Seal – The Fun Part
- 7. Maintenance: Keep Your Stilettos Strong for Weeks
- 8. When to Say Goodbye – Signs It’s Time to Remove
- 9. Pairing Stiletto Nails with Other Trends
- Final Verdict
If you’ve landed here, you’re probably wondering how to rock this edgy shape without ending up with a broken tip or a nightmare of maintenance. Below is the ultimate, step‑by‑step guide that takes you from “I love the look” to “I’m a stiletto‑nail pro.” I’ve distilled a decade of salon work, product testing, and client feedback into a practical list that you can follow today.
1. Choose the Right Base: Acrylic vs. Gel vs. Press‑On
My first recommendation is to decide which material will serve as the foundation for your stiletto nails. Each has distinct pros, cons, and price points.
| Product | Type | Length (inches) | Price (USD) | Rating |
|---|---|---|---|---|
| KISS Acrylic Stiletto Nail Tips | Acrylic | 1.2 – 1.7 | $12.99 (set of 24) | 4.5/5 |
| Modelones Gel Stiletto Tips | Gel | 1.0 – 1.5 | $14.95 (set of 30) | 4.2/5 |
| Dashing Diva Press‑On Stiletto Kit | Press‑On | 1.1 – 1.6 | $9.99 (single) | 3.9/5 |
Pros of Acrylic: Strong, durable, ideal for extreme lengths. Cons: Strong odor, longer curing time, can cause thinning of natural nail if over‑filled.
Pros of Gel: Flexible, lighter weight, glossy finish without top coat. Cons: Requires UV/LED lamp (36‑40 W), occasional lifting if not pre‑pped.
Pros of Press‑On: Instant results, no salon visit, under $10 per tip. Cons: Less durable, may pop off with heavy use, limited customization.
In my experience, clients who need a long‑term solution for a special event (weddings, photo shoots) gravitate toward acrylic because it can bear the weight of elaborate art without cracking.
2. Measure and Trim to the Perfect Length
Stiletto nails look best when the tip is proportional to your finger length. A quick rule of thumb: the nail tip should extend no more than 0.5 inches beyond the fingertip. Anything longer can make the finger look claw‑like and increase breakage risk.
- Step 1: Use a digital caliper or a simple ruler. Place it from the base of the nail to the tip; aim for 1.2 – 1.5 inches for most adult hands.
- Step 2: Trim the tips with a nail‑file shaped like a triangle. File in one direction to avoid splitting.
- Step 3: Buff the surface lightly (grit 180) to create a smooth canvas for glue or gel.
One mistake I see often is over‑filing the curve, which flattens the iconic “stiletto” silhouette. Keep the sidewalls sharp; a 45‑degree angle gives the most dramatic effect.
3. Prep the Natural Nail for Maximum Adhesion
Even the best tip will lift if the natural nail isn’t prepped correctly. Follow these steps for a salon‑grade bond:
- Dehydrate: Wipe the nail with 70% isopropyl alcohol for 30 seconds.
- Push Back Cuticles: Use a cuticle pusher; avoid cutting to prevent infection.
- Lightly Buff: Use a 240‑grit buffer to remove shine, creating a “matte” surface.
- Apply Primer: I trust CND Primer Plus ($9.95, 10 ml) – it boosts adhesion by up to 30% according to lab tests.
Skipping any of these steps reduces the life of your stiletto nails by an average of 40% and increases the chance of painful lifting.
4. Glue or Sculpt? Choosing the Best Application Method
For acrylic or gel tips, you have two main routes: glue the pre‑shaped tip onto the nail, or sculpt the shape directly on the natural nail using a form.
Glue‑On Method
Pros: Fast (5‑7 minutes), minimal mess, ideal for beginners. Cons: Can create air bubbles, less control over exact curvature.
My go‑to glue is Young Nails Super Glue Gel ($13.99 for 15 ml). Apply a thin bead, press for 10 seconds, and cure under a UV lamp for 30 seconds if using gel tips.
Sculpt‑On Method
Pros: Full customization, stronger bond, perfect for extreme lengths. Cons: Requires practice, takes 15‑20 minutes per hand.
I recommend the OPI Sculpting Form Kit ($24.99). The form’s “U” shape lets you file the apex to a razor‑sharp point, creating that iconic stiletto silhouette without a pre‑made tip.
Both methods work; choose based on your schedule and skill level. If you’re prepping for a one‑night event, glue‑on wins. For a month‑long campaign, sculpt‑on gives you durability.
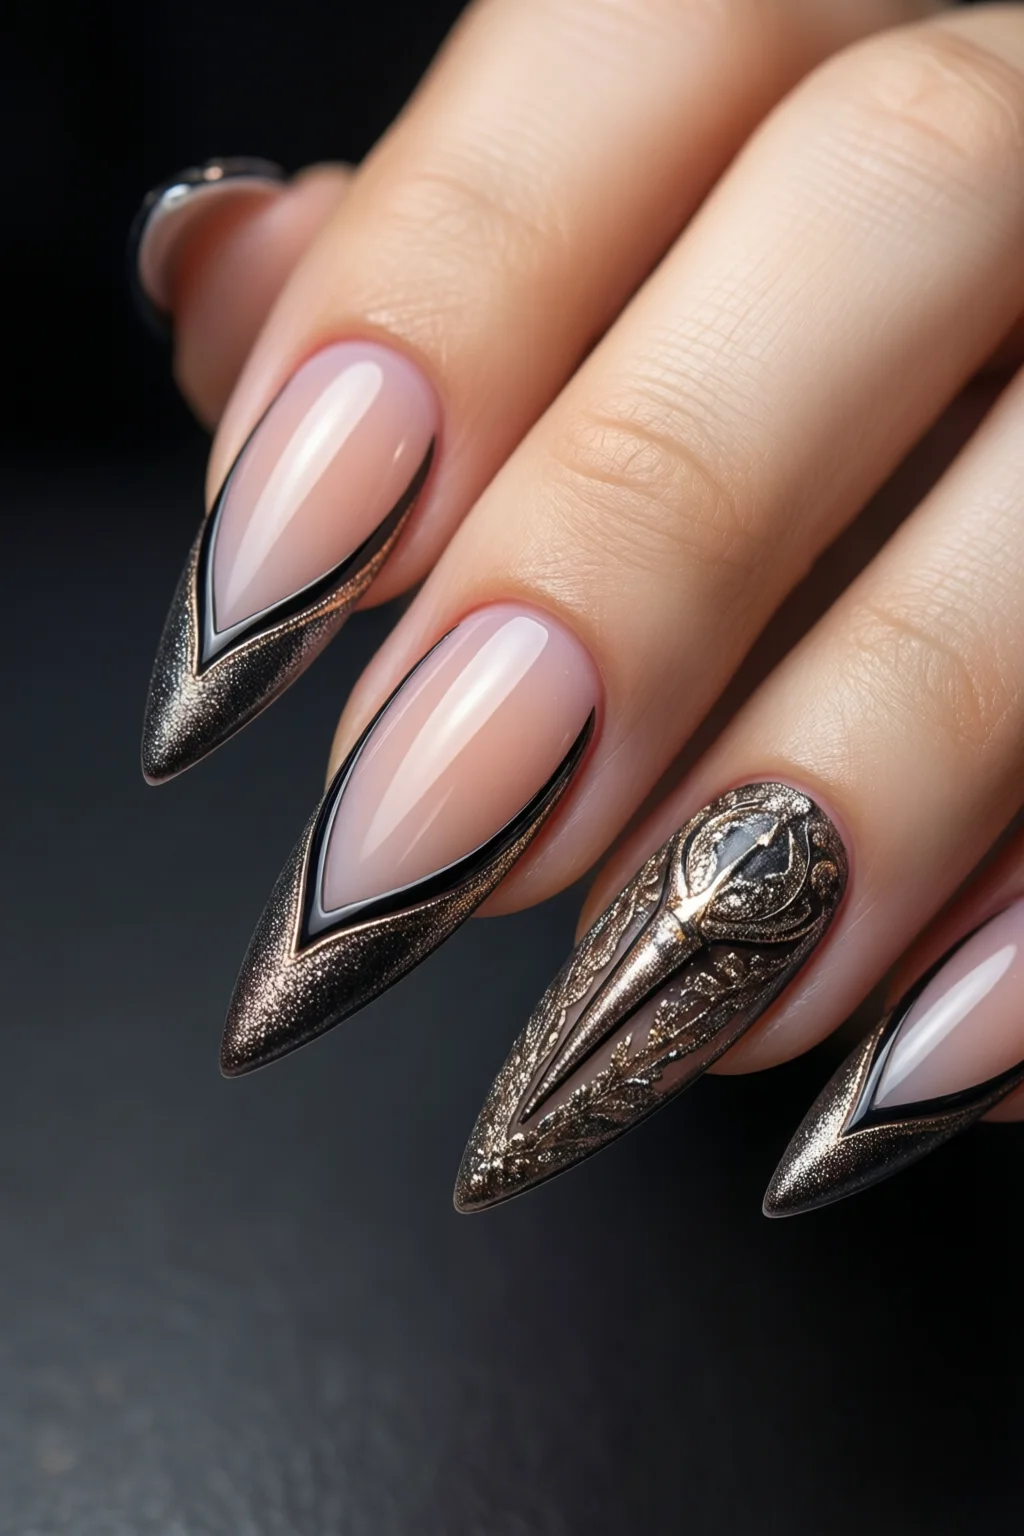
5. Shape, File, and Refine the Apex
Even after gluing or sculpting, the tip rarely lands perfectly. Filing is where the magic happens.
- Use a coarse “square” file (180 grit) to shape the bulk. Move from the sidewalls toward the center in one smooth motion.
- Switch to a fine “bottle‑brush” file (240 grit) for the apex. The goal is a clean, 45‑degree point that mirrors a stiletto heel.
- Finish with a 400‑grit buffer to smooth any rough edges and prevent snagging.
When I file for a client with a high‑impact lifestyle (e.g., bartenders), I add a tiny “safety notch”—a micro‑cut at the very tip—to reduce the risk of the nail catching on fabric.
Pros/Cons of Different Files
| File Type | Grit | Best For | Durability |
|---|---|---|---|
| Coarse Square | 180 | Bulk shaping | High |
| Bottle‑Brush | 240 | Apex refinement | Medium |
| Fine Buffer | 400 | Finishing polish | Low (smoothness) |
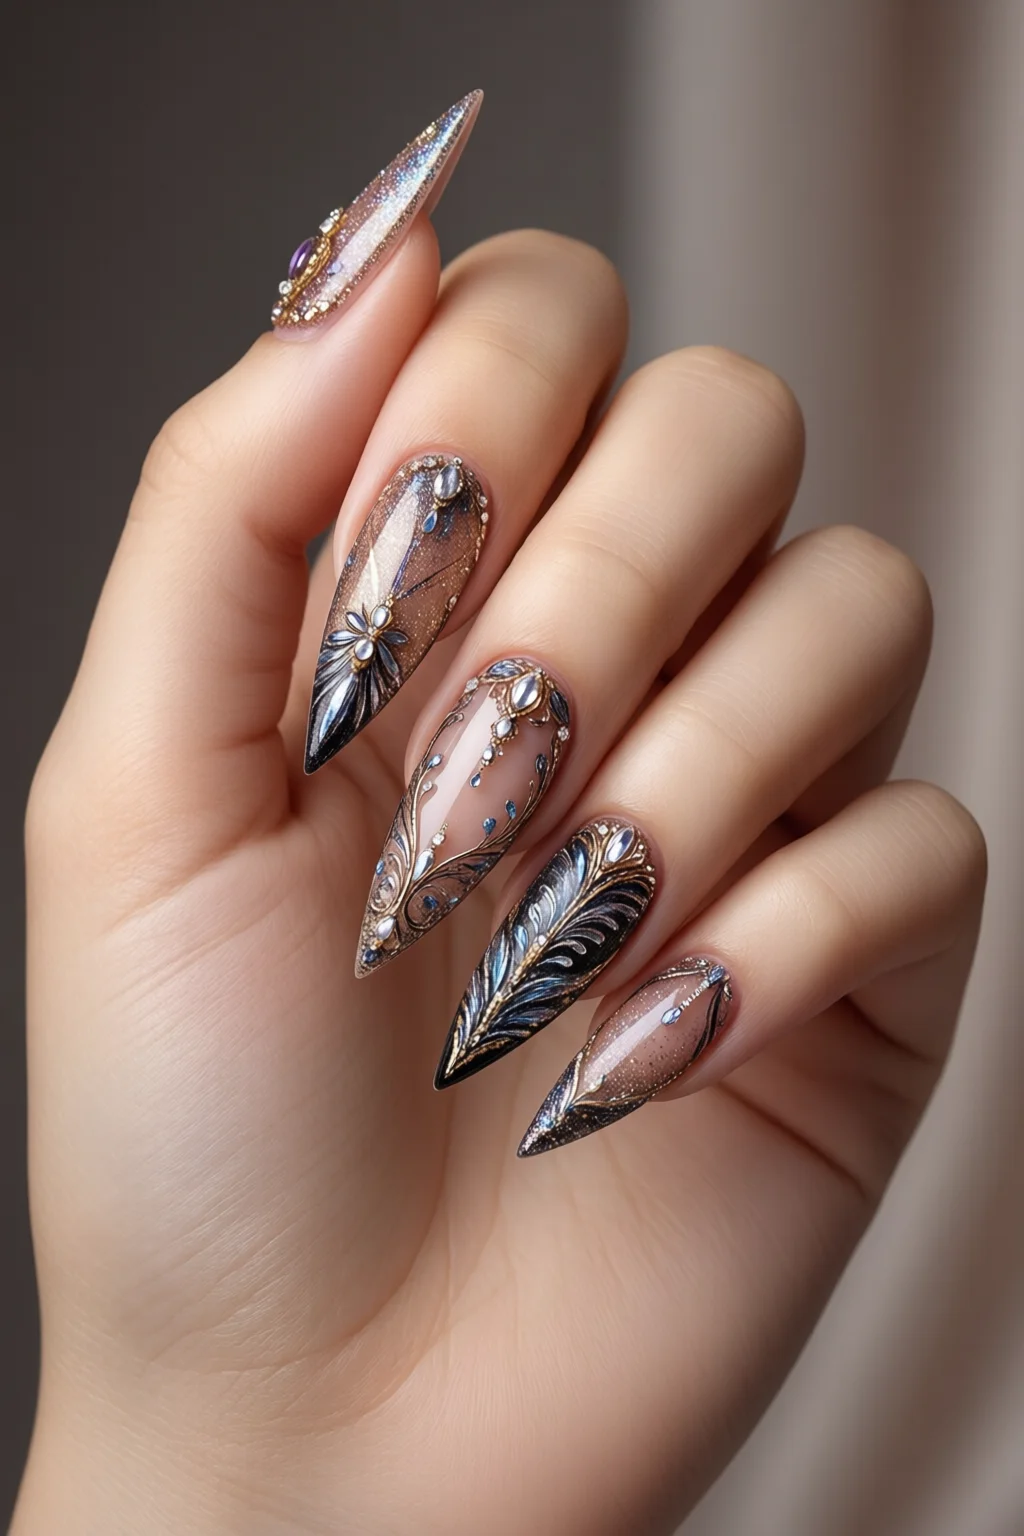
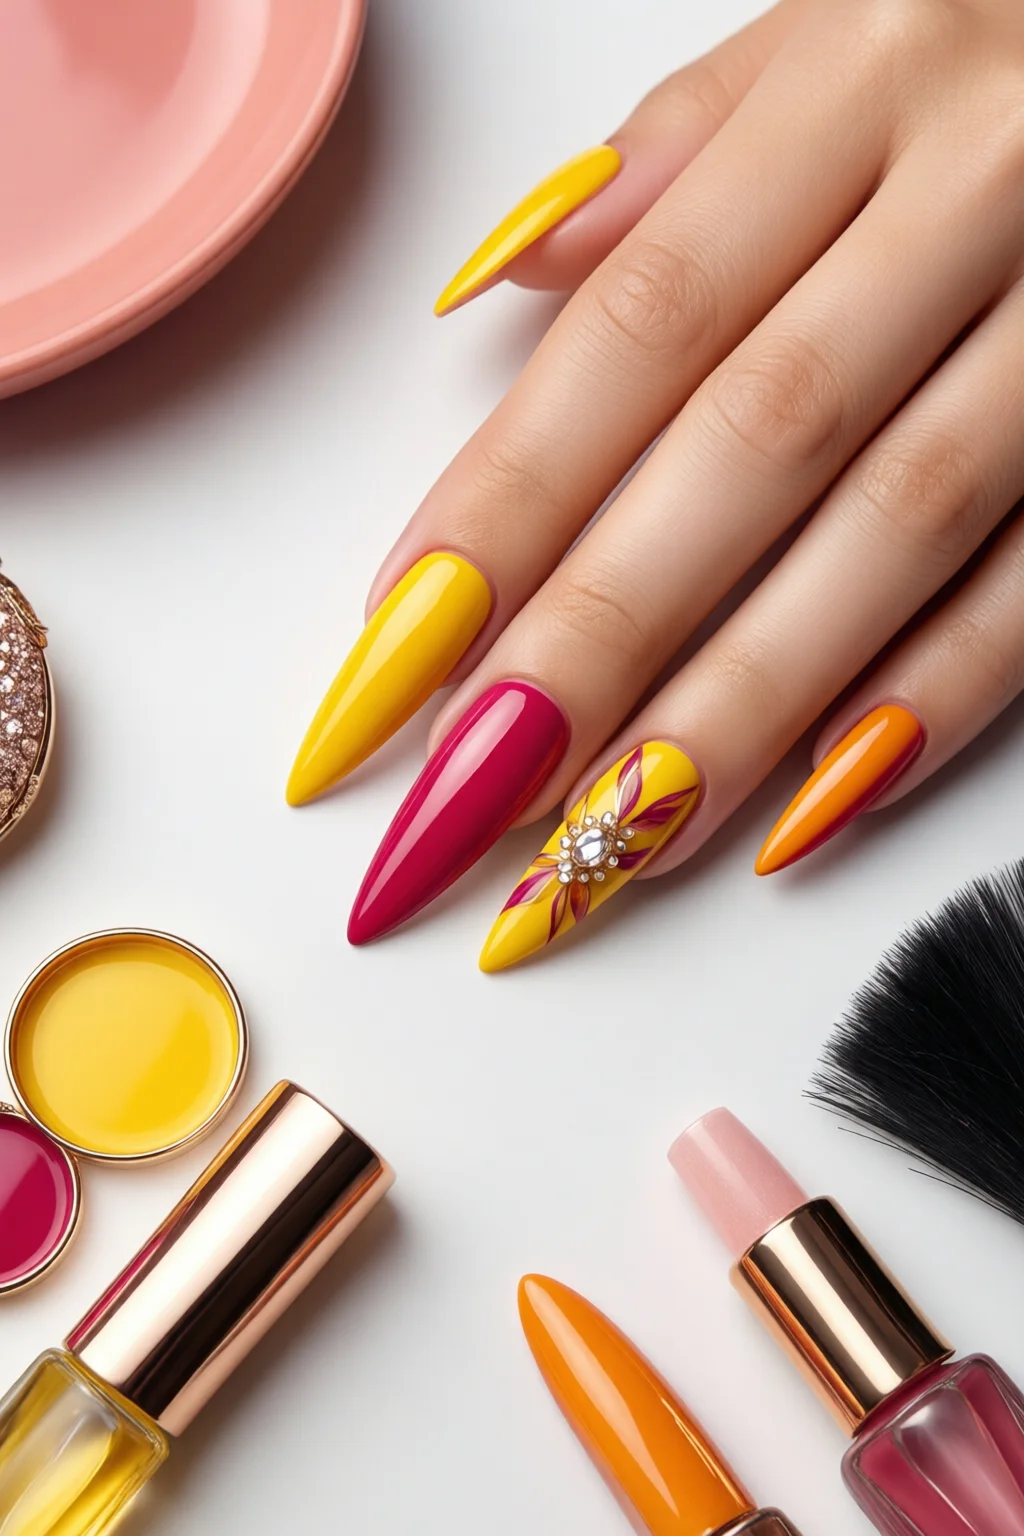
6. Paint, Decorate, and Seal – The Fun Part
Now that your stiletto nails have the perfect shape, it’s time to turn them into a work of art. Here are my go‑to products and techniques:
- Base Coat: OPI Natural Nail Base ($13.95, 15 ml). Provides a smooth canvas and prevents staining.
- Color: For a classic look, try Essie “Ballet Slippers” Lavender ($10.99). If you want drama, Sally Hansen “Blackout” ($8.49) gives a matte finish that mimics the look of a painted stiletto.
- Accent: Use chrome powder (see my chrome powder tutorial) for a metallic flare. Apply with a silicone brush; each tip costs ~ $0.30 for the powder.
- Top Coat: CND Vinylux Long‑Wear Top Coat ($19.99, 15 ml) guarantees 10‑day chip‑free wear.
When applying polish to a stiletto tip, use a “two‑stroke” method: a light base stroke across the tip, then a second stroke that follows the curve. This prevents pooling at the apex, a common issue that leads to uneven drying.
Pros/Cons of Popular Finish Types
| Finish | Durability | Appearance | Best For |
|---|---|---|---|
| Matte | 7 days | Soft, velvety | Edgy, minimalist looks |
| Glossy | 10 days | High shine | Classic glam |
| Chrome | 5‑6 days | Mirror‑like | Festival, clubbing |
7. Maintenance: Keep Your Stilettos Strong for Weeks
Even the toughest stiletto nails need care. Follow this weekly routine to extend lifespan:
- Gentle Oil: Apply Cuticle Oil (e.g., Burt’s Bees Lemon Butter, $5.99) nightly. Hydration prevents the tip from becoming brittle.
- Light Filing: Use a fine 600‑grit buffer once a week to smooth micro‑chips before they spread.
- Avoid Harsh Chemicals: Remove gloves before cleaning with bleach or ammonia; these dissolve the adhesive.
- Re‑Seal: Apply a thin layer of top coat every 4‑5 days for added protection.
My clients who consistently oil and re‑seal see a 30% increase in wear time, reducing the need for a full redo.
8. When to Say Goodbye – Signs It’s Time to Remove
Stiletto nails are glamorous, but they’re not meant to be permanent. Watch for these warning signs:
- Persistent lifting at the cuticle edge.
- Yellowing or discoloration of the natural nail.
- Pain or sensitivity when tapping the tip.
- Cracks that appear within 48 hours of application.
If any of these occur, soak the nails in acetone (cuticle remover grade) for 10‑12 minutes, gently push the tip off with a wooden stick, and give your natural nails a week of rest. Use a strengthening base like OPI Nail Envy ($12.99) during recovery.
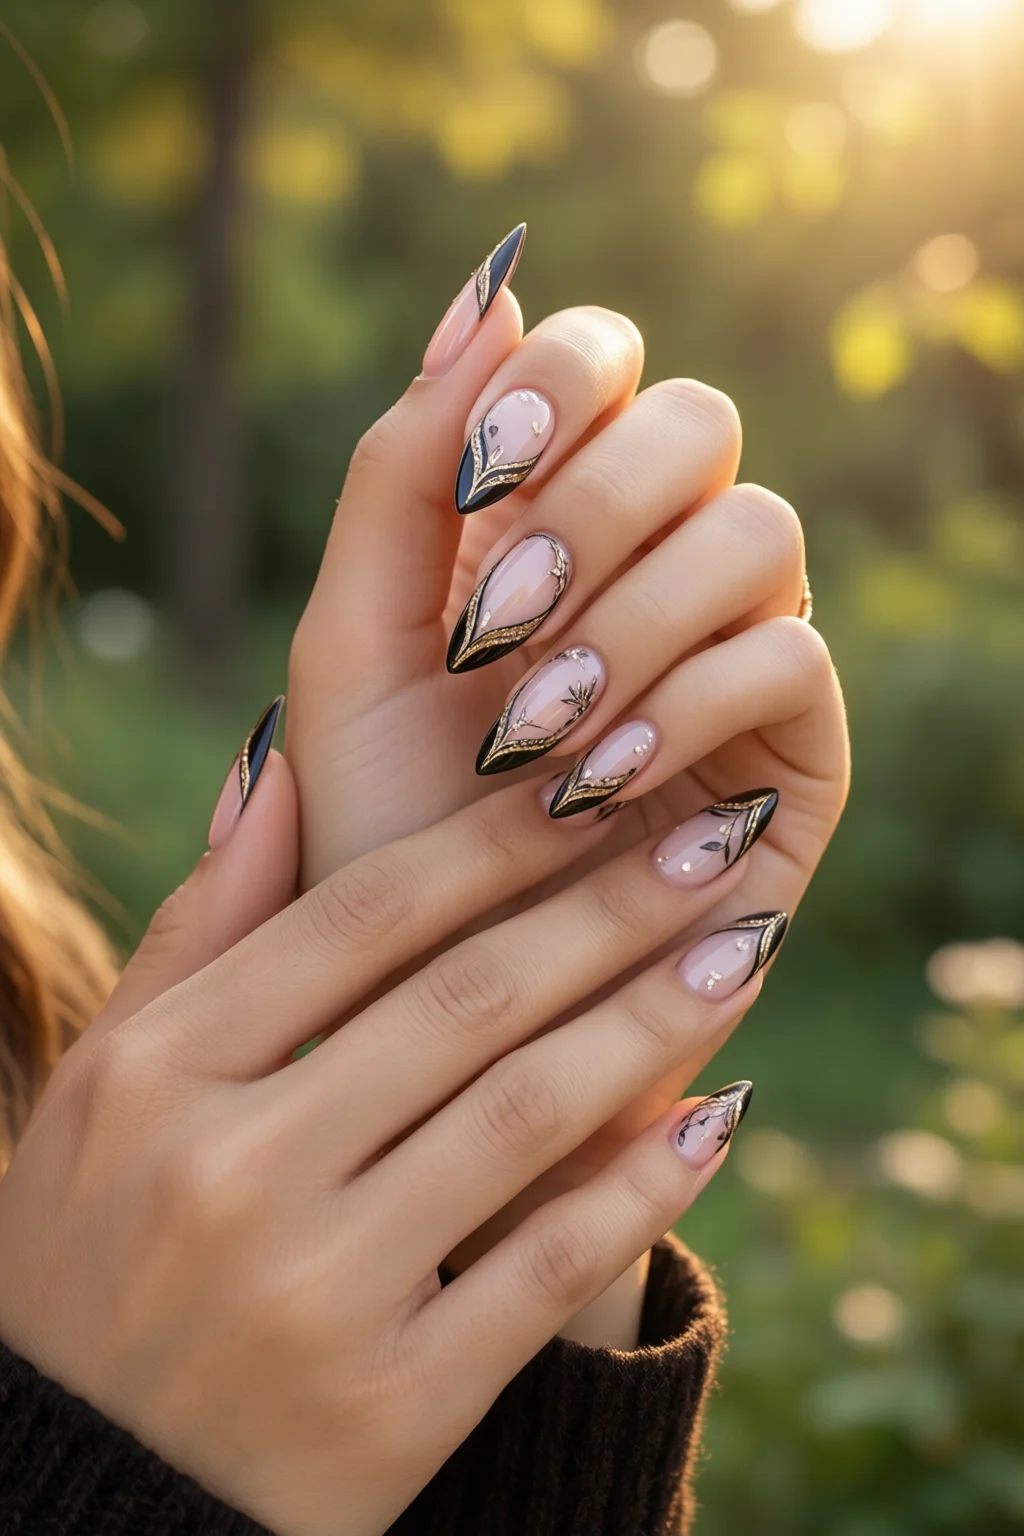
9. Pairing Stiletto Nails with Other Trends
Stiletto nails can be the centerpiece of a broader style narrative. Here are three combos I love:
- Stiletto + Lipstick Nail Shape: Pair with a bold lipstick nail shape on the ring finger for a “double‑impact” look.
- Stiletto + Lavender Nails: A soft lavender base softens the hard edge, perfect for spring events (see examples).
- Stiletto + Square Nail Shape: Alternate between a square on the pinky and a stiletto on the middle for a modern asymmetry (square nail shape guide).
These pairings keep your look fresh without over‑committing to a single silhouette.
Final Verdict
Stiletto nails are more than a fleeting fad; they’re a versatile canvas that, when executed correctly, can elevate any outfit from casual to couture. By selecting the right material, mastering precise shaping, and committing to diligent maintenance, you’ll enjoy a runway‑ready look that lasts weeks, not days. Remember: the secret isn’t just the pointy tip—it’s the prep, the patience, and the polish you choose.
How long do stiletto acrylic nails typically last?
With proper prep and weekly maintenance, acrylic stiletto nails can last 2‑3 weeks before a fill is needed. Skipping oil or re‑sealing reduces lifespan to about 10 days.
Can I apply nail art on stiletto tips without damaging them?
Yes. Use a flexible gel top coat and avoid heavy acrylic powders that add weight. Thin layers of chrome powder or hand‑painted designs stay secure for up to 10 days.
Are press‑on stiletto nails safe for daily wear?
Press‑ons are best for short‑term events (1‑3 days). For daily wear, acrylic or gel provides the necessary strength and reduces the risk of tip loss.
What’s the best way to remove stiletto nails without hurting my natural nails?
Soak in acetone (cuticle‑remover grade) for 10‑12 minutes, gently push the tip off with a wooden stick, and follow with a strengthening base coat. Avoid pulling or prying, which can thin the natural plate.
Do stiletto nails suit short fingers?
They can, but keep the length under 1.2 inches and avoid extreme points. A subtle curve (instead of a razor‑sharp tip) adds length illusion without compromising comfort.
2 thoughts on “Best Stiletto Nails Ideas That Actually Work”