
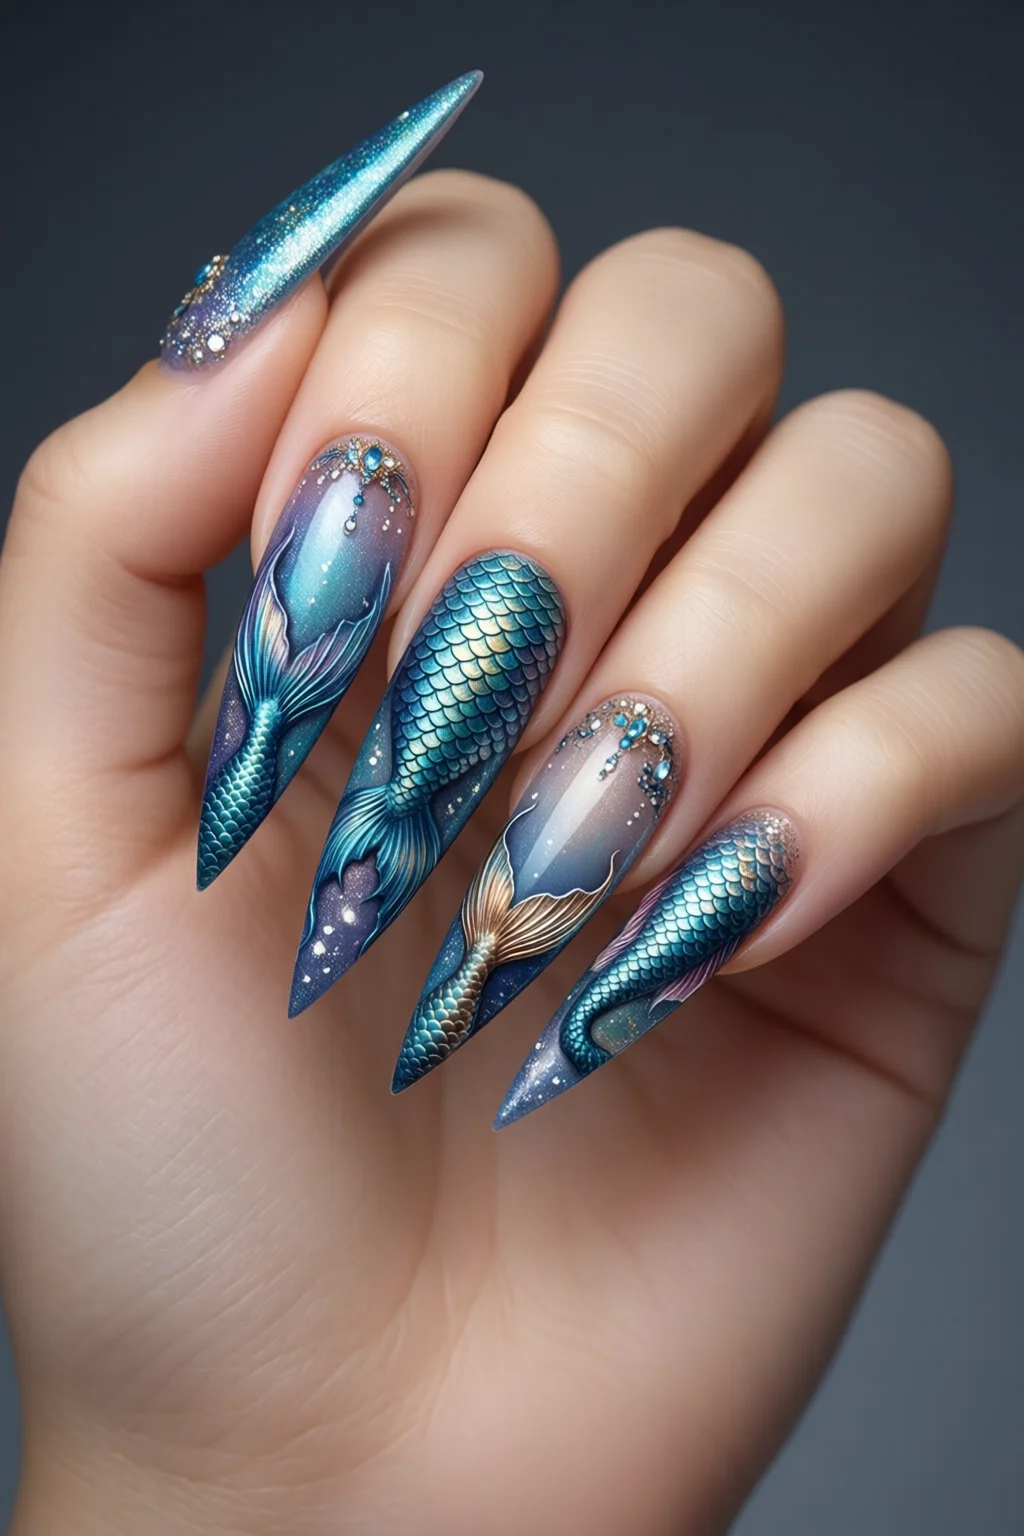
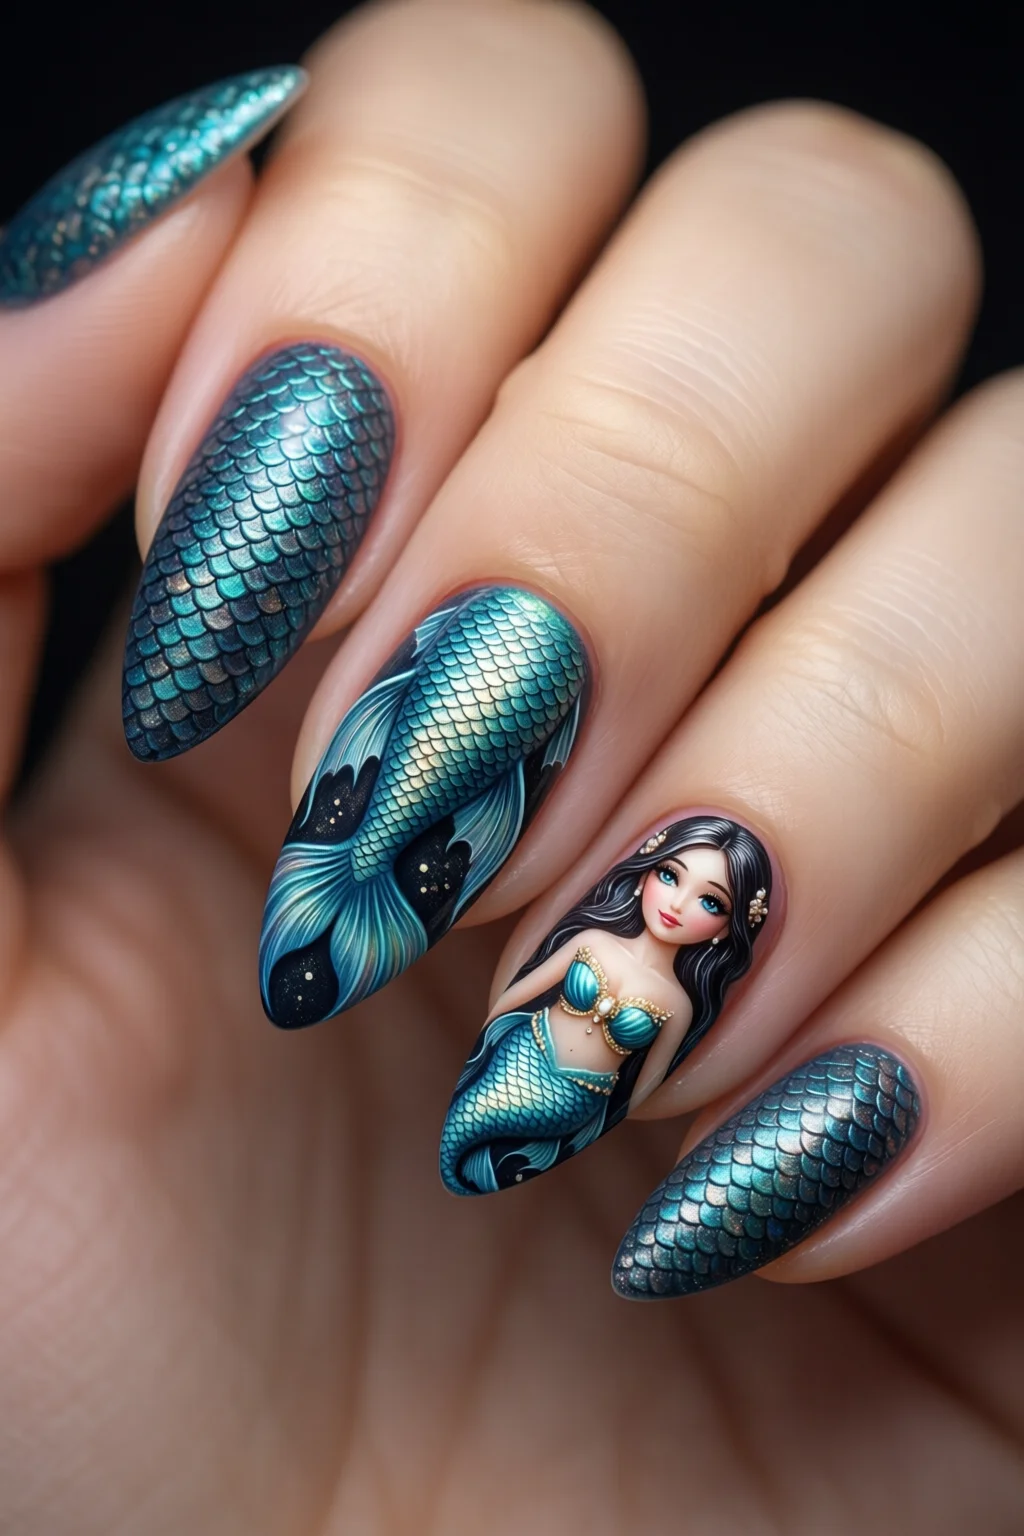
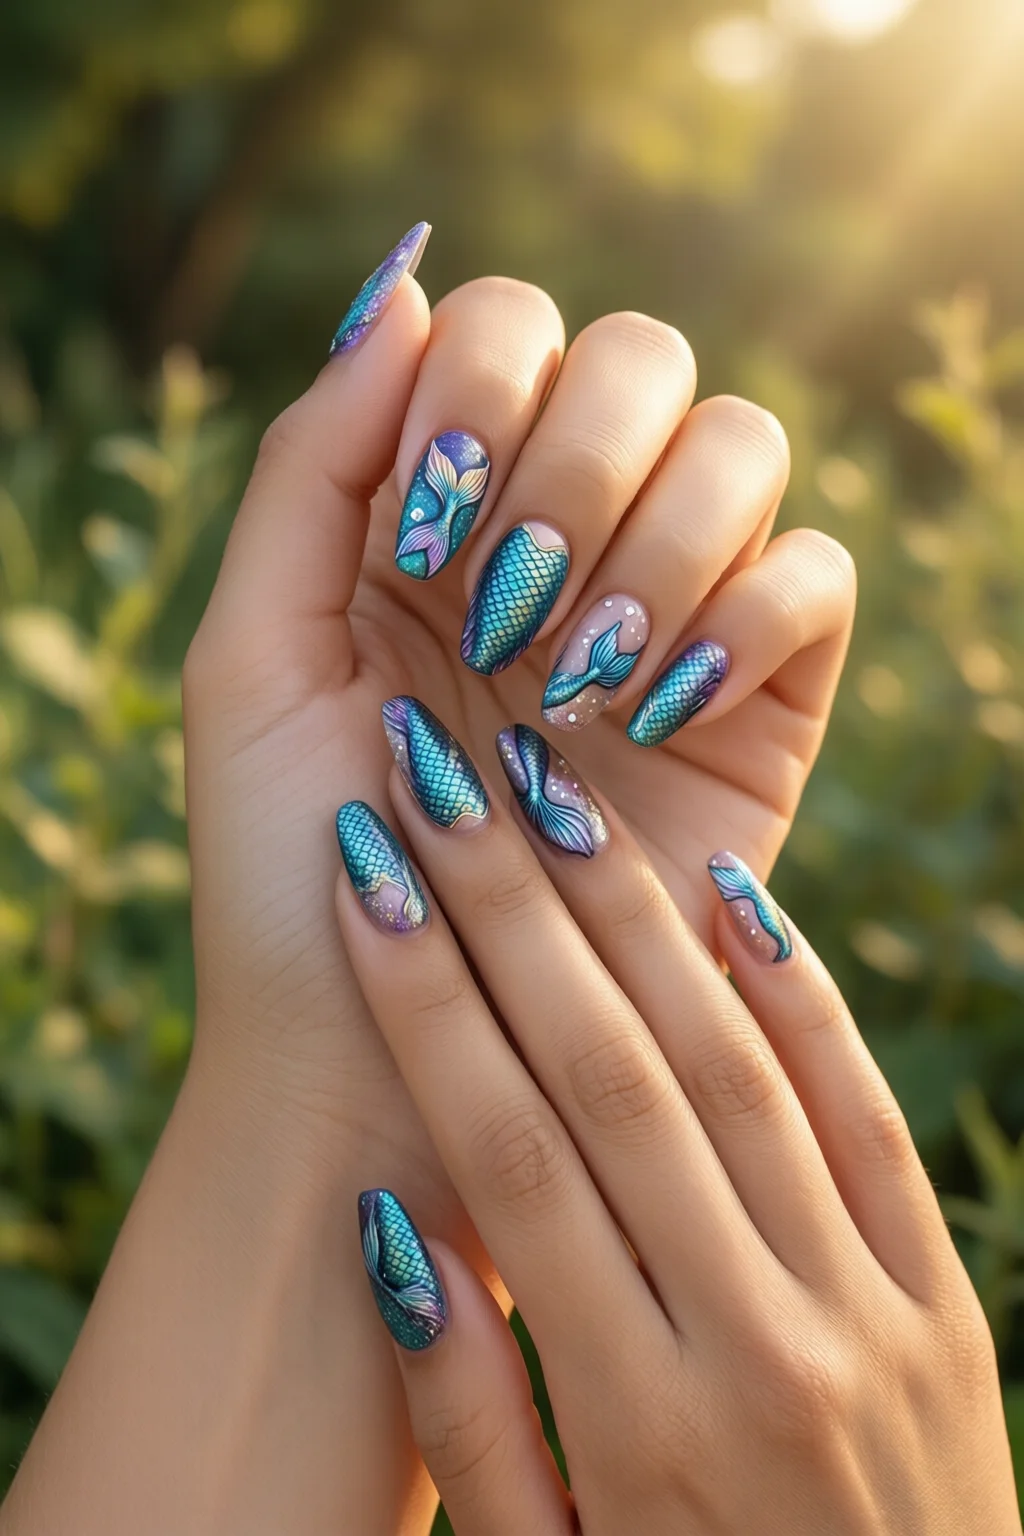
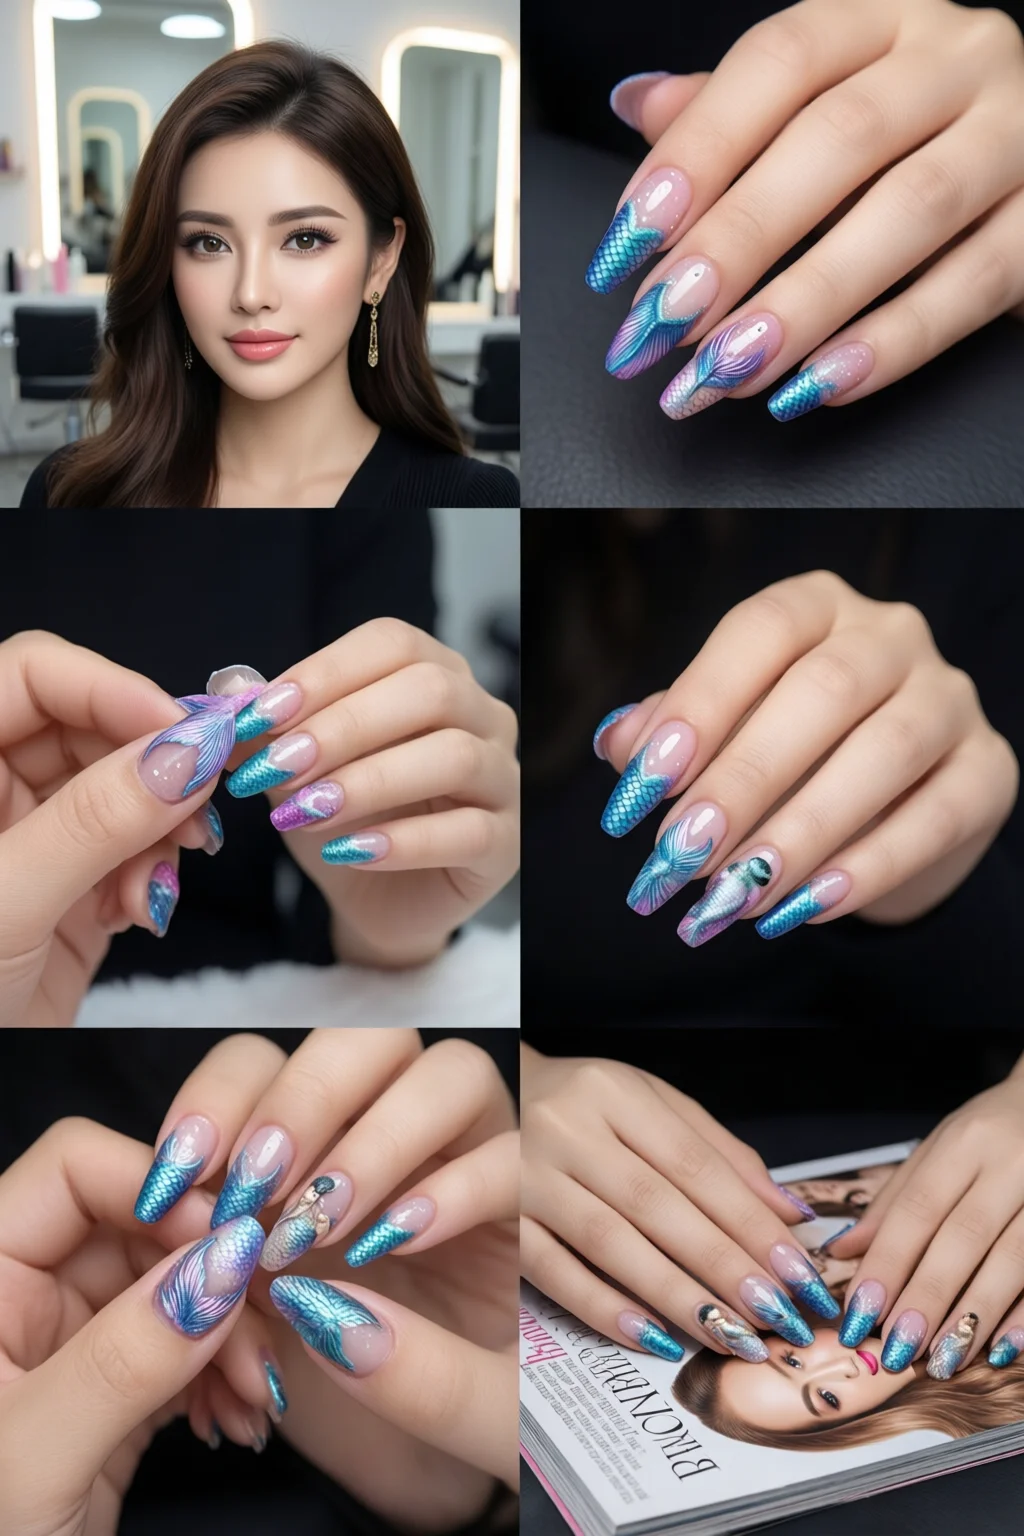
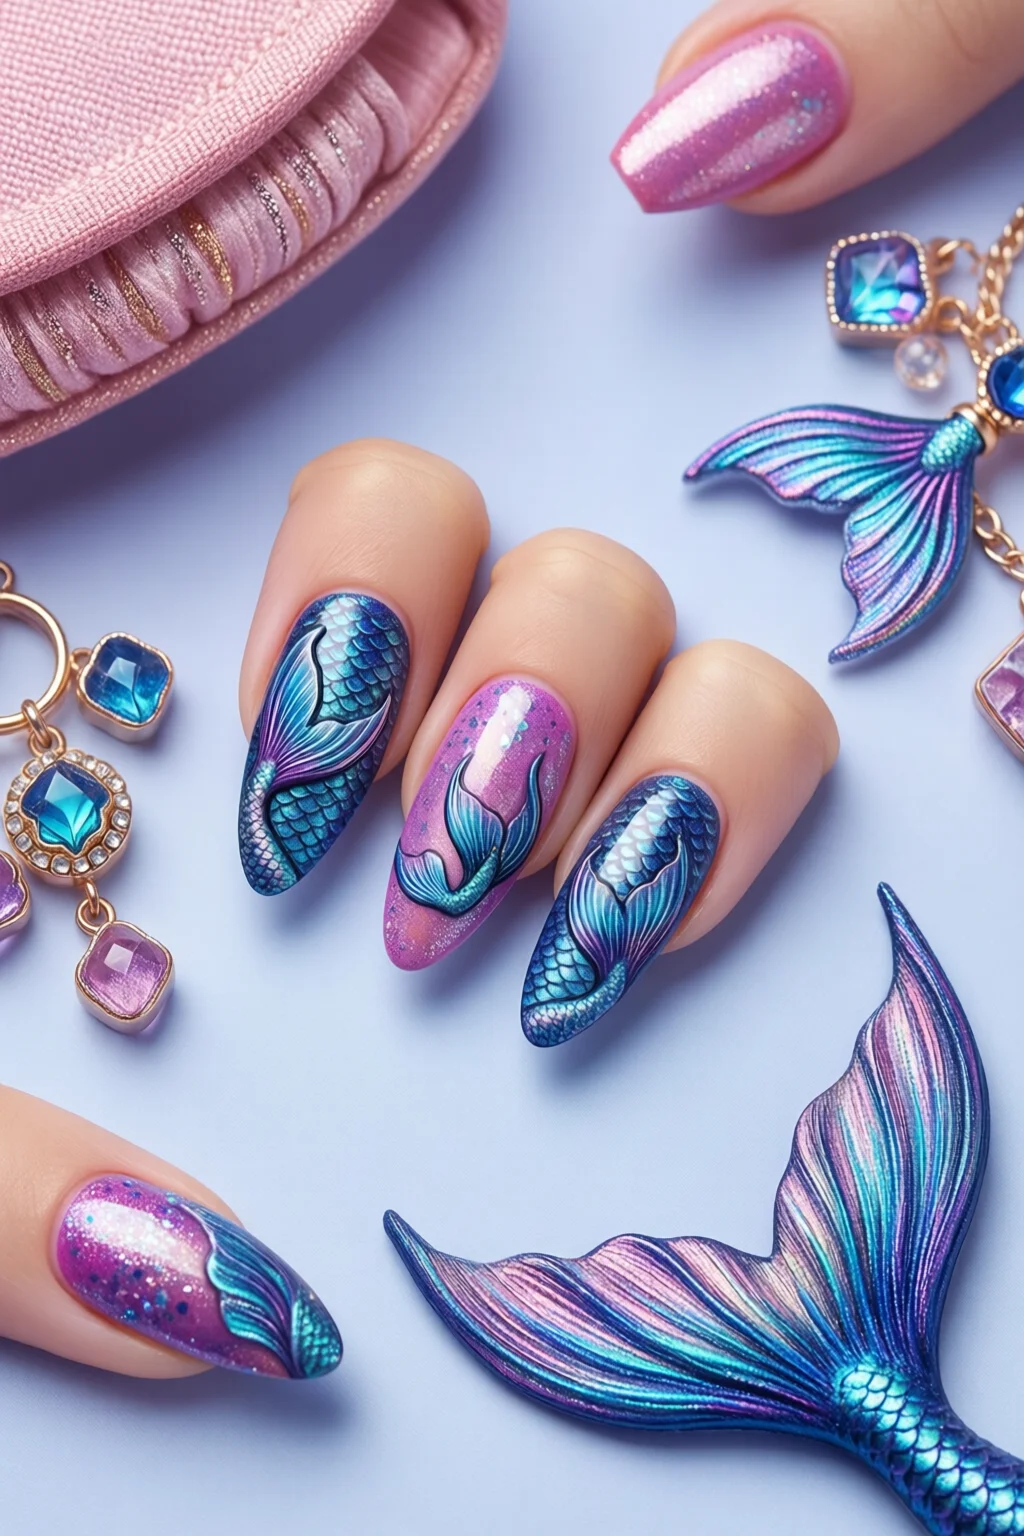
Imagine slipping into a sea‑foam dream where every flick of your fingertips leaves a trail of iridescent waves—welcome to the world of mermaid nails. This trend isn’t just a splash of glitter; it’s a full‑on under‑the‑sea experience that blends pastel gradients, holographic finishes, and tiny shell accents into a manicure that screams fantasy and sophistication at the same time. Whether you’re prepping for a beach vacation, a music festival, or simply want to add a splash of oceanic magic to your everyday look, mastering mermaid nails is easier than you think—once you know the right products, techniques, and maintenance tricks.
In This Article
In my decade of working in high‑end nail salons across Los Angeles and Miami, I’ve seen the mermaid nail craze evolve from simple teal‑blue French tips to full‑blown 3‑D coral reefs. The good news? The core principles stay the same, and with the actionable guide below you’ll be able to recreate salon‑quality mermaid nails at home, keep them vibrant for up to three weeks, and avoid the common pitfalls that turn a shimmering masterpiece into a dull disappointment.
Understanding the Mermaid Aesthetic
Color Palette: From Deep Sea to Sunrise
The backbone of any mermaid nail design is the color story. Think of the ocean at sunrise: pastel pinks, lavender, and soft teal blend into deep navy or midnight blue for the “deep sea” effect. A typical gradient might start with #A7E3E7 (a light aqua) at the cuticle, transition through #F3C1D1 (a peach‑pink) at the middle, and finish with #5B2C6F (a rich indigo) at the tip. Using a pre‑mixed gradient polish like OPI Aquatic Dream ($12.99, 15 ml) saves time, but a custom blend of Essie “Bikini Pink” and “Glimmering Seafoam” gives you more control.
Finish Types: Holographic vs. Iridescent vs. Glitter
Holographic powders (e.g., China Glaze Holographic Pearl at $9.99) reflect light in a rainbow shift, perfect for a “shimmering scales” look. Iridescent gels like ILNP Mermaid’s Tail ($18) create a subtle color‑changing effect that mimics fish scales. Classic glitter—fine silver or multicolored—adds texture; I recommend Sally Hansen Sparkle Pop (2 g, $3.49) for a budget‑friendly option, or Zoya Glitter Top Coat ($14) for salon‑grade sparkle.
Common Motifs: Shells, Pearls, and Sea Creatures
Beyond color, mermaid nails often feature tiny 3‑D elements: pearl stickers, shell appliqués, or even miniature sea‑star charms. My go‑to is a set of Mikami Pearl Stickers (30 pcs, $8) that adhere with a clear top coat. For a bold statement, try Dashing Diva 3‑D Coral Charms ($6.95) placed on the ring finger. These details elevate a simple gradient into a story‑telling canvas.
Choosing the Right Base: Acrylic vs. Gel vs. Dip Powder
Before you dive into colors, decide on the foundation that will hold your under‑sea masterpiece. Each system has its own durability, shine, and cost profile.
| Feature | Acrylic | Gel | Dip Powder |
|---|---|---|---|
| Application Time | 30‑45 min (mix & brush) | 45‑60 min (cure each layer) | 35‑50 min (dip & seal) |
| Durability | 3‑4 weeks (high impact) | 2‑3 weeks (flexible) | 2‑3 weeks (resistant to chips) |
| Finish | Matte‑to‑gloss, depends on top coat | High‑shine, natural feel | Soft‑gloss, powdery texture |
| Removal | Acetone soak 10‑15 min | Acetone soak 8‑12 min | Acetone soak 5‑8 min |
| Cost (per set) | ~$25 (powders, brushes, monomer) | ~$30 (gel kit, UV lamp) | ~$28 (dip kit, brush) |
Acrylic: The Classic Canvas
Acrylic offers the strongest base for heavy embellishments like 3‑D shells. I use a 1:1 mix of Modelones Acrylic Powder ($19) and Modelones Monomer ($12). After sculpting, file to a smooth shape and buff lightly before applying color. The trade‑off? A slightly thicker feel and a stronger odor.
Gel: The Flexible, High‑Shine Option
For a more natural feel, I recommend a UV/LED gel system like Gelish Soak-Off Gel Kit ($45). Gel cures in 30 seconds under a 48 W LED lamp, giving you a glass‑like finish that makes holographic pigments pop. The downside is that gel can lift if the nail surface isn’t properly prepped.
Dip Powder: The Low‑Maintenance Choice
Dip powder combines the durability of acrylic with the ease of gel. Using
Step‑by‑Step Mermaid Nail Tutorial
1. Prep & Tools
- Remove old polish with Cutex Nail Polish Remover ($4.99).
- Shape nails (ideal length: 2 mm over the fingertip, width 8–10 mm). Use a 180‑grit file for a smooth edge.
- Buff the surface lightly (180‑grit buffer) to remove shine; this improves adhesion.
- Apply a thin layer of OPI Nail Prep primer ($13) and let dry 2 minutes.
2. Base & Color Application
If using acrylic, build a thin sculpted base (≈1 mm). For gel, apply a thin gel base coat (Gelish Base Gel, $12) and cure 30 seconds. Once the base is ready, apply the gradient:
- Start with a sheer teal top coat (e.g., Essie “Aqua”).
- While still wet, use a sponge (synthetic makeup sponge) to dab on “peach‑pink” and “indigo” polish from the cuticle to the tip, creating a seamless blend.
- Repeat the sponge technique 2‑3 times until the gradient is vivid but not blotchy.
3. Adding Texture & Details
- Glitter Gradient: While the base color is tacky, sprinkle fine silver glitter (Sally Hansen Glitter Pop) over the tip area. Gently tap off excess.
- Holographic Peel‑Off: Apply a thin layer of China Glaze Holographic Pearl over the entire nail and cure (gel) or air‑dry (acrylic). This creates a scale‑like shimmer.
- 3‑D Embellishments: Using a dotting tool, place a pearl sticker on the ring finger and a tiny shell charm on the middle finger. Press gently and seal with a clear top coat.
- Watercolor Effect: With a fine brush, dab diluted white nail polish (1 part white to 3 parts clear) near the cuticle for a frothy “foam” look.
4. Seal & Finish
Finish with a high‑gloss top coat. My favorite is Zoya Quick Dry Top Coat ($15) because it dries in 30 seconds and adds a glass‑like shine that intensifies holographic pigments. Cure under a 48 W LED lamp for 60 seconds (gel) or let air‑dry 5 minutes (acrylic). Apply a second thin layer for extra durability.
5. Clean‑Up
Use a small brush dipped in acetone to remove any stray glitter from the skin. Finish with a cuticle oil (e.g., nail care over 50 recommendation) applied to the nail beds to keep them moisturized.
Essential Products & Where to Buy
Top Polishes for Mermaid Gradients
- OPI Aquatic Dream – $12.99, 15 ml, offers built‑in gradient.
- Essie “Bikini Pink” + “Glimmering Seafoam” – $9.99 each, 15 ml, mixable.
- ILNP Mermaid’s Tail Gel – $18 per 10 ml bottle, UV/LED cure.
Glitters, Pigments & Powders
- Sally Hansen Sparkle Pop – $3.49 for 2 g fine glitter.
- China Glaze Holographic Pearl – $9.99 per 5 g jar.
- Zoya Glitter Top Coat – $14, 15 ml, large glitter particles.
Tools & Accessories
- Modelones Acrylic Kit – $31 (powder, monomer, brush).
- Gelish UV/LED Lamp – $45, 48 W.
- Mikami Pearl Stickers – $8 for 30 pcs.
- Dashing Diva 3‑D Coral Charms – $6.95 per pack of 12.
All items are available on Amazon, Ulta, or directly from brand websites. I often purchase the OPI line from Ulta for the loyalty points, which effectively reduces the price by roughly 10 %.
Long‑Lasting Mermaid Nails – Maintenance
Daily Care
Apply a thin layer of cuticle oil each night (e.g., CND Solar Oil, $13). Avoid prolonged exposure to hot water; if you’re swimming, wear a waterproof glove to prevent chlorine from dulling the holographic finish.
Touch‑Up Schedule
For acrylic bases, schedule a fill every 10‑12 days to keep the surface smooth. Gel users should do a “gel refresh” (light filing and new top coat) at week 2 to prevent lifting. Dip powder users can simply re‑apply glitter on the tip without a full redo.
Removal Without Damage
Soak a cotton ball in 100 % acetone, place it on the nail, and wrap with foil for 10 minutes (acrylic) or 8 minutes (gel). Gently push the coating off with a wooden cuticle pusher. Finish with a nourishing hand mask (e.g., SheaMoisture Hand & Body Lotion, $8) to restore moisture.
Pro Tips from Our Experience
- Layer Thin, Not Thick: A 0.5 mm layer of holographic powder prevents bubbling and keeps the nail weight manageable.
- Use a Color‑Correcting Base: If your natural nail is very pink, apply a thin pink‑neutral base coat (e.g., Essie “Ballet Slippers”) before the teal gradient to avoid a pinkish cast.
- Seal Embellishments Quickly: Once you place pearls or charms, seal with a rapid‑dry top coat within 30 seconds; otherwise the glue can smudge.
- Temperature Matters: Work in a room between 20‑24 °C (68‑75 °F). Too cold, and the glitter won’t adhere; too hot, and the gel may cure prematurely.
- Invest in a Dual‑Purpose Brush: A 2‑inch synthetic brush (e.g., Minnie Nails Pro Brush, $5) works for both acrylic and gel, saving drawer space.
Conclusion – Dive Into Your Own Mermaid Fantasy
Mermaid nails are more than a trend; they’re a canvas for creativity, a splash of color that can transform any outfit, and a technique you can master with the right foundation, products, and patience. By selecting the appropriate base (acrylic for heavy 3‑D work, gel for flexibility, or dip for low‑maintenance), mastering the gradient sponge method, and sealing with high‑gloss top coats, you’ll achieve a salon‑level look that lasts up to three weeks. Remember to maintain with daily oil, schedule timely touch‑ups, and remove gently to keep your natural nails healthy.
Now, grab your favorite teal polish, a pinch of holographic glitter, and let your fingertips tell the story of the sea. Happy painting!
How long do mermaid nails usually last?
With acrylic bases you can expect 3‑4 weeks of durability, while gel and dip powder typically hold strong for 2‑3 weeks if you avoid harsh chemicals and follow proper after‑care.
Can I do mermaid nails on short nails?
Absolutely. Use a short, almond shape (8‑9 mm width) to maximize surface area for gradient blending and still showcase 3‑D accents.
What’s the best way to prevent glitter from falling off?
Apply glitter while the base coat is still tacky, then seal immediately with a thick‑film top coat like Zoya Quick Dry. A second top coat after curing locks it in place.
1 thought on “Best Mermaid Nails Ideas That Actually Work”