
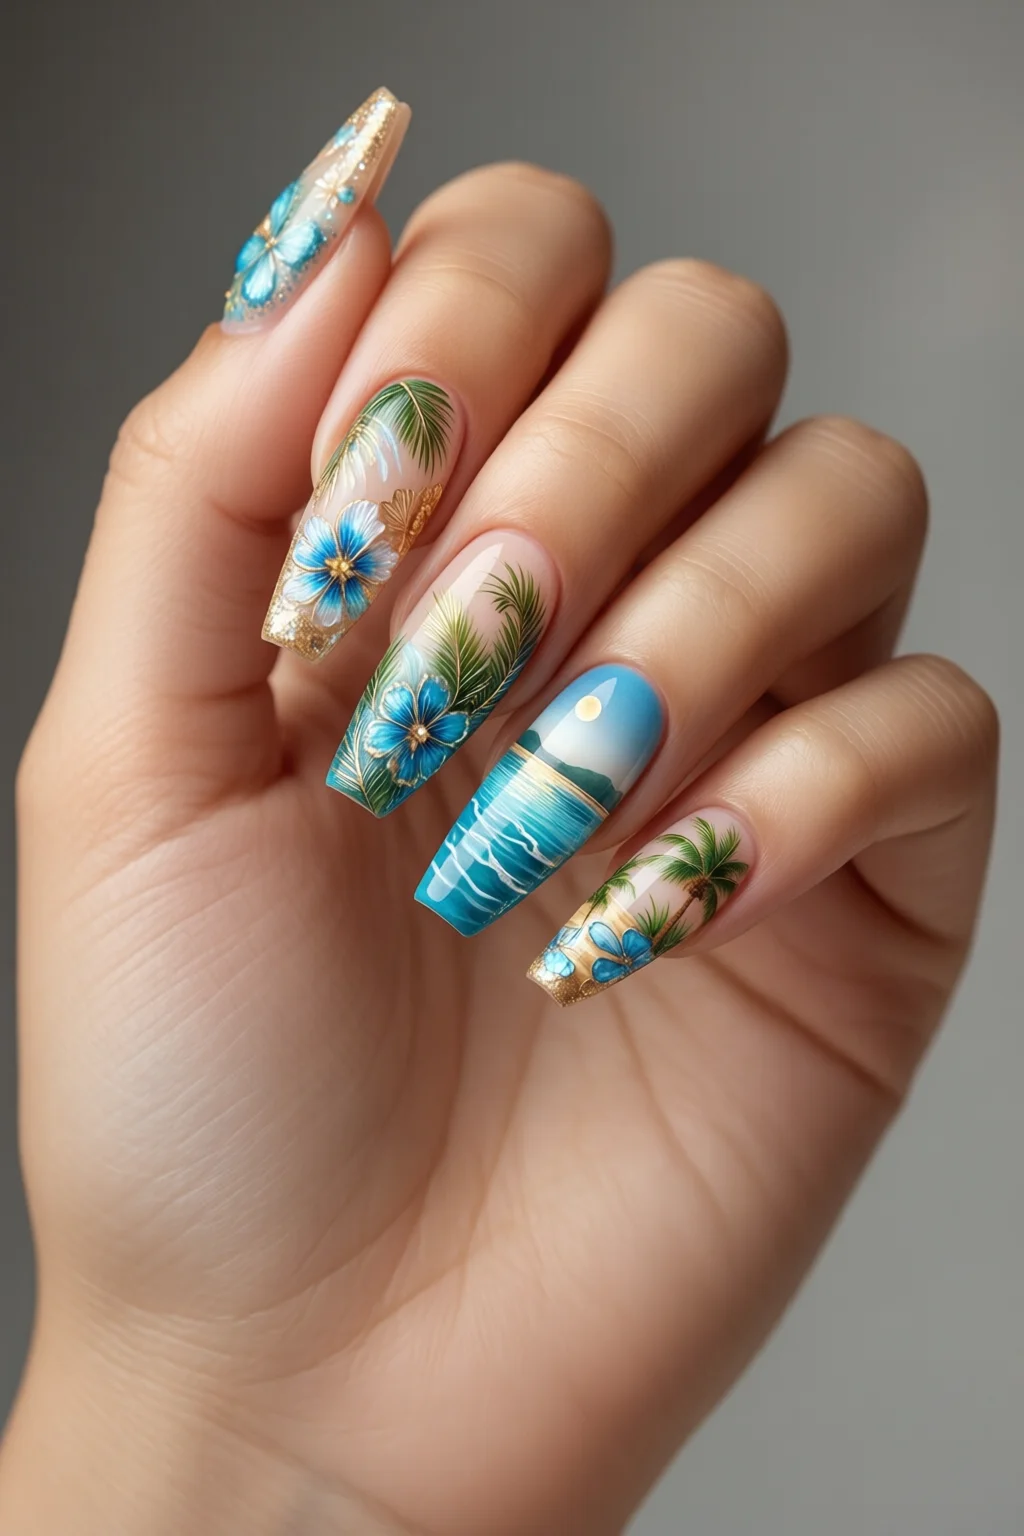
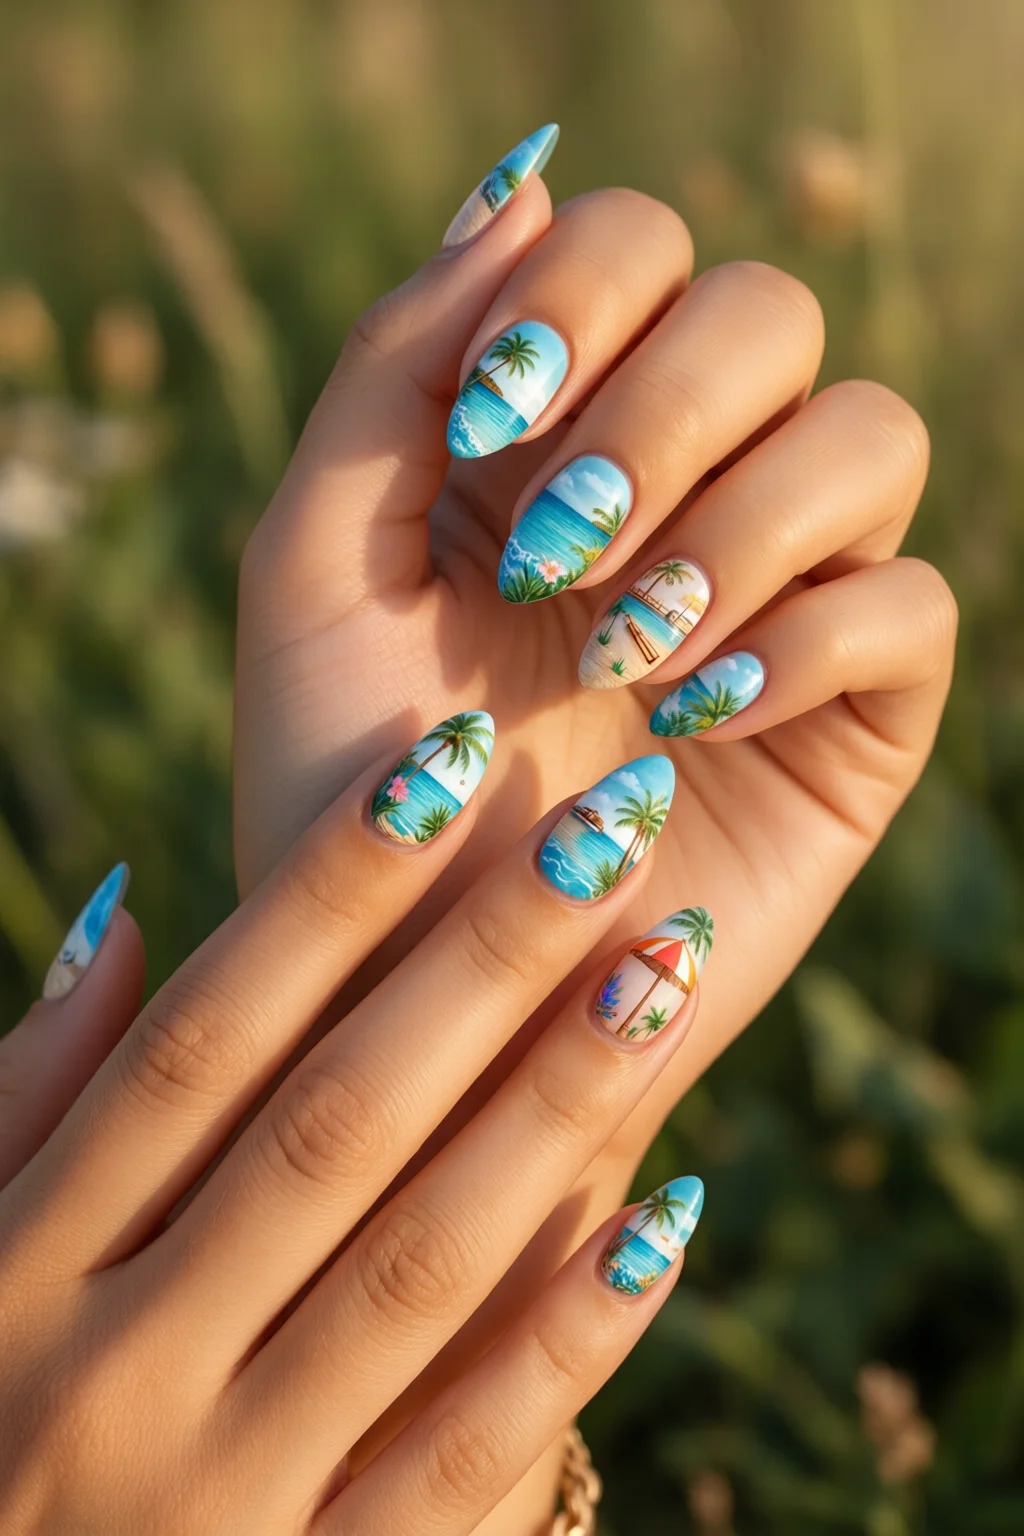
Dreaming of beach sunsets, palm‑tree breezes, and a manicure that screams “vacation mode”? Vacation nails aren’t just about cute colors—they’re a passport to confidence, a low‑maintenance way to showcase your getaway vibe, and a conversation starter at every poolside bar. Below is the ultimate, expert‑approved list of nail looks that survive sand, sun, and spontaneous cocktail clinks, plus the exact tools, costs, and timelines you need to nail them yourself.
In This Article
- 1. Tropical Sunset Ombre – The Classic Vacation Vibe
- 2. Nautical Stripes – Sailor‑Inspired Simplicity
- 3. Shell Glitter Accent – Shimmer Without the Mess
- 4. Fruit Nail Art – Playful, Instagram‑Ready Designs
- 5. Swirl Nails – Pastel Blend for Beachy Elegance
- 6. Glass Nail Effect – Transparent, Refined Shine
- 7. UV‑Safe Quick Dip – The Ultimate Low‑Maintenance Vacation Nail
- Comparison Table – Top Vacation Nail Picks
- FAQ
- Final Verdict
Whether you’re jet‑setting to Bali, road‑tripping through the Southwest, or just swapping the office desk for a backyard hammock, the right nail design can make your whole outfit pop without adding extra stress. In my ten‑year career as a senior nail technician, I’ve seen travelers lose their polish after a single day of salty water, and I’ve also watched them return with flawless, glossy finishes that lasted the entire week. The difference? Choice of product, prep routine, and a design that tolerates a little sand.
1. Tropical Sunset Ombre – The Classic Vacation Vibe
This gradient from coral to deep teal mimics a sun‑kissed horizon and works on both natural nails and extensions. Here’s my step‑by‑step:
- Prep: Trim to your desired length (I recommend 1.8 mm for a comfortable fit). Buff lightly and push back cuticles with a 0.5 mm cuticle pusher.
- Base coat: Apply Sally Hansen Insta‑Gel Base ($9.99, 15 ml). Cure under a 36 W UV lamp for 30 seconds.
- Color 1: OPI “Sunset Blvd” gel polish, $12.50 per 15 ml bottle. Paint two thin coats, cure 60 seconds each.
- Blend: While the second coat is still tacky, dab a small brush in Gelish “Deep Sea” ($14, 15 ml) and use a makeup sponge to softly merge the colors. Cure 60 seconds.
- Top coat: CND Vinylux Top Coat ($13, 15 ml) for a high‑gloss finish; cure 60 seconds.
- Seal: Wipe with 70% isopropyl alcohol and apply Essie “Dry‑Touch” hand cream ($8, 2 oz) to lock in moisture.
Pros: High impact, lasts 10‑12 days with proper care, easy to match any tropical outfit.
Cons: Requires a UV lamp; color blending can be tricky for beginners.
Cost breakdown: approx. $58 for all products (you’ll have leftovers for future uses). Total time: 20 minutes for prep, 12 minutes for curing, 5 minutes for blending—about 37 minutes total.
2. Nautical Stripes – Sailor‑Inspired Simplicity
Bold white and navy stripes give off a crisp, maritime feel that pairs perfectly with a white sundress or a boardshort‑and‑tank combo. You only need two colors, a striping tape, and a steady hand.
- Products: Essie “Bikini White” ($10, 15 ml) and OPI “Navy Night” ($12, 15 ml). Use Orly Nail Tape ($5.99 for 30 ft).
- Application: After base coat (Sally Hansen Insta‑Gel Base), apply a thin layer of “Bikini White” and cure 60 seconds. Cut strips of tape 2 mm wide, place them evenly across the nail, and press gently.
- Paint over the tape with “Navy Night” (two coats, curing 60 seconds each). Remove tape while still tacky for crisp lines.
- Finish with CND Vinylux Top Coat ($13) and cure 60 seconds.
Pros: Minimal product waste—only two colors, quick to execute (≈25 minutes total).
Cons: Stripes can lift if tape isn’t applied flat; not ideal for very short nails (<10 mm).
Average cost per set: $42. Longevity: 8‑10 days with a 1‑minute daily oil rub.

3. Shell Glitter Accent – Shimmer Without the Mess
Glitter can be a nightmare on vacation—sand gets stuck, and loose particles feel gritty. The secret is using a fine, shell‑based glitter that adheres to a clear gel base, creating sparkle that washes off with soap.
What you need:
- Shell Glitter (1 mm) from Kiara Sky – $9.95 per 2 g jar.
- Gelish “Clear” Base Coat – $14, 15 ml.
- CND Vinylux Top Coat – $13.
- Fine‑point brush for placement.
Steps:
- Apply base coat and cure 60 seconds.
- While still tacky, dip a fine brush into the shell glitter and stipple a small accent on the ring finger or at the tip of each nail.
- Seal with two layers of clear top coat, curing 60 seconds each.
Pros: Lightweight sparkle that won’t collect sand; easy removal with acetone wipes.
Cons: Not suitable for a full‑cover glitter look; requires careful handling to avoid over‑application.
Cost: $37 total. Time: 15 minutes for prep and curing, plus 5 minutes for glitter placement.
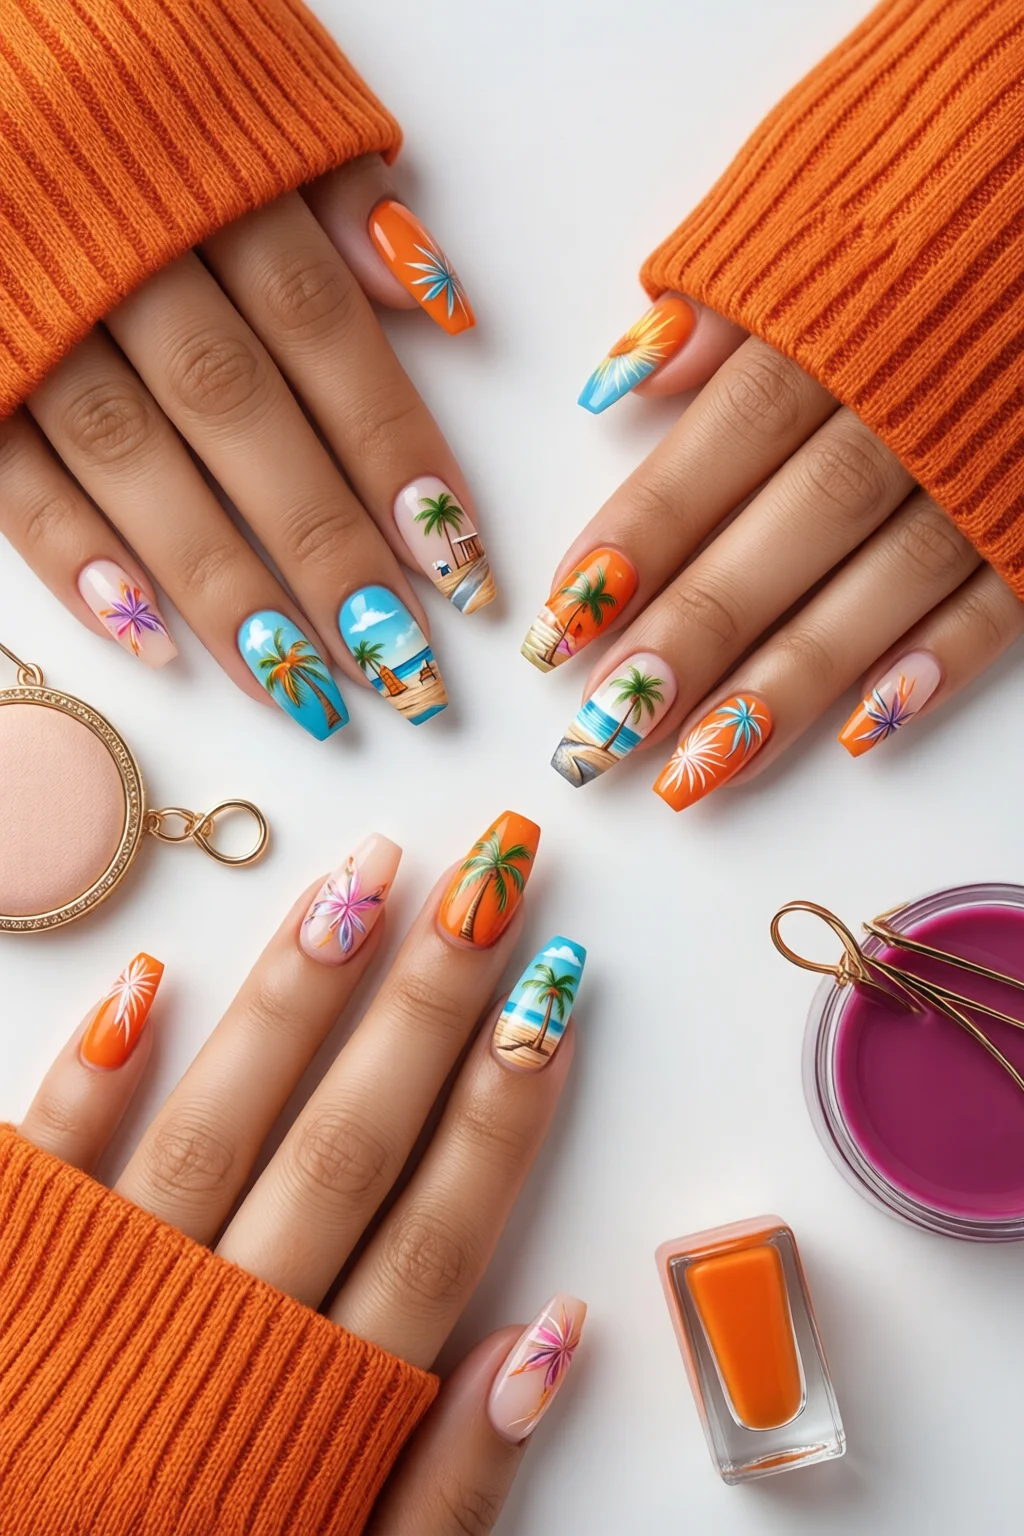
4. Fruit Nail Art – Playful, Instagram‑Ready Designs
If you love a pop of color, fruit nail art is the perfect vacation companion. Think pineapple, watermelon, and tropical cocktails. I recommend the fruit nail art guide for inspiration, but here’s a quick starter kit:
- Base: OPI “Barely Beige” – $12.
- Colors: Essie “Melon Pop” ($10), OPI “Lime Twist” ($12), and Sally Hansen “Berry Blast” ($9).
- Tools: Dotting tool ($4.99), fine brush ($3.99).
- Top: CND Vinylux Top Coat – $13.
Procedure (≈30 minutes):
- Apply base coat and cure 60 seconds.
- Paint each nail with a solid background (e.g., “Melon Pop” for a watermelon theme). Cure 60 seconds.
- Use the dotting tool to create seeds (black) and the fine brush for rind lines (green). Layer as needed, curing 30 seconds between each color.
- Seal with top coat, cure 60 seconds.
Pros: Highly customizable, perfect for photo ops, can be done on short nails (≥8 mm).
Cons: Requires steady hand; detailed designs may need practice.
Total cost: $65 (includes tools). Longevity: 7‑9 days with a 2‑minute daily cuticle oil.

5. Swirl Nails – Pastel Blend for Beachy Elegance
Swirl nails blend two or three pastel shades into a seamless marble effect—ideal for a relaxed, sophisticated vacation look. Follow the technique from swirl nails for flawless results.
Materials:
- Gel polish trio: Gelish “Lilac Dream” ($14), Gelish “Seafoam Green” ($14), Gelish “Peach Whisper” ($14).
- Clear gel base and top coat – $13 each.
- Fine‑point brush and a small silicone spatula.
Method (≈35 minutes):
- Apply clear base coat, cure 60 seconds.
- On a palette, place a small dot of each color close together.
- Using the spatula, swirl the colors gently for 2‑3 seconds, then pick up the mixture with a brush.
- Apply the swirl onto the nail in a single, smooth stroke; cure 60 seconds.
- Repeat for each nail, varying the color order for a natural look.
- Finish with top coat, cure 60 seconds.
Pros: Elegant, low‑maintenance, lasts 10‑14 days with proper sealing.
Cons: Swirl can become muddy if over‑mixed; best on nails ≥9 mm.
Cost: $79 total (includes all gel polish). Time investment: ~35 minutes.
6. Glass Nail Effect – Transparent, Refined Shine
Glass nails give the illusion of clear, glossy acrylic without the bulk. They’re perfect for pool parties because they don’t show water spots. Check out the glass nails article for deeper insights.
Kit:
- Base: OPI “Clear Gel Base” – $13.
- Top: CND “Crystal Clear Top Coat” – $15.
- Glitter (optional): 0.2 mm iridescent pearl dust – $8 per 1 g.
Steps (≈20 minutes):
- Apply base coat, cure 60 seconds.
- If you want a subtle shimmer, dust pearl dust onto the tacky base with a soft brush; cure 30 seconds.
- Apply two layers of the crystal clear top coat, curing 60 seconds each.
- Finish with a quick 30‑second buff for ultra‑smooth shine.
Pros: Looks high‑end, resists water stains, easy removal with acetone.
Cons: Very thin; can chip if nails are excessively short.
Cost: $36. Longevity: 12‑14 days with a proper top coat.
7. UV‑Safe Quick Dip – The Ultimate Low‑Maintenance Vacation Nail
Dip powder is a favorite among travelers because it cures without a UV lamp and stays strong under sand and salt. Combine it with UV‑lamp safety knowledge from UV lamp safety nails if you use gel elsewhere.
Best dip powder brands: best dip powder brands list includes Kylie Cosmetics Dip Powder ($18 for 30 g) and Modelones “Pink Sunset” ($14 for 25 g).
Procedure (≈25 minutes):
- Prep: File to desired shape, push back cuticles, and buff lightly.
- Apply a thin layer of dip powder base coat (e.g., Sally Hansen Dip Base – $9).
- Dip each nail into the powder, tap off excess, and repeat for full coverage.
- Seal with dip powder top coat (e.g., Modelones Top Coat – $12) and cure under a 48 W LED lamp for 30 seconds (optional, but speeds up curing).
- File the surface lightly for a smooth finish.
Pros: No UV exposure, lasts 3‑4 weeks, highly resistant to chips.
Cons: Slightly thicker feel; removal requires acetone soak (15‑20 minutes).
Cost: $64 total (includes base, powder, top coat). Time: ~25 minutes for application, 30 seconds curing.
Comparison Table – Top Vacation Nail Picks
| Design | Difficulty (1‑5) | Longevity (days) | Approx. Cost (USD) | Best For |
|---|---|---|---|---|
| Tropical Sunset Ombre | 3 | 10‑12 | 58 | Sunset beach vibes, long trips |
| Nautical Stripes | 2 | 8‑10 | 42 | Quick, crisp look, short stays |
| Shell Glitter Accent | 2 | 9‑11 | 37 | Elegant sparkle without sand‑cling |
| Fruit Nail Art | 4 | 7‑9 | 65 | Playful Instagram moments |
| Swirl Pastel Blend | 3 | 10‑14 | 79 | Relaxed, sophisticated vibe |
| Glass Nail Effect | 2 | 12‑14 | 36 | Clear, classy look for pool parties |
| UV‑Safe Quick Dip | 3 | 21‑28 | 64 | Maximum durability, no lamp needed |
FAQ
How long should I expect vacation nails to last on a beach trip?
Most gel‑based designs (ombre, swirl, glass) hold 10‑14 days if you avoid direct sand contact and apply a daily cuticle oil. Dip powder can stretch to 21‑28 days, while glitter accents may chip sooner, around 7‑9 days.
Can I apply these designs without a UV/LED lamp?
Yes. The dip powder method cures without any light. For gel designs, you can use a 36‑48 W LED lamp (30‑60 seconds per coat). If you’re avoiding UV completely, stick to dip or acrylic alternatives.
What’s the best way to protect my nails from salty water?
Apply a thin layer of clear top coat right before hitting the water, and re‑apply after each swim. A quick dip in fresh water and a gentle wipe with a lint‑free pad helps prevent salt buildup.
Do I need to file my nails after a dip powder application?
A light filing after the final top coat smooths the surface and eliminates any “powdery” feel. Use a 180‑grit buffer for a glass‑like finish.
Final Verdict
If you’re packing a suitcase and want nails that survive sand, sun, and spontaneous cocktail selfies, the dip‑powder method is the most robust choice—no UV lamp, 3‑4 weeks of wear, and a simple removal process. For a photo‑ready, stylish look that still feels light, the Tropical Sunset Ombre and Swirl Pastel Blend strike the perfect balance of durability and visual impact. Nautical Stripes and Glass Nails offer quick, low‑maintenance options for short getaways, while Shell Glitter Accent and Fruit Nail Art let you inject personality without the mess.
My recommendation: pick a design based on trip length and the amount of time you want to spend prepping. Pair any look with a daily dose of cuticle oil and a quick re‑top‑coat after swimming, and you’ll walk away from the vacation with nails that look as fresh as the sunrise over the sea.
1 thought on “Vacation Nails: Complete Guide for 2026”