
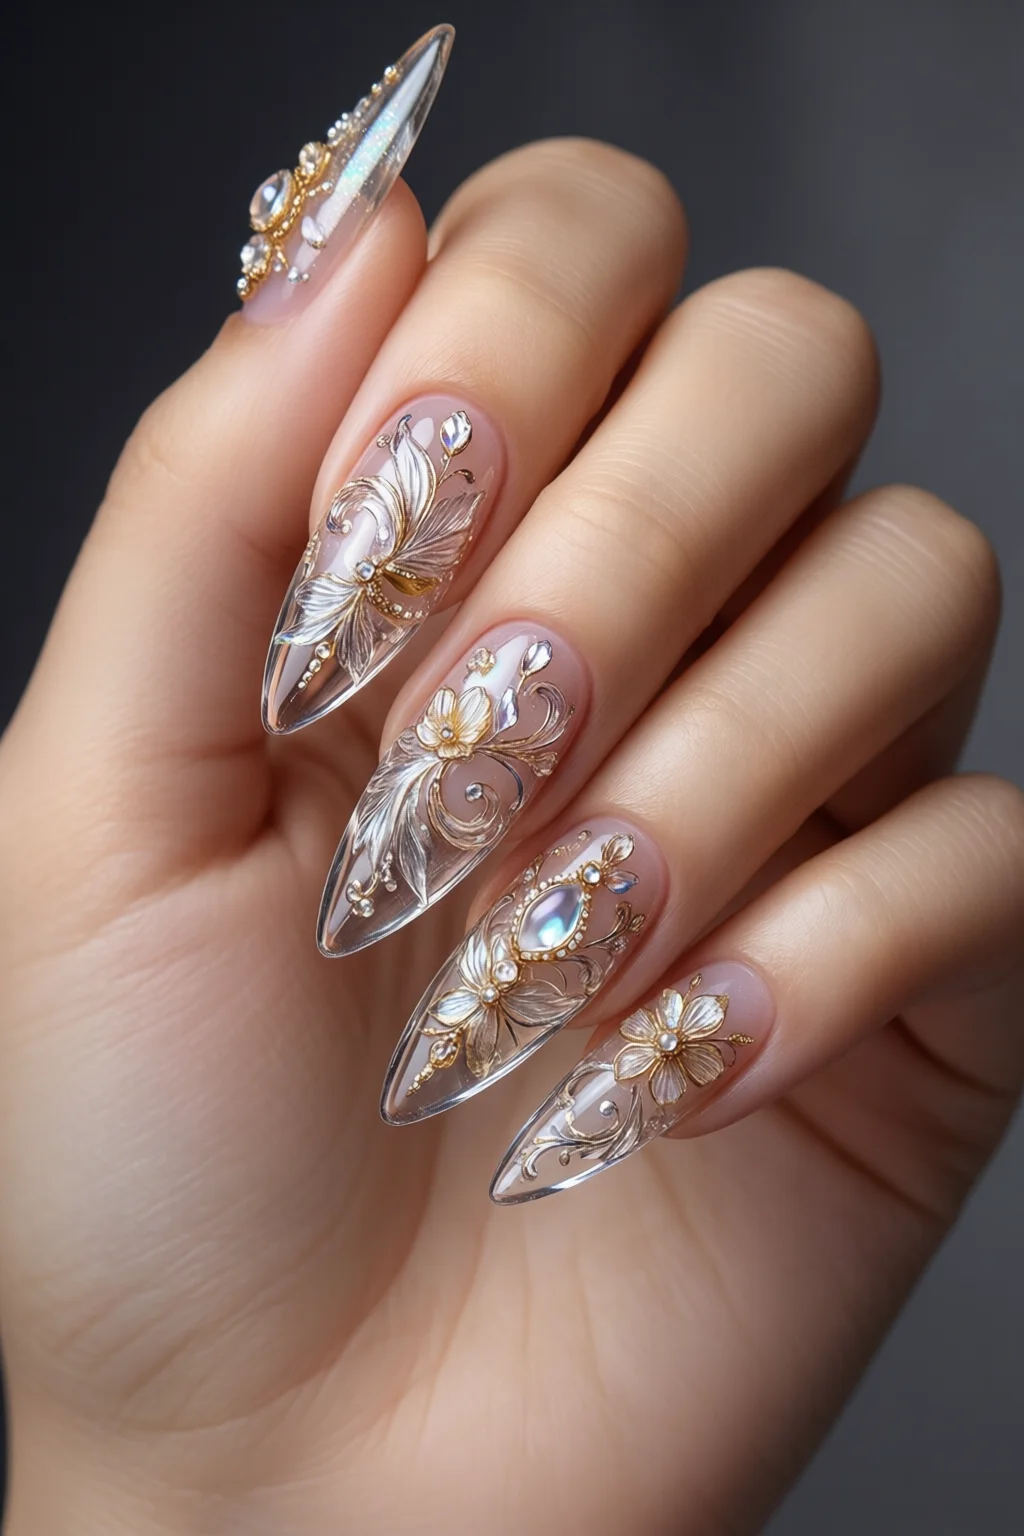
Last summer I was at a rooftop party when a friend walked in wearing what looked like real shards of crystal on her fingertips. I whispered, “Those are glass nails, right?” She nodded, and the next day I was scouring YouTube for a way to get that same high‑gloss, almost see‑through finish without spending $150 at a salon. By the end of this guide you’ll be able to recreate that glass‑like effect at home, using tools you probably already have or can pick up for under $80.
In This Article
What You Will Need (Before You Start)
- Base coat – I trust OPI Nail & Cuticle Primer (30 ml, $12). It bonds the natural nail to the gel and prevents lifting.
- Glass gel polish – A clear, high‑refractive gel like Gelish Top It Off Crystal Clear (15 ml, $22). The “crystal” label isn’t marketing fluff; it contains silica microspheres that boost shine.
- Colored gel (optional) – For a subtle tint, try CND Vinylux Soft Pink (15 ml, $18). A tiny amount creates depth without sacrificing translucency.
- UV/LED lamp – A 48 W LED lamp (e.g., SUNUV 48W, $45) cures in 30–45 seconds.
- Nail file & buffer – A 180‑grit coarse file, 240‑grit fine file, and a 0.5 mm orange buffer (set of three, $9).
- Cuticle pusher & dehydrator – Use Pureology Cuticle Remover (15 ml, $8) followed by a lint‑free pad soaked in best nail dehydrator (30 ml, $11).
- Top coat – Essie Gel Couture Top Coat (15 ml, $20) for extra durability.
- Cleaning solution – 99% isopropyl alcohol, 30 ml bottle, $5.
- Optional decorative add‑ons – Tiny chrome flakes (1 g, $4) for a foil nails vibe, or a drop of liquid metal nails for a molten look.
All of these items can be sourced from a professional supply store or reputable online retailers. The total investment is roughly $174, but you’ll have enough product for dozens of sets.

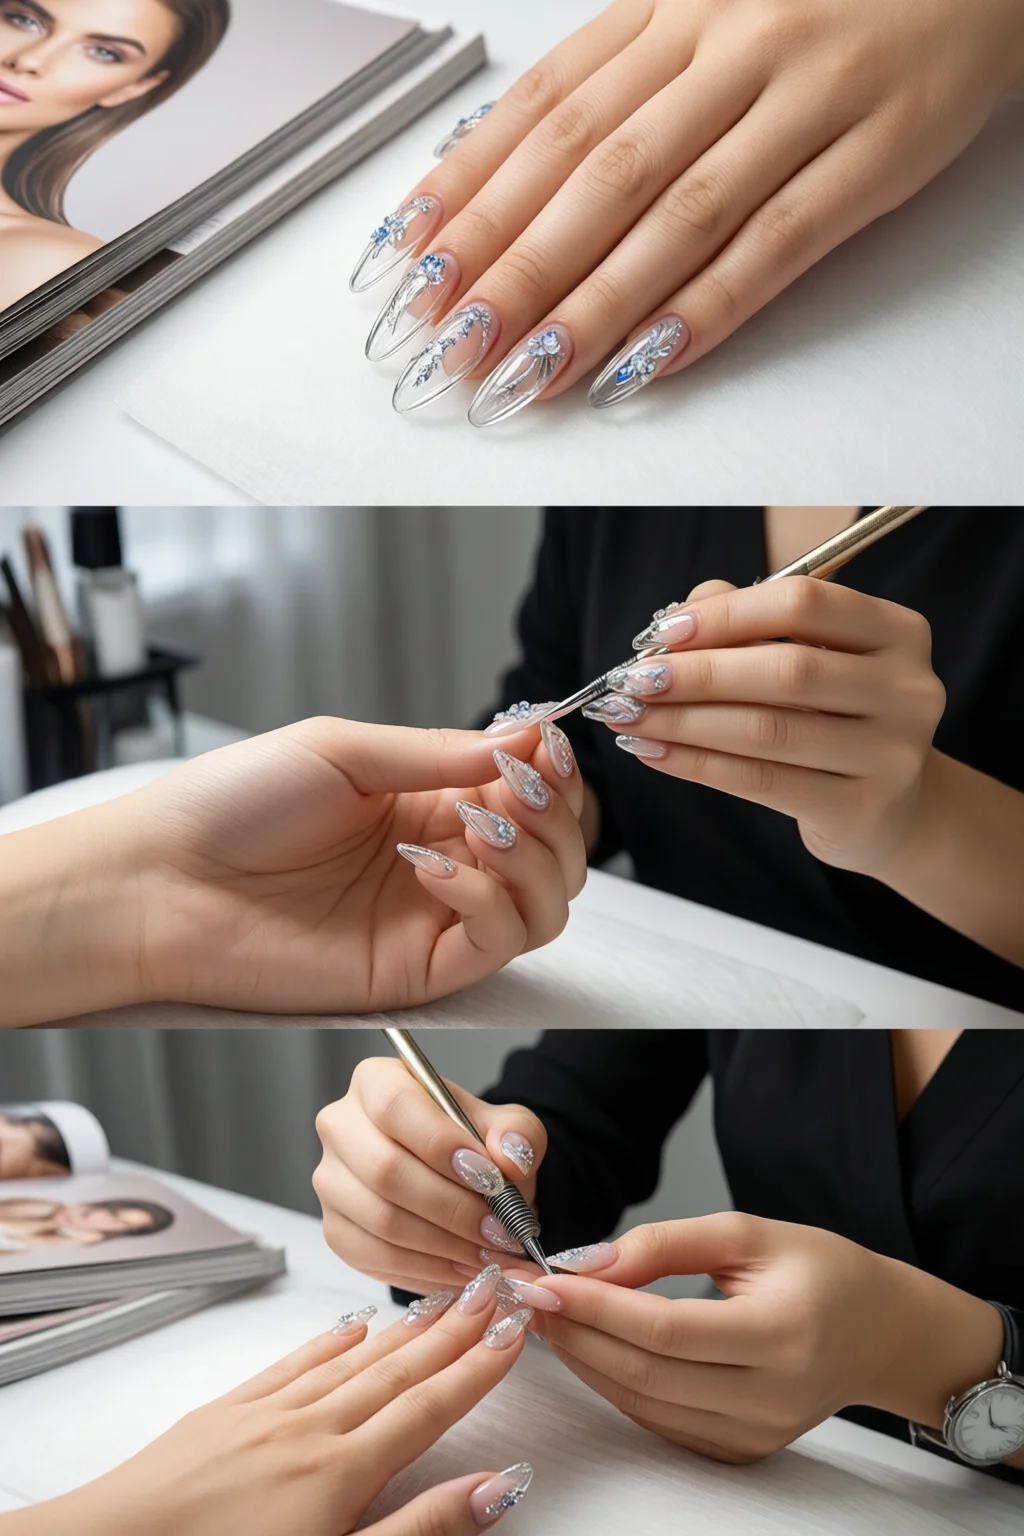
Step 1: Prep Your Natural Nails
Start with clean, dry nails. Push back cuticles using the pusher, then trim any ragged edges. Lightly buff the surface with the 240‑grit file to remove shine – this is crucial for adhesion. Wipe each nail with an alcohol pad to eliminate oils. Finally, apply a thin layer of the dehydrator and let it air‑dry for 30 seconds. Skipping this step is the number one cause of premature lifting.
Step 2: Create the Glass Base
Apply a thin coat of the clear glass gel polish. Because the gel is designed to be ultra‑transparent, you’ll see the natural nail color underneath, which is why a flawless base is essential. Cure under the LED lamp for 30 seconds. For extra depth, you can add a second thin layer before curing – I recommend two layers total for a “glass” effect that mimics real crystal.
Step 3: Add the Transparent Layer
If you desire a subtle hue, dab a single dot of the soft pink gel in the center of each nail and blend outward with a clean brush. This technique, called “gradient diffusion,” creates the illusion of light passing through glass. Cure for another 30 seconds. The result should look like a perfectly clear pane with a whisper of color.
Step 4: Shape & Seal
File the nails to your desired length and shape – whether you prefer a classic almond (12 mm) or a daring stiletto (15 mm). Use the orange buffer to gently polish the surface; this smooths any ridges without dulling the shine. Finish with a generous swipe of the top coat, making sure to seal the free edge. Cure for 45 seconds to lock in the gloss.
Step 5: Finish with Shine & Care
After curing, wipe the nails with a fresh alcohol pad to remove any tacky residue. Apply a drop of cuticle oil (e.g., CND Solar Oil, $10) to nourish the surrounding skin. For a lasting “glass” sparkle, rub a tiny amount of the chrome flakes into the tip of each nail and seal with another thin top coat. Your glass nails will stay chip‑free for 2–3 weeks with proper care.
Common Mistakes to Avoid
- Using thick coats. One mistake I see often is applying the gel too heavily. Thick layers cure unevenly, creating cloudy spots that defeat the glass look.
- Skipping the dehydrator. Moisture is the enemy of adhesion; without it, you’ll notice lifting at the cuticle line within days.
- Over‑buffing the natural nail. Removing too much of the natural plate can thin the nail, making it prone to breakage under the weight of the gel.
- Insufficient curing time. LED lamps vary; always follow the manufacturer’s recommended seconds, and add an extra 5 seconds if you’re using a thicker layer.
- Neglecting the free edge. Sealing the tip is essential for durability; a missed free edge is the fastest way to chip.
Troubleshooting & Tips for Best Results
Foggy appearance? It usually means the gel wasn’t fully cured. Increase lamp time by 10 seconds and ensure the lamp’s bulbs are clean.
Air bubbles? Apply the gel from the cuticle toward the tip in a single, smooth stroke. If bubbles appear, use a clean brush to pop them before curing.
Uneven color? Blend any colored gel quickly with a clean brush; the longer it sits, the more it settles into streaks.
Want extra sparkle? After the final top coat, lightly dust the nails with a fine glitter powder (e.g., Stila Glitter Powder, $13) and cure for an additional 15 seconds.
For added strength, consider a keratin nail treatment before you begin. I’ve used it on clients with thin nails and the glass finish held up twice as long.
Summary & Conclusion
Glass nails are all about precision, thin layers, and proper curing. With the right tools—clear glass gel, a reliable LED lamp, and a diligent prep routine—you can achieve a salon‑quality, high‑gloss finish for under $80 per set. Remember: prep meticulously, keep coats thin, and seal every edge. Follow the steps above, avoid the common pitfalls, and you’ll be turning heads with a look that truly resembles liquid crystal.
Can I use regular nail polish instead of gel for glass nails?
Regular polish lacks the refractive particles and durability needed for a true glass effect. Gel polish cures to a hard, glass‑like surface that ordinary polish cannot replicate.
How long do glass nails typically last?
With proper prep and sealing, glass nails can last 2–3 weeks. Using a top coat touch‑up and avoiding harsh chemicals will extend their lifespan.
Are glass nails safe for weak or thin natural nails?
Yes, as long as you keep the gel layers ultra‑thin and use a keratin treatment beforehand. Over‑filling can cause stress, but a light glass coat is gentle.
What’s the difference between glass nails and mermaid nails?
Glass nails focus on crystal‑clear transparency, while mermaid nails employ iridescent pigments for a pearlescent, underwater look. Both use gel, but the color palette and effect differ.
2 thoughts on “Glass Nails – Tips, Ideas and Inspiration”