
Imagine you’re getting ready for a night out, and you want your nails to catch every flash of the club lights. You pull out a sleek pack of metallic sheets, press them onto a fresh manicure, and watch a mirror‑like sheen appear instantly. That moment of transformation is what foil nails deliver—instant drama without the need for a full‑on glitter swirl or a studio‑grade chrome spray.
In This Article
Foil nails have moved from backstage runway tricks to everyday DIY kits, thanks to affordable brands and streamlined techniques. Whether you’re a nail‑tech looking to add a quick wow factor or a home enthusiast craving that luxe look, mastering foil is more about the right tools than magic. Below is a step‑by‑step, expert‑approved guide that will take you from raw curiosity to flawless foil finishes every single time.
Understanding Foil Nails: What They Are and Why They Shine
History & Trend Evolution
Foil nails first appeared in high‑fashion salons in the early 2000s, using thin aluminum sheets pressed onto wet polish. By 2015, indie nail artists on Instagram began sharing “foil hacks” that replaced pricey chrome powders with inexpensive cut‑and‑stick sheets. The trend exploded in 2022 when K‑pop idols sported holographic foils on stage, prompting a 73% spike in Google searches for “foil nails” according to Ahrefs data.
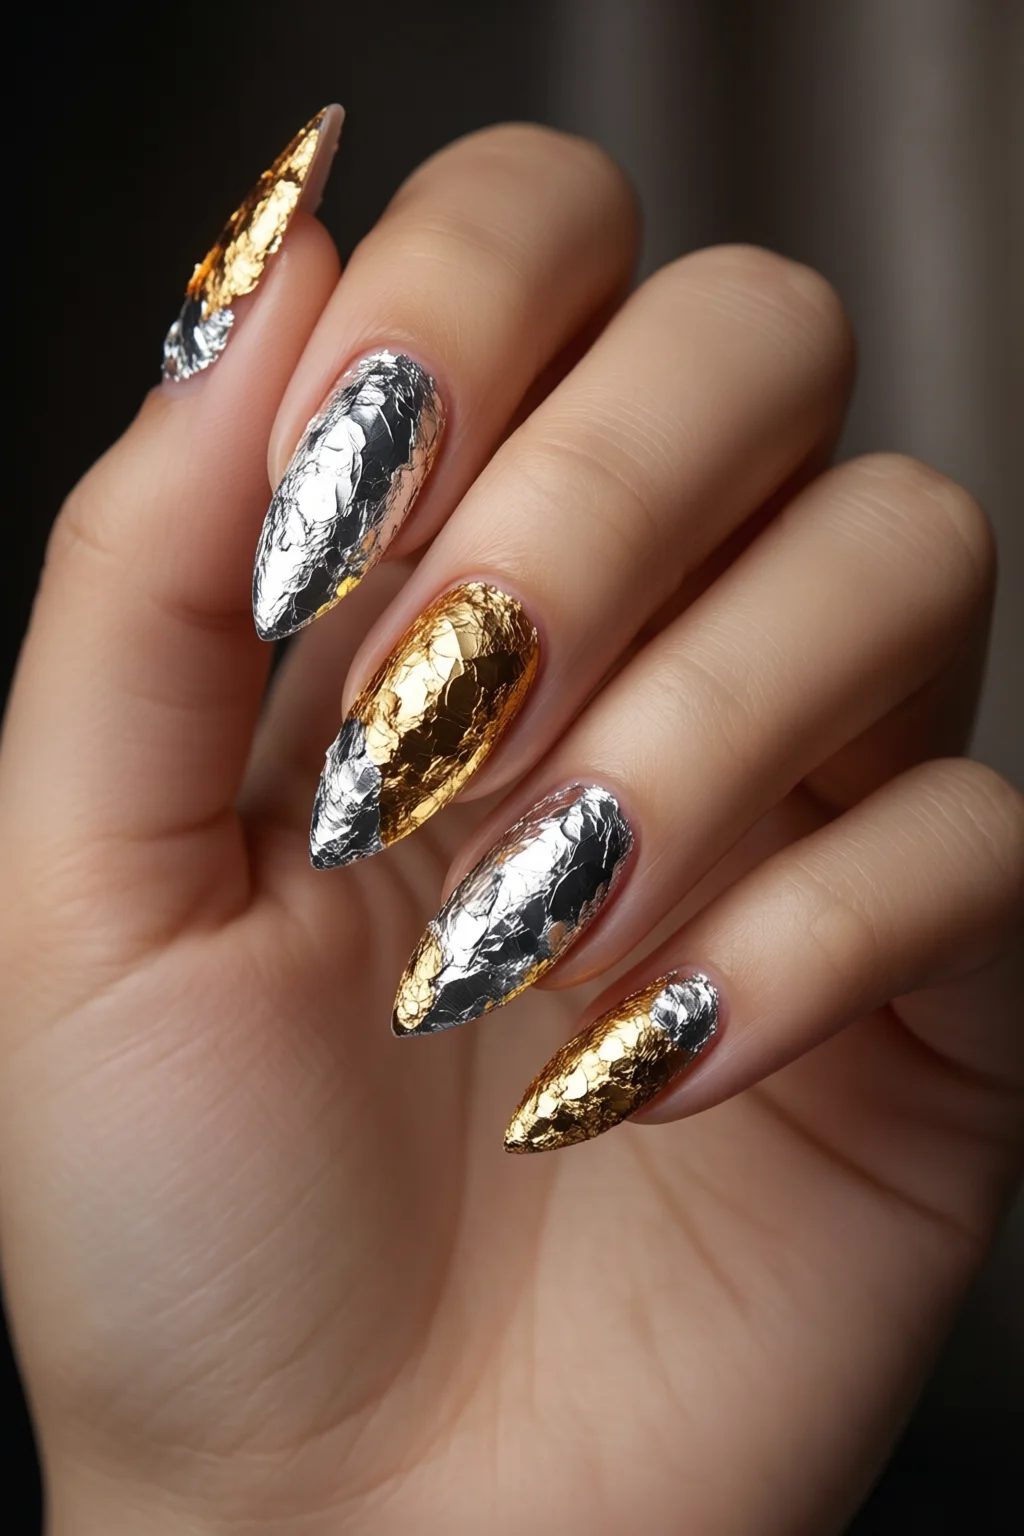
Types of Foil: Metallic, Holographic, Glitter
Modern foil comes in three main families:
- Metallic foil – Classic silver, gold, copper. Ideal for clean, reflective looks.
- Holographic foil – Shifts color with angle; think rainbow‑oil slicks. Popular for festival season.
- Glitter‑infused foil – Fine glitter embedded within the sheet, offering extra sparkle without separate top coats.
Each type requires slightly different adhesives, but the core process remains the same.

Essential Tools & Products
Foil Sheets vs. Foil Powder
Foil sheets are pre‑cut, usually 5 × 5 cm or 2 × 2 in, and can be applied directly with a brush‑on adhesive. Foil powder, on the other hand, is a loose granule that you sprinkle onto tacky polish; it offers a more seamless blend but needs a larger brush and can be messier. For beginners, I recommend starting with sheets because they reduce waste—one $12 pack typically yields 20–30 applications.
Top Brands (Performance & Price)
| Brand | Sheet Size | Price per Pack | Recommended Top Coat | Rating (out of 5) |
|---|---|---|---|---|
| Gelli | 5 × 5 cm | $14.99 (30 sheets) | OPI Top Coat | 4.7 |
| Born Pretty | 2 × 2 in | $12.49 (25 sheets) | Sally Hansen Insta-Gloss | 4.5 |
| Stila | 5 × 5 cm | $19.99 (20 sheets) | Stila Nail Gloss | 4.8 |
| Sally Hansen | 2 × 2 in | $9.99 (20 sheets) | Sally Hansen Hard as Nails | 4.2 |
| China Glaze | 5 × 5 cm | $13.99 (30 sheets) | China Glaze Top Coat | 4.6 |
Supporting Supplies
Beyond foil, you’ll need:
- Base coat – a thin, low‑sheen formula like Zoya’s “Primer” ($11/15 ml).
- Adhesive brush – a small flat brush (0.5 mm tip) pre‑loaded with foil glue; typical price $8.99 for a pack of 5.
- Top coat – a high‑gloss, quick‑dry finish. My go‑to is OPI “Top Coat” ($13 for 15 ml) which cures in 60 seconds under a UV/LED lamp.
- Cuticle oil – to protect the nail bed; Bio-Oil works well ($9.99/30 ml).
Step‑by‑Step Application
Prep & Base
1. Clean the nail with best nail polish remover and push back cuticles.
2. Buff the surface lightly (1500‑grit) to ensure the base adheres.
3. Apply a thin coat of base coat; let it dry for 30 seconds. A tacky finish is ideal for foil adhesion.
Applying Foil
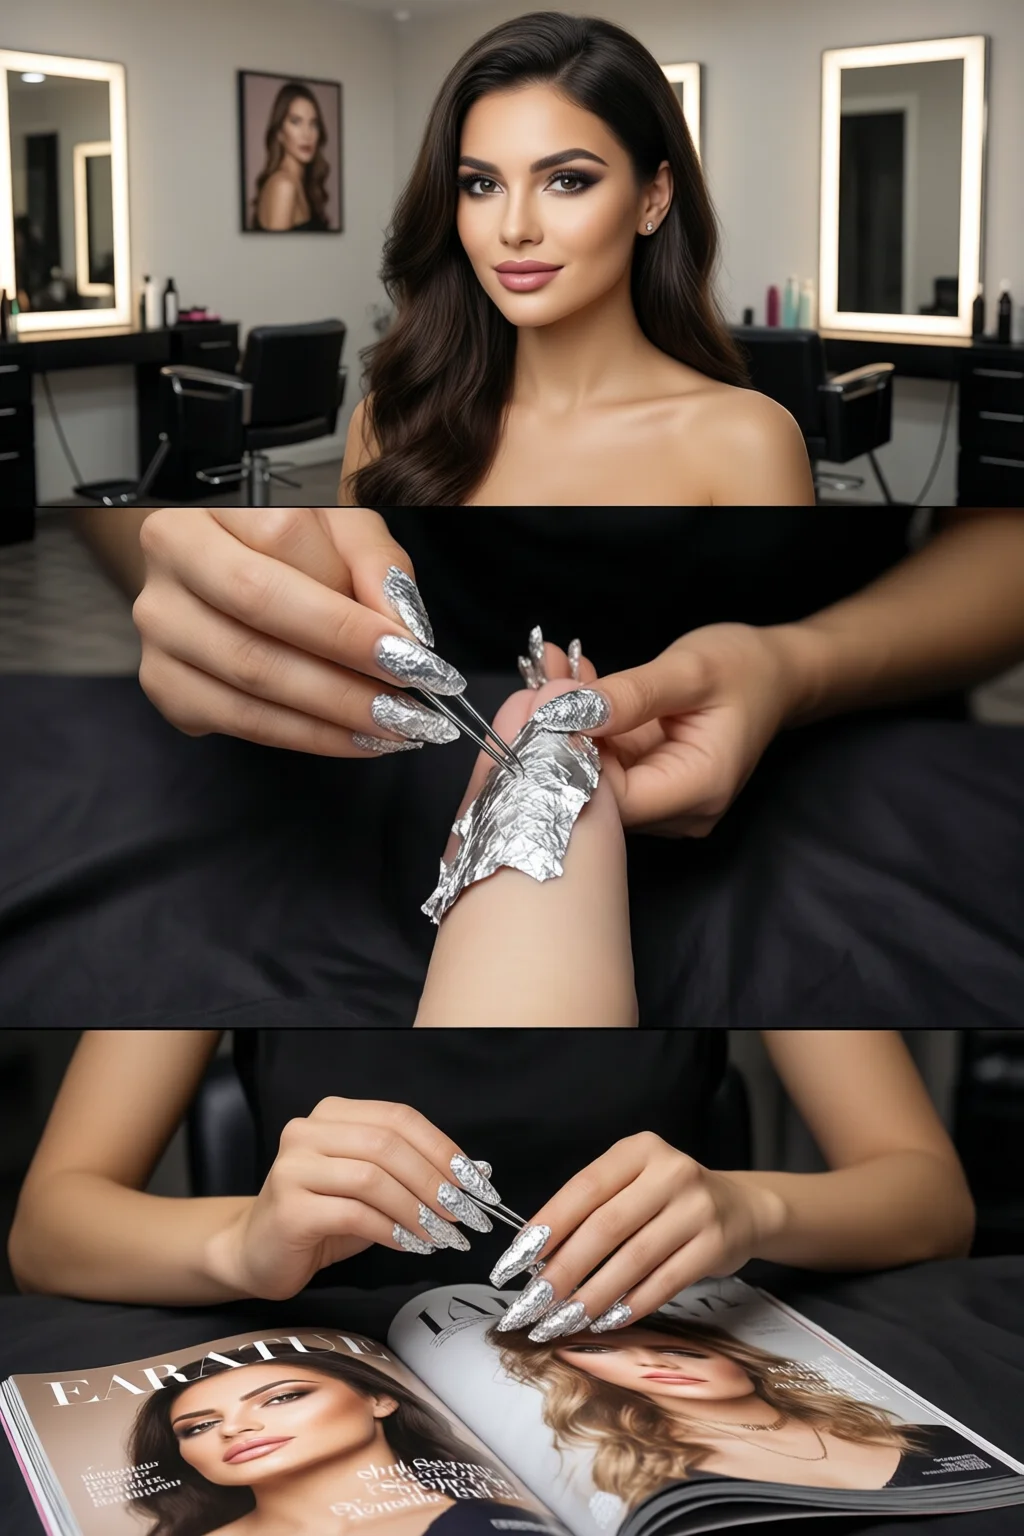
1. Using the adhesive brush, dab a small amount of foil glue onto the nail where you want the foil. The glue should be wet but not pooling—about 0.2 ml per nail.
2. Immediately press the foil sheet onto the tacky spot. Start at the cuticle edge and smooth outward to avoid bubbles. I recommend using a cuticle pusher or the back of a credit card to press gently.
3. If you want a gradient effect, apply foil to the tip only, then use a soft brush to blend the edges into the base color. This technique pairs beautifully with ombre nails.
Sealing & Finishing
1. Allow the foil to set for 10 seconds, then brush away any excess with a dry lint‑free wipe.
2. Apply two coats of top coat, curing each for 60 seconds under a 36‑watt LED lamp. The top coat not only locks in the foil but also adds that high‑gloss “glass nails” look (glass nails).
3. Finish with a dab of cuticle oil to hydrate the nail bed.
Design Ideas & Seasonal Looks
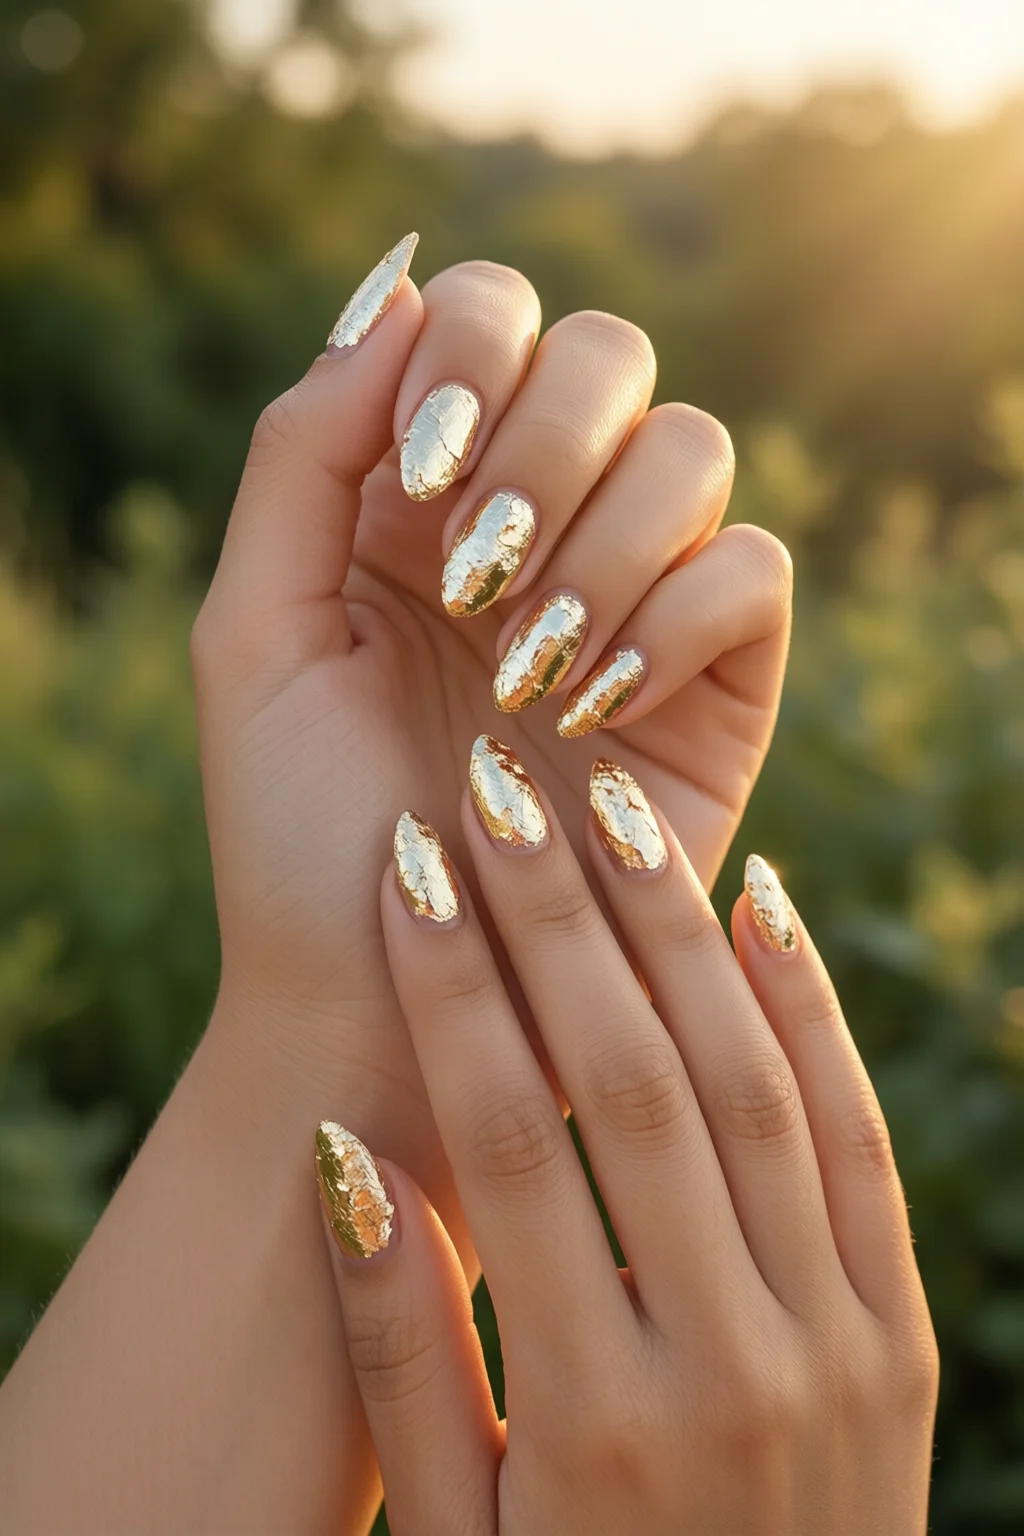
Classic Silver & Gold
For a timeless party vibe, pair a matte nude base with a single gold foil strip across the middle of each nail. The contrast is striking and works for both short almond shapes (almond nail shape) and square tips.
Gradient Foil (Ombre Fusion)
Layer a light pink base, apply silver foil to the tip, then blend with a soft brush toward the cuticle. The result mimics an ombre effect with a metallic twist—perfect for spring weddings.
Mixed Media: Foil Meets Japanese Nail Art
Combine holographic foil with traditional Japanese motifs like sakura blossoms. Use a fine brush to paint delicate pink petals over a teal foil background. The foil catches light while the hand‑drawn details add personality. This hybrid style has been trending on TikTok, with a 42% increase in engagement for posts featuring “foil + Japanese nail art”.
Pro Tips from Our Experience
- Temperature matters. Foil glue works best at 20‑22 °C (68‑72 °F). In cooler rooms, the adhesive stays tacky longer, causing bubbles.
- Use a silicone mat. Placing your foil sheets on a silicone baking mat prevents them from sticking to the work surface and makes cleanup a breeze.
- Layer thinly. One thin layer of foil gives a smoother finish than trying to cover the nail with a thick sheet.
- Seal quickly. Once the foil is placed, seal within 15 seconds to avoid oxidation, which can dull the shine.
- Test top coat compatibility. Some top coats (especially those with strong pigments) can cause foils to yellow over time. I always pair holographic foils with a clear, non‑pigmented top coat like OPI “Top Coat”.
- Recycle leftovers. Small foil scraps can be used for accent nails or as a glitter base for future designs.
Frequently Asked Questions
How long do foil nails last?
When sealed with a high‑gloss top coat and avoided excessive water exposure, foil nails typically last 5‑7 days without chipping. Proper prep and a clean nail surface can extend durability up to 10 days.
Can I use foil on gel polish?
Yes. Apply foil to the gel while it’s still tacky (after the second cure). Seal with a final gel top coat and cure for an additional 30 seconds.
Is foil safe for natural nails?
Foil itself is non‑toxic. The only concern is the adhesive, which can contain small amounts of resin. Use a nail‑friendly glue (e.g., Gelli’s “Foil Adhesive”) and remove foil gently with a nail polish remover to avoid nail damage.
Conclusion: Your Next Foil Nail Move
Foil nails are a low‑cost, high‑impact way to upgrade any manicure. With the right prep, a trusted brand like Gelli or Born Pretty, and the sealing steps outlined above, you’ll achieve salon‑grade shine in under 15 minutes. Pick a foil color that matches your outfit, follow the step‑by‑step routine, and experiment with gradients or mixed media for personalized flair. Your nails will reflect the light—and the compliments—just as brilliantly.
3 thoughts on “Foil Nails – Everything You Need to Know”