
Turn your bathroom into a spa and master a flawless pedicure at home without spending a fortune on salon appointments.
In This Article
What You Will Need (Before You Start)
Gather these items so the process flows smoothly. I keep a dedicated pedicure kit on a shelf for quick access, and it costs me roughly $45 total.
- Foot soak basin – a plastic tub (12 in × 8 in, $8.99 at Target) or the Dr. Scholl’s Foot Spa ($39.99) for a warm soak.
- Warm water – 95‑100 °F (35‑38 °C) works best for softening skin.
- Foot scrub – The Body Shop “Peppermint Foot Scrub” ($13) or a DIY mix of sugar (½ cup) and coconut oil (2 Tbsp).
- Pumice stone or foot file – OXO Good Grips Pumice Stone ($6.99) for callus removal.
- Cuticle remover – Sally Hansen “Cuticle Remover” (10 ml, $5.49).
- Nail clippers and cuticle pusher – CND Professional Nail Clippers ($12) and a stainless‑steel pusher ($7).
- Nail buffer – Revlon Buffer (4‑stage, $4.99).
- Moisturizer – Burt’s Bees Shea Butter Foot Cream (8 oz, $9.95).
- Polish – OPI “Samoan Sand” (gel‑compatible, $12) or any favorite shade.
- Base & top coat – Seche Vivid (gel, $14 each).
- LED/UV lamp – if you’re using gel, a 48‑W LED lamp (UV vs LED nail lamp, $29).
- Cotton balls, nail polish remover, and a towel.
Set aside about 30‑45 minutes; that’s the realistic window for a thorough pedicure at home.
Step 1 – Soak and Relax
Fill the basin with warm water and add a tablespoon of Epsom salt or a few drops of lavender essential oil. Submerge your feet for 8‑10 minutes. In my experience, the combination of heat and magnesium eases muscle tension and softens callused skin dramatically.
Tip: If you’re short on time, a quick 5‑minute soak in a bucket of warm water works, but the longer soak yields smoother results.
Step 2 – Exfoliate and File
Drain the water, pat your feet dry with a lint‑free towel, then apply the foot scrub. Massage in circular motions for 1‑2 minutes, focusing on the heels and balls of the feet. Rinse lightly.
Grab the pumice stone and gently rub any remaining rough patches. I recommend three to five strokes per area; over‑scrubbing can thin the skin and cause irritation.
Finish by using the foot file (medium grit) to shape the nails. Clip them straight across, leaving a small 1‑mm white edge for a clean look.
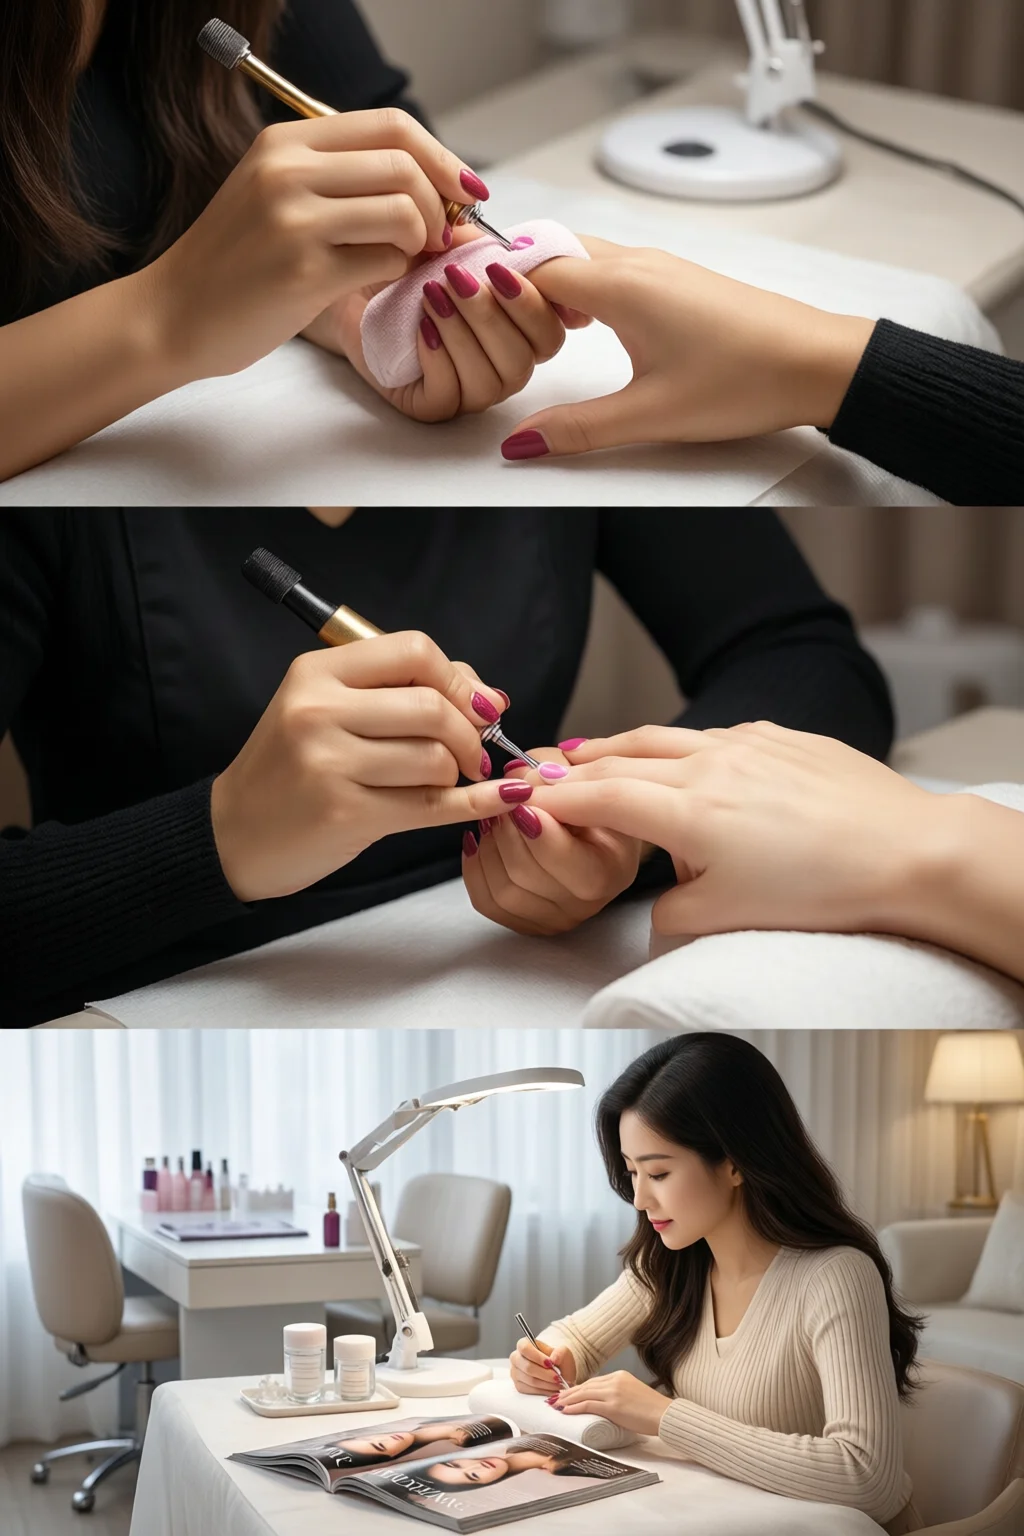
Step 3 – Cuticle Care and Buffing
Apply a few drops of cuticle remover and let it sit for 30 seconds. Push the cuticles back with the stainless‑steel pusher, never pulling. A common mistake is to cut the cuticles; this can lead to infections.
Next, buffer each nail lightly with the 4‑stage buffer: start with the coarse side for shape, then move to the finer grit to achieve a subtle shine. This step removes the natural shine that can cause polish to peel prematurely.
Step 4 – Moisturize and Prep
Massage Burt’s Bees Shea Butter Foot Cream into the skin for at least 2 minutes. The rich blend of shea and coconut oil hydrates, making the skin supple for the next steps.
Wipe each nail with a cotton ball soaked in nail polish remover to eliminate any oil residue. This ensures the base coat adheres properly.
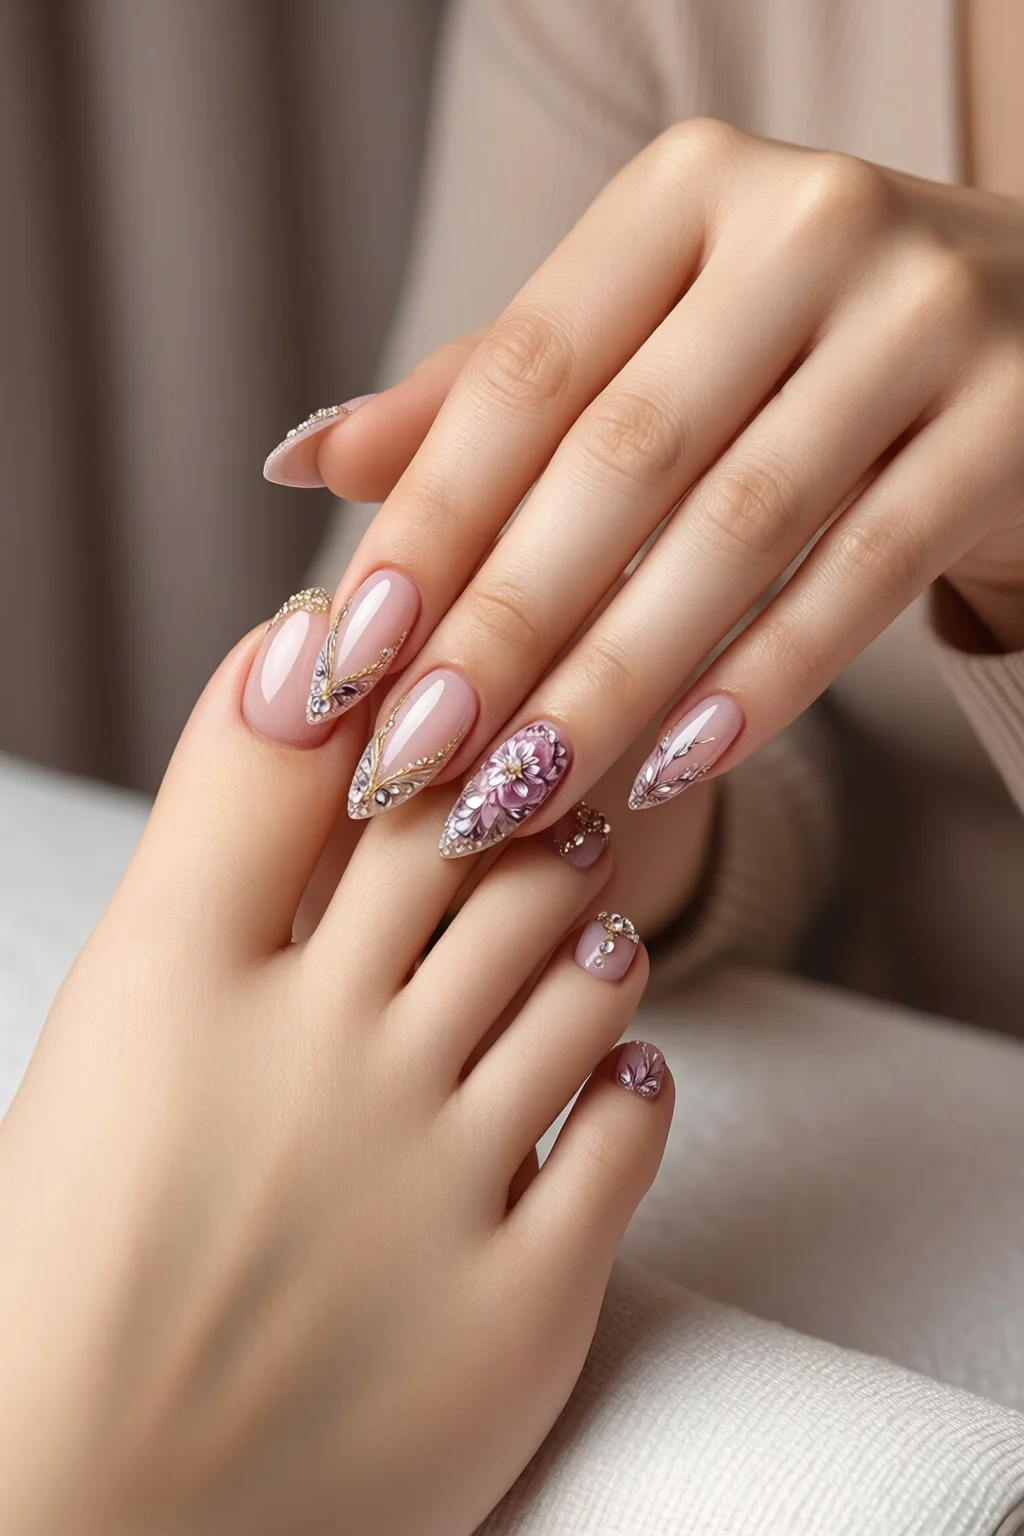
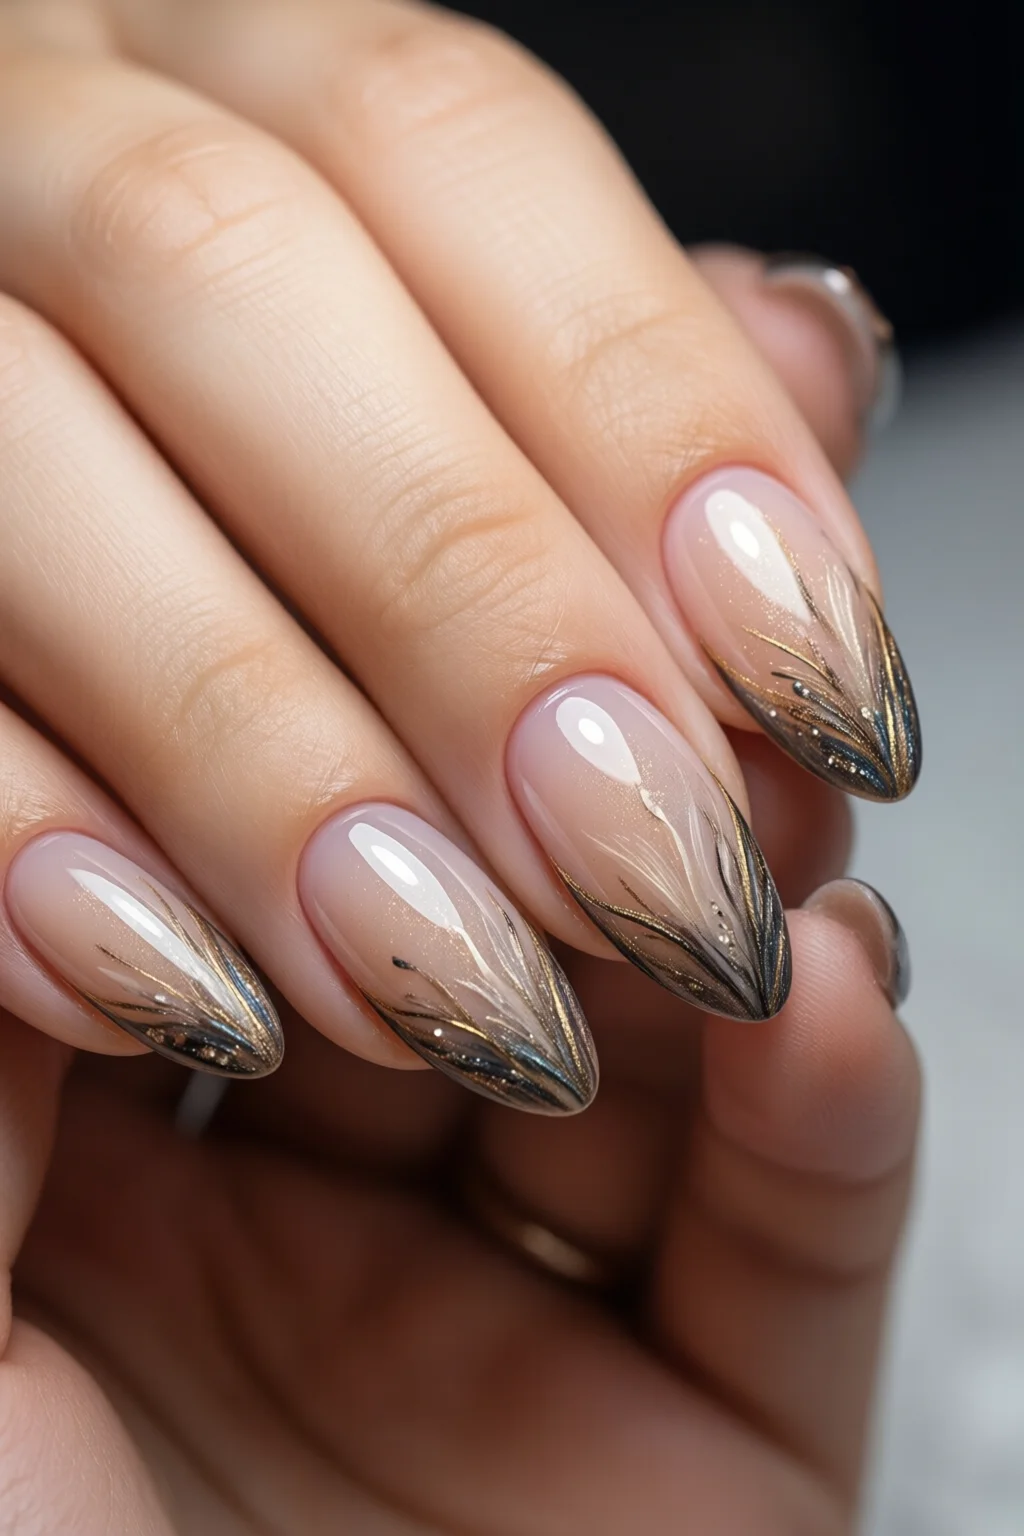
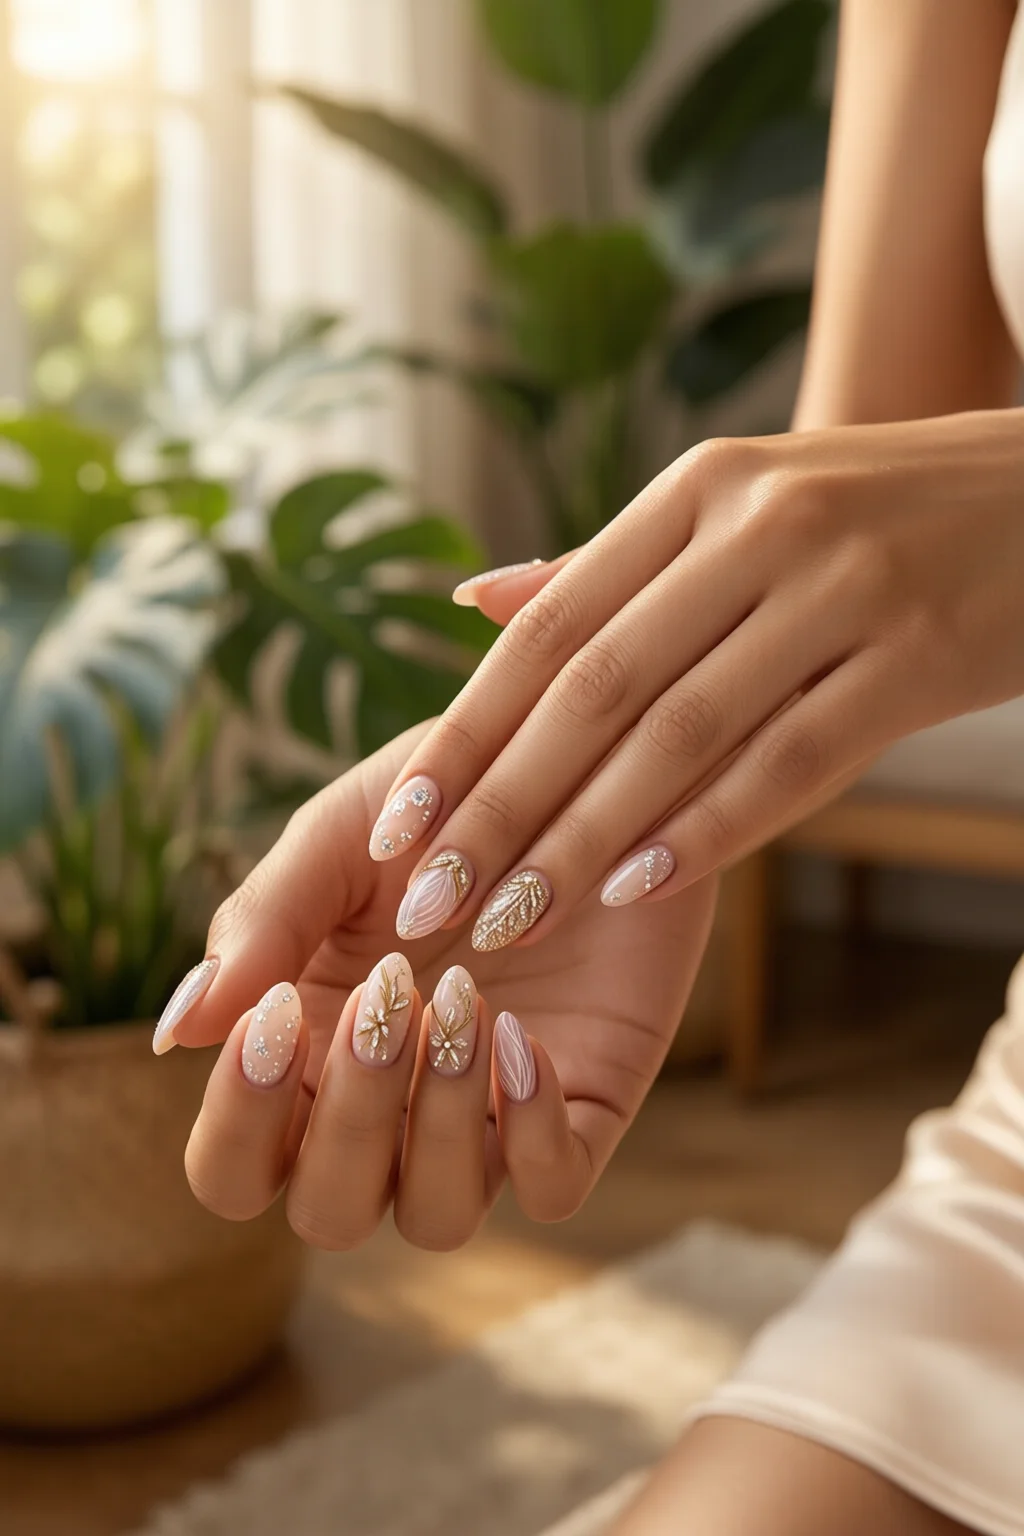
Step 5 – Paint Like a Pro
Apply a thin layer of Seche Vivid base coat; cure under the LED lamp for 30 seconds. If you’re using regular polish, let the base dry 2 minutes.
Two thin coats of your chosen color (e.g., OPI Samoan Sand) give even coverage. Each coat should dry for 2‑3 minutes air‑dry or 30 seconds under LED.
Finish with a top coat, cure again, and wipe the tip with a lint‑free pad soaked in remover to eliminate any sticky residue – the secret to a salon‑quality shine.
Pro tip: For designs, check out polka dot nails inspiration or watch how to avoid nail polish bubbles for a flawless finish.
Common Mistakes to Avoid
- Skipping the soak. Without softening the skin, filing becomes harsh and can cause micro‑tears.
- Using thick coats of polish. Thick layers trap air, leading to bubbles and premature chipping.
- Neglecting cuticle care. Pushed back cuticles protect the nail bed; trimming them invites infection.
- Rushing the drying time. Even LED‑cured gels need at least 30 seconds per layer; cutting corners reduces durability.
- Ignoring foot hygiene. Failing to clean the basin can re‑introduce bacteria, especially if you have cracks in the skin.
Troubleshooting & Tips for Best Results
Polish chips after a day? Apply a second top coat after 24 hours; the extra sealant dramatically improves longevity (up to 85 % longer).
White spots on the nail? That’s “milk‑white” from over‑filing. Lightly buff the spot and reapply a thin base coat.
Callus returns quickly? Use a 10 % glycolic acid foot cream nightly; studies show a 30 % reduction in callus thickness after two weeks.
Smell of remover bothers you? Switch to acetone‑free remover (e.g., Zoya Remove, $9) – it’s gentler on skin and reduces odor.
For kids, consider kids safe nail polish with non‑toxic formulas; they’re priced around $7 and work just as well for a mini pedicure at home.
Summary
A well‑executed pedicure at home saves you $30‑$50 per salon visit and lets you customize every detail. By following the steps—soak, exfoliate, cuticle care, moisturize, and polish—you’ll achieve salon‑quality results in under an hour. Remember the common pitfalls, and use the troubleshooting tips to keep your feet looking flawless week after week.

How often should I do a pedicure at home?
For optimal foot health, aim for a full pedicure every 2‑3 weeks. Quick touch‑ups (moisturizing and nail polish) can be done weekly.
Can I use regular nail polish with an LED lamp?
Yes, but the lamp only cures gel formulas. Regular polish will air‑dry; the lamp can still be used for a quick base/top coat cure if you switch to gel products.
What’s the best way to prevent nail polish bubbles?
Apply thin layers, avoid shaking the bottle, and let each coat dry completely before the next. For gel, ensure the lamp’s timer matches the polish thickness.
Is a foot file safer than a pumice stone?
Both are safe when used gently. A foot file offers more control for precise callus removal, while a pumice stone is better for overall smoothing.
How can I fix a broken nail after a pedicure?
Check out how to fix broken nail for a quick repair using a nail glue and a fine tip brush.