
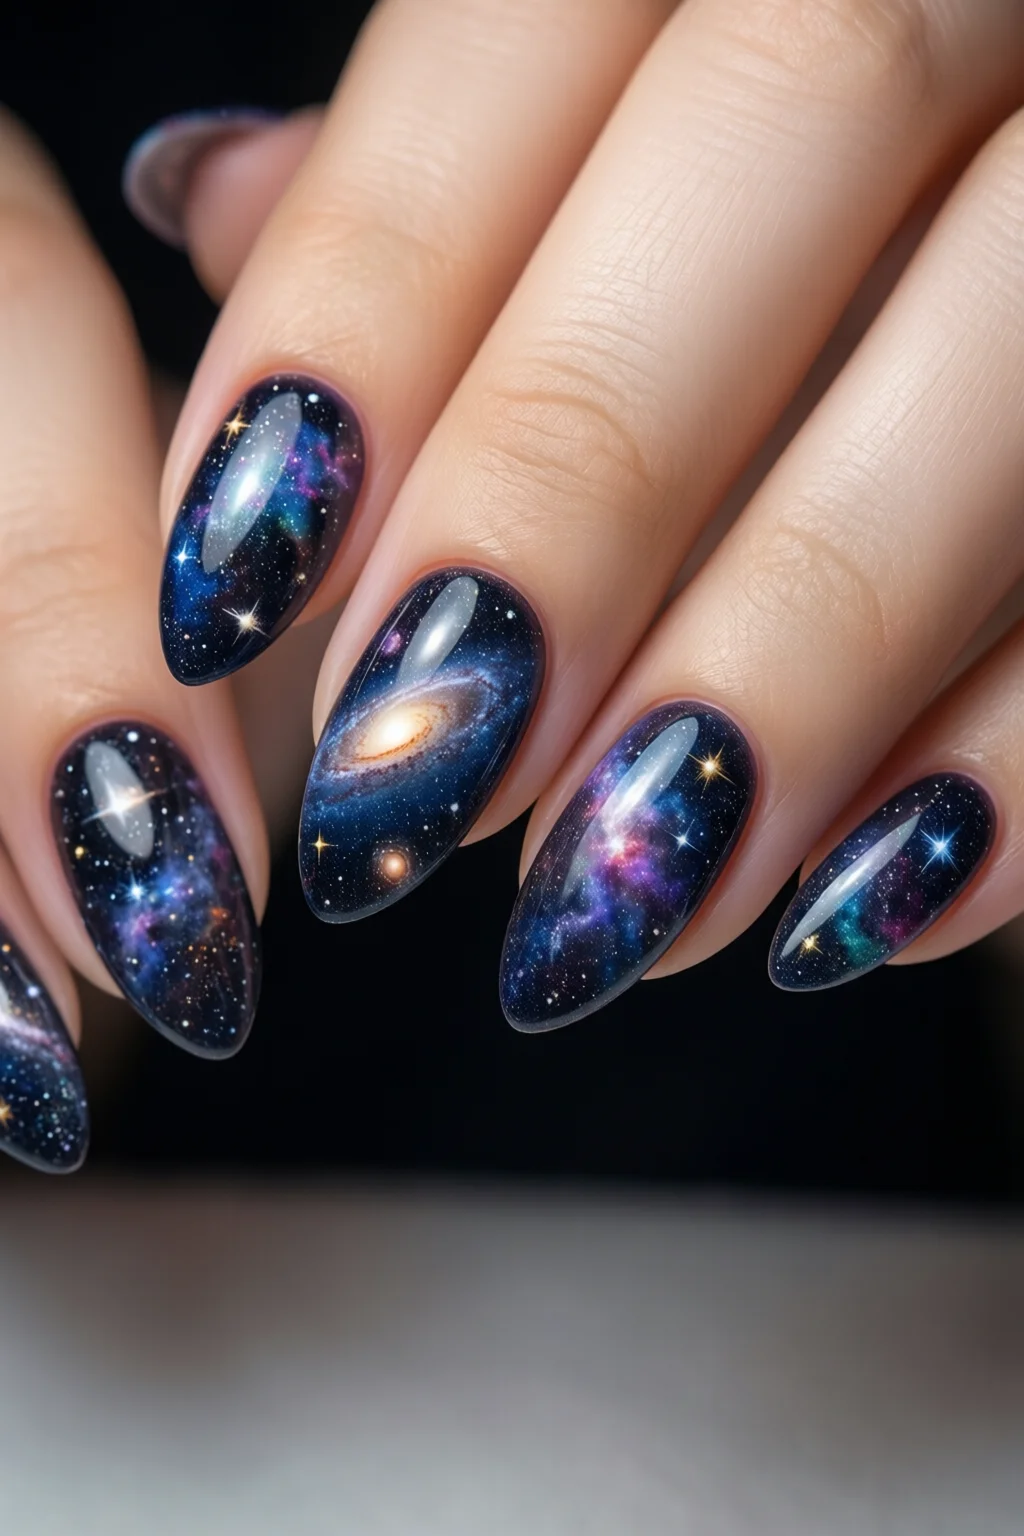
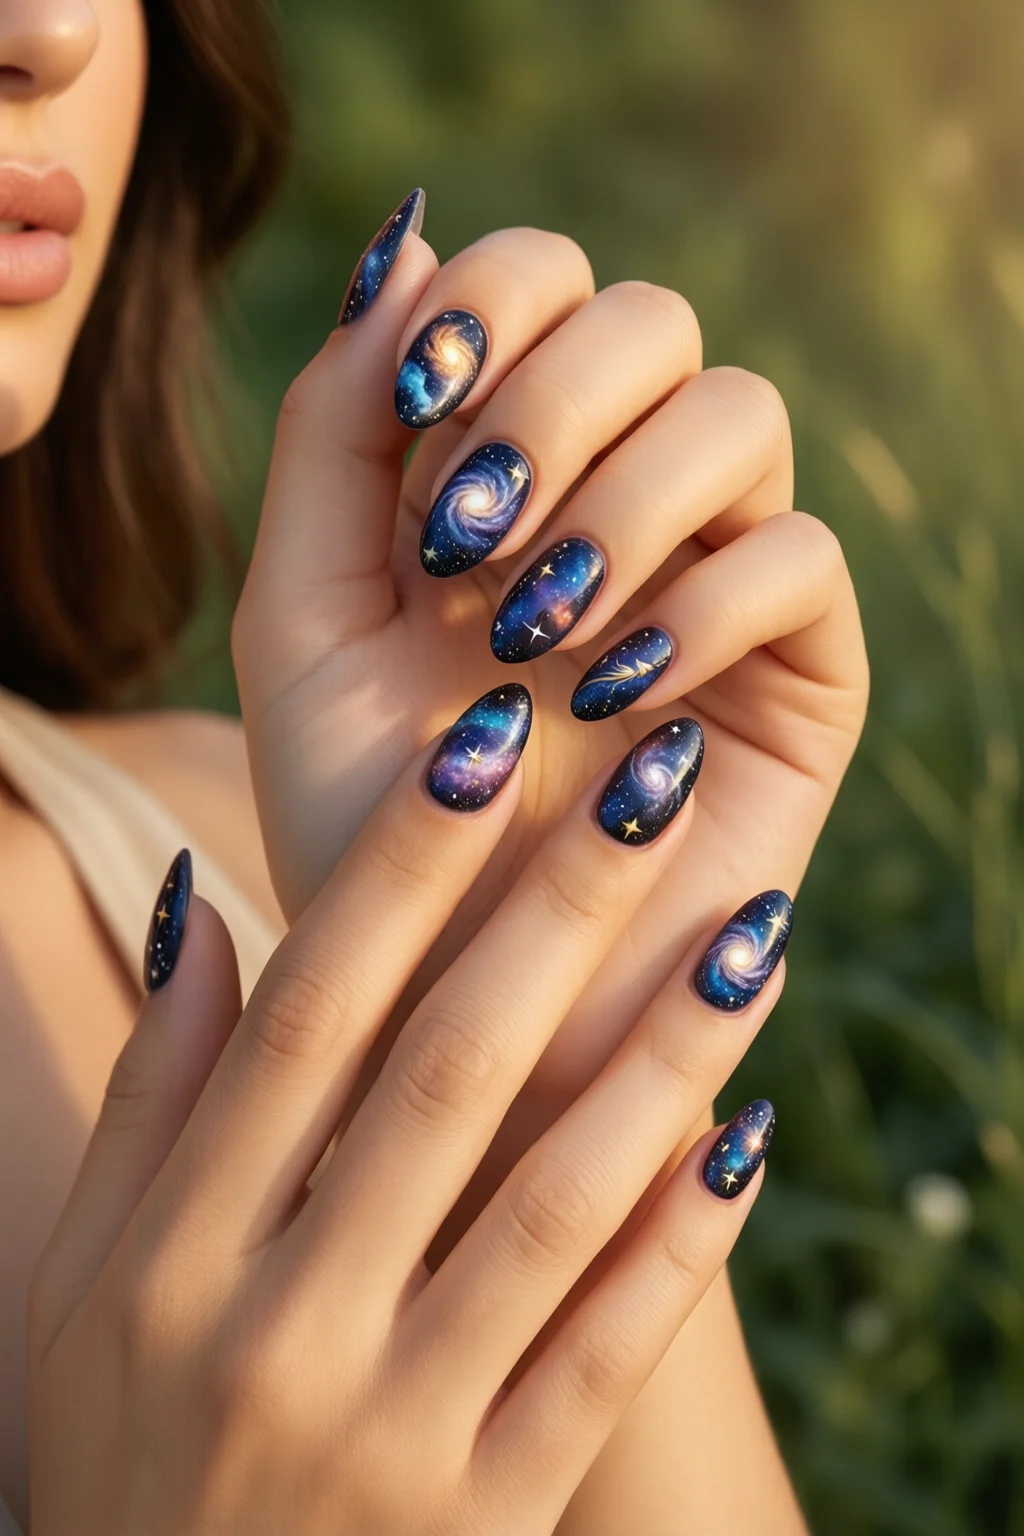
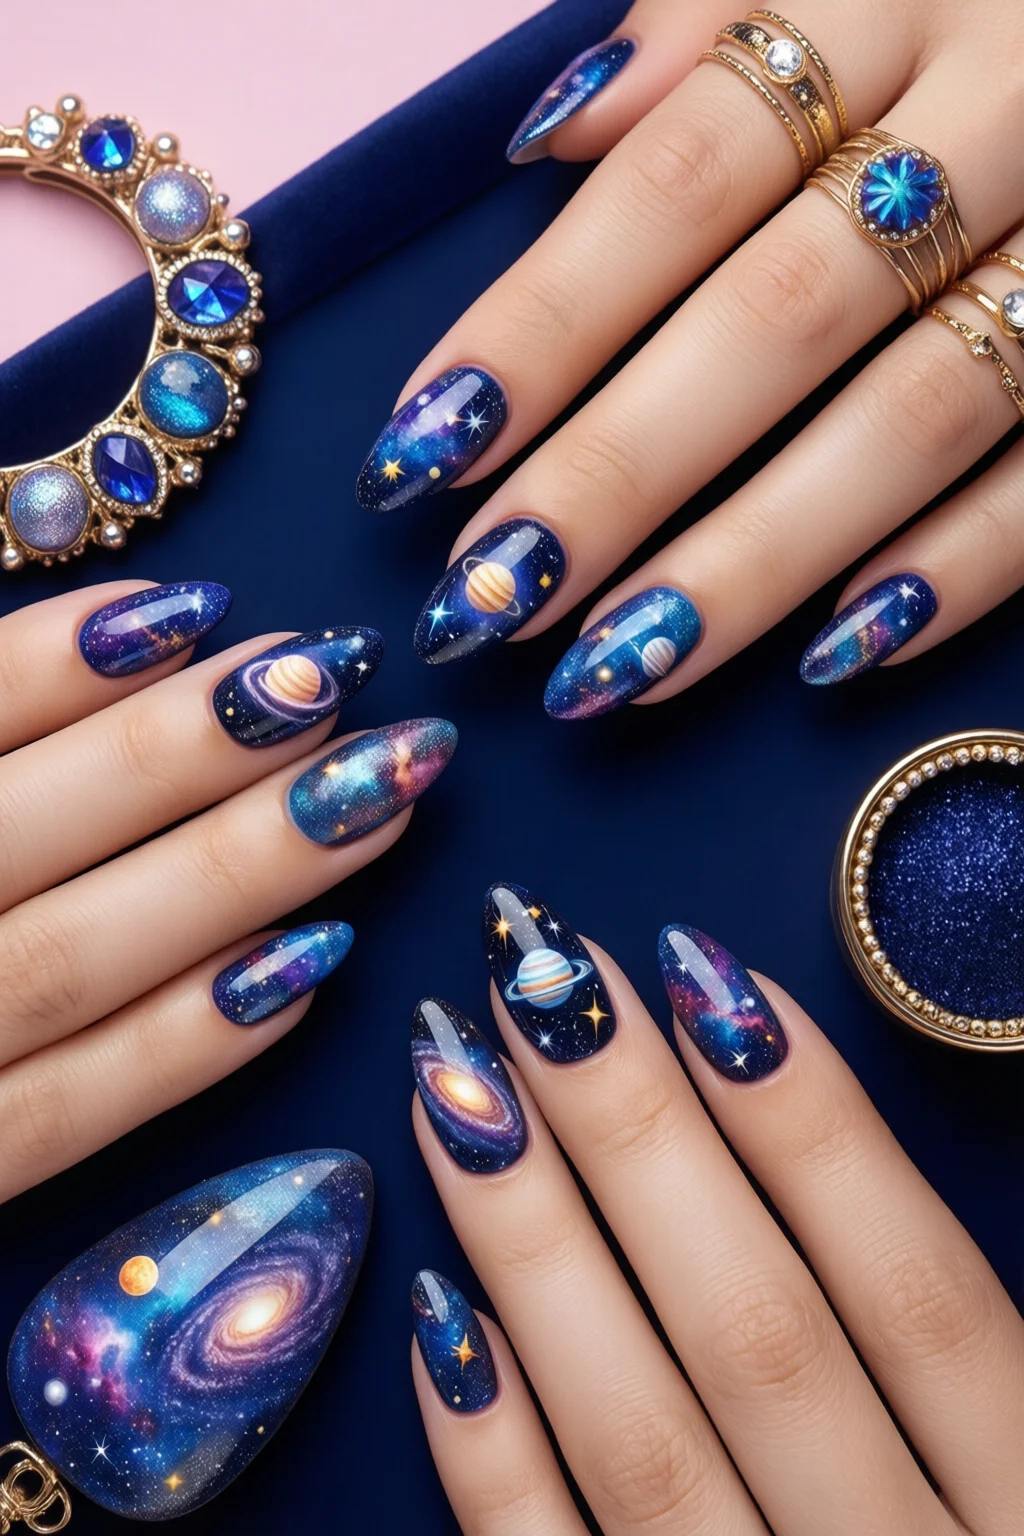
Ever wondered how to turn a midnight sky into a stunning manicure that feels like you’re wearing a piece of the universe?
In This Article
What You Will Need (Before You Start)
Gathering the right tools is half the battle. Here’s my go‑to kit for celestial nails, complete with prices and brand specifics so you can shop confidently.
- Base coat: OPI Professional Nail Base (30 ml) – $12.99. Essential for adhesion and preventing staining.
- UV/LED gel polish (optional for longer wear): Gelish Galaxy Glitter in “Starlight” – $18.50 per 15 ml bottle.
- Color base: Zoya “Midnight Sky” (creamy navy) – $14.00, 15 ml.
- Glitter & pigment: China Glaze “Cosmic Dust” loose glitter (2 g) – $4.99; and a small bottle of mica powder “Aurora Borealis” (5 ml) – $7.00.
- Star & planet stamps: Elegant Touch “Celestial Stamps” set (12 pieces) – $13.95.
- Top coat: Sally Hansen Insta-Glitter Top Coat (15 ml) – $9.99. Gives that high‑shine, space‑aged finish.
- Tools: Fine‑point brush (size 0), a UV lamp (if using gel), nail file (180‑grit), buffer, cuticle oil (CND Vitamin E Oil, $8.00).
- Safety: Nitrile gloves (pair) – $3.49, and a well‑ventilated workspace.
Having these items on hand means you won’t need to pause mid‑design, which can cause smudging or uneven layers.

Step 1 – Prep Your Canvas
Clean, Shape, and Buff
Start with fresh, clean nails. Remove any old polish with acetone (or a non‑acetone remover if your nails are brittle). Trim to your desired length—usually 2 mm beyond the fingertip for a classic look. File each nail into a gentle almond shape; this reduces the chance of chipping because the stress points are minimized.
Buff the surface lightly with a 180‑grit buffer for about 10 seconds per nail. This creates a uniform surface without thinning the nail plate.
Hydrate the Cuticles
Apply a thin layer of cuticle oil and massage for 30 seconds. Let it absorb for a minute before pushing back the cuticles with a wooden stick. One mistake I see often is skipping this step, leading to uneven polish absorption and a “bubbly” finish.
Step 2 – Lay the Base
Base Coat Application
Apply a single, even layer of the OPI base coat. Aim for a thickness of roughly 0.15 mm; too thick and it will lift under the glitter. Cure under a LED lamp for 30 seconds (if using gel) or let air‑dry for 2–3 minutes if you prefer regular polish.
Color Base Layer
Paint two coats of Zoya “Midnight Sky.” Wait 60 seconds between coats to avoid streaks. This deep navy mimics the void of space and ensures the glitter pops. Cure each coat for 45 seconds under the LED.
If you’re after a more pastel galaxy, swap the navy for a soft lilac “Dreamscape” from Essie ($13.50) and follow the same two‑coat method.
Step 3 – Create the Nebula Effect
Applying Loose Glitter
While the top layer of navy is still tacky (about 15 seconds after curing), sprinkle a pinch of “Cosmic Dust” glitter onto each nail. Use a small brush to spread it evenly, then tap off the excess. The glitter should cover roughly 70 % of the nail surface; leave a small “window” for later detailing.
Layering Mica for Depth
Mix a drop of “Aurora Borealis” mica with a dab of clear gel (or a clear top coat if you’re not using gel). Apply with a fine‑point brush in swirling motions, focusing on the edges of the glitter to mimic nebula tendrils. Let it set for 20 seconds.
Step 4 – Stamp the Stars
Choosing the Right Stamp
From the Elegant Touch set, pick the smallest star (size 2 mm) and the planet stamp (size 4 mm). Dip the stamp into a contrasting metallic polish—Gelish “Silver Lining” ($16.00) works beautifully against navy.
Stamping Technique
Press the star onto the nail with firm, even pressure for 2 seconds, then lift straight up. Repeat randomly across the nail, varying the density to emulate a real night sky. For planets, place a few larger stamps near the base of the nail to suggest distant worlds.
After stamping, seal with a thin layer of clear gel to lock in the design.
Step 5 – Finish with a High‑Shine Top Coat
Apply two thin coats of Sally Hansen Insta‑Glitter Top Coat. Each coat should be no thicker than 0.1 mm; otherwise, the glitter may clump. Cure each coat for 45 seconds under the LED. The result is a mirror‑like finish that catches light like a constellation.
Finally, massage a drop of cuticle oil on each nail tip to re‑hydrate the skin and give a professional salon look.
Common Mistakes to Avoid
- Over‑loading glitter: Too much glitter creates a heavy, flaky surface. Stick to the 70 % coverage rule.
- Skipping the base coat: Without a proper base, the navy polish can bleed, ruining the depth.
- Using old or clumped powder: Glitter settles over time; always shake the container and sift through a fine mesh.
- Insufficient curing: Under‑cured layers lift, especially with gel. Follow the lamp’s recommended times.
- Neglecting cuticle care: Dry cuticles cause the polish to lift at the nail‑cuticle junction.
In my experience, the most frequent client complaint after a celestial nails session is “my glitter started flaking after a day.” The culprit is usually one of the above errors.
Troubleshooting & Tips for Best Results
Preventing Glitter Fallout
If you notice glitter falling off during daily activities, apply a quick‑dry clear sealant (e.g., Seche Vita Quick Seal, $10.99) after the final top coat. A single spray creates a protective barrier without adding thickness.
Achieving a Smooth Gradient
For a smoother nebula transition, blend the mica with a clear gel using a stippling sponge before applying. This creates a soft‑focus effect that mimics distant stars.
Long‑Lasting Wear
Celestial nails can last up to three weeks when you use gel and avoid harsh chemicals. When you need to remove them, soak in acetone for 10 minutes, then gently push off with a wooden stick.
Alternative Color Schemes
Try a pastel “cotton candy” galaxy by swapping navy for a pale pink base and using rose gold glitter. The same technique applies; just adjust the sparkle intensity.
For inspiration, check out our guide on holographic nails and see how light‑reactive pigments can elevate your celestial design.
Summary
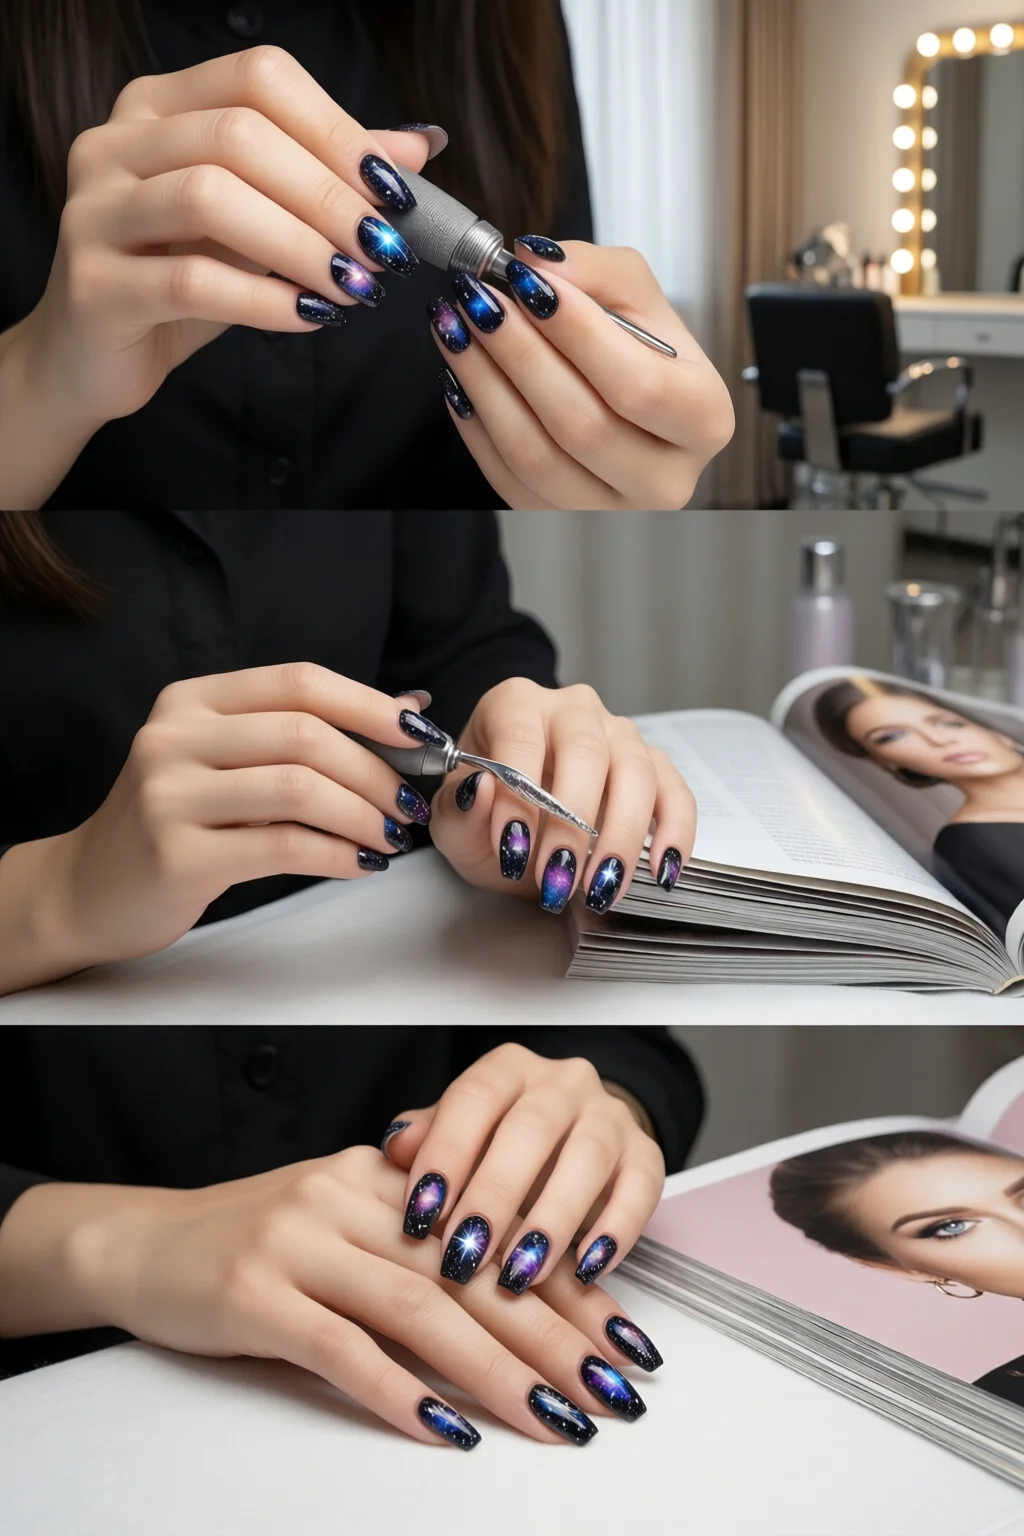
Celestial nails are more than a trend; they’re a miniature work of art that brings the wonder of the cosmos to your fingertips. By following the step‑by‑step process—prepping properly, building a deep navy base, layering glitter and mica, stamping stars, and sealing with a high‑shine top coat—you can achieve a professional‑grade galaxy that lasts weeks. Remember to avoid common pitfalls like over‑loading glitter and under‑curing layers, and use the troubleshooting tips to keep your design flawless.
Whether you’re prepping for a festival, a wedding, or just want to feel a little more magical, these celestial nails will make every hand gesture feel like a shooting star.
How long do celestial nails typically last?
When using a UV/LED gel base and a high‑quality top coat, celestial nails can stay chip‑free for up to three weeks with normal daily wear. Without gel, a regular polish version usually lasts 5‑7 days.
Can I use regular nail polish instead of gel?
Absolutely. The technique is the same; just allow each layer to air‑dry fully (about 2‑3 minutes per coat). Expect a shorter wear time—about a week—compared to gel.
What’s the best way to remove glitter without damaging the nail?
Soak your nails in acetone for 10 minutes, then gently push off the glitter with a wooden stick. Follow with a nourishing cuticle oil to restore moisture.
Do I need a UV lamp for the top coat?
If you’re using a gel top coat, yes—a 36‑watt LED lamp cures it in 30‑45 seconds. For regular top coats, air‑drying works fine.
How can I prevent nail ridges from showing through the design?
Start with a good smoothing base like a ridge‑filling primer, and buff the nail surface lightly before applying the base coat. This creates an even canvas for the glitter.