
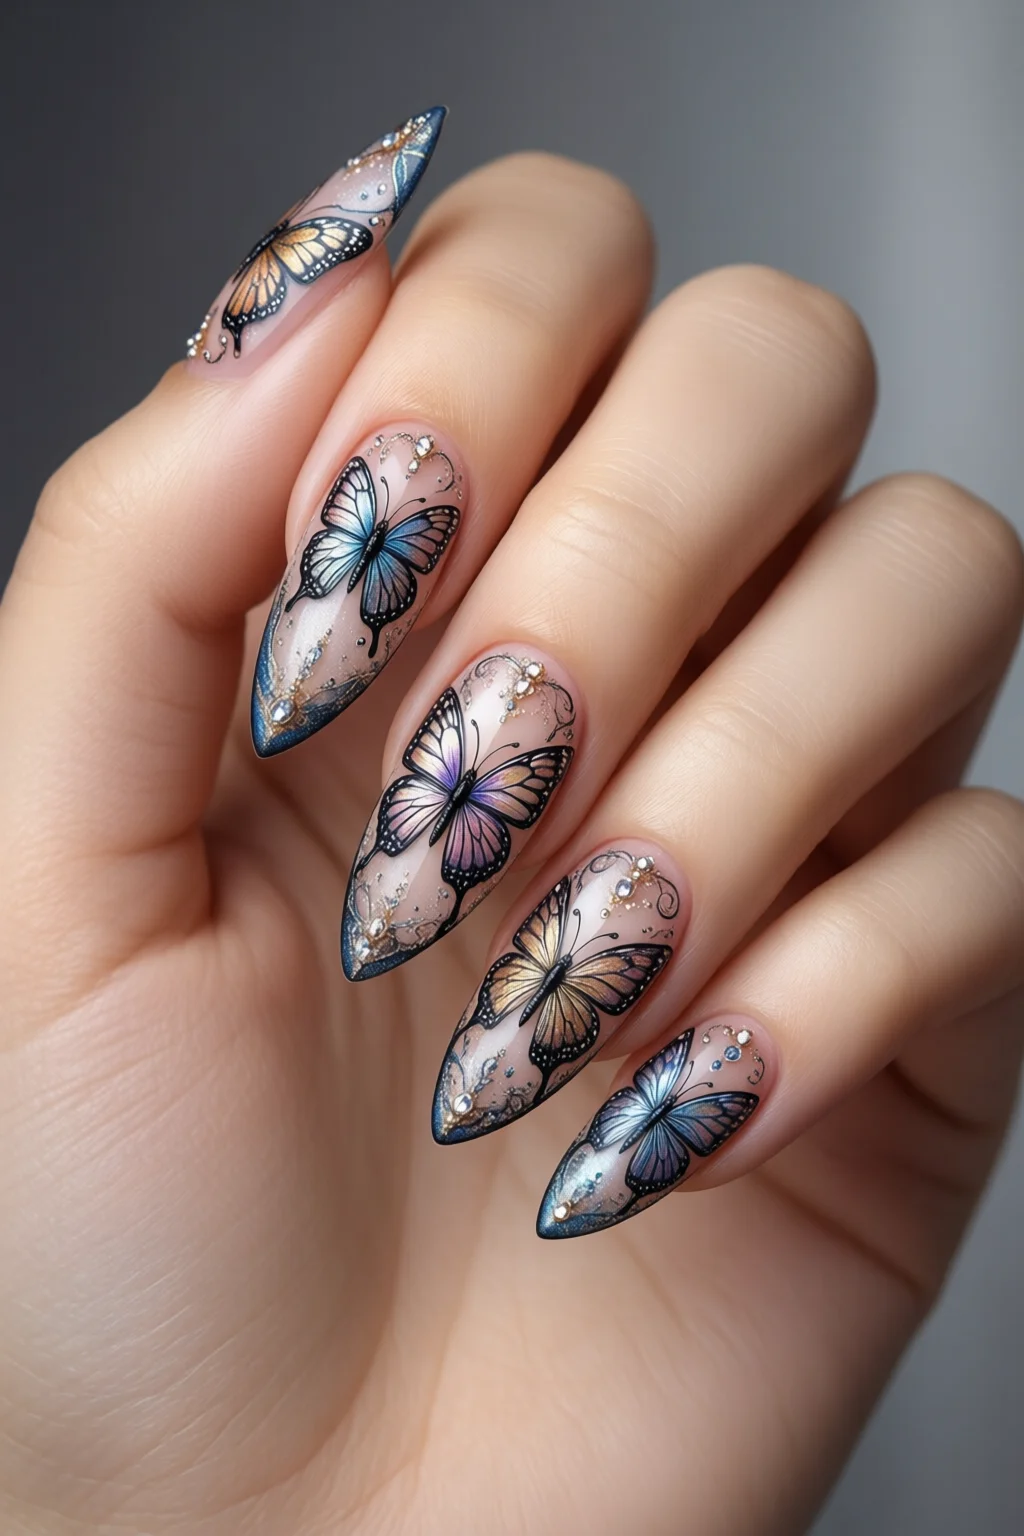
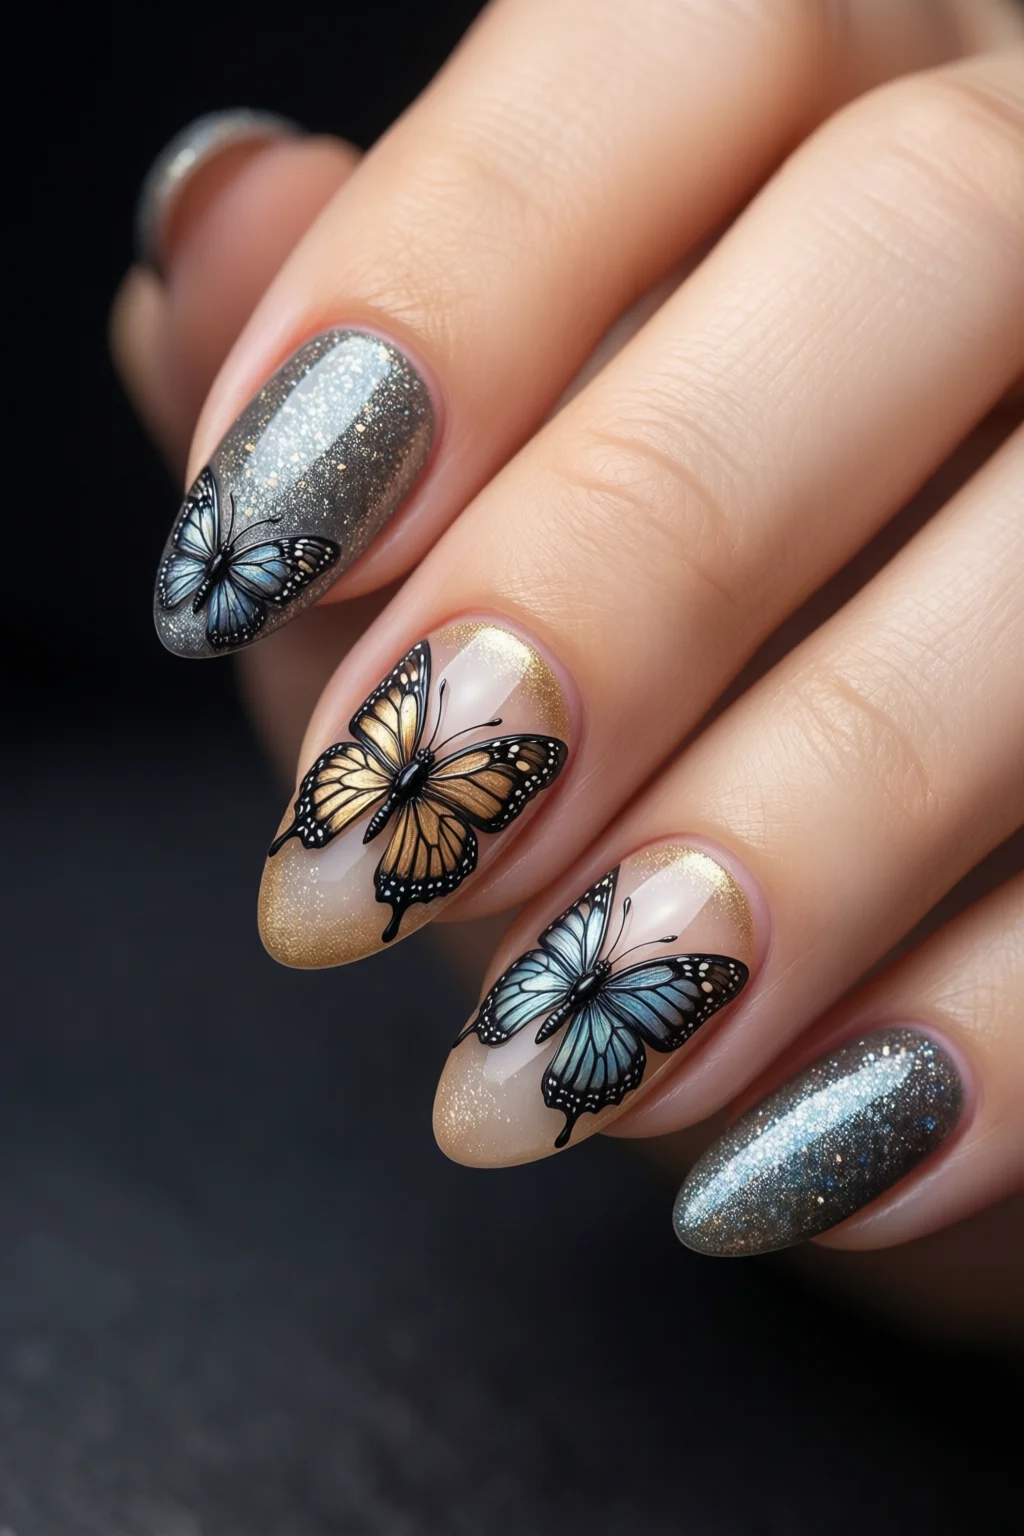
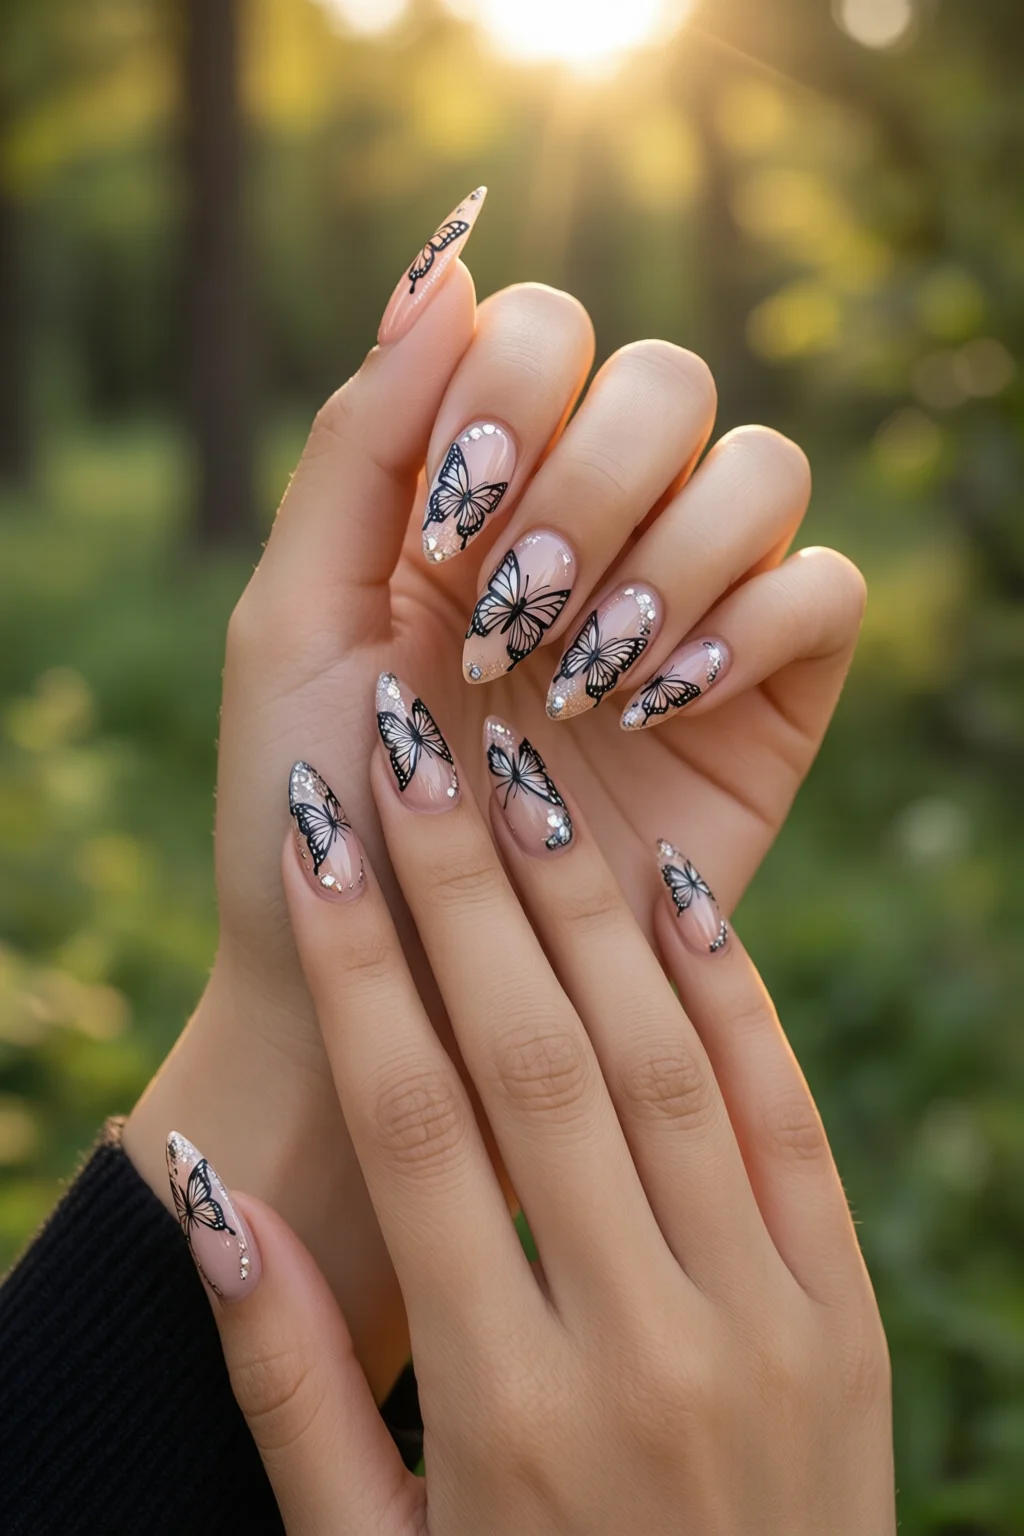
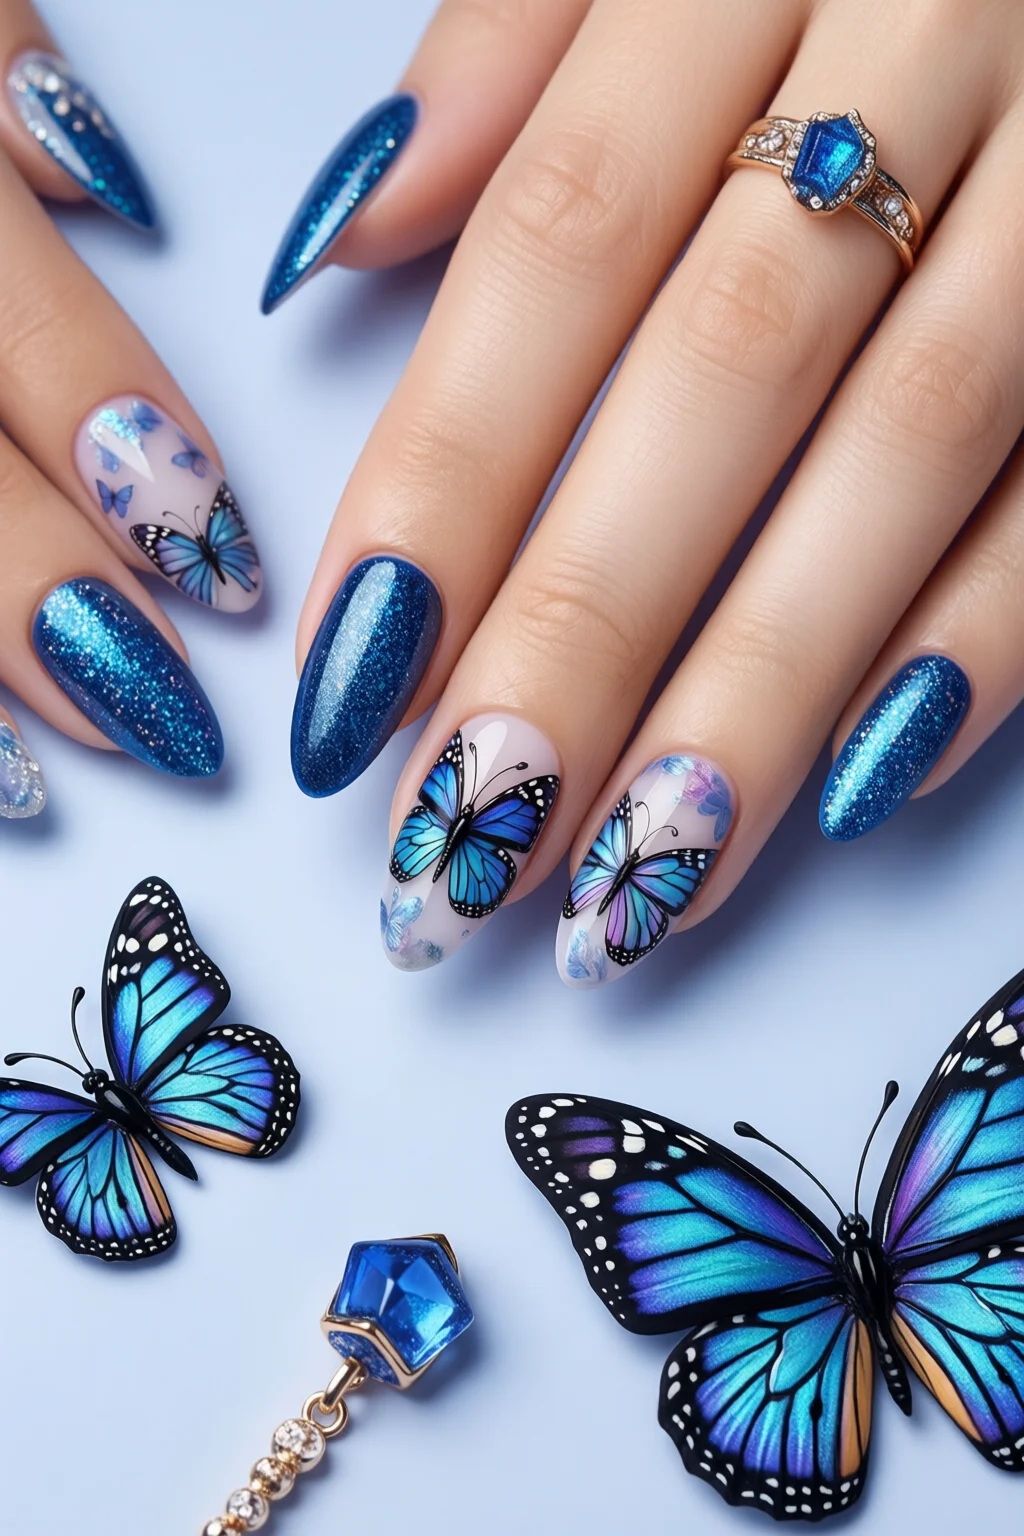
Butterfly nail art isn’t just a trend—it’s a tiny canvas where you can let color, texture, and imagination take flight. Whether you’re prepping for a spring wedding, a festival, or simply want to add a flutter of whimsy to your everyday look, mastering butterfly nail designs will give you a fresh, eye‑catching edge that’s surprisingly easy to achieve with the right tools.
In This Article
- 1. Freehand Brush Painting – The Classic Canvas
- 2. Water Marble Technique – Dreamy Swirls
- 3. Nail Stamping with Butterfly Plates – Precision in Seconds
- 4. Gel Overlay with 3D Butterfly Appliqués – Luxury Finish
- 5. Acrylic Sculpted Butterflies – Hand‑Made Masterpieces
- Comparison Table – Top Picks for Butterfly Nail Art
- Final Verdict
In this guide I break down the five most reliable methods for creating stunning butterfly nail art, rank the best products, and hand you a step‑by‑step plan that even a nail‑newbie can follow. Expect real‑world costs, timing estimates, and a few pro tips I’ve gathered from a decade of working in salons and at nail‑art workshops across the country. Let’s dive in and turn those tiny canvases into a runway of wings.
1. Freehand Brush Painting – The Classic Canvas
Freehand brush painting is the gold standard for nail artists who love full control. Using a fine‑point brush (like the KISS Precision Brush, $3.99, 0.3 mm tip) you can sketch a butterfly silhouette directly onto a base coat. I recommend a two‑tone base—soft pastel pink (Essie “Ballet Slippers”, $9.99, 15 ml) on the nail bed and a crisp white top (OPI “Alpine Snow”, $12.95, 15 ml) for contrast.
Step‑by‑Step
- Prep nails: file to shape (square or almond works best), push cuticles, and apply a thin base coat (Mia Secret “Nail Primer”, $7.49, 15 ml).
- Apply the pastel base and let it cure for 2 minutes (if using gel, cure 30 seconds under a 48 W UV lamp).
- With the fine brush, draw a simple butterfly outline: two wings, a body, and antennae. Keep strokes light—thin lines are easier to correct.
- Fill the wings using a small flat brush or a dotting tool (Megan Onyx “Dotting Tool”, $2.49). Use complementary shades—lavender, mint, or coral.
- Seal with a top coat (Sally Hansen “Hard as Nails”, $8.99, 15 ml) and cure 60 seconds.
Pros & Cons
| Pros | Cons |
|---|---|
| Full artistic freedom; no need for extra tools. | Steeper learning curve; shaky hands can cause smudges. |
| Cost‑effective; only a few brushes and polish needed. | Time‑intensive—average 12‑15 minutes per nail. |
Rating: 4.5/5 – Ideal for artists who love a hands‑on approach and have basic brush skills.
2. Water Marble Technique – Dreamy Swirls
If you crave a more ethereal vibe, the water marble method creates soft, feathered wings that look like they’re gliding on a breeze. I use the OPI “Water Marble Kit”, $24.95, which includes a small bowl, a stir stick, and a set of 12 nail polish colors.
How It Works
- Fill a shallow dish with 150 ml of room‑temperature water. Add a few drops of a surfactant (I use Sephora “Makeup Remover”, $12.00, 100 ml) to reduce surface tension.
- Drop 2–3 polish colors (e.g., sky blue, pastel peach, glitter gold) onto the water’s surface one at a time. Let each droplet spread naturally.
- Using a toothpick, swirl the colors into a soft vortex. The swirling creates the wing pattern.
- Press each nail gently onto the water for 2–3 seconds. Lift and let the design dry (about 30 seconds).
- Seal with a fast‑dry top coat (OPI “Top Coat”, $11.99, 15 ml).
Pros & Cons
| Pros | Cons |
|---|---|
| Creates unique, one‑of‑a‑kind patterns. | Requires a clean, dust‑free environment. |
| Fast—about 5 minutes per nail after setup. | Design control is limited; may need practice to get butterfly shapes. |
Rating: 4.0/5 – Perfect for beginners who want a quick, pretty look without intricate brushwork.
3. Nail Stamping with Butterfly Plates – Precision in Seconds
Stamping bridges the gap between freehand art and messy water marbling. With a set of butterfly‑themed plates, you can achieve crisp, repeatable wings. My go‑to is the Mighty Mop “Butterfly Stamping Kit”, $19.99, which includes 12 plates, a silicone scraper, and a steel stamper.
Application Process
- Apply a base coat and cure (if gel) or let dry (if regular polish).
- Paint a solid background color (e.g., nude “Zoya “Free” #021”, $12.00, 15 ml).
- While the background is still tacky, press the butterfly plate onto the stamp pad, scrape off excess, and gently press onto the nail.
- Repeat for each nail; the plates are designed for left‑right symmetry.
- Top off with a high‑gloss top coat (OPI “Glitter Top Coat”, $13.95, 15 ml).
Pros & Cons
| Pros | Cons |
|---|---|
| Consistent, professional‑grade designs. | Initial kit cost higher than basic polish. |
| Quick—about 3 minutes per nail once you master the pressure. | Limited to the designs on the plates unless you buy more. |
Rating: 4.2/5 – Best for clients or friends who want salon‑quality butterflies without a brush.
4. Gel Overlay with 3D Butterfly Appliqués – Luxury Finish
When you need a statement look—think bridal parties or red‑carpet events—a gel overlay combined with 3D appliqués delivers depth and sparkle. I use the Gelish “Premium Gel Kit”, $49.99 (includes base, builder, and top coat) and KISS “3D Butterfly Charms”, $6.99 for 50 pieces.
Step‑by‑Step
- Prep nails and apply Gelish Base Coat; cure 30 seconds.
- Apply a thin layer of Gelish Builder Gel in a neutral shade (e.g., “Classic Pink”). While still wet, press a 3D butterfly charm onto the nail, positioning it near the cuticle for a natural “landing” effect.
- Cure under LED lamp (40 W, 60 seconds). Add a second thin layer of builder gel to embed the charm.
- File the surface smooth, then apply Gelish Top Coat; cure 30 seconds.
- Optional: add a fine glitter top coat for extra sparkle (OPI “Glitter Top Coat”, $13.95).
Pros & Cons
| Pros | Cons |
|---|---|
| High durability—up to 3 weeks without chipping. | Requires UV/LED lamp (cost $79–$129). |
| 3D effect adds tactile interest. | Longer process—about 20 minutes per hand. |
Rating: 4.7/5 – The go‑to for high‑impact occasions where longevity matters.
5. Acrylic Sculpted Butterflies – Hand‑Made Masterpieces
Acrylic sculpting is the ultimate in custom nail art. By shaping tiny butterfly wings from acrylic powder, you can create fully three‑dimensional pieces that sit atop the nail like tiny sculptures. I work with Mia Secret “Acrylic Powder”, $14.99 per 30 g jar and a fine‑point acrylic brush (CND “Acrylic Brush”, $4.50).
Technique Overview
- Apply a thin acrylic tip or sculpted extension to each nail (use Young Nails “Tip Glue”, $8.95).
- Mix monomer and powder (1 ml monomer to 1 g powder) to a dough‑like consistency.
- Using the fine brush, sculpt a butterfly wing on each side of the nail, keeping the body thin (about 2 mm width). Aim for a 10 mm wing span for a standard almond shape.
- Allow the acrylic to set (about 2 minutes), then file and shape the wings for smooth edges.
- Paint the wings with acrylic nail polish (e.g., “Bright Beginnings” by Modelones, $8.00) and seal with a top coat.
Pros & Cons
| Pros | Cons |
|---|---|
| Ultimate customization—size, color, and texture are unlimited. | Most time‑consuming; requires acrylic handling skills. |
| Very durable; lasts up to 4 weeks. | Higher material cost—approximately $2.50 per nail for powder and accessories. |
Rating: 4.6/5 – Perfect for professional nail techs or enthusiasts willing to invest the extra time.
Comparison Table – Top Picks for Butterfly Nail Art
| Method | Cost (per set) | Time per Hand | Durability | Skill Level | Best For |
|---|---|---|---|---|---|
| Freehand Brush Painting | $25 (brush + polish) | 12‑15 min | 1‑2 weeks (regular polish) | Intermediate | Creative control, budget‑friendly |
| Water Marble | $30 (kit) | 5‑7 min | 1‑2 weeks | Beginner | Soft, dreamy looks |
| Nail Stamping | $20 (stamp kit) | 3‑4 min | 1‑2 weeks | Beginner‑Intermediate | Precise, repeatable designs |
| Gel + 3D Appliqués | $60 (gel kit + charms) | 20 min | 3 weeks+ | Advanced | Special events, high‑glam |
| Acrylic Sculpting | $35 (powder + tools) | 30‑35 min | 4 weeks | Advanced | Custom art, professional salons |
Final Verdict
If you’re after quick, affordable beauty, start with the water marble or stamping methods—they deliver gorgeous butterflies in under ten minutes and require minimal investment. For lasting impact and a wow factor, the gel overlay with 3D appliqués is unbeatable, especially for weddings or photoshoots. And if you truly love the craft, nothing beats the tactile satisfaction of freehand brush painting or acrylic sculpting, where each wing becomes a personal expression.
My personal workflow for a balanced look combines a freehand base (to set the color story) with a tiny 3D charm on the accent nail. The result? A polished yet playful manicure that holds up for a full week without chipping. Give one of these techniques a try, and don’t forget to pair your new butterfly nails with a matching outfit—maybe a floral dress or a pastel blazer—to let the whole ensemble take flight.
How long does butterfly nail art typically last?
With regular polish, expect 5‑7 days before chips appear. Gel overlays can extend wear to 3 weeks, and acrylic sculpted designs can last up to 4 weeks with proper aftercare.
Do I need special tools for freehand butterfly designs?
A fine‑point brush (0.3 mm tip), a dotting tool for wing details, and a steady hand are enough. I use the KISS Precision Brush, which costs under $4 and works well with both regular and gel polishes.
Can I combine butterfly nail art with other trends?
Absolutely. Pair butterflies with Thanksgiving nails for an autumn vibe, or overlay them with neon nails for a bold contrast. The key is to keep the base color simple so the butterfly remains the focal point.
What’s the best way to prevent my butterfly designs from lifting?
Start with a high‑quality base coat, ensure each layer is fully cured (if using gel) or dried, and seal with a durable top coat like OPI “Top Coat”. For extra protection, apply a thin layer of cuticle oil daily to keep the nail plate hydrated.