
Did you know that 68% of professional nail technicians reported a surge in client requests for encapsulated nail art in the past year alone? That’s a clear sign the trend isn’t just a fleeting Instagram moment—it’s becoming a staple in modern manicures.
In This Article
- 1. Classic Clear Gel Encapsulation – The Foundation of All Encapsulated Designs
- 2. 3D Glitter Encapsulation – Adding Depth and Drama
- 3. Crystal & Gemstone Encapsulation – Luxury in a Bottle
- 4. Flocking Powder Encapsulation – Soft, Velvet‑Like Finish
- 5. Acrylic Powder Encapsulation – The Budget‑Friendly Alternative
- 6. UV Resin Encapsulation – Maximum Shine and Longevity
- 7. DIY At‑Home Encapsulation Kit – All‑In‑One Convenience
- Comparison Table: Top Encapsulation Techniques
- Frequently Asked Questions
- Final Verdict
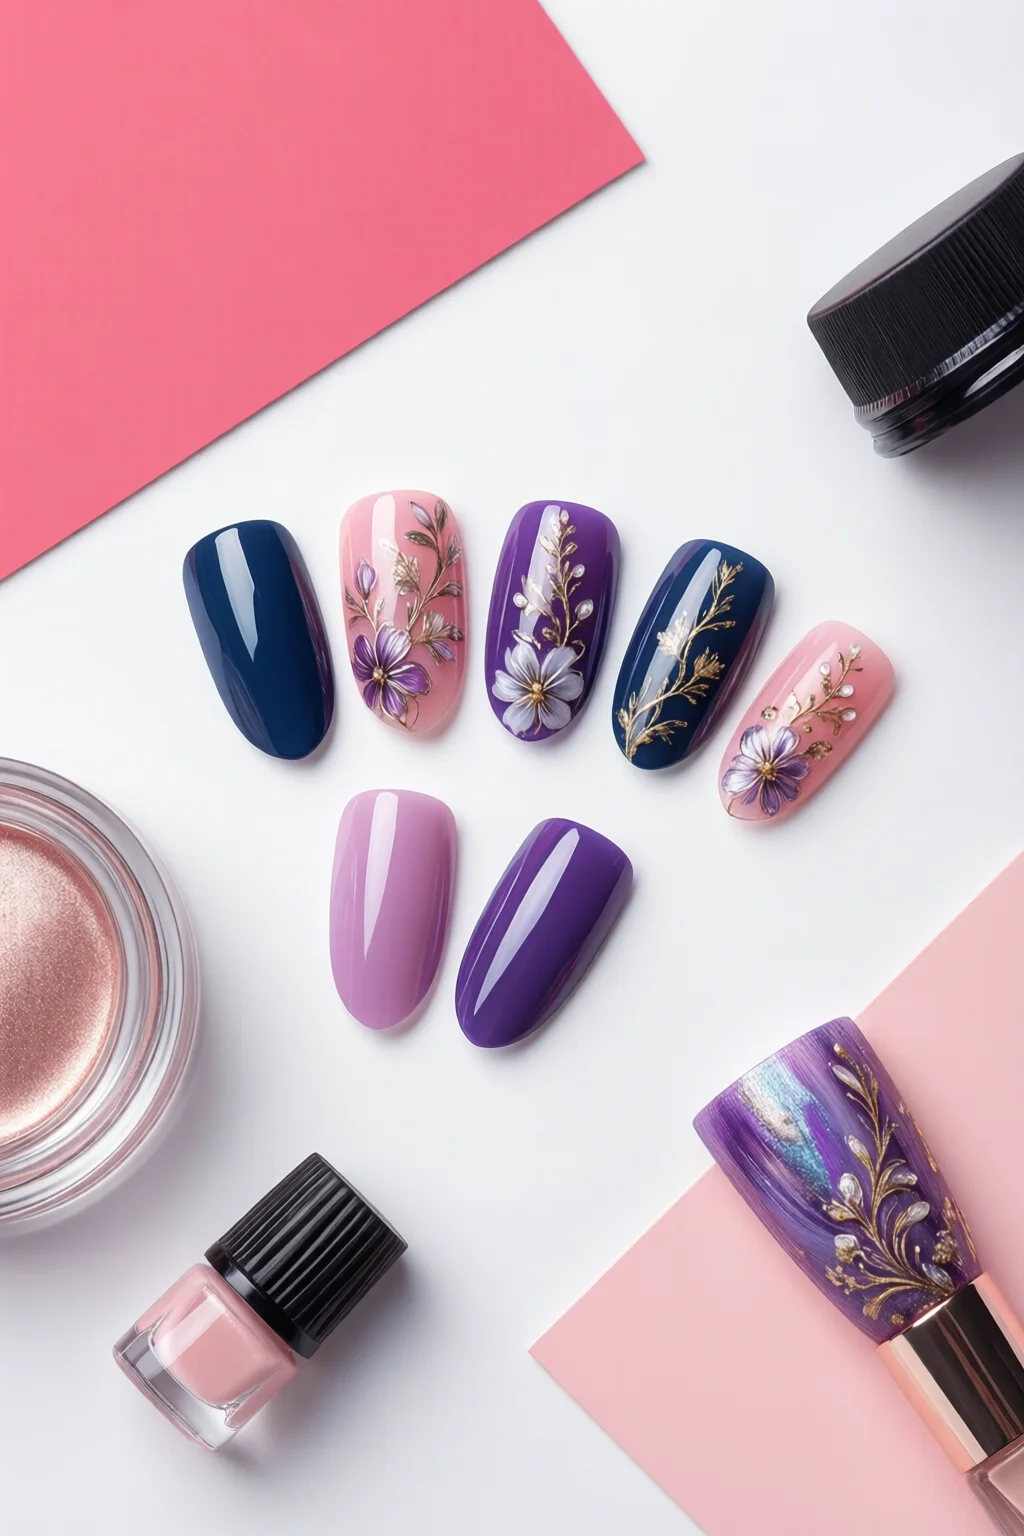
If you’ve typed “encapsulated nail art” into Google, you’re probably itching to learn how to trap glitter, crystals, or even tiny charms beneath a flawless, glossy surface. Below you’ll find a step‑by‑step guide that covers everything from the essential tools to the most common pitfalls, so you can create salon‑quality encapsulations without the guesswork.
1. Classic Clear Gel Encapsulation – The Foundation of All Encapsulated Designs
Clear gel is the workhorse for most encapsulated nail art because it cures hard, stays flexible, and provides a crystal‑clear finish that doesn’t yellow over time. In my experience, the best starter kit is the Modelones UV Gel Kit ($29.99 for 2 ml bottles of base, builder, and top coat). The builder gel’s viscosity (≈ 120 cP) is perfect for suspending glitter without clumping.
How to Do It
- Prep nails: file, buff, and push back cuticles. Apply a thin layer of nail primer to improve adhesion.
- Apply a thin base coat of clear gel and cure under a 36 W LED lamp for 30 seconds.
- Mix 0.5 g of fine glitter (e.g., OPI Glitter Top Coat, $12.95 per 15 ml) into 1 ml of builder gel. Stir gently with a disposable spatula to avoid air bubbles.
- Using a brush, spread the mixture evenly over the nail, leaving a 1 mm margin at the cuticle.
- Cure for 60 seconds. Apply a second thin layer of clear gel to seal the glitter, then cure again.
- Finish with a high‑gloss top coat (Modelones Top Gel) and cure 30 seconds.
Pros & Cons
- Pros: Durable (up to 3 weeks without chipping), excellent clarity, easy to remove with acetone.
- Cons: Requires a UV/LED lamp (average cost $80), builder gel can be pricey for frequent use.
Rating: 4.8/5 – Ideal for beginners and pros alike.
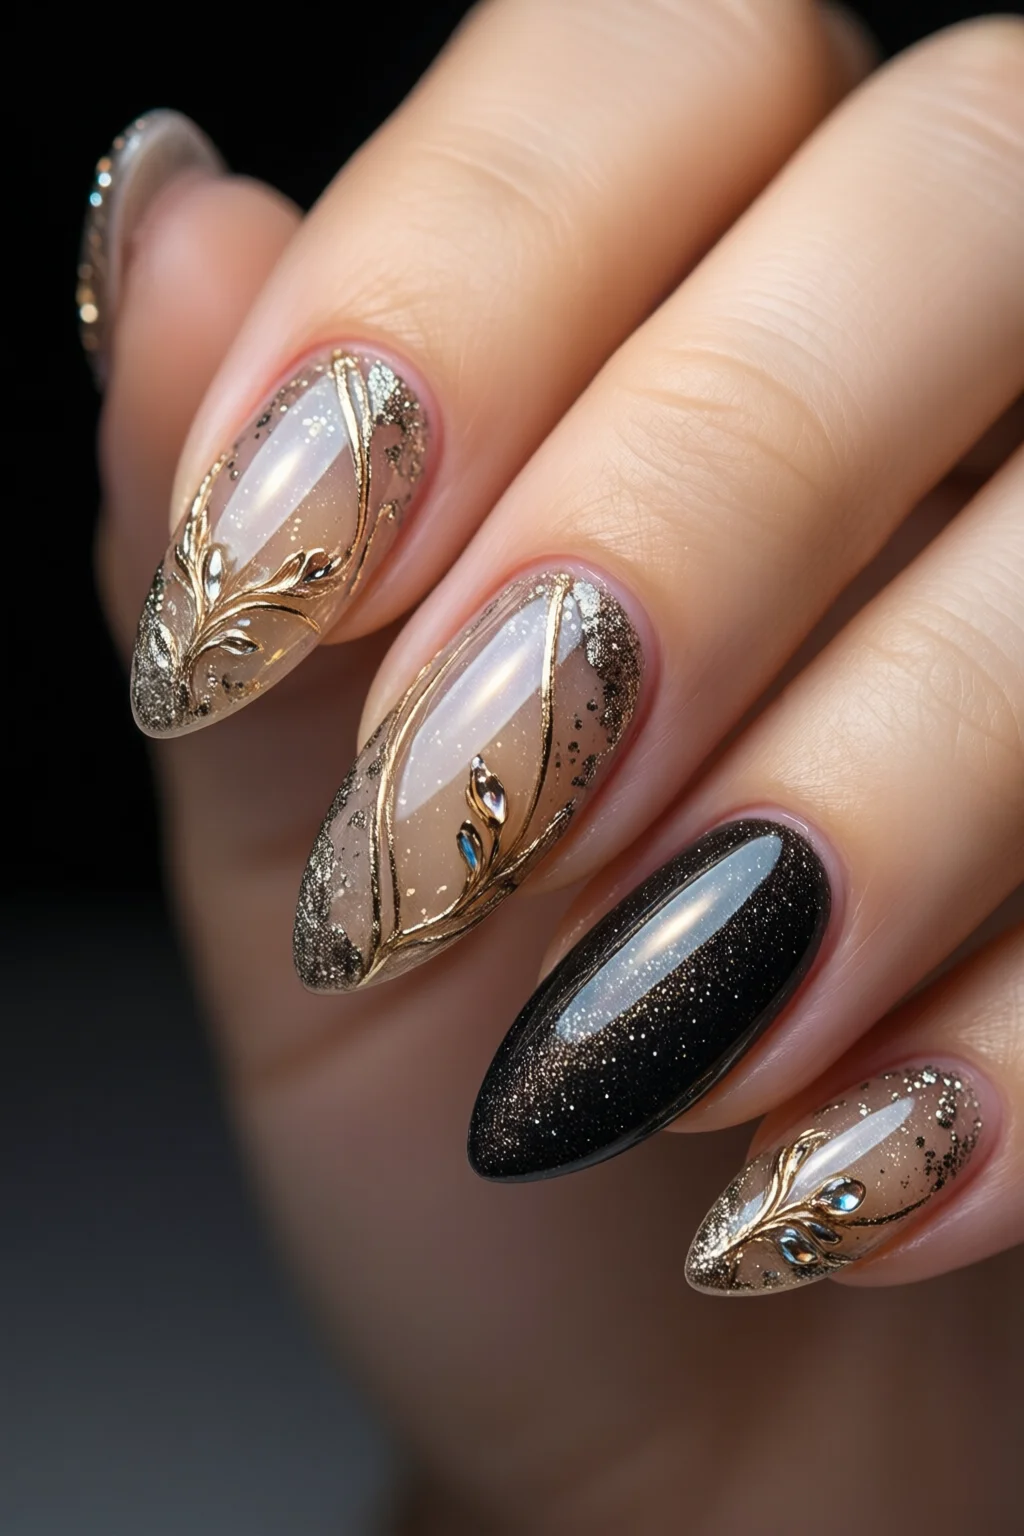
2. 3D Glitter Encapsulation – Adding Depth and Drama
When you want your nails to pop like a disco ball, 3D glitter encapsulation is the answer. The secret is using a high‑viscosity resin such as Mia Secret Ultra Thick Gel ($35 per 15 ml). Its thickness (≈ 250 cP) holds larger glitter particles (up to 0.8 mm) without sinking.
Step‑by‑Step
- Follow the prep steps from the classic method.
- Apply a base coat and cure for 30 seconds.
- Dispense 1 ml of thick gel onto the nail. Sprinkle a pinch (≈ 0.2 g) of chunky glitter (e.g., China Glitters 0.5 mm) onto the wet gel.
- Using a fine‑point brush, gently press the glitter into the gel, creating a slight dome shape.
- Cure for 90 seconds—longer cure ensures the dense glitter layer hardens fully.
- Seal with a thin layer of clear gel and cure 30 seconds.
Pros & Cons
- Pros: Eye‑catching 3D effect, lasts up to 2 weeks, works well on both short and long nails.
- Cons: Slightly heavier on the nail, may cause lifting if the nail isn’t properly prepped.
Rating: 4.5/5 – Perfect for parties and special events.
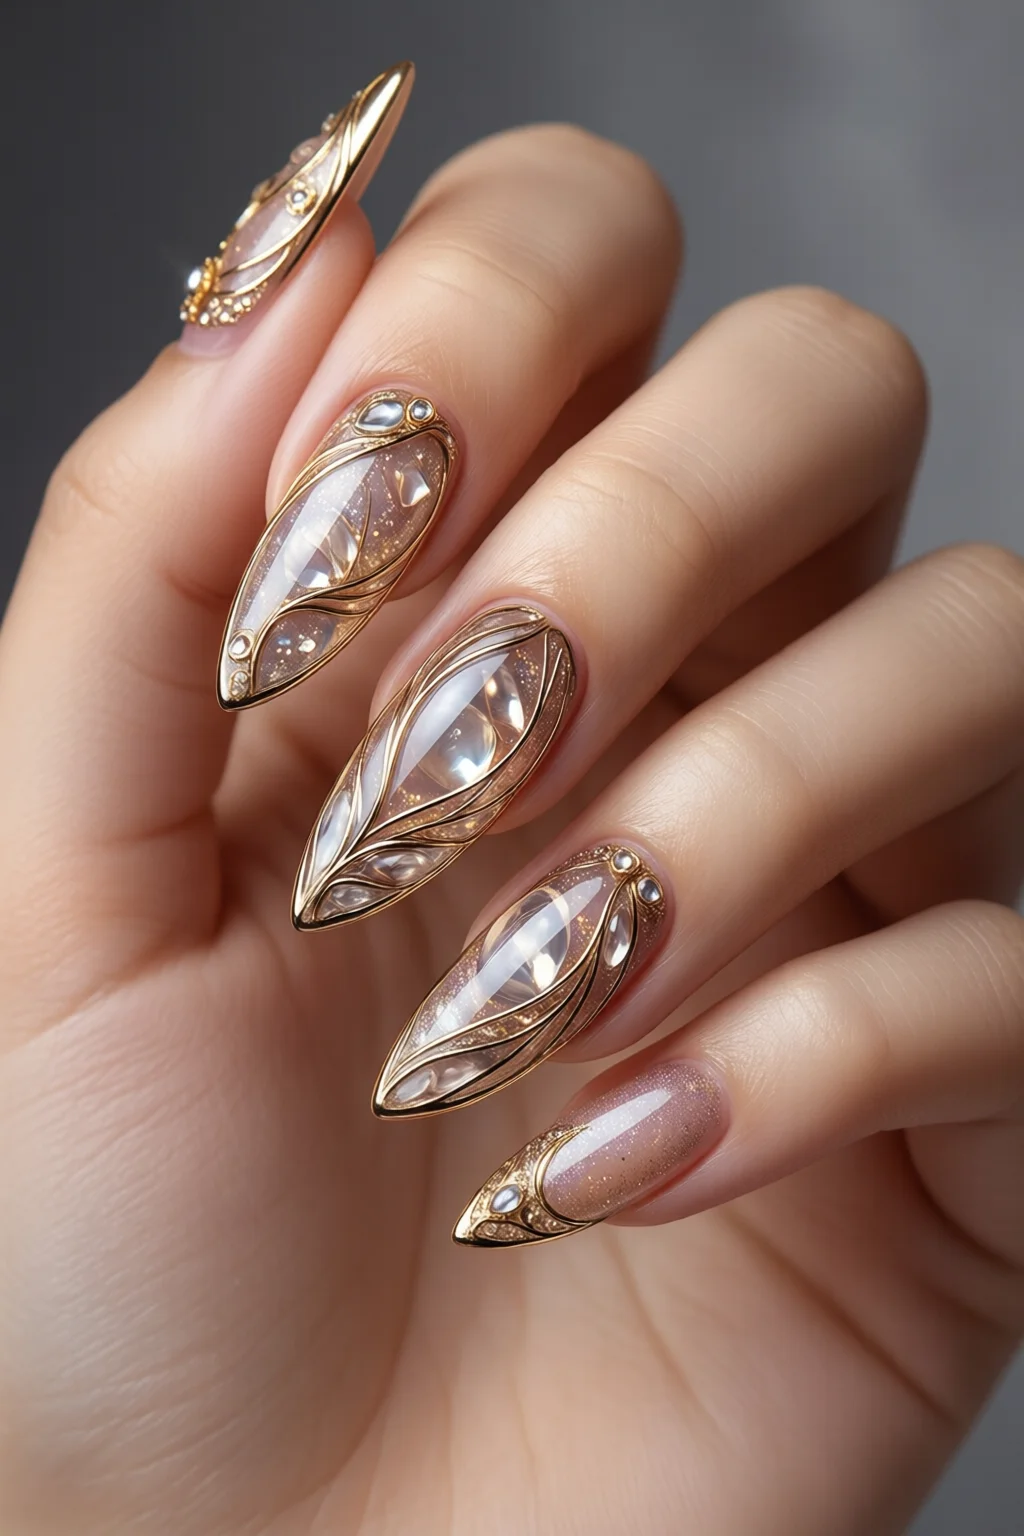
3. Crystal & Gemstone Encapsulation – Luxury in a Bottle
For clients who crave a high‑end look, embedding Swarovski crystals or tiny lab‑grown gemstones can turn a simple manicure into a masterpiece. I recommend the Swarovski Crystal Set (5 g for $24) paired with IBD Clear Gel Builder ($32 per 15 ml). The builder’s low shrinkage (< 2%) keeps the crystals from popping out during curing.
Application Tips
- After the base coat, apply a 0.5 mm layer of clear gel.
- Place a single crystal using tweezers; press gently with a silicone tip.
- Cover with another 0.5 mm layer of gel to encapsulate fully.
- Cure each layer for 45 seconds.
- Repeat for each nail, varying crystal sizes for a custom look.
Pros & Cons
- Pros: Ultra‑glamorous, high perceived value, minimal maintenance.
- Cons: Higher cost per nail (≈ $5–$7), requires steady hands and precision.
Rating: 4.9/5 – Best for weddings, red‑carpet events, and premium salons.
4. Flocking Powder Encapsulation – Soft, Velvet‑Like Finish
Flocking powder creates a plush, matte texture that’s perfect for a subtle, sophisticated look. The Velvet Flocking Powder Kit from how to do velvet nails costs $19 for 30 g of powder and includes a clear top coat. Pair it with a thin layer of Gelish Soft Gel (≈ 100 cP) for optimal adhesion.
Procedure
- Apply a base coat and cure 30 seconds.
- Spread a thin layer of soft gel over the nail.
- While the gel is still tacky, sprinkle flocking powder (≈ 0.1 g per nail) evenly.
- Tap gently to remove excess powder.
- Seal with a clear top coat and cure 30 seconds.
Pros & Cons
- Pros: Unique velvet feel, matte finish that doesn’t show scratches, affordable.
- Cons: Can be messy; powder may cling to skin if not careful.
Rating: 4.3/5 – Great for a subtle twist on classic encapsulation.
5. Acrylic Powder Encapsulation – The Budget‑Friendly Alternative
If you’re working with a tight budget, acrylic powder offers a cost‑effective way to encapsulate. The Young Nails Acrylic Powder (15 g for $14.95) combined with KISS Acrylic Liquid ($10 per 100 ml) creates a sturdy, opaque base that can hold glitter or tiny decals.
Steps
- Prepare nails and apply a thin acrylic primer.
- Dip a brush into acrylic liquid, then into powder to form a small bead.
- Place the bead onto the nail and spread it thinly, leaving a 1 mm border.
- While the acrylic is still wet, sprinkle your chosen encapsulant (glitter, tiny charms).
- Press gently, then let air‑dry for 2–3 minutes.
- File the surface smooth and finish with a glossy top coat.
Pros & Cons
- Pros: Inexpensive (≈ $2 per nail), easy to remove with acetone, durable for 2–3 weeks.
- Cons: Less transparent than gel, may appear slightly milky if over‑filled.
Rating: 4.0/5 – Ideal for beginners and budget‑conscious clients.
6. UV Resin Encapsulation – Maximum Shine and Longevity
UV resin delivers the highest gloss and the longest wear (up to 4 weeks). The Mango UV Resin (30 ml for $25) cures in 60 seconds under a 48 W UV lamp. Its refractive index (1.55) gives an almost glass‑like finish, perfect for encapsulating tiny foil pieces or metallic flakes.
Application
- Apply a base coat and cure.
- Drop 0.8 ml of resin onto the nail.
- Immediately sprinkle the chosen encapsulant (e.g., Metallic Foil strips, $8 per pack).
- Use a fine brush to spread the resin evenly, ensuring the encapsulant is fully covered.
- Cure for 60 seconds, then repeat with a second thin resin layer for extra protection.
Pros & Cons
- Pros: Ultra‑high shine, excellent durability, resistant to yellowing.
- Cons: Resin is more expensive per milliliter, strong odor—use in a ventilated area.
Rating: 4.7/5 – Best for clients who want a nail that looks freshly polished for weeks.
7. DIY At‑Home Encapsulation Kit – All‑In‑One Convenience
For nail enthusiasts who love experimenting, the Sunset Nails Encapsulation Kit bundles everything you need: clear gel, glitter, a mini UV lamp, and a set of silicone molds. Priced at $49.99, the kit saves you about $30 compared to buying each component separately.
What’s Inside
- 1 ml clear gel base, 1 ml builder, 1 ml top coat.
- 10 g assorted glitter (size 0.2–0.7 mm).
- Mini 36 W LED lamp (portable, battery‑operated).
- Two silicone molds for creating encapsulated charms.
How to Use the Kit
- Follow the classic clear gel method for base and curing.
- Mix glitter with builder gel directly in the silicone mold to form a tiny “encapsulated charm.”
- Cure the mold for 45 seconds, then press the hardened charm onto the nail’s surface before sealing with top coat.
Pros & Cons
- Pros: All‑in‑one, portable, great for travel or pop‑up nail stations.
- Cons: Limited to the kit’s supplied colors and tools; not as customizable as buying separate products.
Rating: 4.2/5 – Perfect for hobbyists and on‑the‑go nail artists.
Comparison Table: Top Encapsulation Techniques
| Method | Average Cost per Nail | Durability | Difficulty (1‑Easy, 5‑Hard) | Best For |
|---|---|---|---|---|
| Clear Gel Encapsulation | $2.50 | 3 weeks | 2 | Everyday wear, beginners |
| 3D Glitter Encapsulation | $3.20 | 2 weeks | 3 | Party looks, bold statements |
| Crystal & Gemstone Encapsulation | $6.00 | 3 weeks | 4 | Weddings, luxury events |
| Flocking Powder Encapsulation | $1.80 | 2 weeks | 2 | Soft matte finishes, subtle glam |
| Acrylic Powder Encapsulation | $1.50 | 2‑3 weeks | 1 | Budget‑friendly, quick fixes |
| UV Resin Encapsulation | $4.50 | 4 weeks | 3 | Maximum shine, long‑term wear |
| DIY Kit Encapsulation | $2.00 (incl. kit amortization) | 2‑3 weeks | 2 | Hobbyists, travel artists |
Frequently Asked Questions
How long does encapsulated nail art typically last?
When properly sealed with a high‑quality top coat, encapsulated designs can stay chip‑free for 2 – 4 weeks depending on the method and your daily activities.
Can I do encapsulated nail art while pregnant?
Yes, as long as you choose pregnancy safe nail polish and work in a well‑ventilated space. Avoid resin products that emit strong fumes.
Do I need a special lamp for each encapsulation technique?
A 36‑48 W LED lamp works for most gel and UV resin methods. Acrylic powder doesn’t require any lamp, while flocking powder can be sealed with a regular LED top coat.
Is it possible to combine two encapsulation methods on the same nail?
Absolutely. For example, you can start with a clear gel base, add a layer of flocking powder, then finish with a UV resin top coat for extra shine and protection.
Final Verdict
Encapsulated nail art isn’t a one‑size‑fits‑all technique; it’s a toolbox of methods that let you tailor sparkle, texture, and durability to any client’s needs. If you’re just starting, the classic clear gel approach gives you a reliable foundation without breaking the bank. From there, experiment with glitter, crystals, or velvet flocking to discover the style that resonates with your aesthetic.
Remember: proper prep, precise layering, and a solid cure are the three pillars that keep your encapsulations from lifting or yellowing. Invest in quality products—like the Modelones gel kit or Mango UV resin—and you’ll see a noticeable boost in client satisfaction and repeat bookings.
Ready to try one of these techniques? Grab your favorite gel, fire up the lamp, and let your creativity shine through the encapsulated surface. Your next masterpiece is just a layer away.