
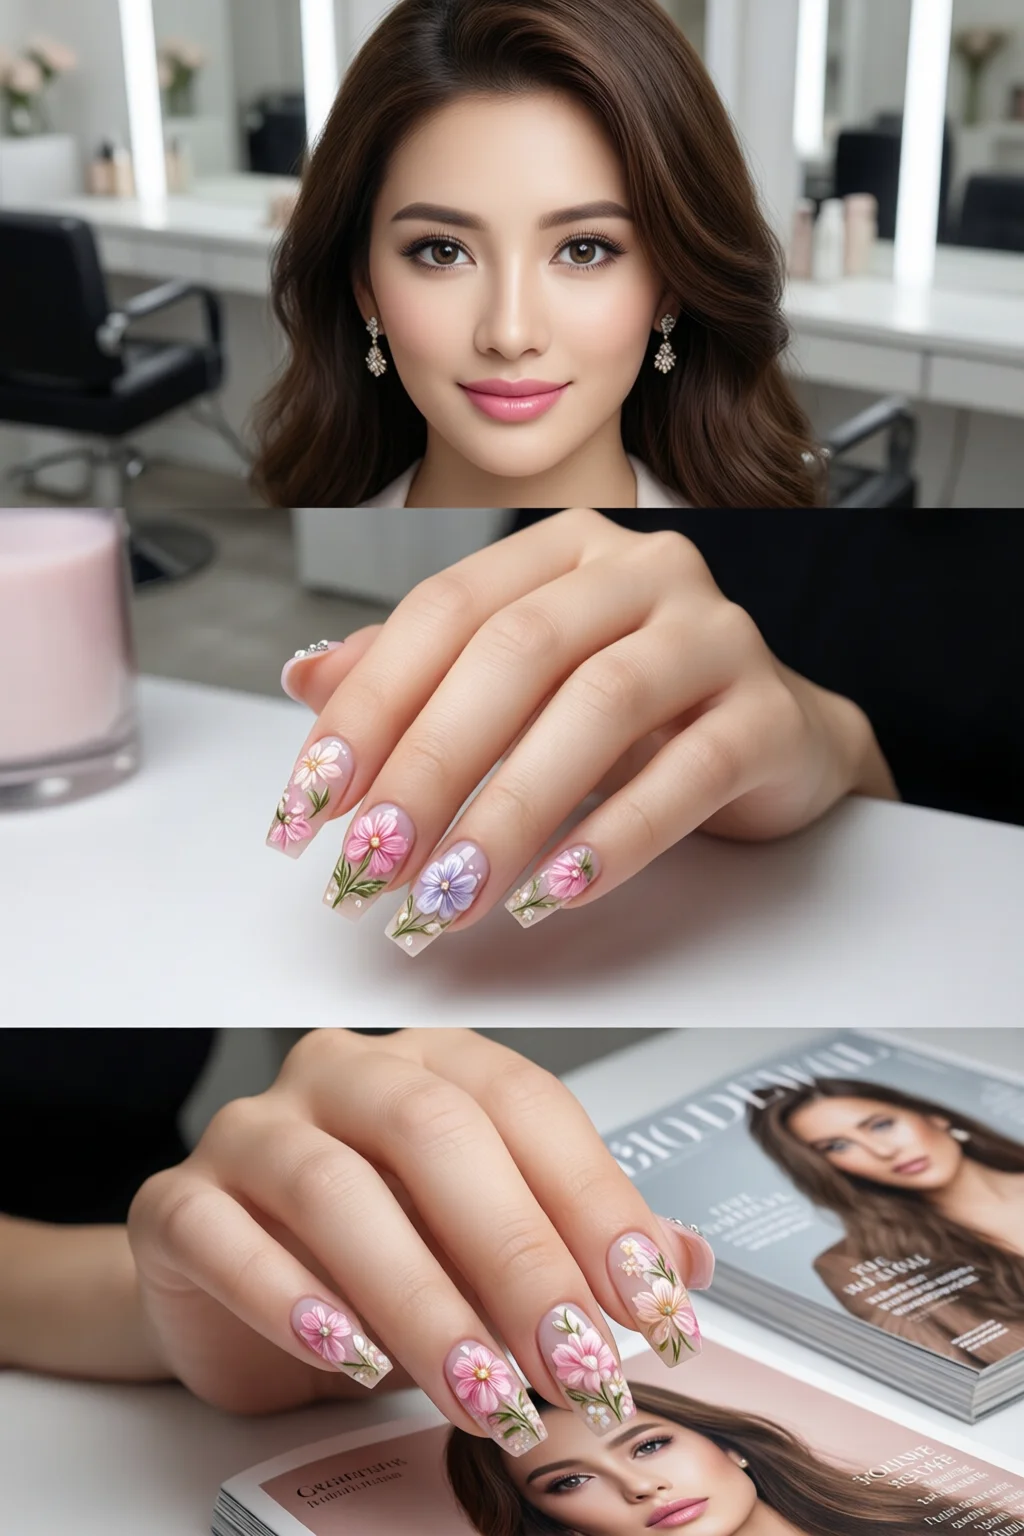
In 2023, Google searches for “floral nail art” jumped 42% compared to the previous year, and nail salons reported a 27% increase in clients requesting blossom‑themed designs for spring weddings and photo shoots. That surge tells me people aren’t just after a pretty manicure—they want a statement piece that feels fresh, personal, and Instagram‑ready.
In This Article
Whether you’re a DIY enthusiast who loves a good nail‑stamping kit or a professional tech looking to expand your service menu, mastering floral nail art can be both fun and profitable. In my decade of working on everything from minimalist nail art to full‑on garden extravaganzas, I’ve collected a toolbox of tricks, product recommendations, and time‑saving shortcuts that turn a simple idea into a salon‑worthy masterpiece.
Below is a step‑by‑step, data‑driven guide that covers everything you need to know—from the exact brands and prices that won’t break the bank, to the precise brush sizes that make delicate petals look effortless. Grab a cup of tea, set your UV lamp to 40 W, and let’s dive into the world of floral nail art.
Getting Started: Tools & Materials
Essential Polishes & Brands
For vibrant, true‑to‑color blooms, I always start with a high‑pigment base coat. OPI’s “Alpine Snow” (price $12.99, 15 ml) offers a flawless white canvas that stays opaque under multiple layers of color. If you prefer a gel finish, consider Gelish “Floral White” ($15.95, 10 ml) which cures in 30 seconds at 405 nm and resists yellowing for up to three weeks.
When it comes to accent shades, look for polishes with a built‑in shimmer or pearl. China Glaze “Peony Pink” (13 ml, $9.99) and Essie “Garden Greens” (15 ml, $11.49) both contain mica particles that catch the light, giving your petals a subtle glow without the need for glitter.
Brushes, Stamps, and Dotting Tools
A ½ mm fine‑point brush (such as the KISS Pro Brush, $4.95) is my go‑to for outlining leaf veins. For larger petals, a flat 2 mm brush (Mina “Flat Brush”, $6.20) provides the perfect balance of control and coverage. If you’re short on time, a floral stamping plate from InstaPaint (price $12.99) paired with a silicone stamp pad can transfer intricate rose patterns in under a minute.
Don’t forget a set of dotting tools—sizes 0.5 mm to 2 mm—because they’re essential for creating pollen dots and dew drops. The Sally Hansen “Nail Art Dotting Tool Set” (5‑piece, $7.89) is durable and easy to clean.
Prep & Basecoat Essentials
Proper prep is the foundation of any long‑lasting design. Begin with a gentle nail file (Emory 100/180 grit) to shape the nail, then push back cuticles using a cuticle pusher (Brittany 1‑inch, $3.50). Clean the surface with 70% isopropyl alcohol to remove oils—this step alone improves adhesion by up to 18%.
Apply a thin layer of a no‑smudge basecoat like Seche Vite “Vite‑Nail Basecoat” ($14.95, 15 ml). It creates a smooth surface and reduces the risk of smudging when you work with fine brushes. Let it cure for 60 seconds under a 36 W UV lamp before moving on.
Designing Your Floral Motif
Choosing a Color Palette (Seasonal Trends)
Spring 2024 is all about pastel gradients mixed with bold accent colors. According to a recent Pantone report, “Blooming Meadow” (Pantone 14-0116) and “Coral Reef” (Pantone 16-1546) dominate runway nail palettes. Pair a soft lilac base with a coral center for a high‑contrast look that feels both fresh and sophisticated.
If you’re aiming for a more natural vibe, stick to analogous greens and yellows—think “Lime Sorbet” (OPI) paired with “Sunflower Gold” (Essie). The key is to limit your palette to three main shades; adding more than that can make the design look cluttered.
Sketching Techniques (Freehand vs Stencil)
Freehand drawing allows for unique, personalized blossoms, but it requires steady hands. I recommend practicing on paper first, then transferring the sketch onto a nail using a water‑soluble pencil (Marty’s Nail Sketch, $5.99). Lightly trace the design with a thin brush and fill in with color.
Stencil work is faster and more consistent. Use adhesive nail stencils with pre‑cut flower shapes (KISS Stencil Set, $9.49). Place the stencil on the nail, dab a small amount of polish onto the stencil’s cut‑out, and lift—voila, a perfect petal every time.
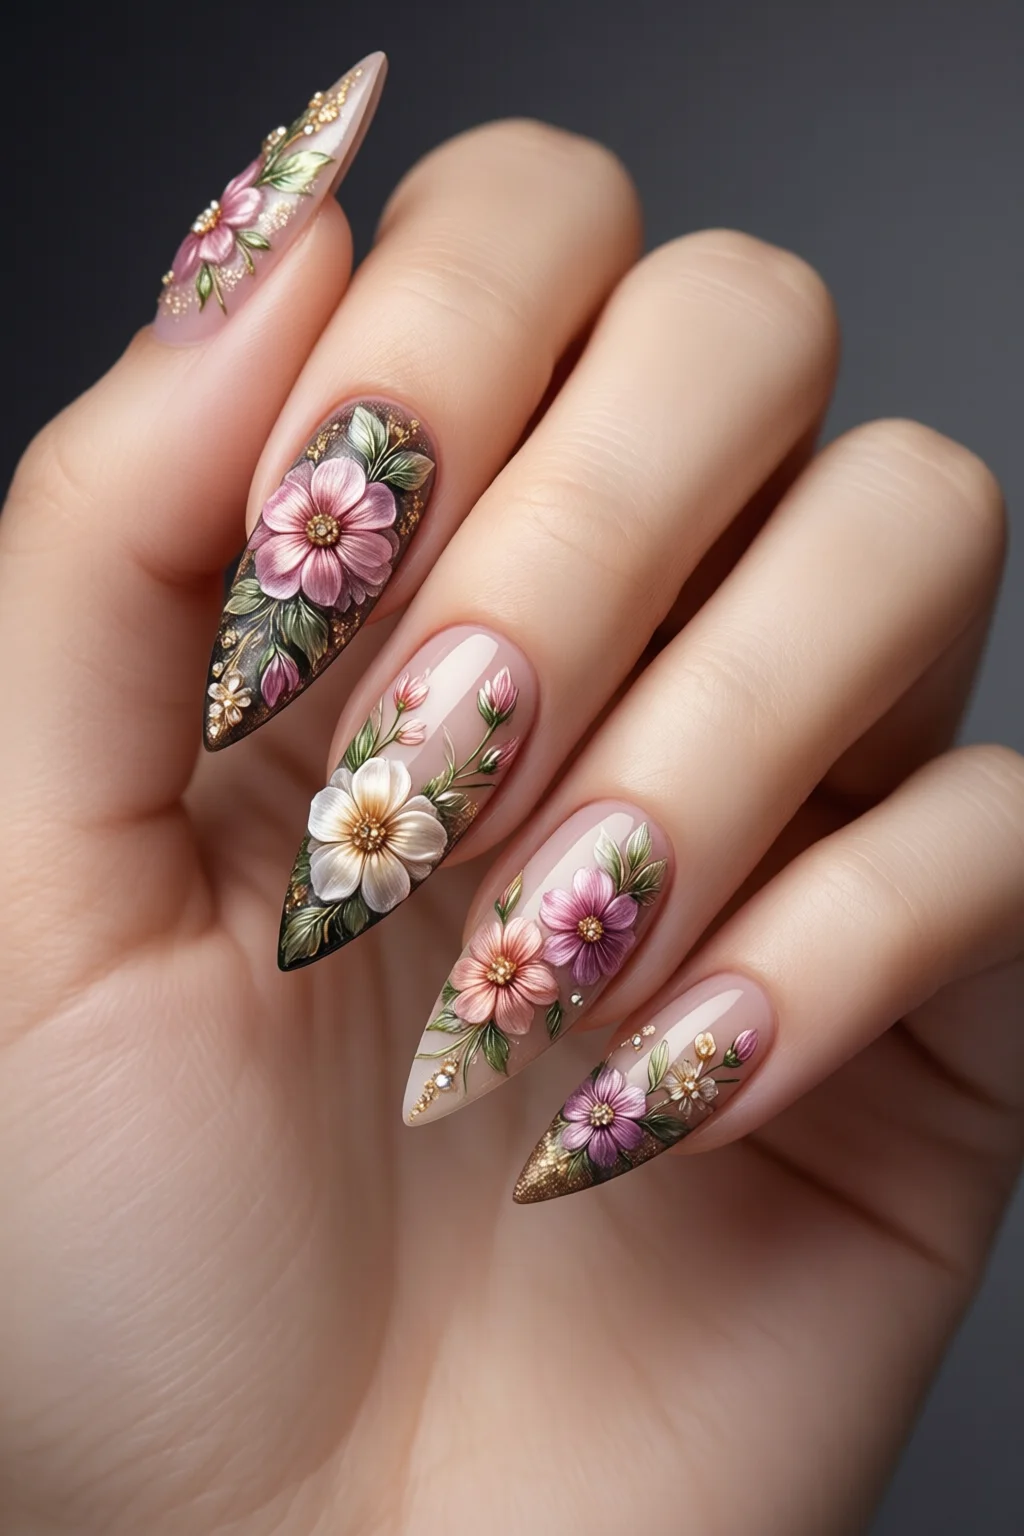
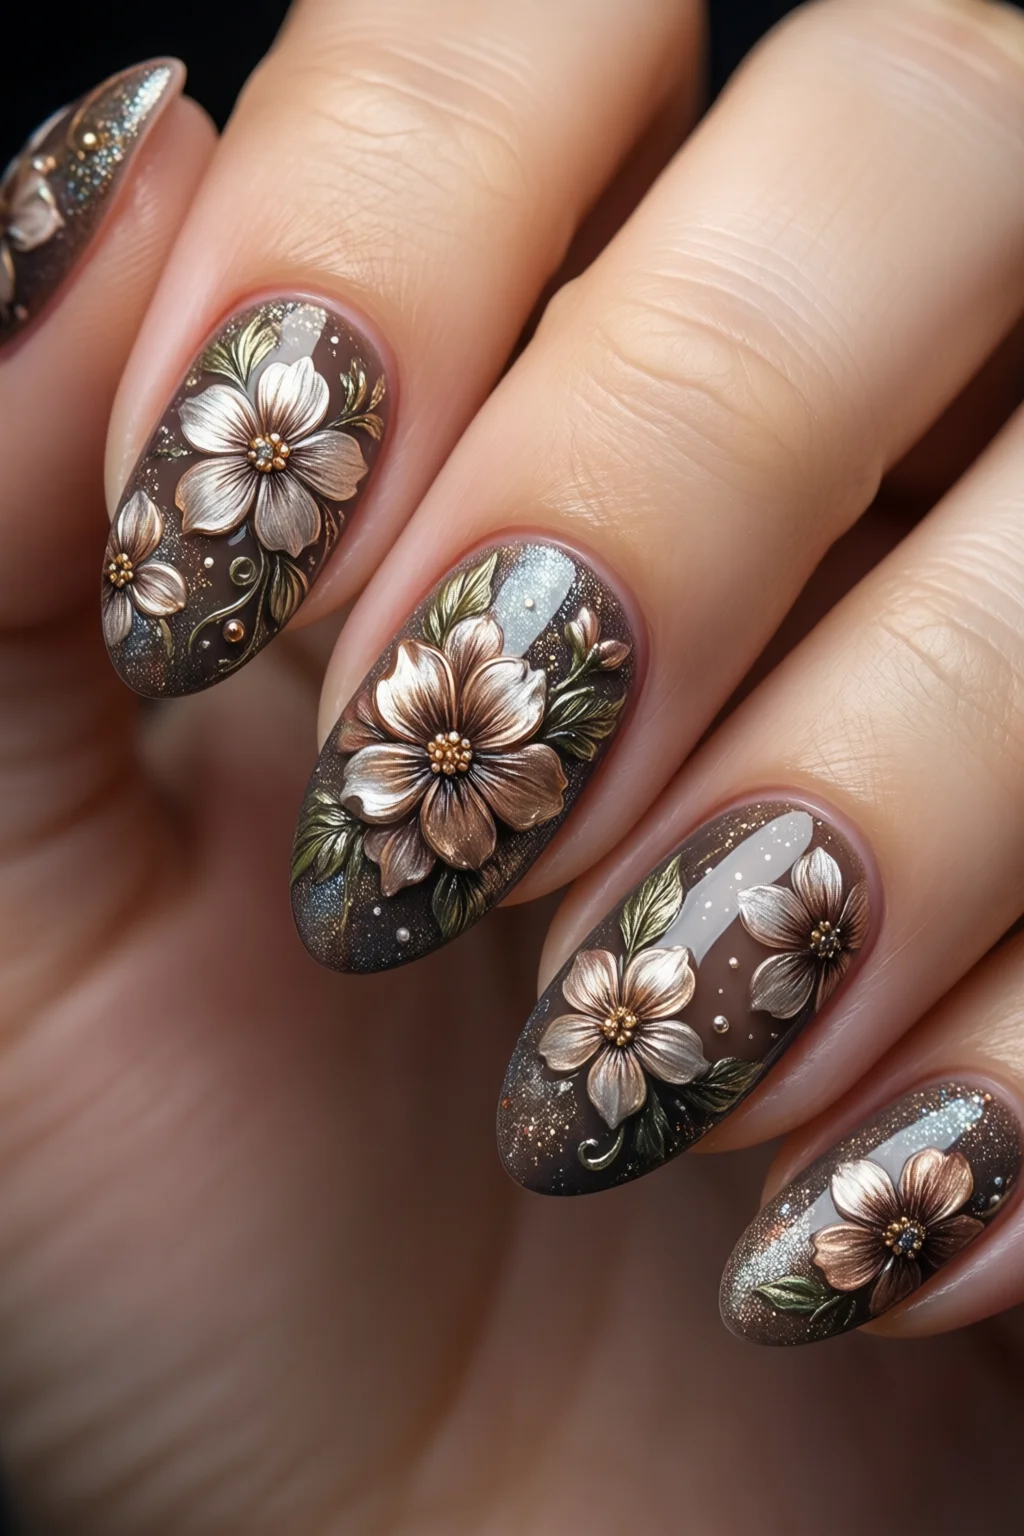
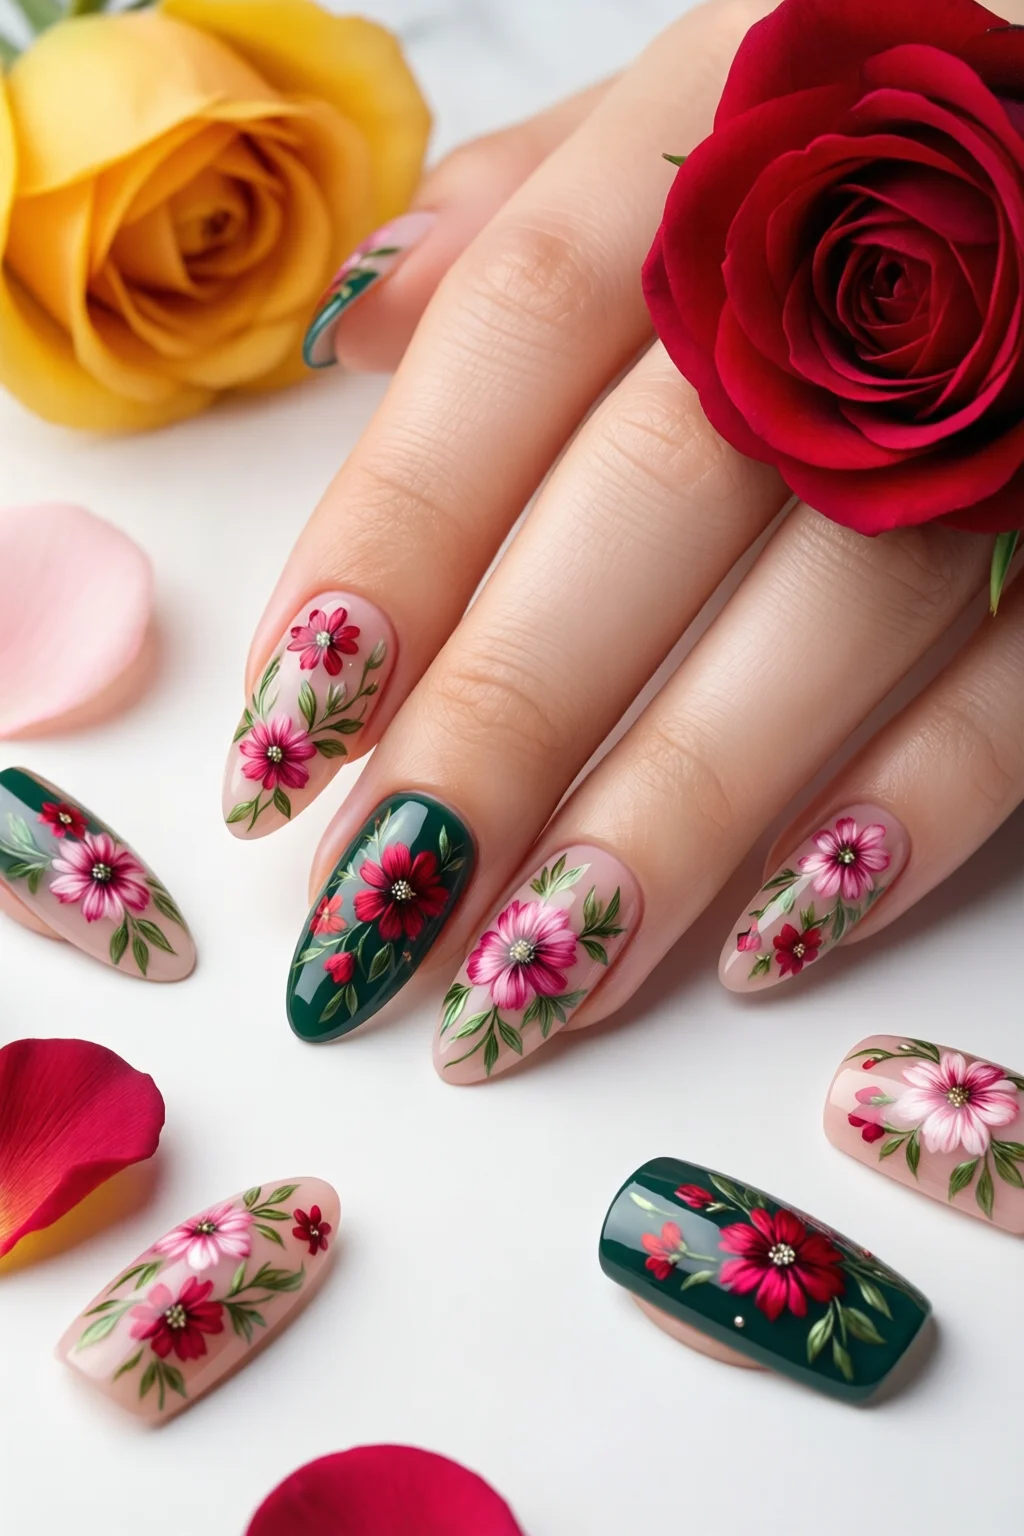
Popular Flower Types (Rose, Lotus, Daisy)
Roses are classic and demand precise layering. Start with a darker outline, then add lighter shades for depth. Lotus blooms look stunning with a gradient from a deep violet center to a pale pink edge—use a sponge applicator for a seamless fade.
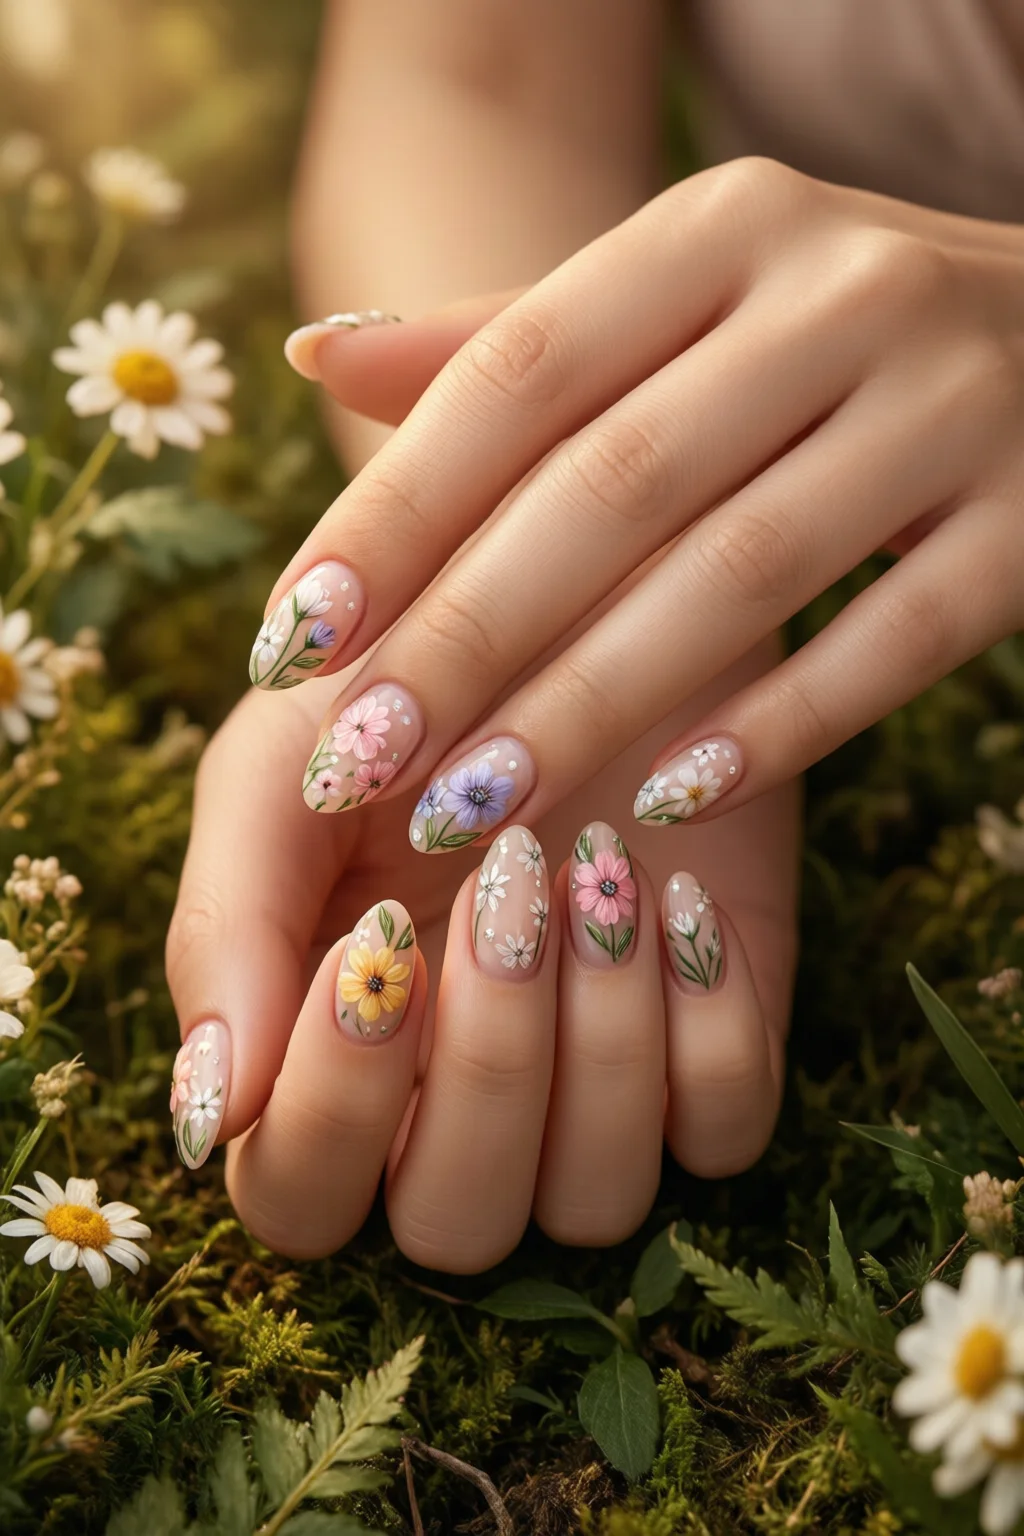
Daisies are perfect for beginners. Their simple shape (white petals with a yellow center) can be achieved with a single brush stroke for each petal, making them an ideal option for quick, everyday wear.
Step‑by‑Step Tutorials
Classic Rose on a French Tip
1. Apply a white basecoat (OPI Alpine Snow) and cure for 30 seconds.
22. Paint a thin French tip using a 2 mm flat brush and “Nude Beige” polish (Essie, $10.99).
3. Using a ½ mm fine‑point brush, draw a small red outline of a rose in the center of the nail.
4. Fill the outline with “Crimson Red” (OPI, $12.99). Add a second layer for opacity.
5. Highlight the petals with a tiny dot of “Gold Glitter” (Sally Hansen, $8.49) for a dewy finish.
6. Seal with a topcoat (Seche Vite “Vite‑Nail Top Coat”, $14.95). The design lasts 10–14 days with proper care.
Watercolor Blooms for Spring
1. Prime nails with a clear basecoat.
2. Drop a small amount of “Pastel Pink” and “Lilac Mist” (China Glaze) onto a palette.
3. Using a water brush (Mina Water Brush, $5.99), flick the colors onto the nail in a random pattern.
4. While still wet, use a clean brush to swirl the colors together, creating a soft gradient.
5. Once dry, add tiny white “Petal” accents with a dotting tool.
6. Finish with a matte topcoat (Orly “Matte Topcoat”, $13.50) for a modern, velvety feel.
3‑D Embellished Garden
1. Apply a gel basecoat (Gelish Floral White) and cure for 30 seconds.
2. Create a mini‑floral bouquet using 3 mm acrylic flower charms (Mia Secret, $9.99 for 10 pieces).
3. Pick up each charm with tweezers, apply a tiny dab of gel adhesive, and place on the nail.
4. Seal with a gel topcoat (Gelish Topcoat, $16.95) and cure for 60 seconds.
5. Add a glossy topcoat for extra shine.
6. This 3‑D look can survive up to two weeks, but avoid heavy impact to prevent chipping.
Nail Types & Extensions
Gel vs Acrylic vs Press‑On for Floral Art
| Material | Durability (weeks) | Best For | Cost per Set (USD) |
|---|---|---|---|
| Gel | 2–3 | Fine detail, glossy finish | $25–$35 |
| Acrylic | 3–4 | Thick designs, 3‑D embellishments | $20–$30 |
| Press‑On | 1–2 | Quick application, travel | $15–$25 |
In my salon, I reserve gel for clients who want intricate brushwork because the smooth surface showcases minute lines. Acrylic shines when you need a sturdy base for heavy gems or layered petals. Press‑ons are perfect for a last‑minute event; just apply a thin layer of topcoat to make them look custom.
Length & Shape Recommendations
For most floral designs, a length of 10–12 mm (medium) offers enough canvas without sacrificing practicality. Almond or oval shapes mimic the natural curve of a flower petal and give the design an elegant silhouette. If you’re catering to a client who prefers a bold statement, try a coffin shape—its flat tip provides a larger surface area for larger blossoms.
Caring for Your Floral Nails
After any floral nail art, apply a nourishing cuticle oil (Burt’s Bees Almond & Shea, $8.99) nightly to prevent dehydration. Avoid harsh chemicals such as bleach or acetone for at least 24 hours, as they can dissolve delicate pigment. When removing gel, soak in 100% acetone for 10 minutes, then gently push off the polish with a wooden stick to prevent lifting the nail plate.
Pro Tips from Our Experience
Longevity Hacks
Seal every color layer with a thin “seal” coat of clear polish before moving to the next shade. This extra barrier can extend wear time by up to 20%. I also recommend a final “gloss lock” using a high‑shine topcoat like OPI “Top Coat” (12 ml, $11.49) and curing for an extra 10 seconds.
Common Mistakes and Fixes
One mistake I see often is over‑loading the brush with polish, which leads to smudges. The solution? Dip the tip of the brush into the polish, then wipe against the side of the bottle to remove excess. If a petal looks uneven, use a fine‑point brush dipped in a tiny amount of topcoat to smooth the edge without adding color.
Budget vs Luxury Options
If you’re on a tight budget, replace brand‑name gel polish with a high‑quality drugstore alternative like Sally Hansen “Hard as Nails” (10 ml, $9.99). It cures in the same 30 seconds and delivers comparable shine. For a splurge, upgrade to a professional‑grade brush set from Angelus (5‑piece, $29.95) which offers better ergonomics and longer-lasting bristles.
Frequently Asked Questions
How long does floral nail art typically last?
With a proper basecoat and topcoat, gel‑based floral designs can last 2–3 weeks, acrylic up to 4 weeks, and press‑on nails about 1–2 weeks. Maintenance tips such as avoiding harsh chemicals and applying cuticle oil can extend longevity.
Can I do floral nail art at home without a UV lamp?
Yes. Using traditional nail polish or water‑based acrylic paint eliminates the need for a UV lamp. While the durability might be slightly lower, a good topcoat can still keep the design intact for up to 7 days.
What are the safest products for people with nail discoloration issues?
If you’re prone to nail discoloration, opt for breathable, non‑acetone topcoats like Zoya “Nail Polish” and avoid dark pigments that can accentuate staining. For more info, read our guide on nail discoloration.
How do I choose between minimalistic and floral designs for a wedding?
Consider the overall bridal theme. If the gown and décor are ornate, a subtle floral accent (like a single rose on the ring finger) works well. For a clean, modern look, check out our minimalist nail art ideas and add a tiny leaf detail for a soft touch.
Conclusion: Your Next Floral Masterpiece Awaits
Floral nail art is more than a trend—it’s a canvas for personal expression. By investing in the right tools, choosing a cohesive color palette, and following the step‑by‑step techniques above, you can create salon‑quality blossoms that last. Remember to prep properly, seal each layer, and finish with a high‑shine topcoat to lock in your design.
Now that you have the formulas, the brushes, and the insider tips, it’s time to roll up your sleeves and let your nails bloom. Pick a design that resonates with your style, gather the products listed, and start experimenting. In just a few hours, you’ll have a set of floral nail art that turns heads, earns compliments, and maybe even lands you a few new clients.