
Ever wondered why Japanese nail art feels like a tiny masterpiece on the tip of your finger?
In This Article
- 1. Minimalist Geometry – Clean Lines for Everyday Elegance
- 2. Kawaii Character Nails – Playful Pop Culture on Your Digits
- 3. Sakura Blossom Gradients – Seasonal Romance in One Sweep
- 4. Metallic Foil & Washi Tape – Textured Glamour with a Twist
- 5. 3D Embellishments – From Pearls to Tiny Toys
- 6. Traditional Motifs – Waves, Cranes, and the Spirit of Japan
- 7. Ombré & Tie‑Dye Fusion – Gradient Meets Psychedelia
- 8. Mermaid & Iridescent Effects – Underwater Dreams on Your Hands
- Comparison Table: Top Picks for Japanese Nail Art Essentials
- Final Verdict: Which Japanese Nail Art Style Should You Try First?
In the world of nail design, Japan has turned manicures into a cultural statement. From delicate sakura petals that melt into your skin to bold Kawaii characters that pop like comic‑book panels, the style is as versatile as it is iconic. This list shows the seven must‑try techniques that define authentic japanese nail art, explains the tools you’ll need, and helps you decide which trend fits your personality and budget.
1. Minimalist Geometry – Clean Lines for Everyday Elegance
Minimalist geometry is the backbone of Japanese street style. Think thin black lines, tiny triangles, and subtle negative‑space shapes that whisper rather than shout. The secret? A fine‑point brush (like the Matsuo 0.3 mm brush, $12) and a high‑contrast base such as OPI “Satin Matte Black” ($13). Apply a single coat, let it dry 2 minutes, then draw a 1‑mm line across the nail’s center. Finish with a matte top coat to keep the look soft.
Pros
- Fast – under 10 minutes per hand.
- Low product cost; a single bottle of black polish lasts 50+ applications.
- Works with any outfit, from office suits to casual jeans.
Cons
- Requires a steady hand; beginners may see wobbly lines.
- Minimalist designs can look plain without a pop of color.
2. Kawaii Character Nails – Playful Pop Culture on Your Digits
If you love anime, manga, or cute mascots, Kawaii character nails are your playground. The trick is layering a translucent base (e.g., Essie “Sheer Crème” $10) with a glossy top coat, then using water‑marble chips (≈ ¥1,200 per set) to create a smooth canvas. Place a tiny sticker of your favorite character—like Totoro or Rilakkuma—on the nail, seal with a 2‑minute curing gel (Gelish “Top It Off” $15). The result is a glossy, durable finish that lasts up to three weeks.
Pros
- Instantly recognizable; perfect for festivals and conventions.
- Sticker method speeds up application—under 15 minutes.
- Gel top coat adds high shine and durability.
Cons
- Stickers can lift if not sealed properly.
- Requires a UV/LED lamp ($30‑$80) for gel curing.
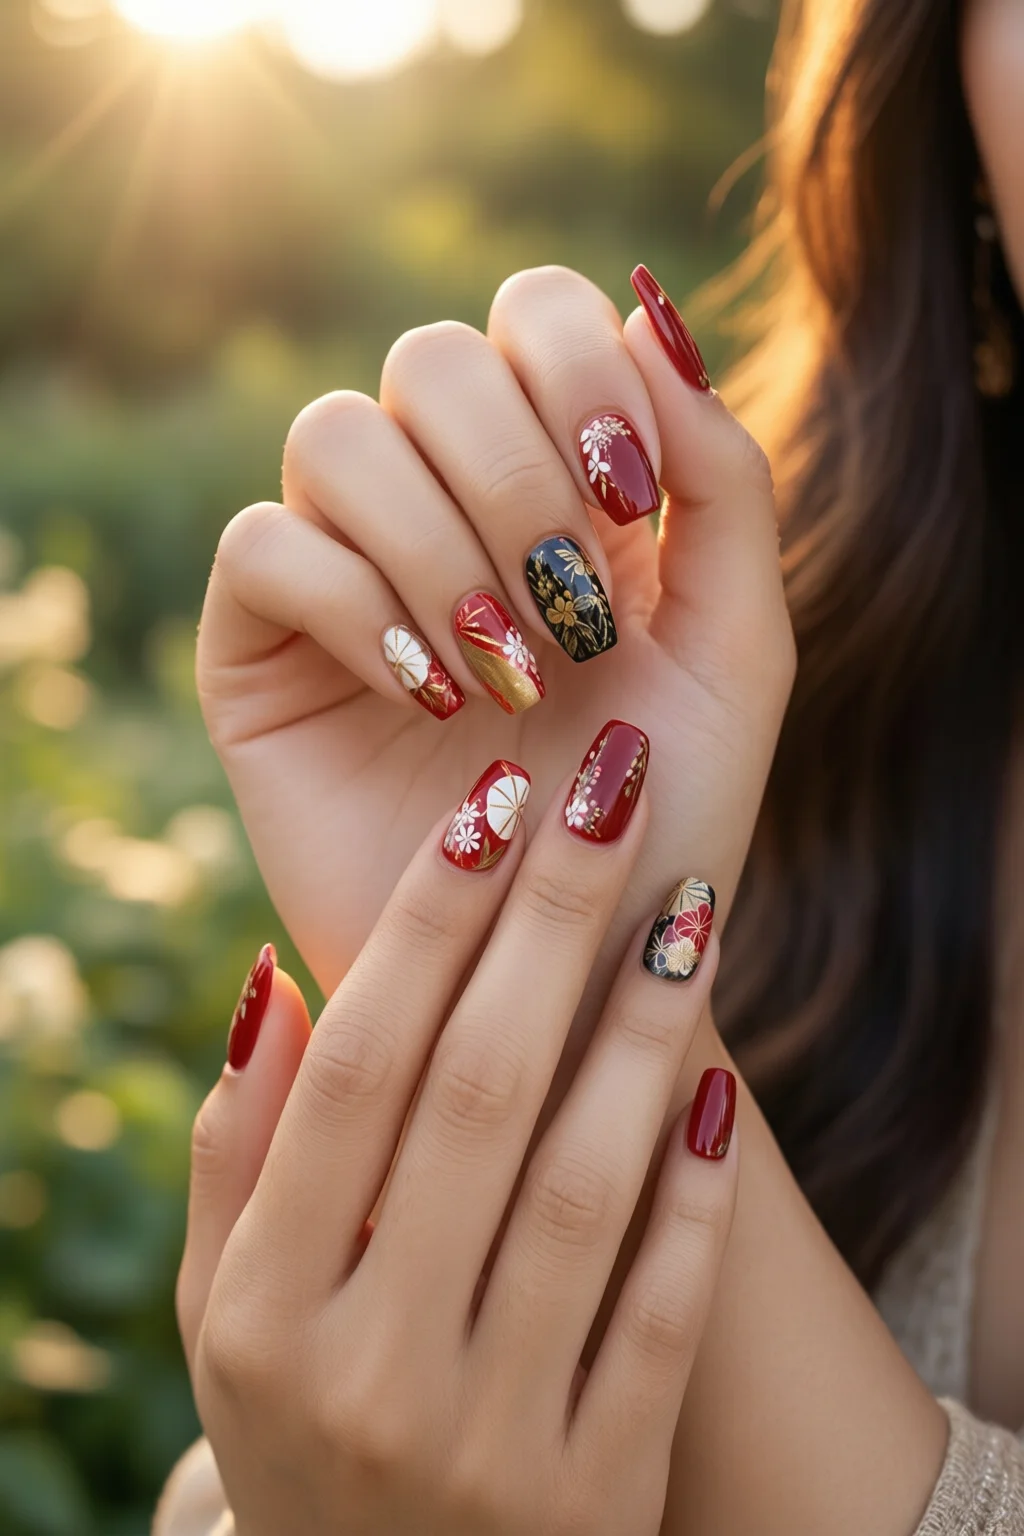
3. Sakura Blossom Gradients – Seasonal Romance in One Sweep
Sakura (cherry blossom) gradients capture Japan’s spring in a single manicure. Start with a sheer pink base like Sally Hansen “Pink Nail Polish” ($9). Using a sponge applicator (Mora sponge, $5), dab on three shades: pale pink, medium pink, and a whisper of white. Blend upward until the colors melt seamlessly. Top with a glitter‑infused sealant (China Glaze “Glitter Top Coat” $12) for a subtle sparkle that mimics falling petals.
Pros
- Romantic and feminine, ideal for weddings and dates.
- Gradient technique works on any nail length.
- Low‑tech; no brushes required.
Cons
- Sponging can be messy; practice on a nail tip first.
- Glitter top coat may chip faster on shorter nails.
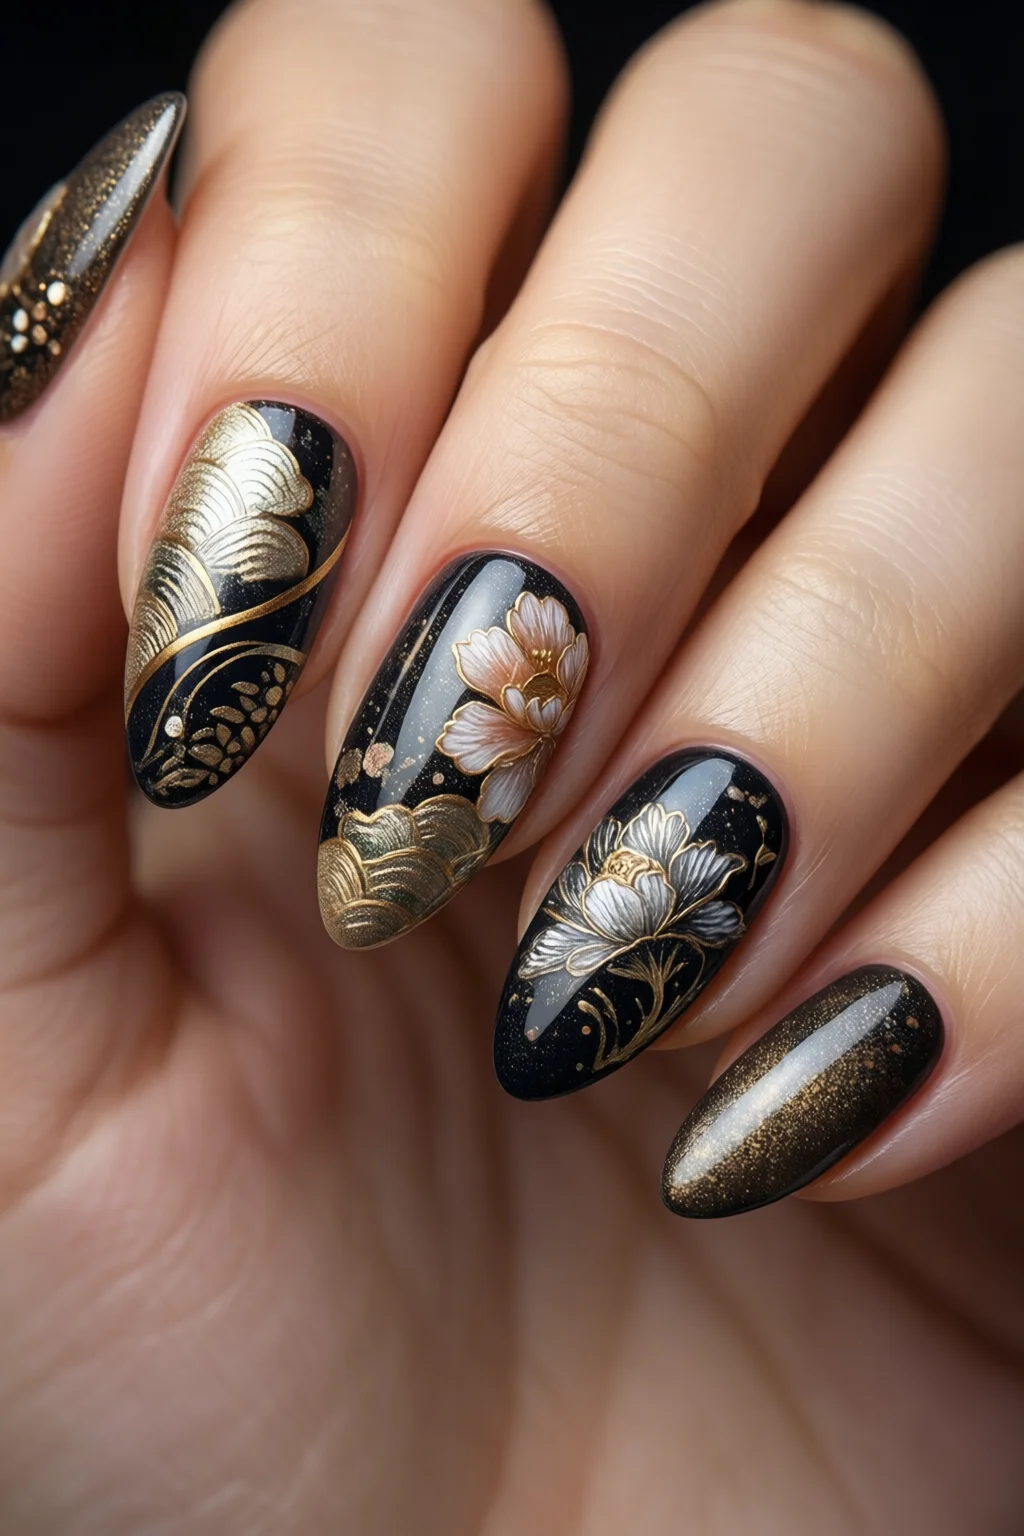
4. Metallic Foil & Washi Tape – Textured Glamour with a Twist
Metallic foil and washi tape bring texture without heavy layers. Cut 2 mm strips of Japanese washi tape featuring traditional patterns (¥800 per roll). Apply a clear base coat, then adhere the tape to the nail. Press a thin sheet of gold foil (e.g., “KISS Metallic Foil” $4) over the tape with a soft brush, then seal with a thick top coat like Seche Vite “Gel Finish” ($14). The foil adheres to the tape’s adhesive, creating a luminous, patterned surface.
Pros
- Instantly eye‑catching; perfect for night events.
- Washi tape is affordable—one roll lasts 30+ applications.
- No need for special tools beyond a brush.
Cons
- Foil can peel if top coat isn’t thick enough.
- Washi tape may bubble on uneven nail surfaces.
5. 3D Embellishments – From Pearls to Tiny Toys
Japanese nail artists love adding three‑dimensional flair. Choose small pearls (≈ 2 mm, $0.30 each) or micro‑plastic charms (e.g., “Tiny Sushi Charms” $6 for 20). Apply a tacky base (Sally Hansen “Instant Adhesive” $7) to the nail, press the embellishment gently, and cure under a lamp for 30 seconds. Finish with a thick, high‑gloss top coat to lock everything in place for up to four weeks.
Pros
- Creates a tactile experience; great for photoshoots.
- Customizable—mix pearls, studs, and charms.
- High durability when sealed properly.
Cons
- Heavier nails may feel bulky on short nails.
- More expensive; a full set of charms can cost $12‑$20.
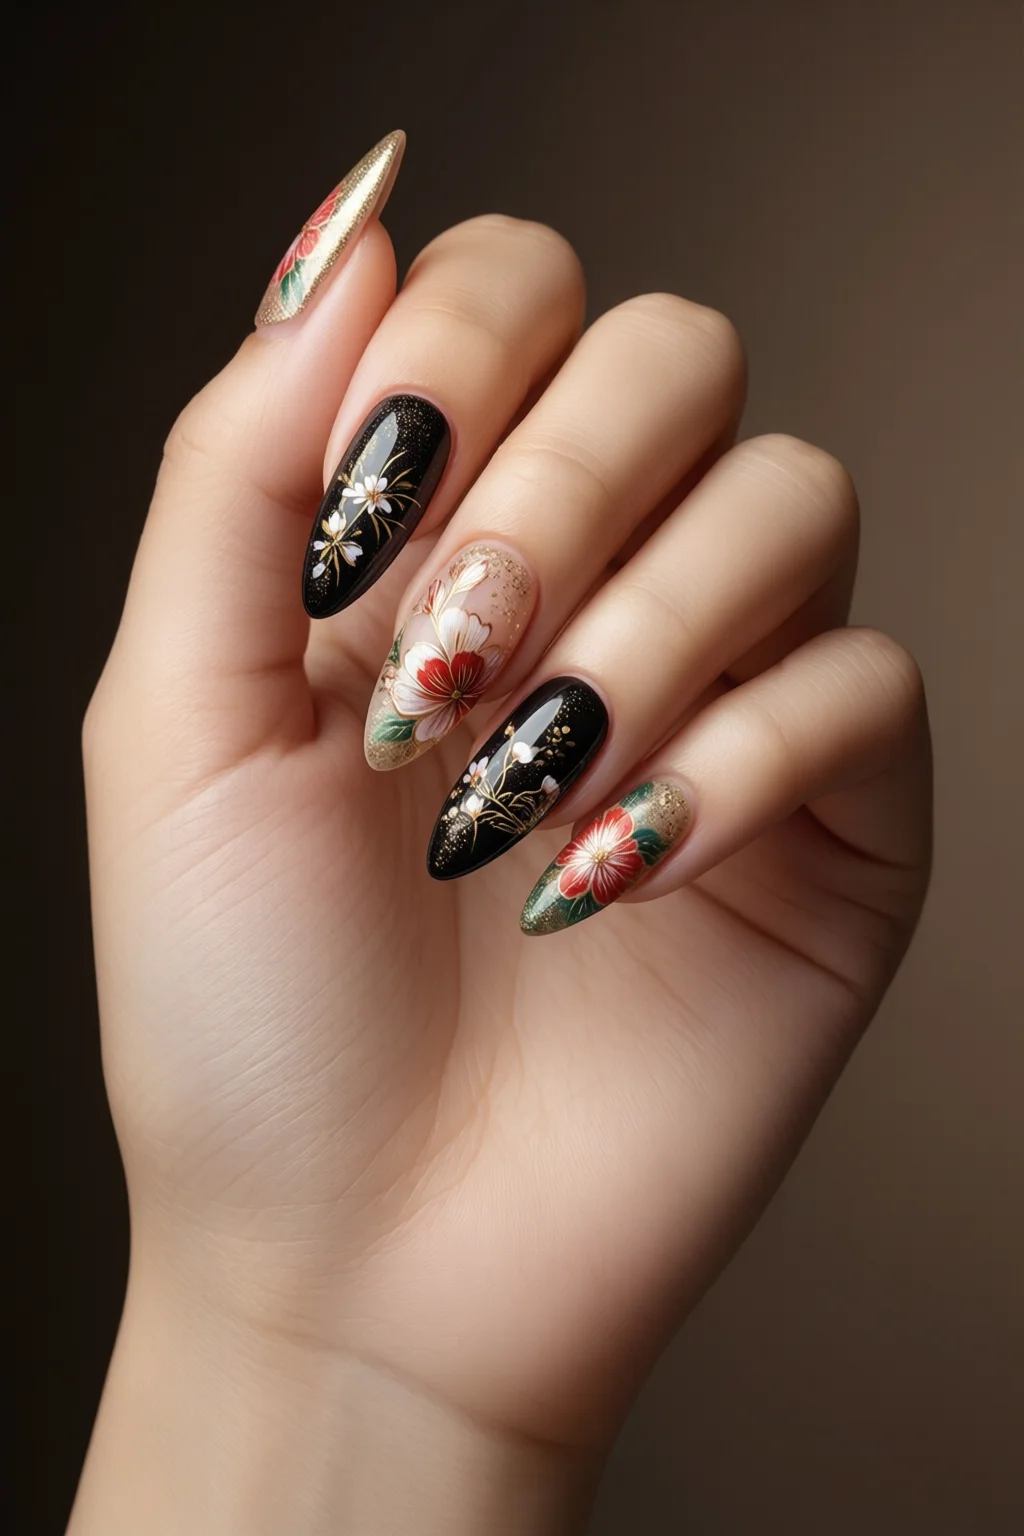
6. Traditional Motifs – Waves, Cranes, and the Spirit of Japan
Classic Japanese symbols like the Hokusai wave or the crane embody elegance and luck. Use a fine brush (Matsuo 0.2 mm, $12) and a high‑pigment pigment ink (Kiss “Nail Art Ink” $9) to paint these motifs over a neutral base. For the wave, a single navy stripe sweeps across the nail, while a tiny red crane perches at the tip. Seal with a UV‑resistant top coat (OPI “Top Coat” $13) to prevent fading.
Pros
- Cultural depth; perfect for festivals like Hanami.
- Works well on both short and long nails.
- Ink pigments stay vivid for up to 21 days.
Cons
- Requires artistic skill; practice on paper first.
- Ink can bleed if the base isn’t fully cured.
7. Ombré & Tie‑Dye Fusion – Gradient Meets Psychedelia
Ombré nails are a staple, but Japanese designers push it further by blending tie‑dye swirls. Start with a base of pastel pink (Essie “Ballet Slipper” $10). Using a silicone brush, swirl together neon teal and magenta pigments from the tie dye nails guide. The result is a vibrant gradient that transitions from soft to bold. Lock the design with a glossy top coat for maximum shine.
Pros
- Dynamic color shift; stands out in low‑light venues.
- Can be customized with any color palette.
- Appears modern while honoring traditional ombré roots.
Cons
- Color blending can become muddy without precise timing.
- Requires two coats of top coat for full durability.
8. Mermaid & Iridescent Effects – Underwater Dreams on Your Hands
For a splash of fantasy, try iridescent “mermaid” nails. Apply a sheer base, then dab on a pearlescent pigment (e.g., “Iridescent Pearl Dust” $8). Lightly tap with a stippling brush, allowing the pigment to catch the light. Finish with a high‑gloss sealant and a touch of mermaid nails shimmer for that underwater glow.
Pros
- Eye‑catching shimmer that changes with movement.
- Works on all nail lengths and shapes.
- Long‑lasting when sealed with a thick top coat.
Cons
- Pearl dust can be messy; use a silicone mat.
- May appear over‑glossy on matte‑preferring clients.
Comparison Table: Top Picks for Japanese Nail Art Essentials
| Product | Best For | Price (USD) | Pros | Cons |
|---|---|---|---|---|
| Matsuo Fine‑Point Brush (0.2 mm) | Delicate motifs & geometric lines | $12 | Precision, ergonomic grip, durable brass ferrule | Small size may be tricky for large nails |
| Essie Sheer Crème | Base for Kawaii stickers & ombré | $10 | Transparent, quick‑dry, affordable | Less opaque on dark nails |
| Gelish Top It Off (UV/LED) | Sealing high‑gloss designs | $15 | Hard‑wear, adds shine, compatible with all gels | Requires lamp ($30‑$80) |
| KISS Metallic Foil Sheets | Metallic & foil accents | $4 (pack of 10) | Easy to apply, vibrant colors | Can peel if top coat thin |
| Seche Vite Gel Finish | Thick protective top coat | $14 | Long‑lasting, high gloss, quick cure | Higher price point |
Final Verdict: Which Japanese Nail Art Style Should You Try First?
If you crave speed and work‑friendly polish, start with Minimalist Geometry. It needs only a fine brush and a single color, delivering a sophisticated look in under ten minutes. For a dose of pop culture, the Kawaii Character method gives instant impact, especially when you have a UV lamp at hand. When you’re ready to celebrate a season or a special event, the Sakura Blossom Gradient or Traditional Motifs provide depth and cultural resonance.
All seven styles share a common requirement: a high‑quality top coat. Investing in a durable sealant like Seche Vite or Gelish will keep your art intact for weeks, saving you both time and money. Remember, practice makes perfect—don’t be discouraged by a wobble or a chip. The beauty of Japanese nail art lies in its blend of precision and playfulness, and each attempt brings you closer to that flawless fingertip masterpiece.
How long does Japanese nail art typically last?
When sealed with a high‑quality top coat and proper curing, most Japanese nail designs last 10‑21 days on natural nails and up to 30 days on gel extensions. Foil and 3D embellishments may chip sooner if not protected by a thick sealant.
Do I need a UV/LED lamp for all these techniques?
A lamp is essential for gel‑based top coats and any design that uses gel polish (e.g., Kawaii stickers sealed with Gelish). For purely polish‑based designs—minimalist lines, gradients, or foil—air‑dry polish and a regular top coat are sufficient.
Can I use these techniques on acrylic or dip powder extensions?
Absolutely. All Japanese nail art methods work on acrylic, gel, or dip extensions. Just ensure the surface is clean, lightly buffed, and primed with a base coat to improve adhesion.
Where can I find authentic Japanese washi tape and foil?
Specialty Japanese stationery shops (both online and brick‑and‑mortar) carry a wide range of washi tape. Websites like best nail glue often link to trusted vendors. For foil, KISS metallic sheets are widely available in beauty supply stores.
How do I prevent my 3D embellishments from falling off?
Apply a tacky adhesive primer, press the embellishment firmly, and cure under a UV lamp for at least 30 seconds. Finish with a thick, glossy top coat to lock everything in place.